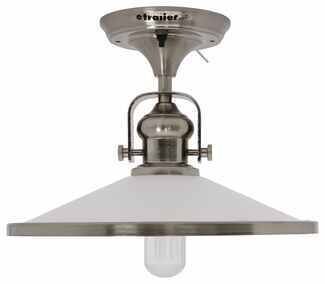
Swap tired ceiling fixtures for a surface mount puck light that installs cleanly and blends with your interior. Warm white options around 3,500 kelvin help match existing lighting, and you can choose a solid push-button or a 2-wire style that ties into a wall switch. Durable plastic lenses mimic glass without the weight, and it's smart to check your mounting pattern since holes may differ from OEM.
If there are no wiring instructions and the light doesn't work at first power-up, try reversing polarity. For twist-lock covers, align the tabs carefully and avoid forcing; the tabs can snap. If the cover won't tighten, check the base notch for flashing that may need light trimming to seat properly.
Replacement lenses may not be available for some puck lights, so the fix can be to replace the entire assembly. If you need only a lens, verify availability for your specific light before planning the repair. Matching diameter and mounting pattern makes swaps straightforward when a full replacement is needed.
Both styles exist. Some have a center push button (solid or rubber) and others are not a push light and must be wired to a switch. If you're replacing a rubber-covered switch that sticks, look for a solid push button. Verify switch type before ordering so it works the way you expect.
Choose warm white if you want a softer tone; options include warm white - 3,500 kelvin. If you're replacing brighter OEM lights, check lumen output to keep the room feel similar. Compare the light color to your existing fixtures so everything blends the way you like.
It can, but measure first. Common diameters include 3-5/8", 4-3/8", and 4-1/2", and mounting holes can be 2-3/16" or 2-7/8" center to center. If holes don't line up perfectly, you may need to adjust mounting or fill old holes. Check that the profile clears any trim or cabinets.


 Filters