
Curt Discovery NEXT Trailer Brake Controller w/ Custom Harness - Up to 4 Axles - Time Delayed


To see if this custom-fit item will work for you please tell us what vehicle you'll use it with.


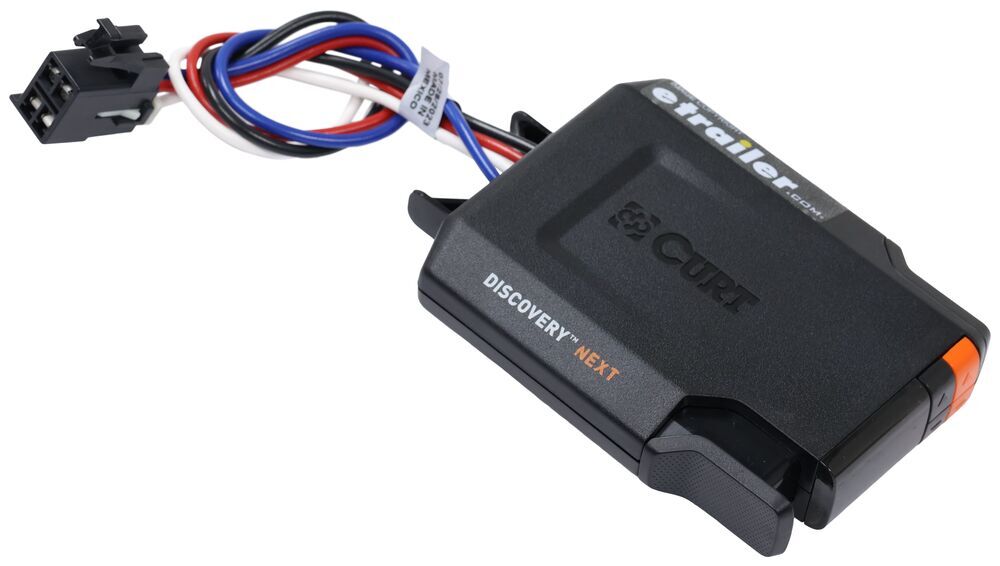
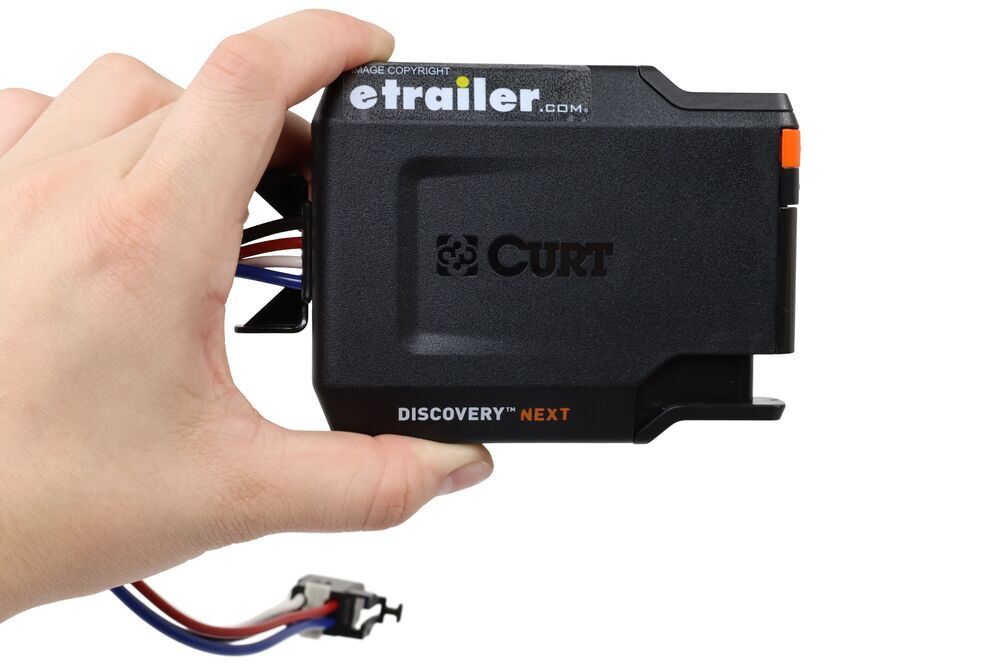

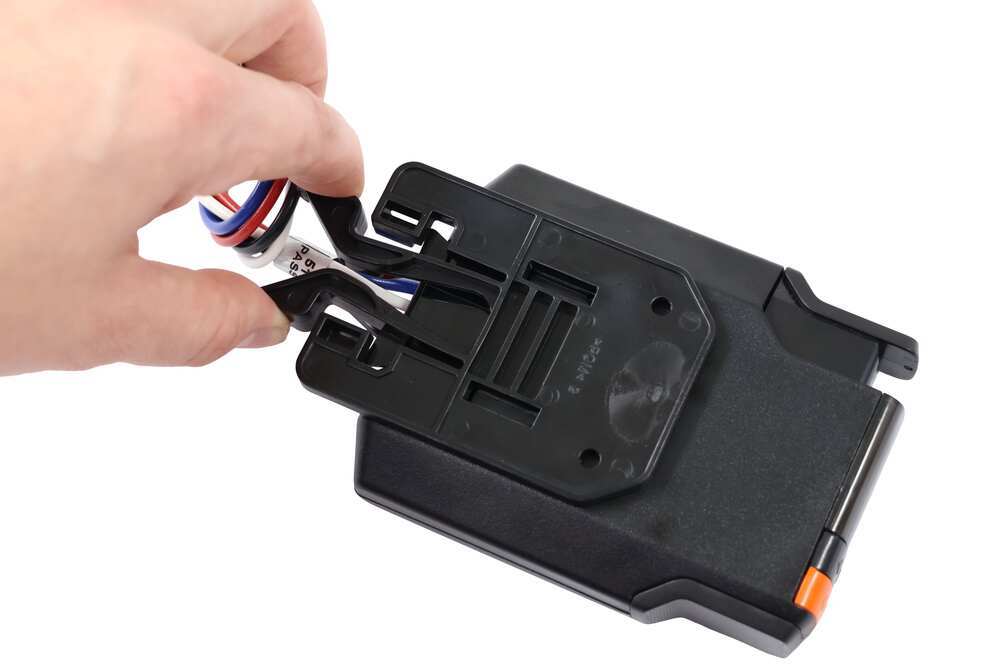
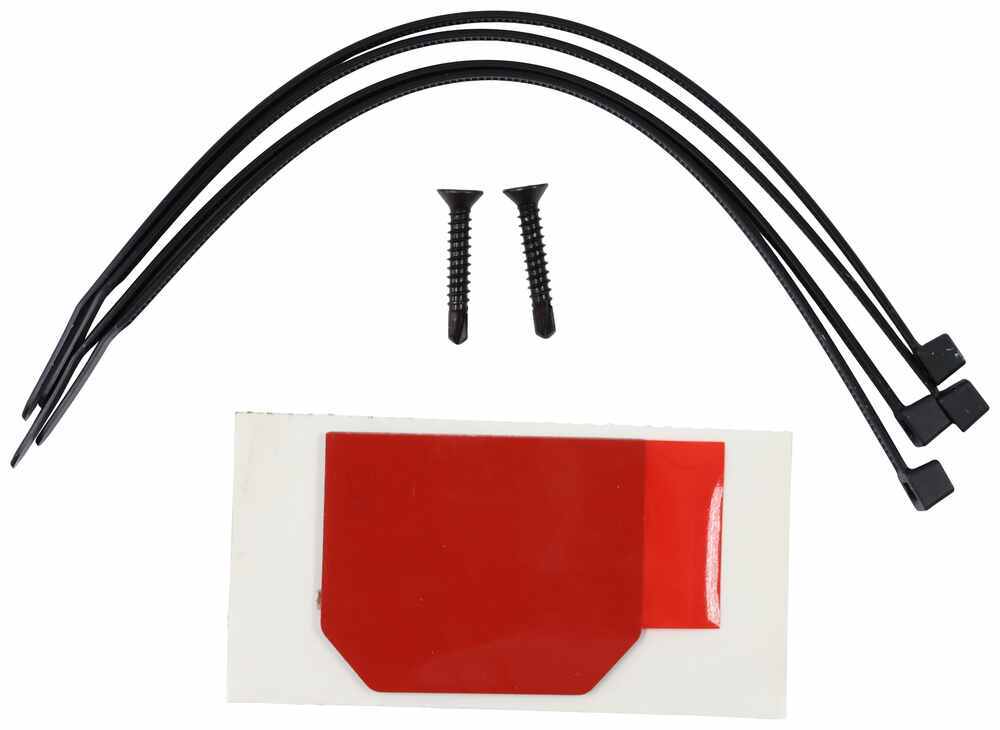
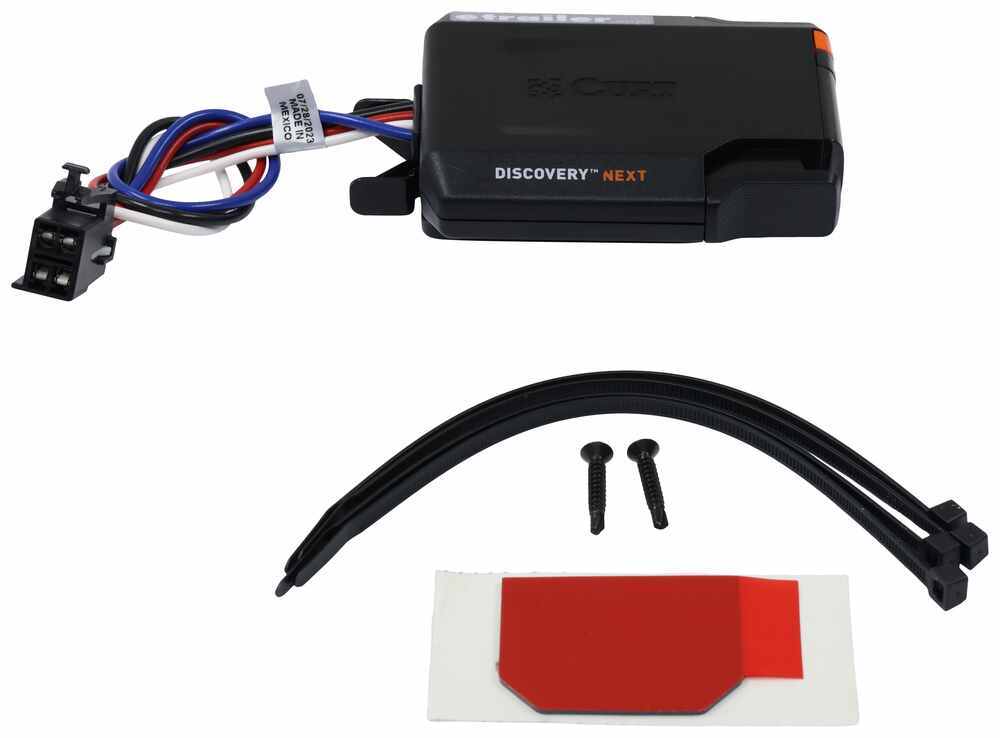
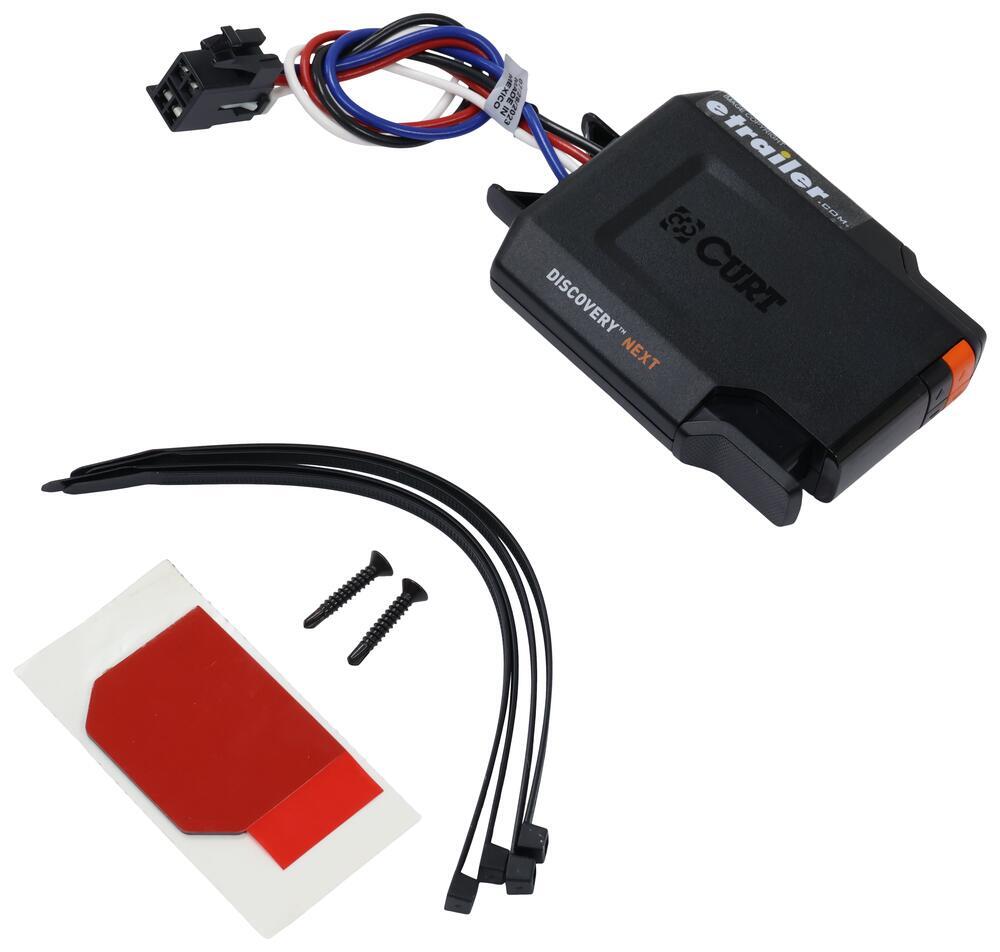
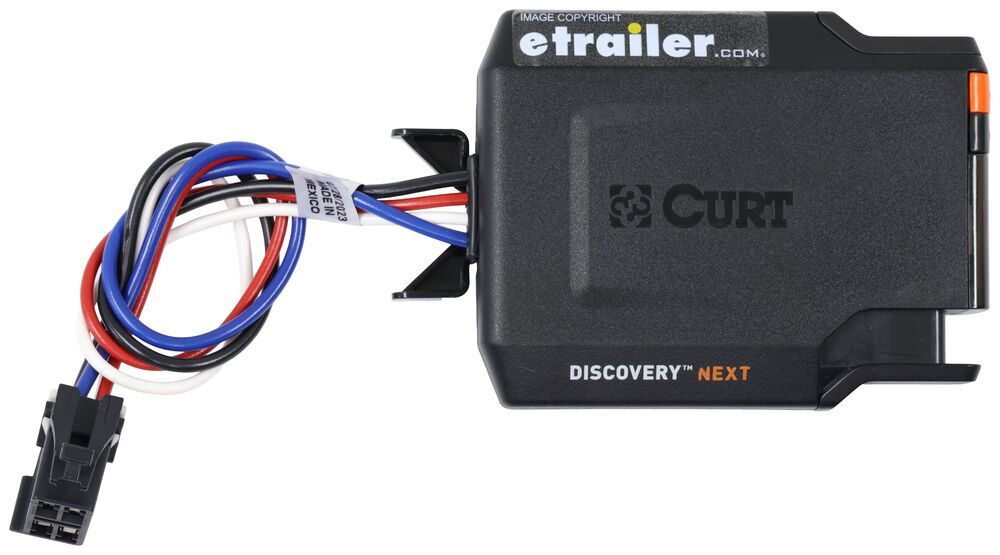
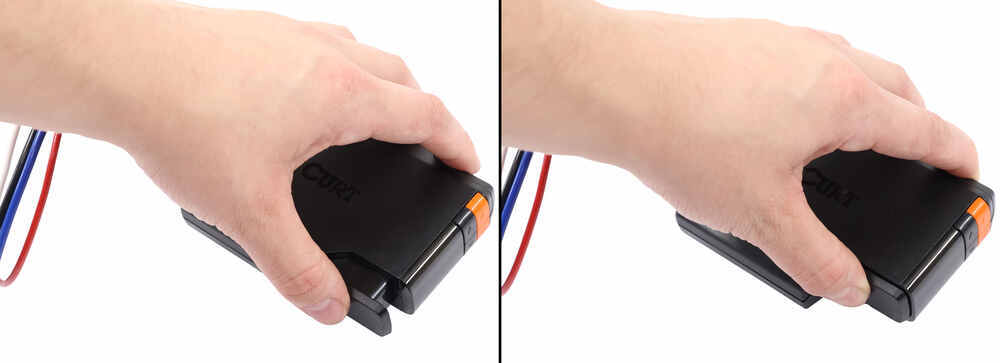
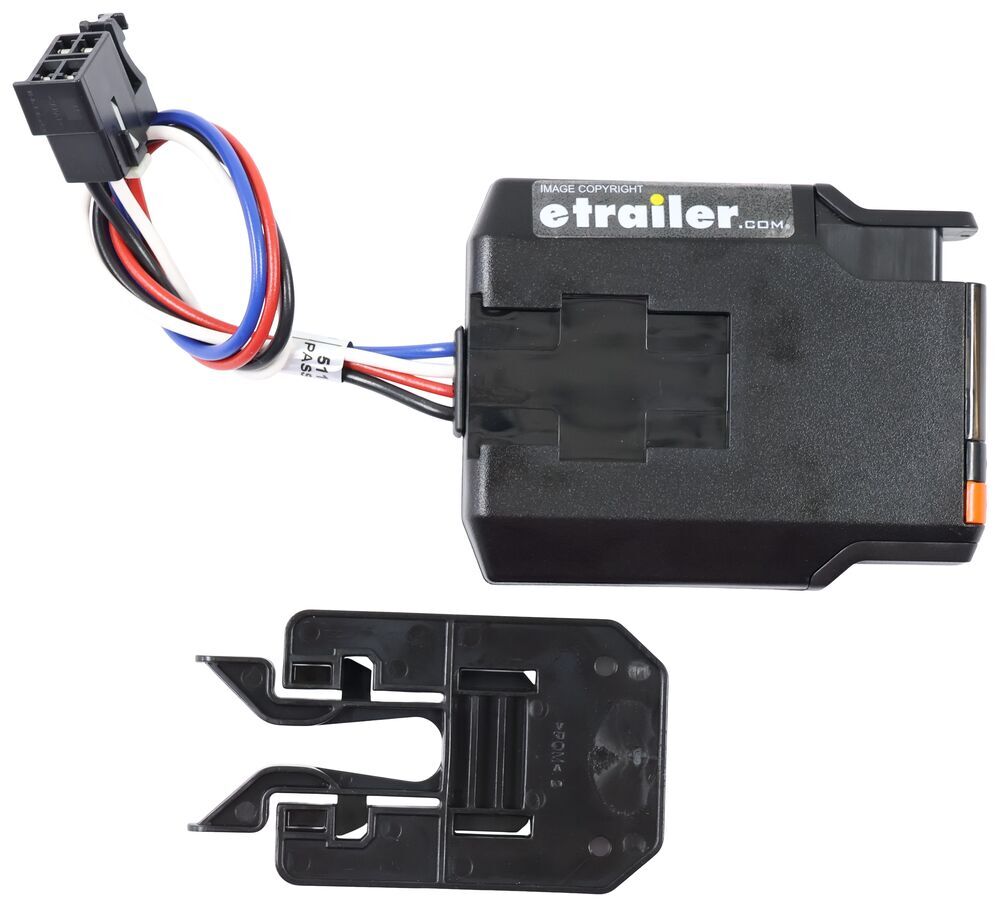
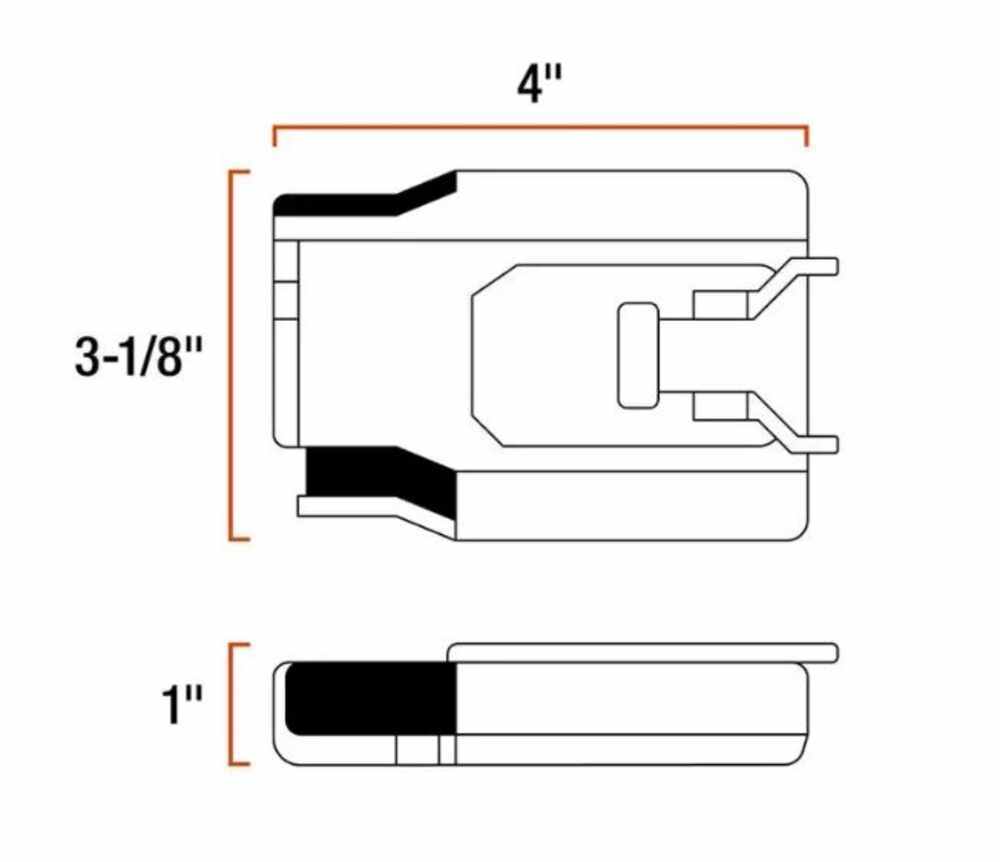

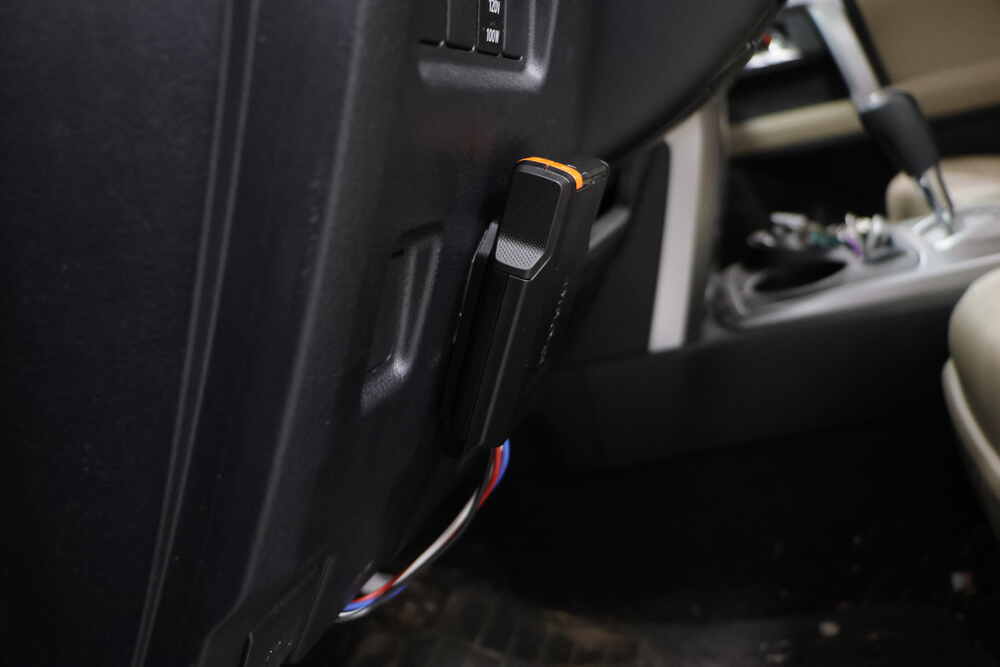
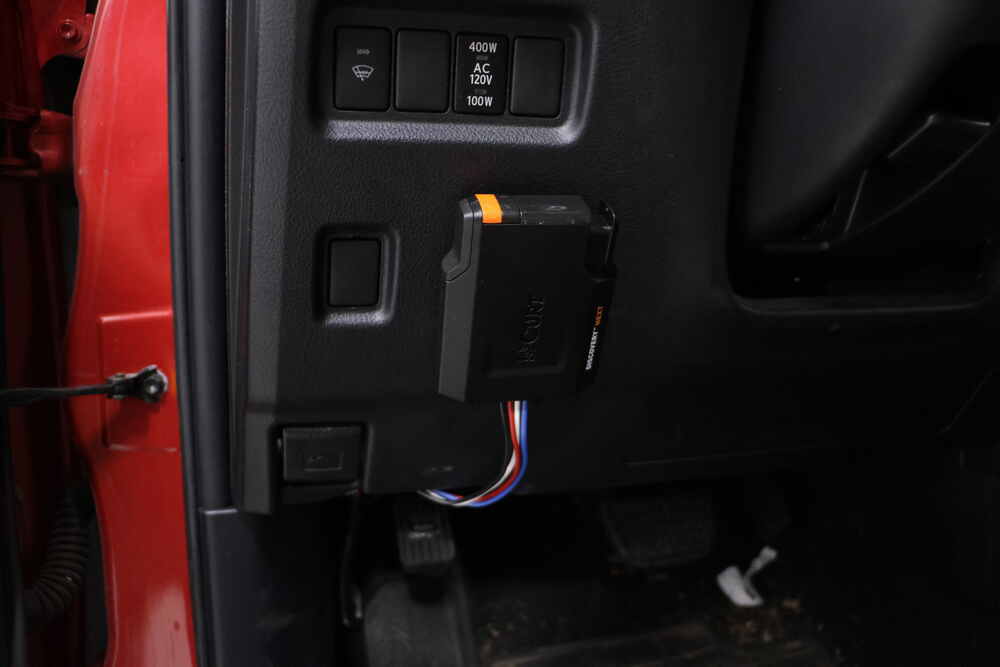
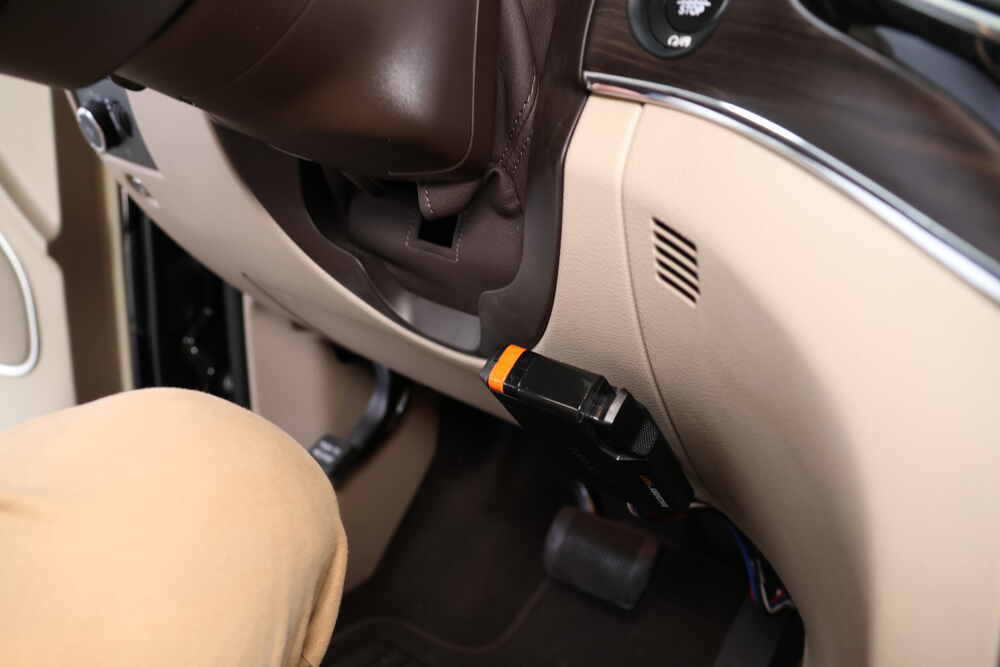

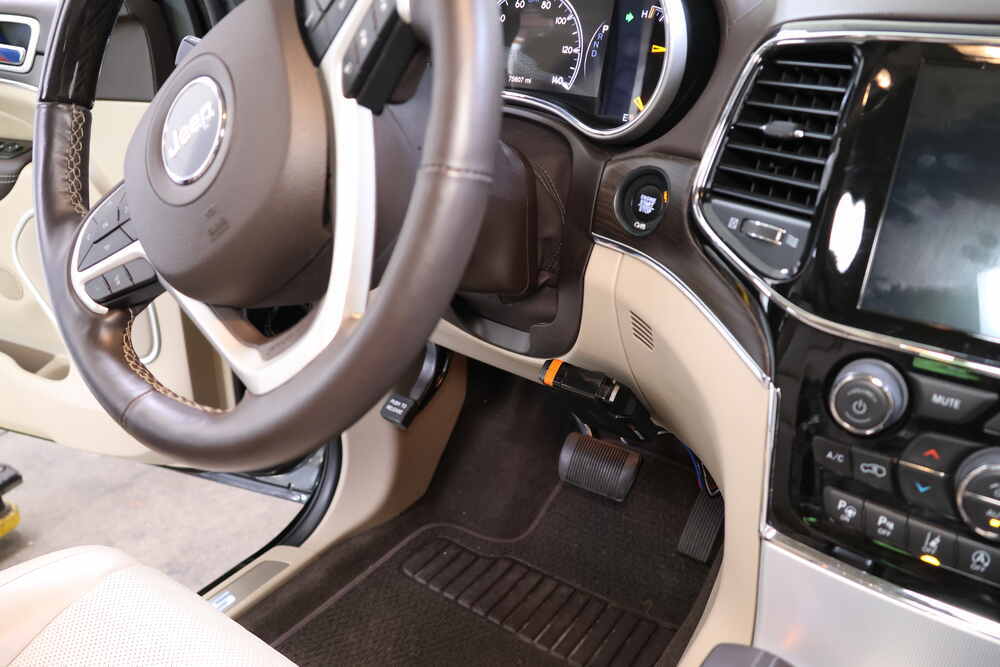
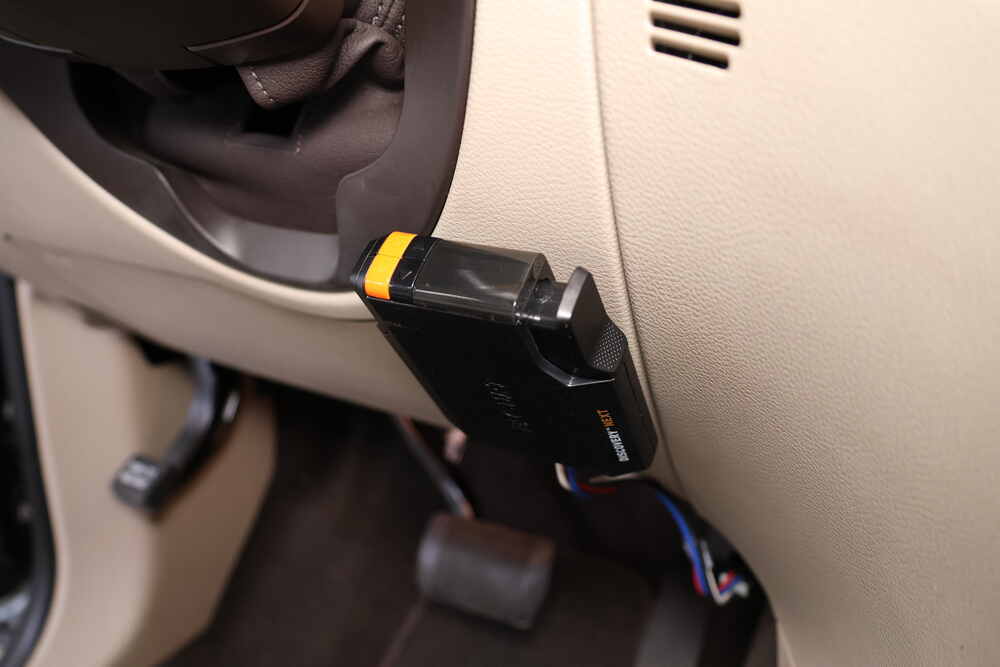
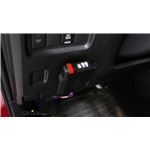
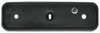
Most brake controllers stick out under the dash, but this one tucks neatly against it with a low-profile mount. At only 1" tall, it sits flush to your console using the included bracket and hardware. The time-delayed design has no angle restrictions, so you can mount it anywhere that’s convenient and still reach the manual override easily.
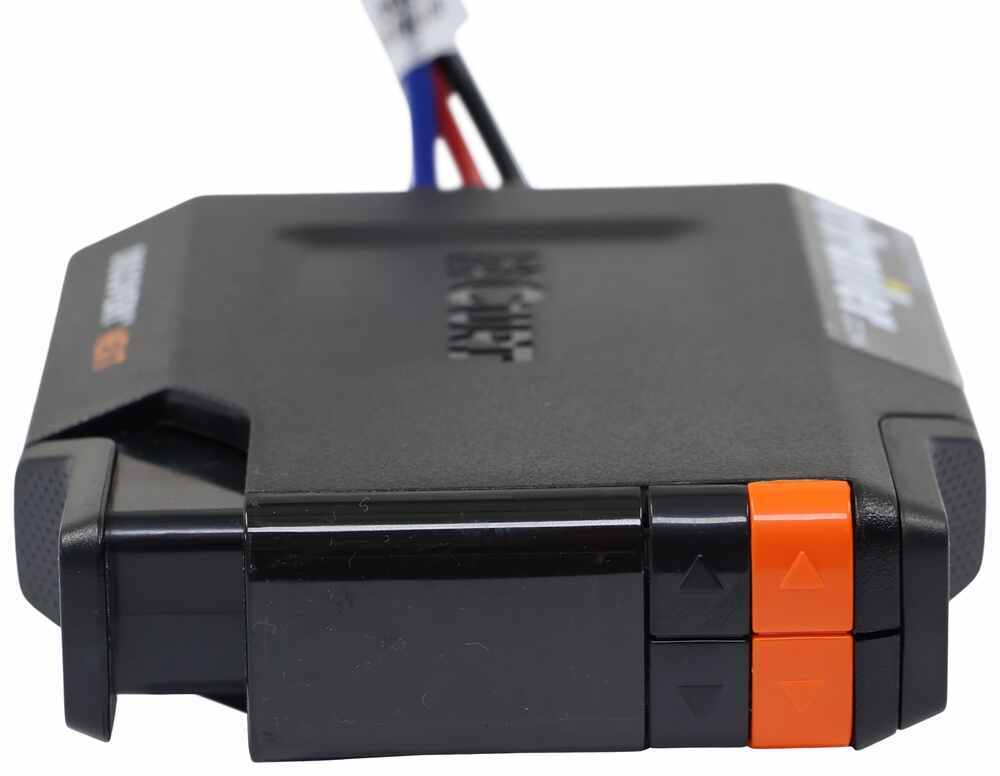
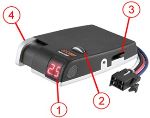
You can fine-tune how your trailer brakes respond to match your load. The orange rocker switch sets gain from 0.5 to 9.9, while the black rocker adjusts load from 1 to 9 to control how quickly the brakes reach full power. Once dialed in, the setup gives consistent, confident stops whether you’re lightly loaded or towing near capacity.

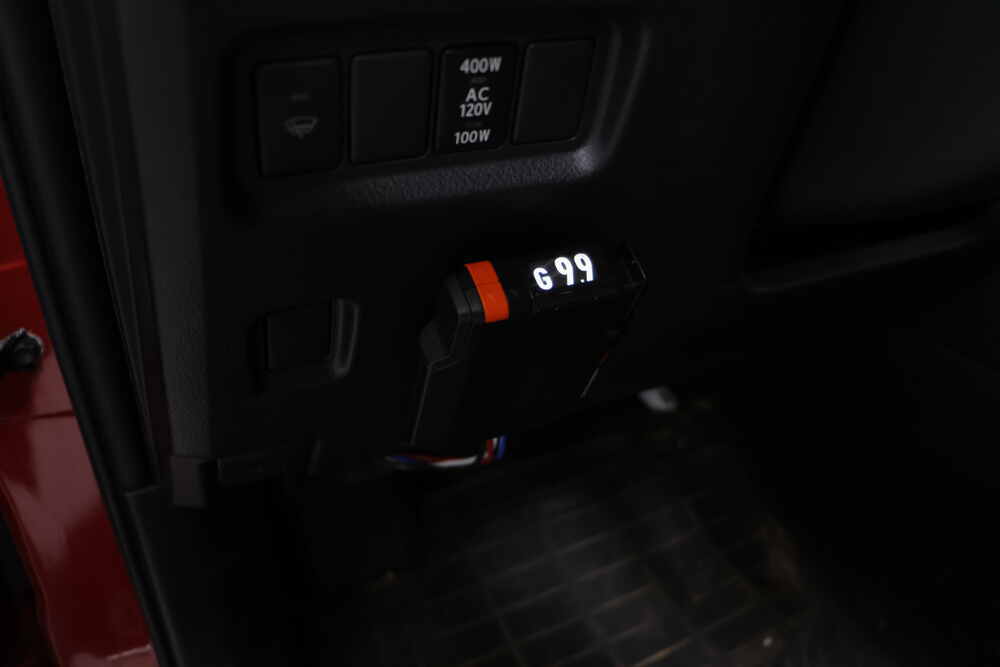
The LED display uses bright, clear characters so you can check settings without taking your eyes off the road. It shows numeric gain and load values, flashes error codes for quick troubleshooting, and lets you adjust brightness or night mode for comfort. Everything is right where you can see it without glare or distraction.
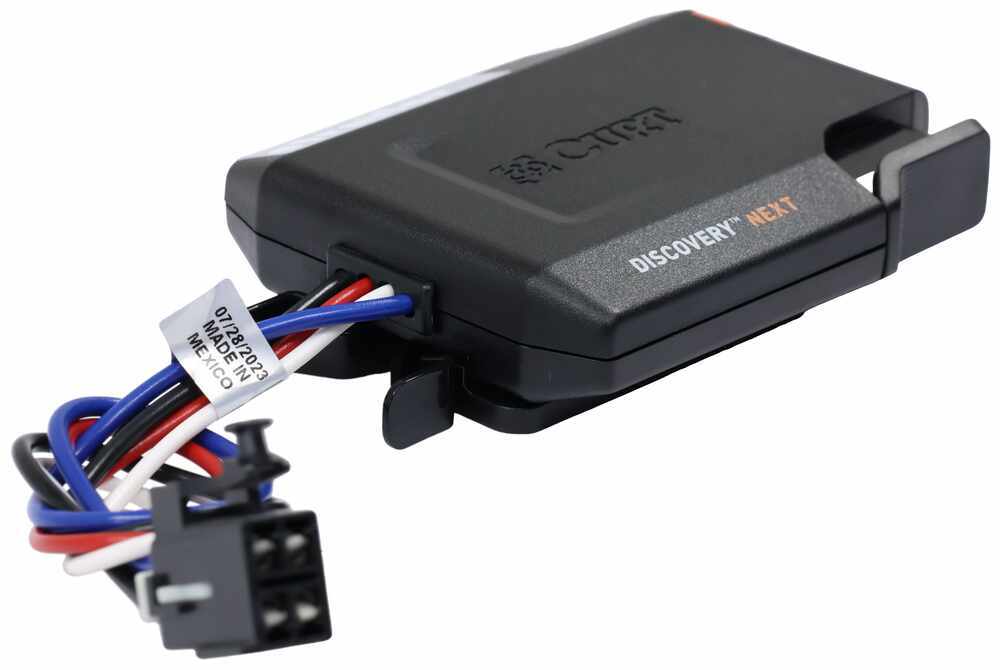
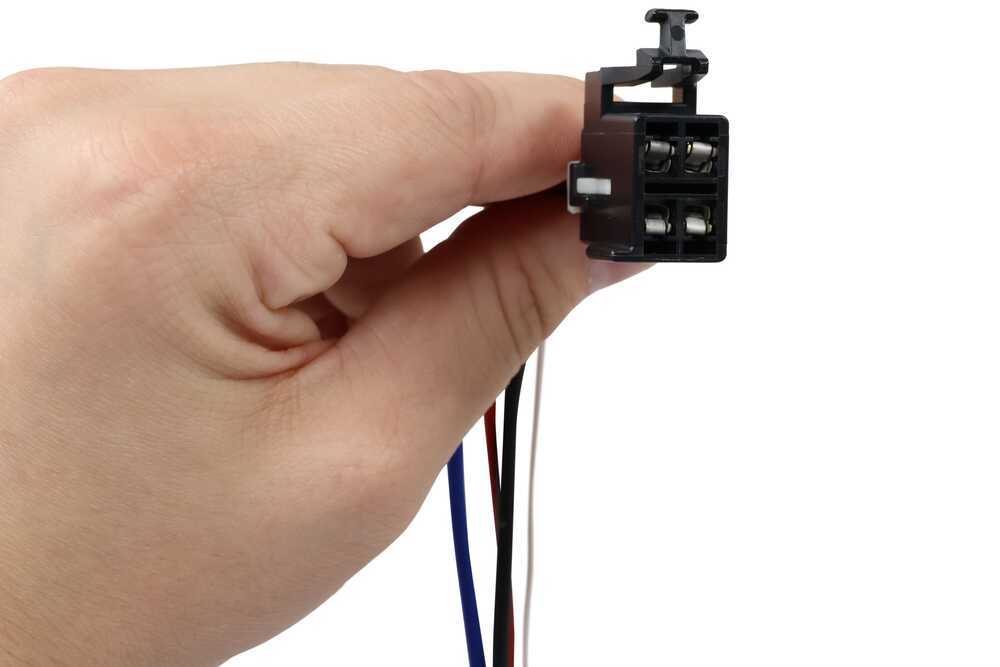
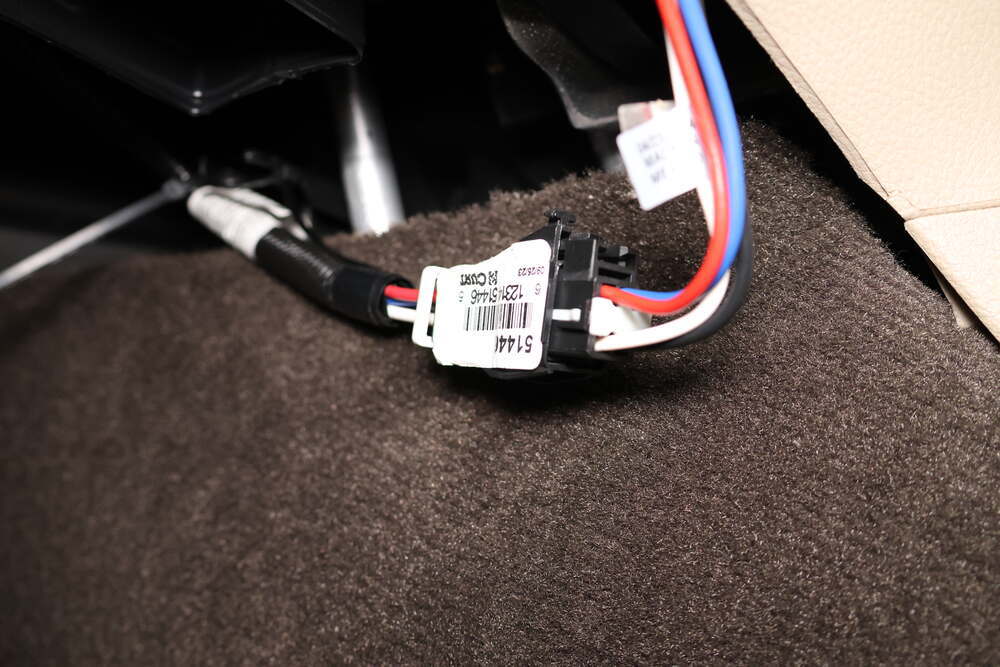
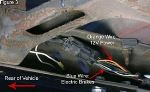
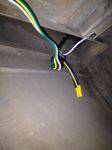
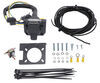
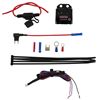
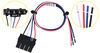
Instead of splicing wires, just plug the included harness into your vehicle’s factory tow-package port and then into the controller. The connection is solid but removable, so you can unplug the controller anytime to stow it or move it to another vehicle. The flush-mount bracket keeps things clean once installed.
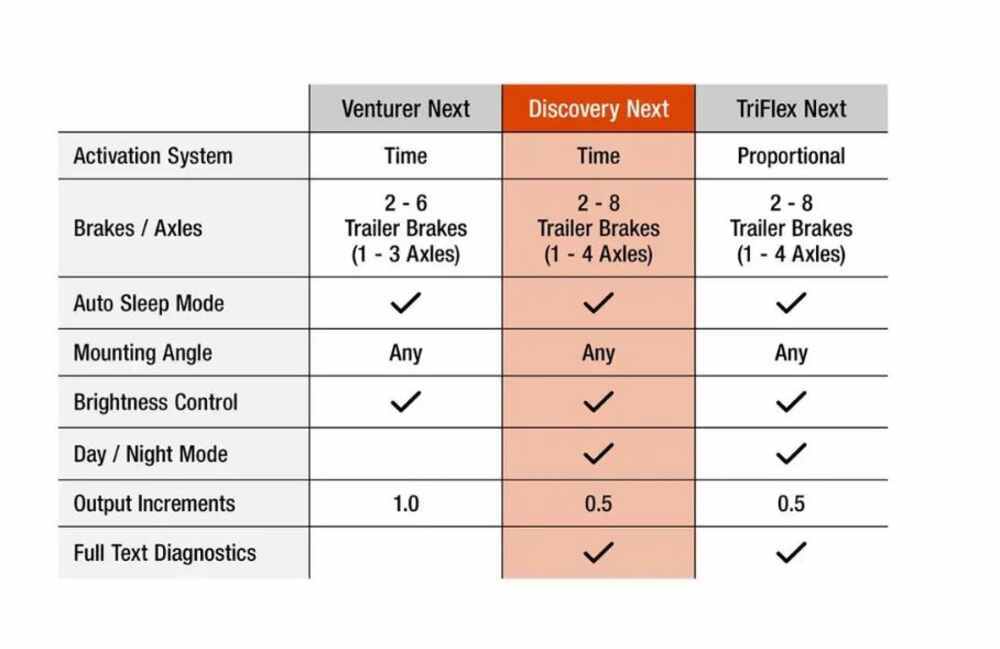
This unit handles trailers with up to 4 axles (8 brake assemblies) and works with electric or electric-over-hydraulic brake systems. It’s also compatible with low-volt, PWM, ABS, and cruise control setups, giving you reliable brake control across a wide range of towing conditions.

 Alternate Instructions
Videos are provided as a guide only. Refer to manufacturer installation instructions and specs for complete information.
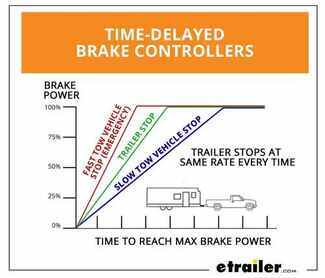
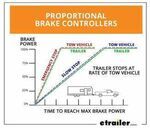
Hi, everyone, Aidan here with etrailer. Today, we're gonna be taking a look at the Curt Discovery NEXT Brake Controller. This is gonna be a time-delayed brake controller. Let's check it out. When it comes to brake controllers, there's gonna be two options you're probably looking at, time-delayed and proportional. Proportional is gonna be the nicer of the two where if you lightly press your brakes, the brakes in your trailer are also going to be lightly applied.
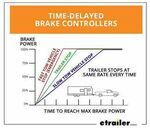
If you slam on the brakes, the brakes in your trailer are also going to match that proportionally. With a time-delayed brake controller, it's gonna be applied at the same rate every time, so you don't get that fine adjustment. You can still adjust the settings, but it's gonna be the same every time. So if we're rolling up to a stop sign, coming to a very slow and predictable stop, and our gain and sensitivity are set kinda high, it's gonna be applying the brakes pretty hard. Same for if we have those set kind of low and we slam on our brakes on the highway, because someone in front of us stopped, the brakes aren't gonna be applied in a similar fashion.
There is the manual override you can always pinch to apply, but that's just something to know with a time-delayed system like this. Let's talk about those controls. The manual override is a pinch style where I'm pressing the button with my thumb. It's pretty easy to reach from the driver's seat where I've got it all set up. So whenever I'm driving, I feel like if I needed to suddenly reach down and get it, I can find that pretty easily every time, and index my thumb well enough to get a good press.
So good to know for emergency situations where you might need that. Now, there's gonna be two sets of controls here for the gain and the load. The orange buttons are going to adjust our gain or our brake power. You can go anywhere from 0.5 up to 9.9, and this is going to signify the different power levels. So 0.5 is the weakest, and as I go up, it's going to get more and more powerful.
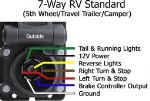
So if I have a heavier trailer that needs more stopping power, I'd set it higher. The next one is going to be our load. This is basically how quickly the brakes are applied, so that can go from 1 to 9. At 1, it's going to be the lowest, and at 9, it's going to be the fastest or the quickest application. So basically, ramping from zero to fully applied where we have that gain set. So for demonstration, I'm just going to put the gain all the way up to max, and I'm gonna hit the brakes. And you'll see, slowly, it'll climb up to where we set it. And if I turn that load down all the way to 1, it's going to climb much slower to that designated power level. So you can fine tune this to your own trailer application, and depending on how heavy of a trailer you have and how good the brakes are, that will determine what you want those set at. But generally, that gain is going to be for the weight of the the trailer, and you can kinda determine the load from there. Now, to give a visual indicator of that gain, we've got our vehicle hooked up to a trailer simulator box. I've got the gain set to the absolute lowest it goes, so that's gonna be the lowest brake power, and you can see where the voltage is reading right now. If I turn the gain up to 5, that's gonna be right in the middle, you'll see that voltage will climb up higher. And then if I turn it up to the max, 9.9, you'll see that climb up even higher. So this is just to give you some visual indication of that different power level of the braking. This is designed to work with trailers up to four axles and will work with PWM, ABS, cruise controller, and electric-over-hydraulic brakes. So keep that in mind as you're picking this out if it's gonna work with your trailer. Up to four axles, I'd say for the most part, you're gonna be totally fine. If you don't need one that can go up to four axles and you like this style, Curt does make a similar version that's up to three axles. So that's something to keep in mind too if you don't need this much. Now, the big advantage to something like this, and something you probably noticed if you're familiar with brake controllers already, is going to be the size. It's a lot smaller and a lot more shallow than the brake controller we pulled out of this 4Runner today. And that's great, because even though it's mounted externally, it's not going to be in the way of your knees as you're getting in and out of the vehicle. And as I'm in a normal driving position, I've got plenty of distance between it and my leg. I don't feel like I'm gonna be hitting it all the time, 'cause it doesn't stick out very far. That's thanks to the very low profile bracket. We've got it mounted up with the included double-sided adhesive, but you can also use the included self-tapping screws. Just know that they're pretty long, and you're gonna have to have clearance behind there. But this will just click into place over that bracket. (bracket clicking) You can hear that snap in, and that's what holds it in. One thing to note is that because it's not inertia based, you can mount this really wherever it fits best, so it doesn't necessarily need to be level or facing any certain direction. Now, the installation can vary depending on your vehicle. I'd say check for what your vehicle has in terms of pigtail adapters. That's what we we're able to do with this option from Curt. We offer this pigtail adapter on our site here at etrailer, and that allows us to just plug directly into the vehicle's prep package for this. So just check to see if your vehicle can do that, because that's definitely going to be the easiest option as far as installation goes, 'cause it just plugs right in and all you have to worry about is mounting up that bracket, and then tucking up that wire loom from the adapter. Something else to note is that that LED readout does have a number of different functions. You can adjust the brightness, there's a day and night mode, but it's also gonna give us readouts for different errors. So if something's maybe not fully connected or something, it will tell us here. Your instructions give you a full list of all the different errors that can occur and short descriptions of what they are. But because its screen gives full text readouts, it's pretty easy to tell what's going on based on what it's showing. Like for example, when we first hooked this up to our simulator box, we didn't have the 7-way plugged in all the way, and it told us it wasn't connected. So we went back there, pushed the plug in the rest of the way, and then it worked properly. So that's going to help with just troubleshooting anything that may be occurring in your setup. For me, I think this is a nice middle ground between having the controls, easy to access, and having that LED readout, so you can see those errors and the power, and just have a little bit more control over it while still staying out of the way and being flushed to the dash. But that was just our look at the Curt Discovery NEXT Brake Controller. Thanks for watching.
Customer Satisfaction Score:
77% were satisfied with this product
23% of customers were not satisfied
Do you have a question about this Trailer Brake Controller?
Info for this part was:
At etrailer we provide the best information available about the products we sell. We take the quality of our information seriously so that you can get the right part the first time. Let us know if anything is missing or if you have any questions.


















Thank you! Your comment has been submitted successfully. You should be able to view your question/comment here within a few days.
Error submitting comment. Please try again momentarily.