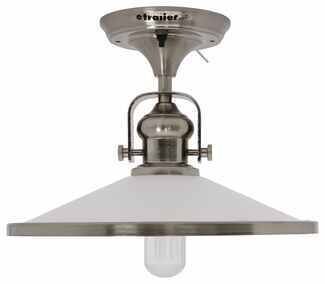
Swap tired fixtures without cutting into the ceiling. Command Electronics surface mount RV interior lights attach directly to your wall or ceiling, making replacements straightforward and clean. A smart choice when you want an OEM-style match and an easy upgrade in tight spots inside your rig.
Yes, you can add an inline on/off switch to control power. On touch-switch models, the added switch will turn power off, but you'll need to touch the light itself to turn it back on. Plan wire routing; these typically hide wiring in the wall, or use a surface channel if needed.
No, the LED strip is not replaceable on these fixtures. To swap the unit, pull the lens up and away to access the bolt holes beneath it, then remove and replace the light. If you're fixing a flicker, replacing the whole fixture is the solution.
Installation is straightforward for most RV setups. Expect standard white and black wires for RV connection and simple surface mounting. Check your existing hole size; if a large cutout exists, use a plate to cover the gap so the fixture doesn't collapse into it. Confirm your power is off before wiring.
Measure the light's diameter and note the switch style to get a true replacement. Check whether you need a rubber push button or a hard button, as they feel and function differently. Confirm the mounting pattern, such as a 4-hole mount, so it lines up with your existing holes.
Warm white at 3,500 kelvin is available on certain puck lights. Verify the listed kelvin rating to match the ambiance you want. If you prefer a different tone, compare warm versus bright white options in the specs before ordering.


 Courtesy Light
 Dome Light
 Puck Light
 Reading Light
 Utility Light
 Wall Light
 RV Interior Lights Parts or Accessories
 Filters