
Thule SquareBar Evo Roof Rack for Naked Roofs - Steel - Black - Qty 2


To see if this custom-fit item will work for you please tell us what vehicle you'll use it with.


Thank you! Your comment has been submitted successfully. You should be able to view your question/comment here within a few days.
Error submitting comment. Please try again momentarily.


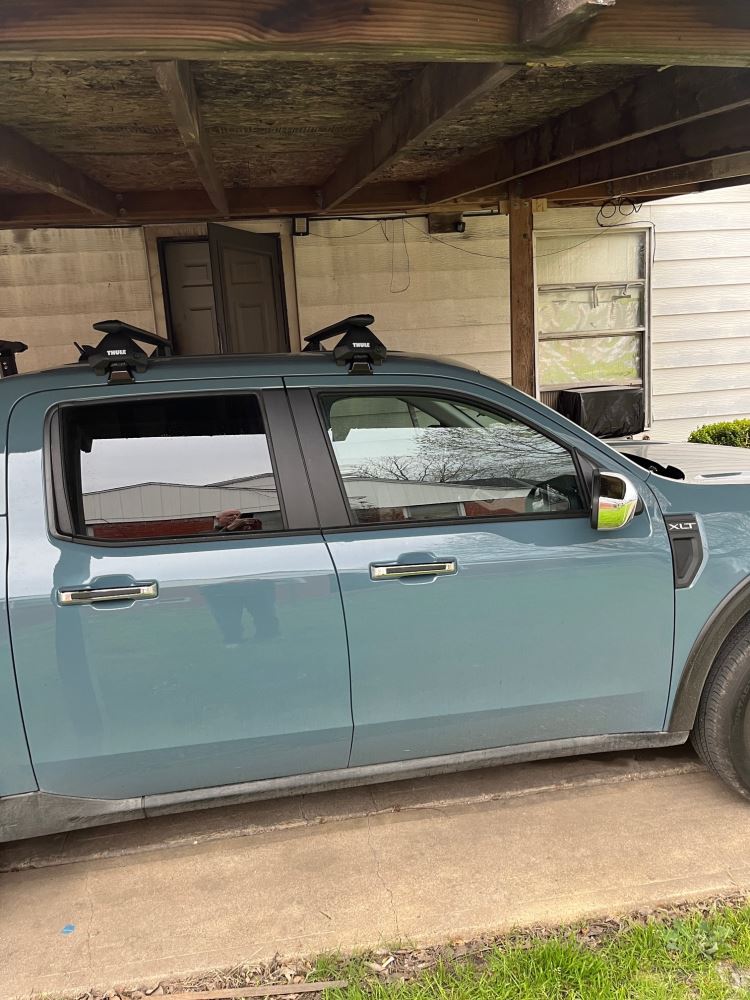
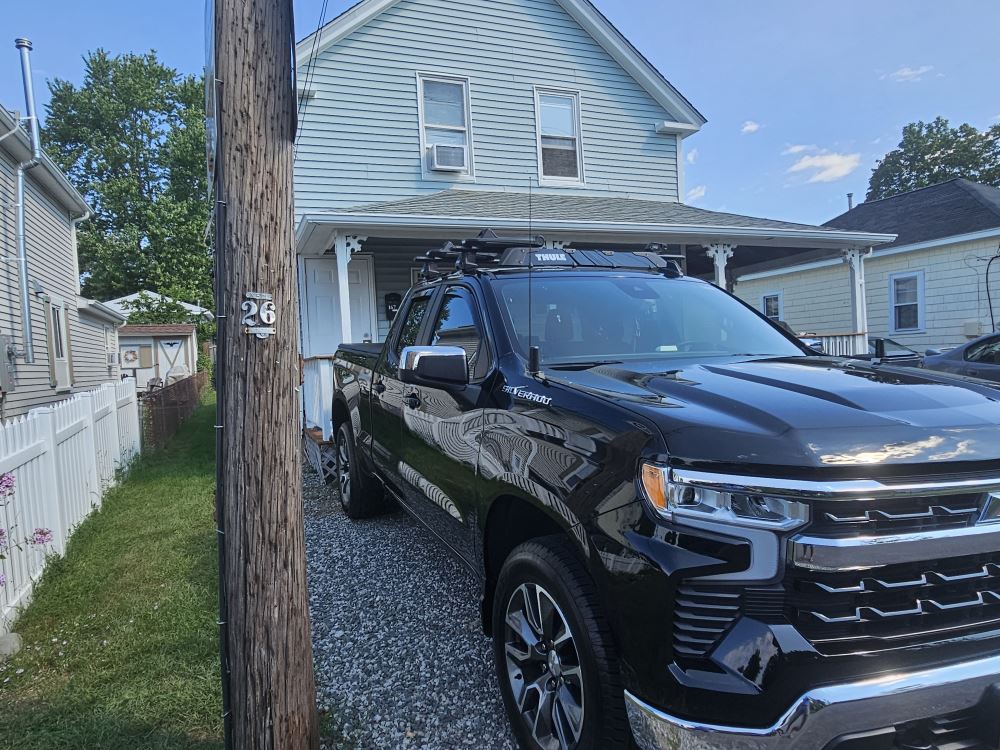
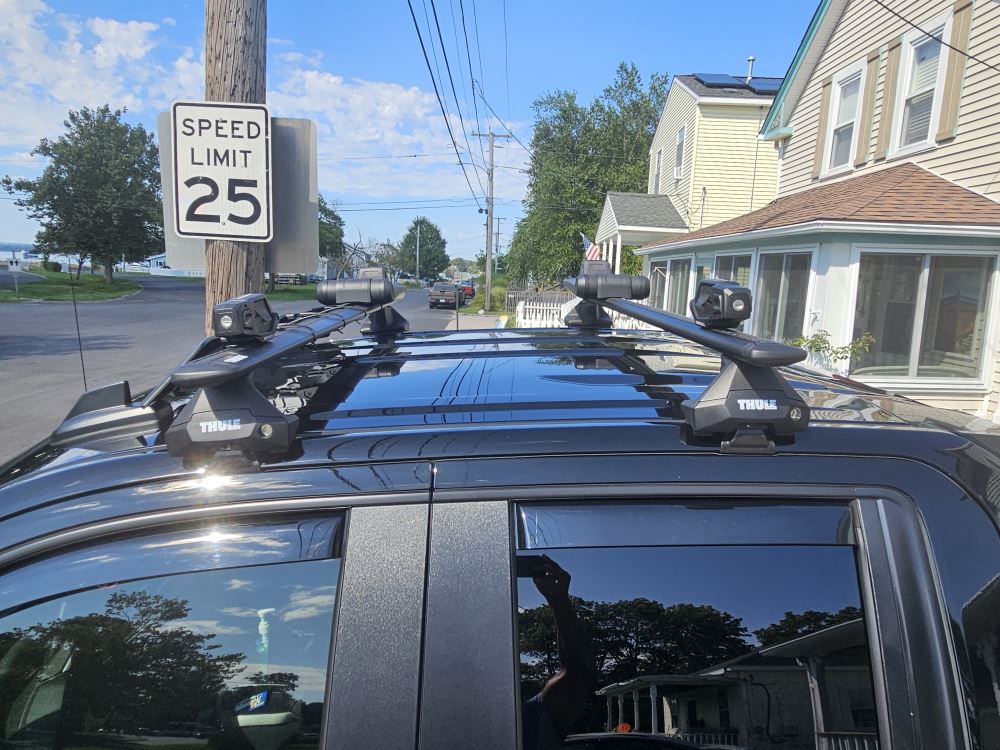
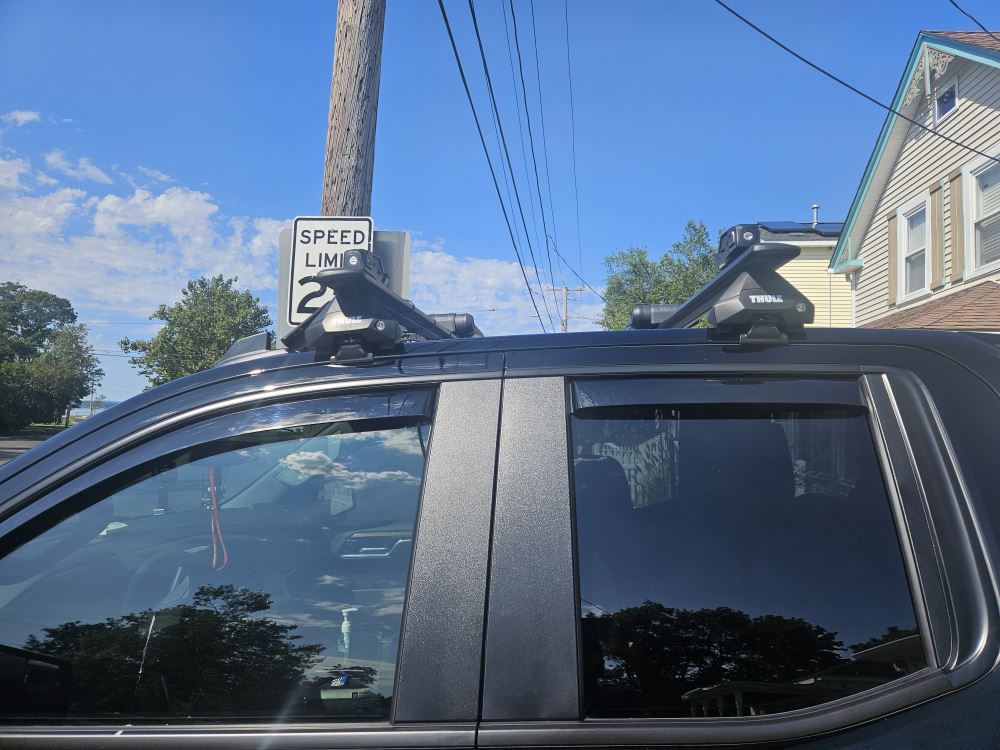
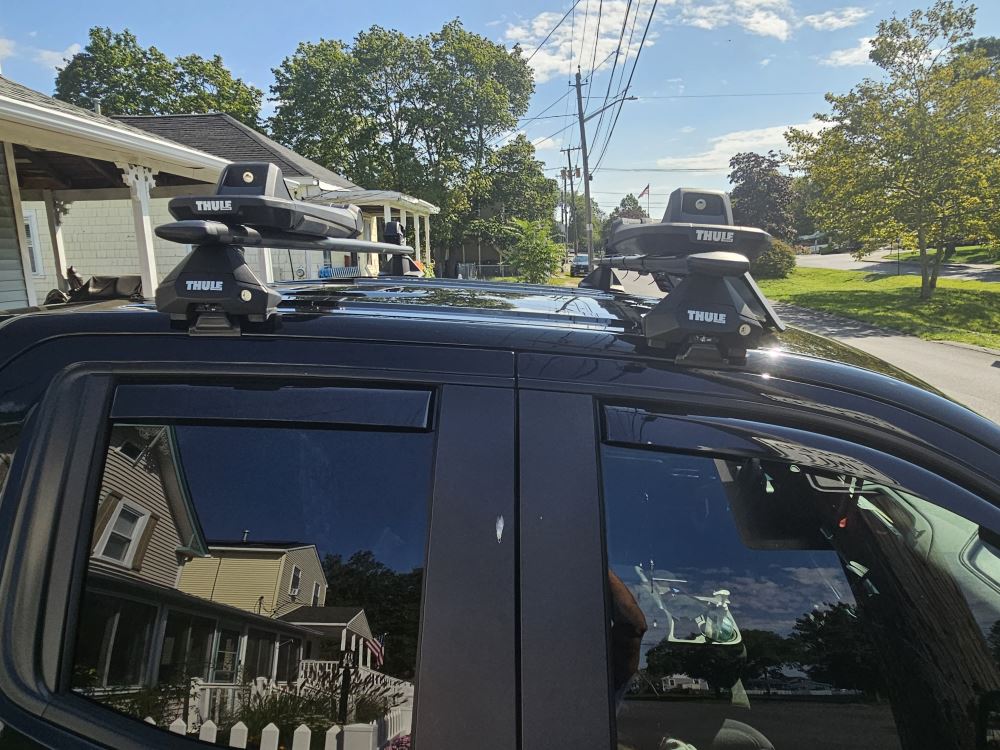
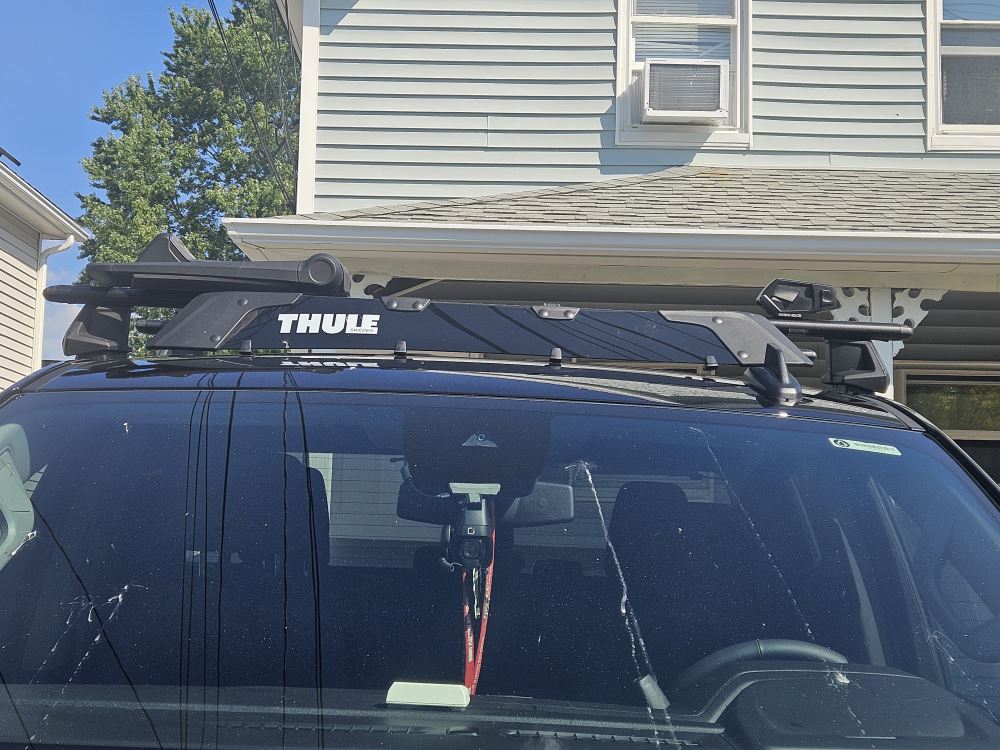

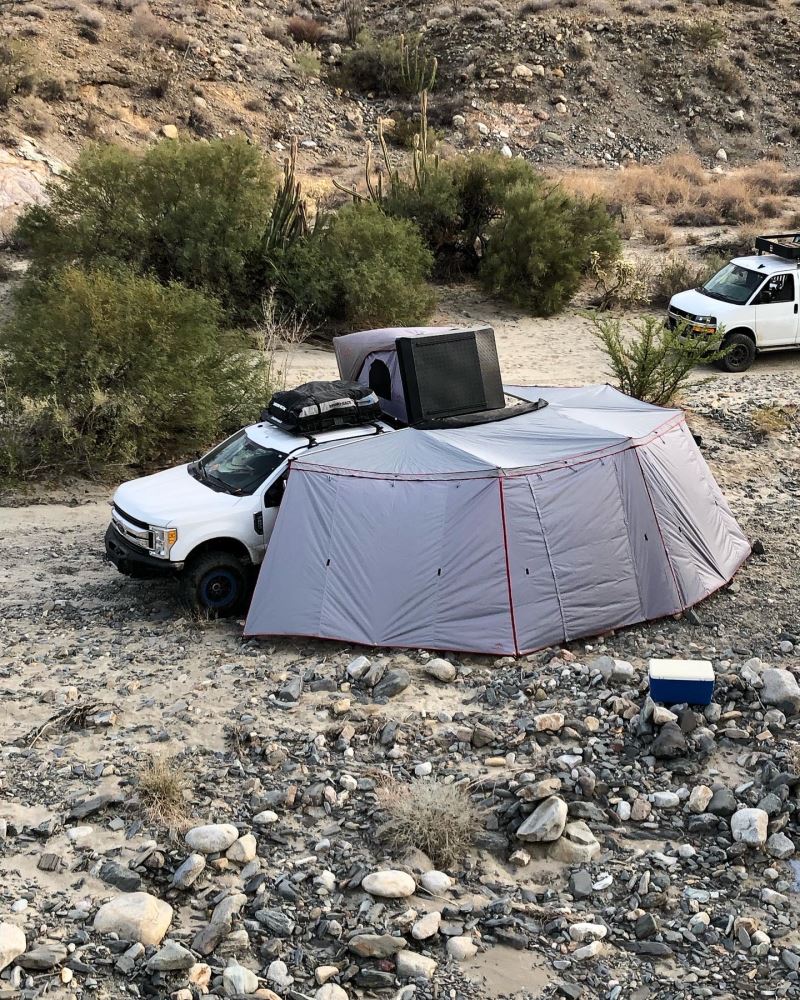
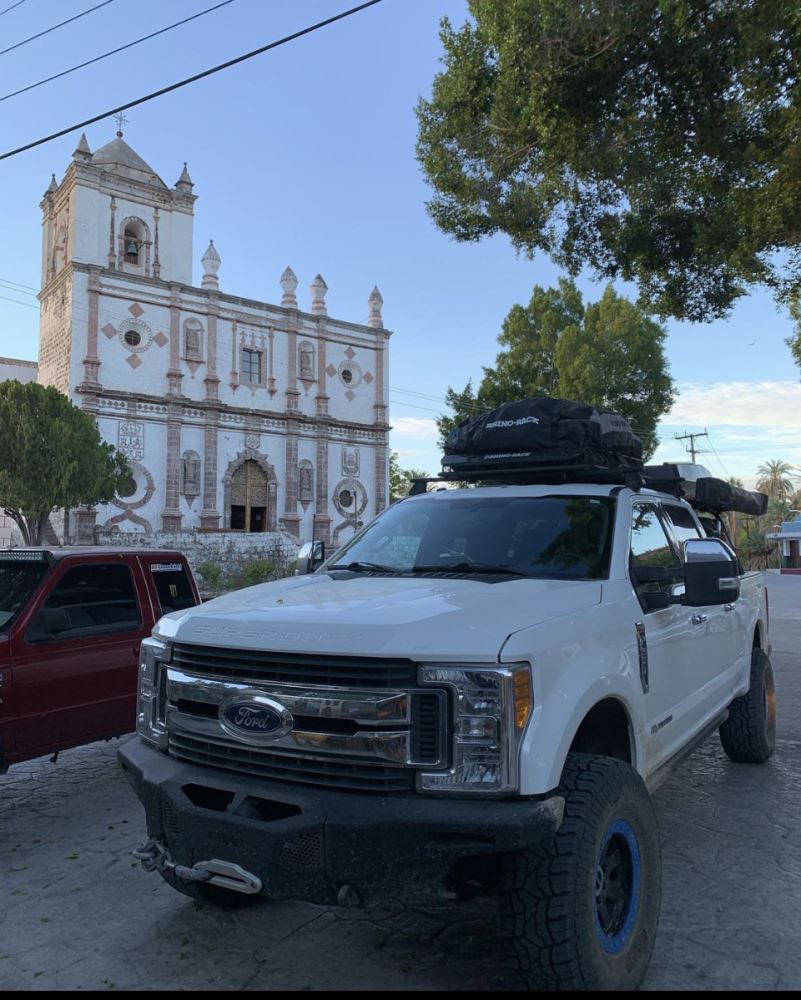
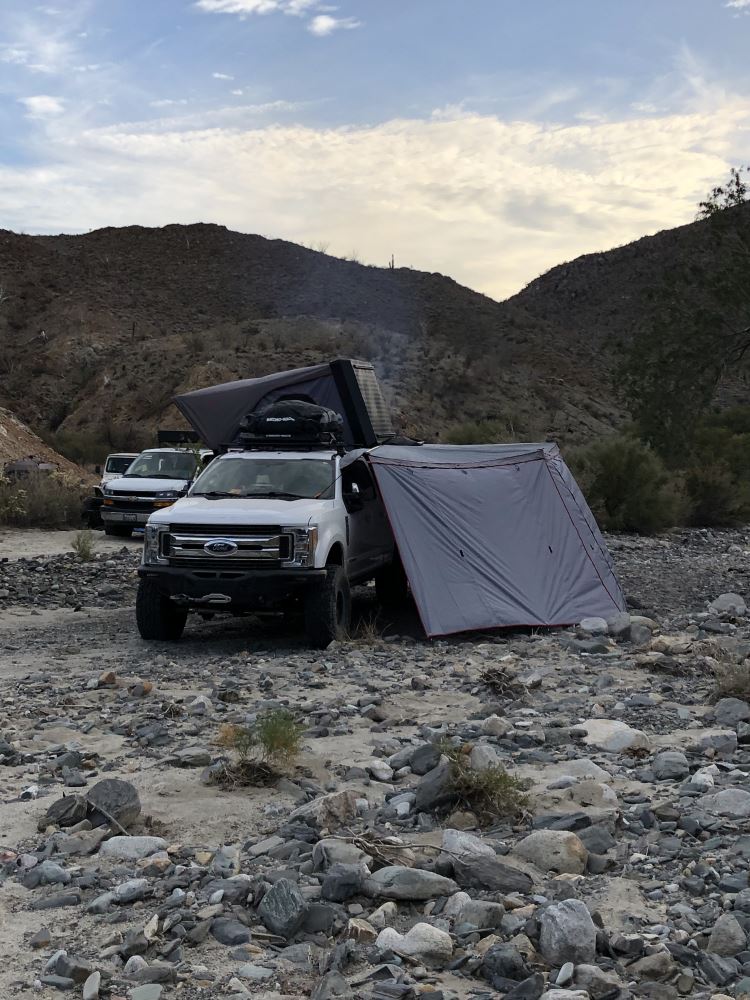
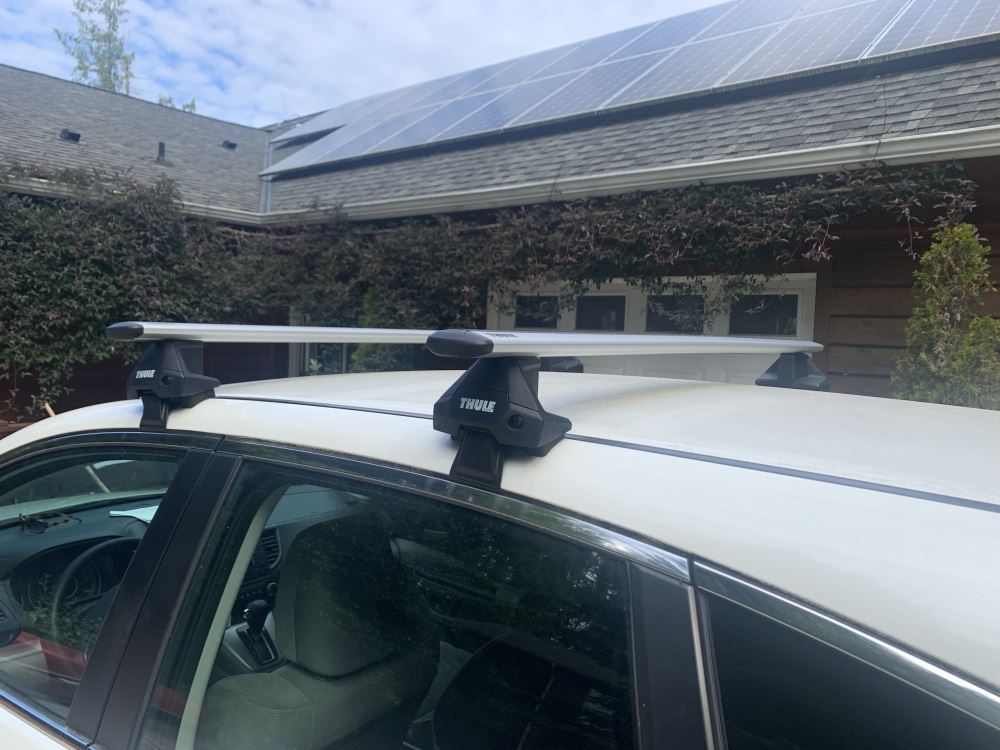
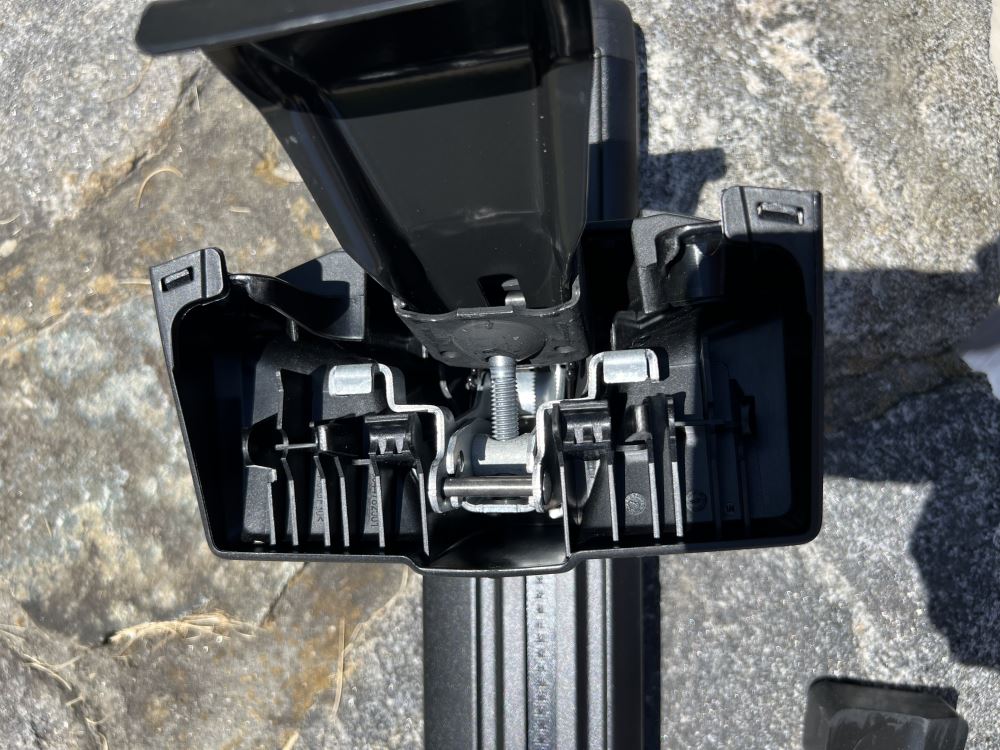
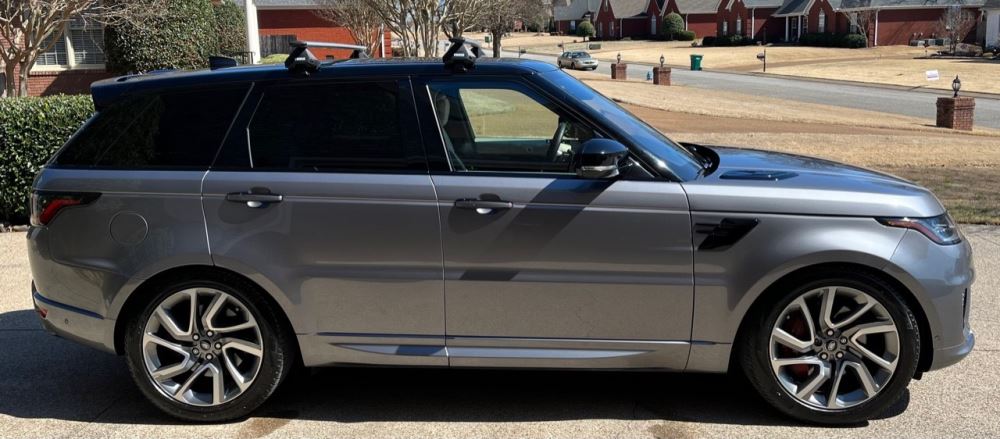
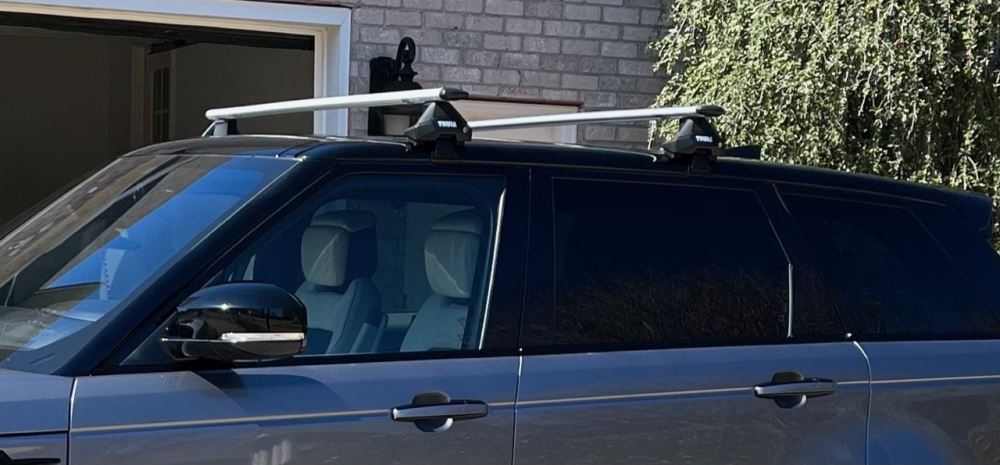
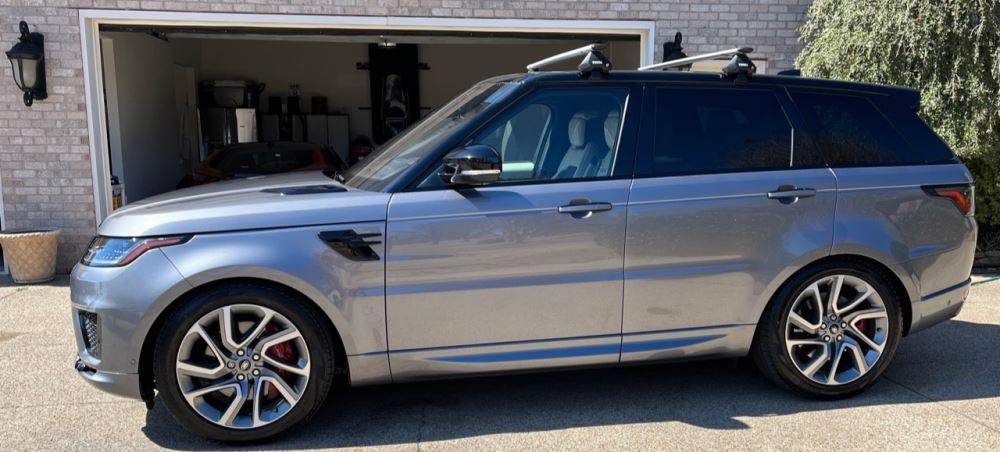
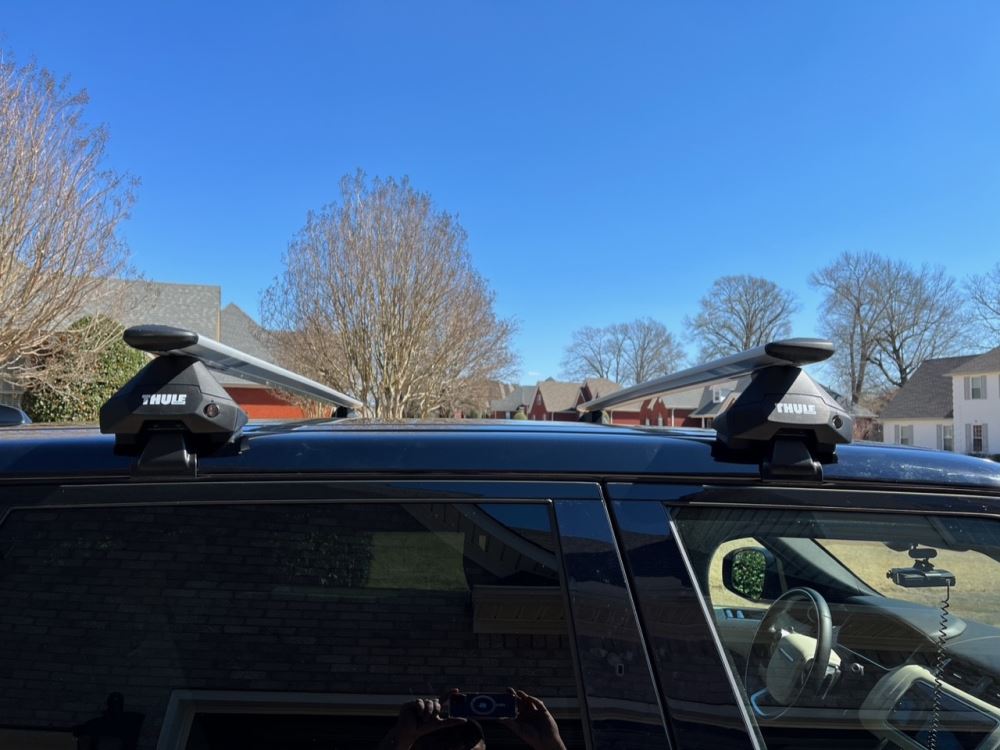
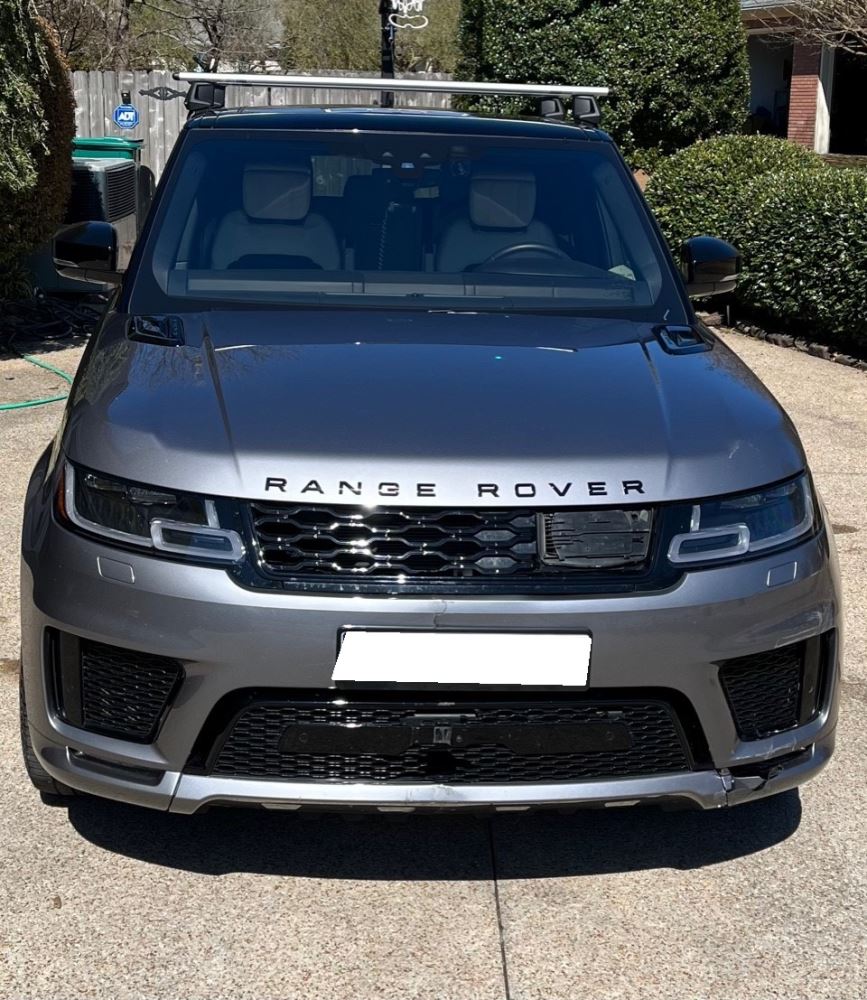
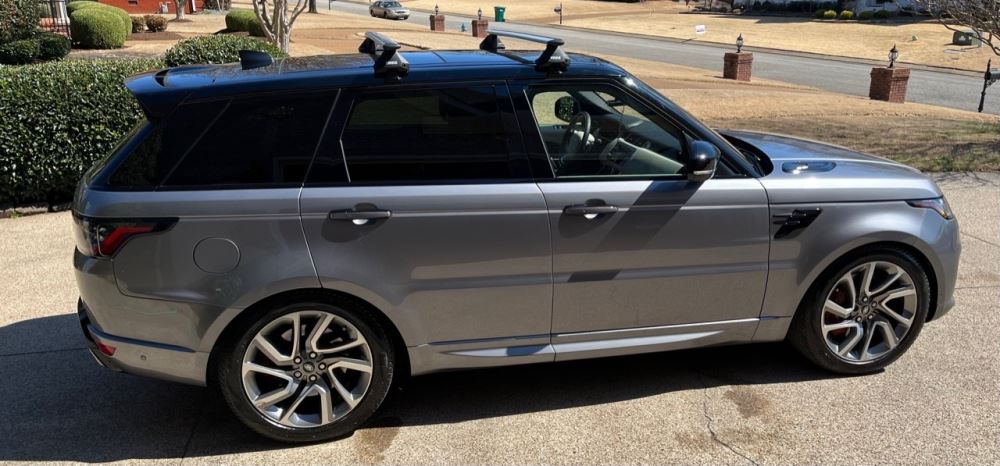
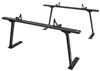
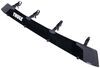
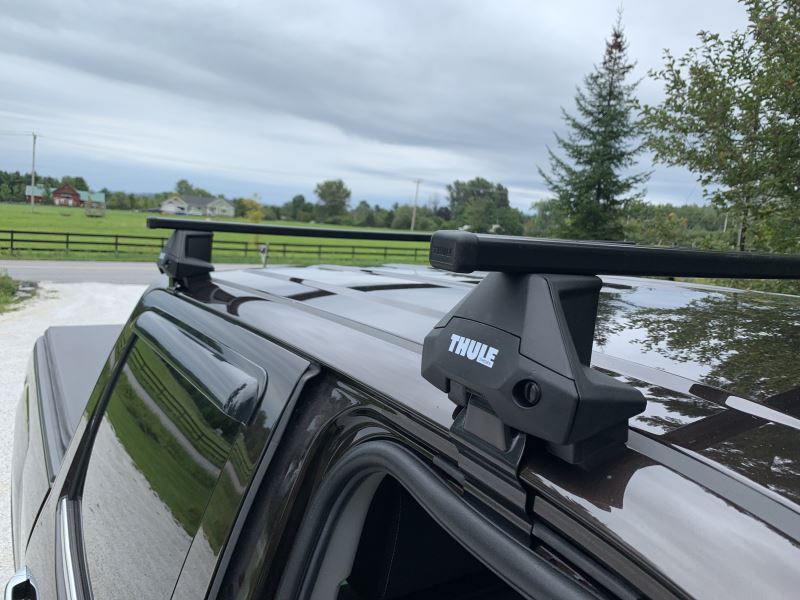
These 60" Thule SquareBar Evo crossbars are built from galvanized steel for solid strength and stability. Whether you’re carrying kayaks, canoes, or camping gear, the steel construction gives you a dependable 220-lb weight capacity. The polymer coating adds grip so your cargo stays secure and helps prevent corrosion, even after years of outdoor use.
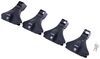
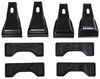
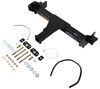
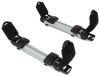
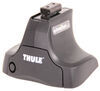
Everything you need comes in one package—two SquareBars, four Evo Clamp feet, and a custom fit kit—so you can install on a naked roof without hunting down extra parts. Once the system is on, it locks in place firmly for a stable haul every time. Add Thule One-Key System locks (sold separately) if you want to keep the entire setup secure when parked.
The square crossbar shape makes these bars compatible with a wide range of clamp-on carriers and mounts. That means your existing kayak cradles, cargo boxes, or bike racks that wrap around the bar can stay in rotation. It’s a straightforward setup that lets you use the gear you already trust.
The black polymer coating protects against wear from weather and road grime while giving the rack a clean, classic look. With steel construction and a limited lifetime warranty, these bars are made to handle season after season of trips without letting you down.
 Alternate Instructions
Videos are provided as a guide only. Refer to manufacturer installation instructions and specs for complete information.
This is Curt with etrailer, and today we're gonna be taking a look at the Thule Square Bar Evo Roof Rack. We're gonna see how it fits and how it installs on our 2023 GMC Sierra 2500. With all the cargo space you get in a truck, you might be wondering why a roof rack on a pickup truck like this Well, there's a few reasons that people do it, and it's actually a really popular thing to do. One of the reasons would be if you have a ladder rack, or in our case today, a camper shell that has a roof rack on it, you may want that extra load support going over your cabs for some of those longer items that you might be carrying. With the absence of that, however, another reason why a lot of people get roof racks on their pickup trucks is because there are items that they just don't want getting mixed up with whatever they have back here. If you've got a lot of lumber, tools, things like that, things that could get a bit messy, you might have some bigger items that you just don't want to throw back there.
Or there are items that are longer than the truck bed, like say for instance, kayaks or canoe or something like that, and having the extra space for the length up on the roof is just a better option. So the Evo Square Bar is obviously a square-shaped bar. Now more popular than that has been the aero-style bars like we have on the camper shell. They've got a little bit more of an aerodynamic shape. They tend to be less noisy.
But the thing about a square bar like this is that they do tend to have a higher weight capacity. So these have a weight capacity of 220 pounds. Now that's the capacity of the bar and the towers. You do always wanna double check your vehicle manual just to make sure of what your rooftop capacity is. Whatever number is lower, that's the weight that you're gonna have to stick to.
You've got a little bit of overhang over here so that you could mount those clamp-mounted accessories a little more to the side in case you've got two items up here that you want to carry side by side. It won't work with T slot accessories. There is no T slot at the top to attach those. So we're really just gonna be looking at clamp-mounted accessories. Now one of the things that you always wanna double check for as far as, you know, your crossbar setup is, what is your spread Just about every rooftop accessories has a minimum and a maximum spread.
And in our case today, we've got a crossbar spread of 27 and a half inches. And that, for me, is actually a really good place to be. Pretty much everything falls in that 25 to 35 inch category. So a 29 and a half inch spread is gonna be able to carry a lot of different rooftop items. The other thing that I always like to take a look at is just how high above the roof this is coming. And the top of our bars are gonna be three and three quarter inches. So if you're concerned with your vehicle height, like getting underneath something like a low clearance garage or something like that, just make sure you add that to the vehicle height. Make sure you can get under there safely without damaging your bars. We're also gonna take a look at how much space we have underneath. And with two and three quarters inch clearance, that's more than enough clearance, in my mind, to be able to get any of those clamp-mounted accessories underneath here. Now installation of these, because there's no set roof rack up here, Thule is pretty specific about where the bars get placed. You won't really be able to change that crossbar spread at all. But stick around and we're gonna show you exactly how we got these on the roof of our Sierra today. To start our installation, we are gonna be working with our rear bar, our second bar. We already have our front bar installed. And the reason we installed that already is because placement of the second bar is based on placement of the first bar. Now as far as the towers going onto the bar and our clamps going onto the towers, the is all the same on both bars. The big difference though is that there is a number stamped on the inside of your clamp. So just pay very close attention to your instructions. It will tell you which clamp goes on the front and which clamp goes on the back. The rubber pads at the bottom are the same for both passenger and driver's side and for front and back bar. Now on the other side of your bar, you're going to find a slot and you're gonna find a numbered scale by the slot. Now what you're gonna end up doing is looking at your instructions and finding the measurement that you need to place your tower at. Now, before we place our tower onto the bar, we're gonna go ahead and assemble it with our clamp and footpad. And the first thing we'll need to do is remove our cover. (tower cover pops) That'll pop off just like that. We'll set that aside. And underneath here we're gonna find this empty spot. And that is where we're going to place our pad. Now this will go right around, and you do just want to make absolutely sure that it gets seated completely. Just go all the way around the edges and make sure it's on there completely tight. And once that's completely seated, we're gonna go ahead and grab our clamp. This one is stamped with the 454, which are the clamps that we need for our rear bar. And we'll see these two little hooks right here. With this hole toward the outside, we wanna make sure that our clamp is going on like this, with those hooks facing inward. So we're gonna just pop those into the slot and it'll click into place just like that. So at this point we'll take our tower, and if we depress down on it like this, it's going to loosen up this clamp on the top. That's what we're gonna be putting into this slot right here. So I'll loosen it up, and we'll slide it over into place. And what we're gonna line it up to is the 59.5 mark, which is right here. We want the inside of our tower to line up with that. That is our Y measurement, which in the instructions, it tells us how far apart our towers need to be on that second bar. In your instructions for the front bar, it's gonna be an X measurement. Now, before we get this up on our roof, it's a good idea to loosen these clamps up and give us some slack so we can make sure that we get them seated properly. Go ahead and grab the tool that's included in your kit from Thule. And right through here we're gonna find a bolt head. We're just gonna loosen that up all the way. I just wanna give us as much slack as possible just to make sure that we get this around the lip of our roof so we can anchor it properly. Next, just go ahead and open the driver and the passenger side of your second row. And if you got a friend to help guide it across, that's fine. If not, just reach around the other side over the top, get that clamp over there. We're gonna do the same right here on this side. Now those feet, those rubber pads, are gonna slip right into this groove, and you'll notice that it's contoured really kind of perfectly to the shape of the roof. But we're not really supposed to place this just anywhere. Our placement of this bar is based on our placement of our front bar. Front bar placement is 13 and a quarter inches according to the instructions. And that's from the edge of our roof right here. So from here to here, we got 13 and a quarter inches. Our bar placement on the second bar is gonna be based on the front of our front bar to the front of our rear bar. Whenever you're taking those measurements, you wanna make sure that they're equal. You double check 'em both on the driver and the passenger side, because we wanna make sure that our bar is going perpendicular across the vehicle, that it's not twisted sideways or anything like that. So we got the 13 and a quarter up here on the front. From the front of our first bar to the front of our second bar, the measurement is 27 and a half inches. So once you get that lined up, again, on both the driver and the passenger side, you'll get your bar into the right place. Now the clamp has a little bit of a hook end at the bottom to it. We wanna make sure that that's going around the bottom of the frame. And the other thing to take note of is that Thule provides us with these kind of rubber bulb seals. The place that we want to put those is right here, right above where the seal is, and that's just gonna give some extra cushion underneath there. They do have an adhesive backing, but because we're not doing a permanent install today, we're not gonna be these, but that is where it would go, underneath your clamp right there. And once it's seated underneath there, go ahead and take the tool that Thule provided and that same bolt that we used to loosen up before. We're gonna go ahead and we're gonna tighten that down a little bit. Now I don't want to completely tighten this down yet. I just want to take all of the slack out of it so that it's seated nicely. So once you start feeling it get a little snug, go ahead and stop, because again, we just want that little J hook underneath here to make sure it's up and seated up under the frame. And then you can go ahead and put your door seal back up into place. Someone's both the passenger and the driver's side are snug, now we can start tightening it down for real. However, we don't want to tighten it down completely on one side. We're gonna kind of have a balance to this. We're gonna do maybe three or four turns over here. And then do the same on the passenger side and go back and forth until we're completely tightened down. And the way that we know we'll be completely tightened down is this is a torquing tool. So we're gonna get a loud, audible pop when we've got it completely tight. (tower pops) And there's that pop I was talking about. That means it's tightened down completely. Once you hear that sound on the driver's side tower and the passenger side tower, our bar is in place. And our last step in the installation is gonna be to put our tower covers back on. And these go on really easily. There's these two tabs in here. We'll take that and we'll pop it right in, just like that. Now we have this empty cavity here. With our tower kit, we do get four plastic lock cores. Now those are just slotted. They're not keyed or anything. You can use those to lock these down with something like a flathead screwdriver or a coin. But my recommendation would actually be to grab a set of keys and locks for Thule's One-Key system. And these can be keyed alike to other Thule accessories you have. So if you have a roof box or a bike rack or something like that from Thule that already has its own lock and key, you could check the numbers on that and get a lock set that's gonna be keyed alike to those. That way, you don't have several sets of Thule keys. You don't have to wonder what goes with what. So that's really it for the installation. Not too difficult, and you only needed the tools that are provided by Thule itself. But if after watching this video you've still got some questions about it, go ahead and drop those in the comments below. We'd love to answer those for you. It'll help you and other neighbors just like you to make the best decision for yourself. Once again, this is Curt with etrailer. Thanks for stopping by.
Ratings & Reviews

Beware of purchases from Etrailer...they offer no returns on opened products. So might say well you could just use and return it...true, but in this case the wind noise is horrific on my Jeep Wrangler and made a two hour ride nearly unbearable. The Thule cross bars are way too loud. They offer no aerodynamics whatsoever.
Second part of the Evo Thule roofrack I wanted to mount on the Prius: exactly what you need for "Thule Evo Clamp Roof Rack".
I have almost always had roof rails on my vehicles. My F150 had no rails and I was nervous about clamp style rack holders given what I tend to carry on top. These have been great and I am positive I have overloaded them numerous times.
Easy install, no issues with this roof rack in almost 1 year of using it
I bought this rack to transport my recreational kayaks and it works great! With the addition of a Llama "v" rack I'm all set to transport my 21'5" tandem. Good fun. The Thule is the base and I couldn't be happier with it!
I am very happy with the Thule racks purchased from etrailer for my Mazda CX-5. Everything was included, easy to fit together and the assembled racks feel very secure. To top it off, the sales help from etrailer was excellent - my original rack selection was backordered and they got in touch with me to offer one that was readily available.
With camping and travel on everyone's list of to-do's at the moment, i couldn't find these Thule clamps anywhere for months until running across etrailer! They were in-stock, shipped almost immediately and at my door. The price is the same as Thule and REI but came with free shipping. Nice job and great customer service. I'll look here first for future needs!
While the instructions were a bit difficult to follow the install videos from etrailer are a blessing to figure out what to expect even if not exact to the letter. Overall product is excellent, use it to haul kayaks and a 18 ft aluminum canoe to and from locations. Would recommend
.
Worked Perfect & Secured a very heavy load in extreme weather & off road conditions
The feet are very sturdy and nice to put a strap around. The instructions didn't match the picture of what I was buying because they had a 28in gap between the front and the back feet but I actually needed more like 4 ft. so you can see I used something more like what the picture of a Leaf setup was on the etrailer website. The instructions were a little bit unclear about how the ridge on the bottom of the feet are to sit in the channels on top of the car but on the back rail I had to set the feet way outside the channels anyway. Still seems to be pretty solid
I've had the roof rack for a year now and we only use it sporadically in the winter to put the ski box ontop of the car but it works great. Very easy to install and remove and very sturdy. Previously I had the kind that bolted into the roof of my SUV and had a terrible experience with that (we lost the rack and kayaks on the freeway and it tore holes in my roof). The clamp style is the only kind we'll get from now on because they are much sturdier and no risk of losing them. Definitely recommend them.
Car: 4 door Civic sedan
Bought this as a set along with a set of locks. They did not have the locks in stock, so when I went ahead of canceled that portion of the order, they were able to process and ship it out the next day. It took roughly 1 week for it to arrive.
Following the instructions they provide you with was fairly simple, there was a QR code scan for a video that you can watch as well. I assembled this along with ski carriers that I had as well. I did struggle a little bit with the spacing I needed to fit my snowboard, but it wasn't too much of a hassle.
After assembling it, I was impressed with how it looked and also how stable and tight it was when I was trying to shake it around. As for the test drive, I was very impressed with how there was no wind whistle and they did not fall off (peaked at 70mph).
Overall, I would say it's definitely worth it to buy a good quality cross bar set. And more importantly it was worth it to purchase it from a retailer that does a good job processing and shipping your order without any issues!
I have ordered quite a bit from Etrailer in the past, but this will be my last order. First, I ordered the Thule Gutter system and specifically ask if the old style square bars would fit the gutter system….answer was yes. In fact, it did not. Then had to order the Evo Square bars. They only come in 60”. Most of my orders come in within three days this order took 10 days, it was sent by snail mail. It arrived and the four end caps were not there and one of the bars had a bend in it. Had to reorder. These EVO bars suck. There is a slot you have to massage to get the bar into, very hard to adjust. Super disappointed in the product from Thule and the shipping service from etrailer. Hate to do it, back to [online stores] etc.
I think Thule products are painfully pricey......however the rack I put on my Ram 2500 is flawless and a absolute perfect fit. I added the Thule rack for the roof of the truck. I have a truck bed utility custom rack and it wasnt enough. I carry a 16' heavy canoe and a 12' kayak so the additional crossbars make for a very sturdy and dependable way to carry since we also tow a trailer. Very happy to have it.
Easy install great product
2018 GMC Sierra duramax
etrailer fantastic customer service!
Thanks Lori B!
Customer Service at etrailer is par none, both before the sale and after. I had an unpleasant experience elsewhere buying and installing a roof rack for my old Prius. After a few days of frustrations, I sent it back to that old online store.
This time, I contacted etrailer to see what ALL I needed to install a rack on my new 2018 Honda CRV. They sent me the part numbers and a link to purchase. Viola! After they arrived, I had difficulty with one of the parts (at 69 yo my hands are not too strong or flexible) and contacted etrailer. They sent pictures and more thorough instructions on installing the rubber strip. Another VIOLA!
I'm so very happy with my total experience at etrailer. Customer Service, truly, is not better any where else I have made online or brick-n-mortar purchases.
Superb quality. Of course, it is from Thule and they are expensive for sure. But, you really get what you pay for!
And, just consider how expensive it would be if using something more affordable (cheap generic brand) and the racks/bars take off from the roof with the box on the highway!
These will not take off, super sturdy and fits the car perfectly.
Just be sure to get the right kit.
And follow the paper instructions coming along the parts.
Can recommend these, were for Nissan Leaf 2021.
And not to forget the etrailer company, they did their part as well with flying colors. All parts arrived in time and were correct!
I've owned this roof rack for a year now, and it has served my purposes (carrying my kayak around on my truck) quite well. It was fairly easy to assemble, largely because the entire instruction guide was in pictures.
I have had to retighten the rack a couple of times since putting it on the roof, so I tie the kayak down to the front and back of the truck as well as to the roof rack. I suspect the ocean kayak puts a bit of lift on the roof rack resulting in the loosening.
I bought the Thule Evo Roof Rack to transport my kayak on my Lexus 300H. Thule will advise you on their website that his particular rack is not right for a Lexus 300H (i.e., they don't make a roof rack for a Lexus 300H); it is really for a Camry, but etrailer told me that is worked, I trusted them and they were correct. After all, a Lexus sedan is really a fancy Camry, but Thule will not acknowledge this point. It works great. Thule makes a solid product.
Order from this company for years. Customer service remarkable and products are amazing
It's a simple item just bars. They arrived bent. but not so bad to go through the hassle to return them.
Great quality products! Easy installation with properly guided instructions. One of the best tracking information, from ordering to delivery. Would strongly recommend etrailer to anyone looking for roof or hitch bike racks.
I went with this Rola Vortex Cargo Rack with extension for its size and multiple tie down points. I Paired it with the Thule 5 inch rapid gutter feet with square bars because:
To remove the freedom panels.
Square bars are stronger than Aero type bars.
Adjustability of fitment as the roof of the Jeep narrows toward the rear.
When loaded for camping, I want to maintain rearward vision.
Finally, the system met my load requirements. I had weighed the gear that will go onto the rack. And I am at OME specs.
I did not want to use the gutter of the freedom panels to carry weight. Since the panels are removable, it seemed to be a potential weak point structurally.
NOTES:
Because this Rola rack comes in sections, I do not recommend it for “Overlanding”.
And because it comes in sections, some weather proofing is needed. I coated the cargo rack guides with an anti seize grease. The bolts of the cargo clamps should be weather proofed as well.
Over time, the screws will need to be replaced. They will rust.
CONCLUSION
Overall I am happy with this set up. Should work well for general camping and hold up to the easier off road trails. If your plans are to Overland for weeks at a time in all weather conditions on moderate to difficult trails having off camber conditions, then this rack may be problematic over time. And may cause damage to the roof top.
Had to return these cause they wouldn’t fit on the Prologue at all, but the service is good and e-trailer is accepting them back
Thule makes great products, install is straight forward, and secure on my truck. I used it for carrying long fishing rods for beach fishing.

Do you have a question about this Roof Rack?
Info for this part was:
At etrailer we provide the best information available about the products we sell. We take the quality of our information seriously so that you can get the right part the first time. Let us know if anything is missing or if you have any questions.




















Luke
8/21/2026
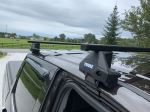
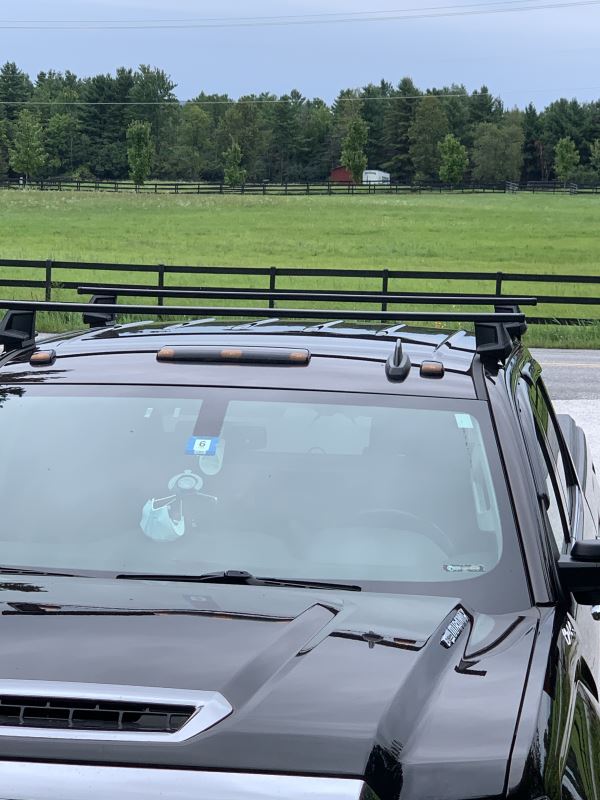
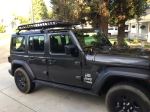
Great, solid mount on my Chevy, have same product for my 2021 Tundra. Thule makes an excellent product.