
Roadmaster Direct-Connect Base Plate Kit - Removable Arms


To see if this custom-fit item will work for you please tell us what vehicle you'll use it with.


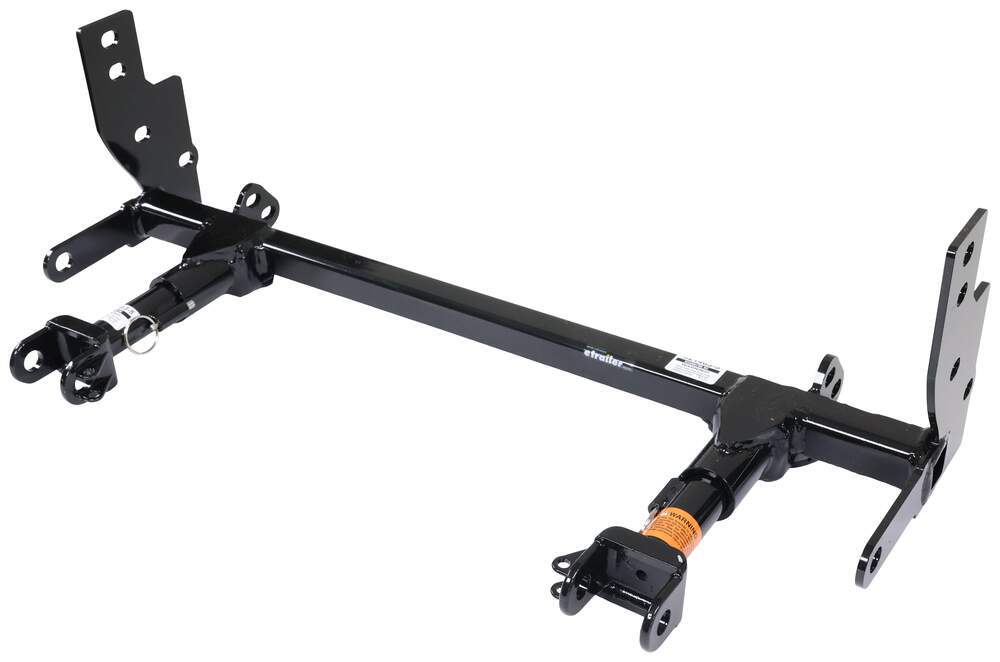
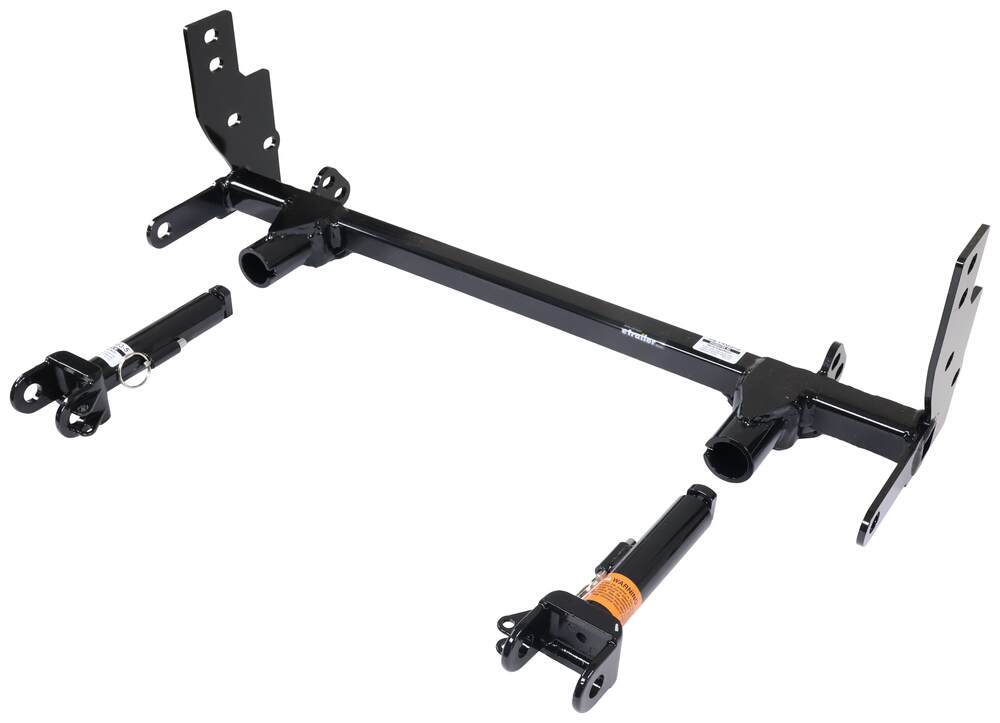
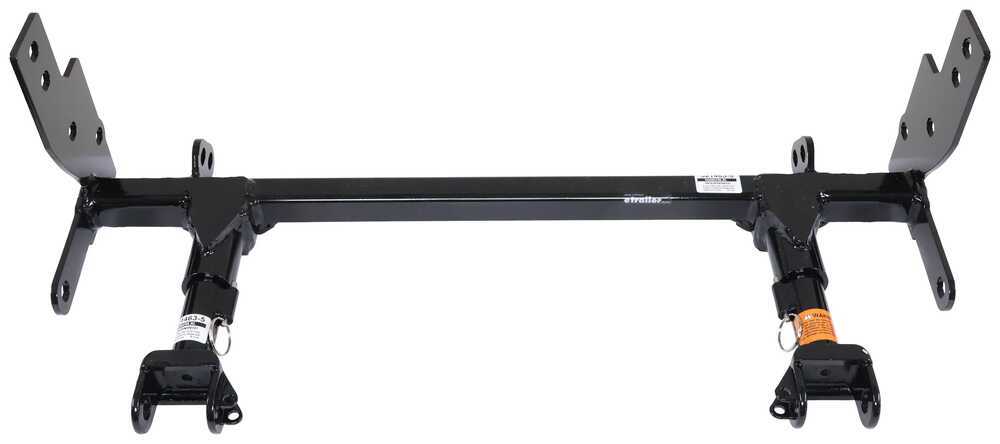
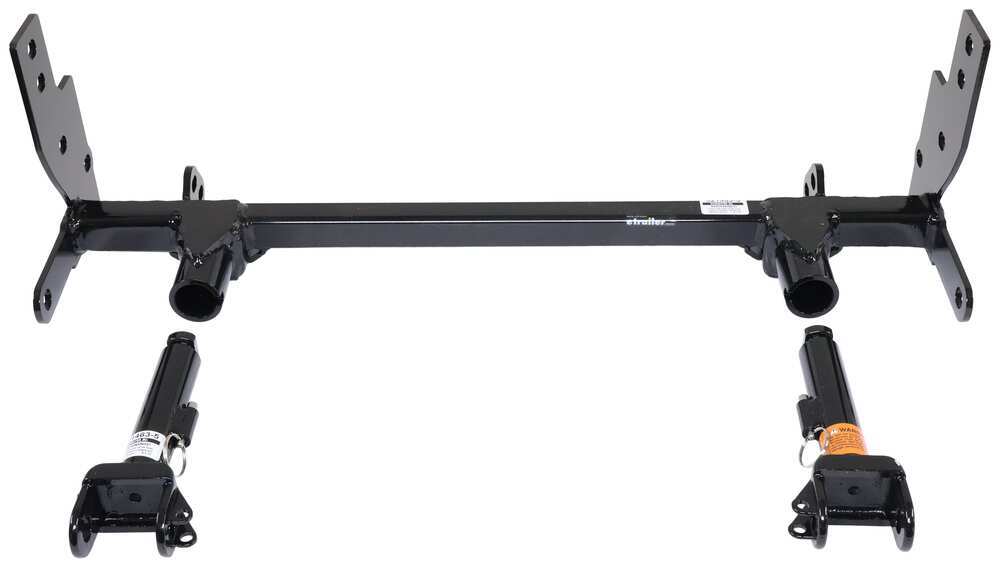
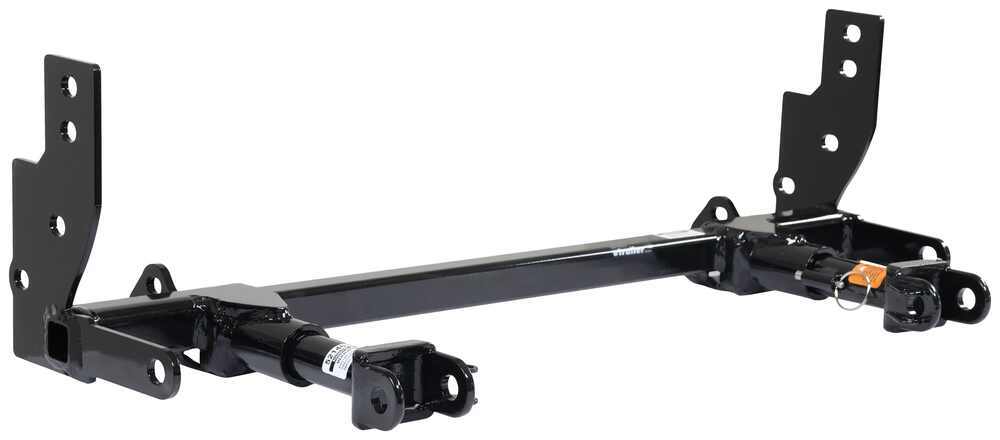
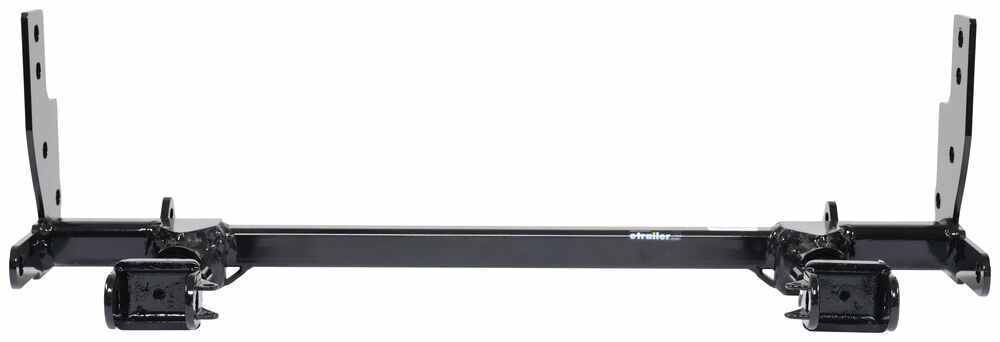
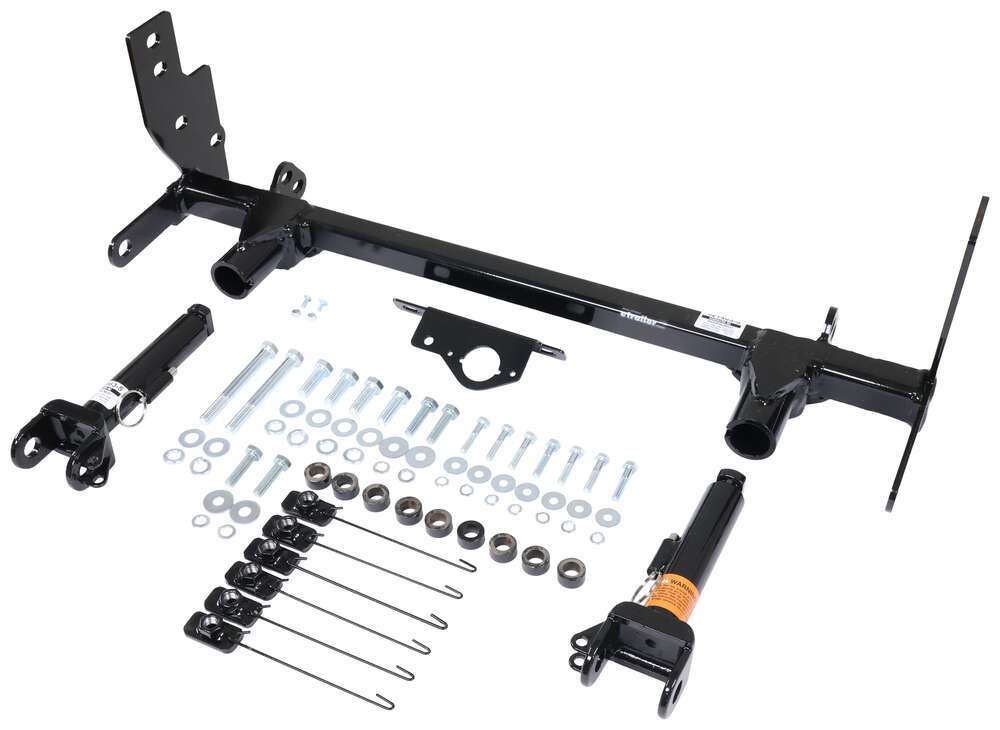
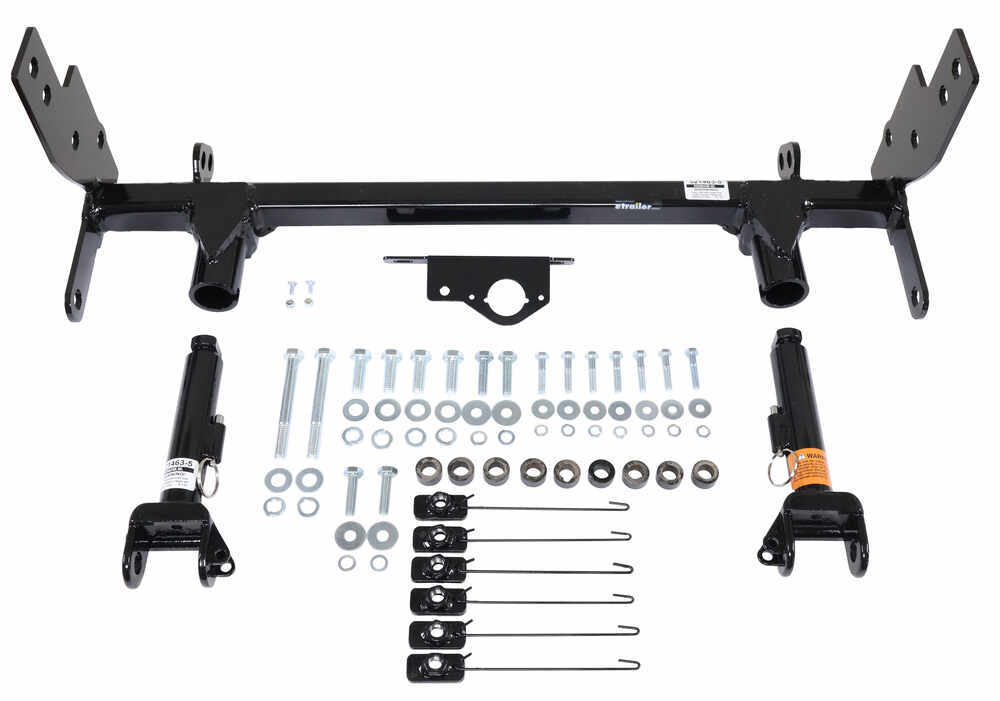



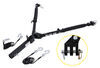
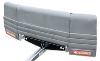
If you like a setup that stays out of sight when you’re not towing, this base plate delivers that clean look. The direct-connect brackets mount on the vehicle’s frame and sit farther back than standard styles, leaving only the removable arms visible. With no quick-disconnect crossbar cluttering up the front, the result is a smooth, factory-style appearance that also keeps the brackets protected from scrapes and scuffs.
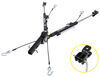
Hooking up your tow bar is simple with the twist-to-lock drawbars. Each arm clicks into place in seconds, and when it’s time to disconnect, a built-in pull ring lets you unlock, twist, and remove the arm just as easily. The whole process is straightforward and solid—exactly what you want when you’re setting up or packing up after a long drive.
This base plate kit is built from computer-cut, all-steel components for exceptional strength. The black powder coat finish resists corrosion and holds up to road wear over thousands of miles. It bolts directly to the vehicle frame with no welding required, giving you a durable connection point you can count on for every trip.
The kit works exclusively with motor-home-mounted Roadmaster tow bars that slide into a trailer hitch—such as the Nighthawk, Sterling, Blackhawk, Blackhawk 2, Falcon, or Falcon 2 models—and includes instructions and mounting hardware for installation. Once set up, the connection stays solid mile after mile while keeping your towing gear streamlined and simple to use.

Customer Satisfaction Score:
88% were satisfied with this product
12% of customers were not satisfied
Ratings & Reviews

It mounted up just as the instructions said it would. From previous research I was not surprised when some of the mounting did not align perfectly. Had to use a dremel tool to make it work. The product looks very sturdy from its design. I’m happy with it and look forward to RV traveling.
Good product. If you are reasonably handy and have some tools, you can install this yourself in a few hours. I'm a mechanic, it took me a little over 2 hours to install on my own toad. The fit is good, there are 4 holes you have to drill, otherwise it is plug and play. When you insert and twist lock the tow bar mounts into their sockets they feel a little sloppy but they are secure, and i never noticed any rattle when towing. Overall i give it a 4 out of 5 for easy install and clean look after install. Pic included of installed base plate.
This was a bit of a challenge to install on a 2026 Chevrolet Colorado Z71. One item to be aware of, as you take off the front Facia of the truck for the install, there are two Facia "brakets" that attach to the front fenders that seem like they are use once plastic snaps. Three of the 4 snaps broke off on both sides when I removed the facia. These are about $35 a piece from Chevy and prevent you from making this a 1 day job. Additionally, there are 2 7mm screws/bolts that connect one of the coolers to the back of the bumper support and these are a real problem to get back in - over an hour of time and every 1/4" tool in my arsenal was needed to find a way to get these started. Finally, one of the Connecting Plates (Passenger side) needed to holes to be elongated to enable all the bolts to be started. Finally - you need to put the Brakaway bracket on the driver side, to have enough cable to reach you brake system. Probably have 4 hours in the disassembly and installation of the Direct-Connect Plate. Now waiting a couple days for the plastic brackets from Chevy to complete the install. Good Luck!!
The folks at etrailer are fantastic. I didn't know everything I needed to tow my car behind our RV... but they did! Everything I needed was in the boxes and the videos made it all come together. Thank you to everyone at etrailer!
Awesome instructions! Install was fairly easy. Product is very high quality and solid construction. Thank you E Trailer!
Very fast shipping, and the install was easy. Great product
Easy to install needed to replace some fasteners as they broke removing front grill was able to get them from Amazon cheap
This Road Master Direct connect base plate works perfectly for a 2020 ford transit cargo 250! Awesome service from etrailer as usual! The finished product can barely be seen through the front fascia!
I bought and installed this tow plate one year ago on my 2013 Jeep Wrangler. I bought this particular plate due to the jeep having a Barricade off-road bumper. This plate attaches a bit lower than other plates and prevented having to modify the bumper. Installation was easy involving only hand tools. The plate comes with all needed bolts and attachments. I have towed this Jeep several thousand miles behind my RV with absolutely no issues. As an aside, I use a Roadmaster Night Hawk tow bar which is also an excellent product. Both are expensive, but I believe cheaping-out on safety is no a good idea. I highly recommend this product.
This works perfect with my Roadmaster tow bar. It was a little difficult to install since I had to remove the front end of the Trailblazer, but with the good directions that came with it and some you tube videos made the installation easier.
Pathetic and just talking to Noah he states he will get to my issue later when he has time!! My car is on jacks all torn apart and I think Roadmaster gas misled advertising. This 523228-5 baseplate is NOT MADE FOR 2026 CHEVY TRAX!!!
Had these installed at Lester’s Automotive in Boerne,Texas…First class service all the way. Paul and his crew worked through lunch for over 4 hours to install these on our 2026 Ford Ranger. Also ran the wire and hooked up my auxiliary tow lights. The price for this was very reasonable and would highly recommend them for all r.v. needs even if not real close to the Boerne area. R.V park within reasonable distance if needed.
Etrailer comes through again! This was a great savings as a used kit, but it was even better than the description online. I have installed (4) baseplates on and etrailer.com has given me great videos to watch and good instructions to follow. Couldn't be more pleased with the quality, service and delivery times.
Easy to install ! When right on,
Great customer service
This fit perfectly on our Jeep. It is also very sturdy. Briana was a big help in finding the correct item for our Jeep.
Easy installation just need thinner spacers for lower inside bolts.
Do you have a question about this Tow Bar Base Plate?
Info for this part was:
At etrailer we provide the best information available about the products we sell. We take the quality of our information seriously so that you can get the right part the first time. Let us know if anything is missing or if you have any questions.














Thank you! Your comment has been submitted successfully. You should be able to view your question/comment here within a few days.
Error submitting comment. Please try again momentarily.