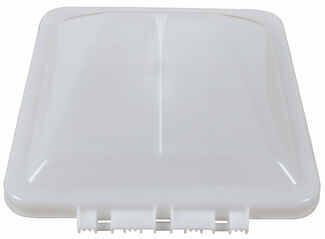
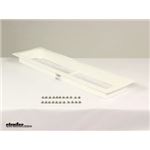
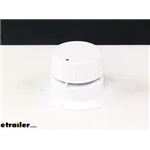
Swap a cracked or sun-damaged refrigerator vent with an easy, roof-ready replacement that keeps air moving and bugs out. Measure your opening and screw-hole spacing to confirm fit, since some installs call for drilling new holes or light trimming on older campers. Choose to replace just the top or the base and top together for a clean, secure finish.
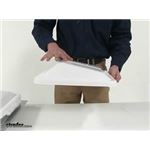
Dry-fit first, then add sealant between mating surfaces to help prevent leaks. Match the instructions to your specific base style before tightening hardware. Ensure the bug screen is in place to keep pests out. If obstacles like a handrail are close, minor trimming may be needed. Watching an install video can make it easier.
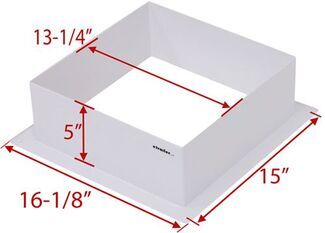
Replace only the cover if it matches your existing base and hole pattern. If the predrilled holes don't match, the base is damaged, or you're missing the screened-under section, replace the base and cover together. A universal-style base can help when the original size or pattern isn't available.
Measure the roof opening, the base footprint, and the center-to-center screw hole spacing. Note your base type if the product lists multiple base styles. Verify clearance for nearby hardware like a handrail that could interfere. If your spacing is close but not exact, you may need to drill new holes.
It can, but you may need slight modifications. Check your roof opening and the vent base style, since older sizes may not match current patterns. Compare screw hole spacing; if it doesn't line up, plan to make a template and drill new holes. If you can't match a cover to your base, consider replacing the base and cover together.


 Filters
 RV Vents and Fans Parts or Accessories