
 Product Experts Available Now!
Call 1-800-940-8924


Thank you! Your comment has been submitted successfully. You should be able to view your question/comment here within a few days.
Error submitting comment. Please try again momentarily.
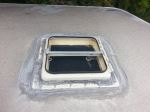
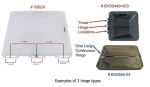
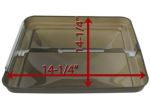
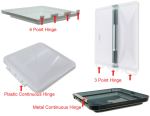
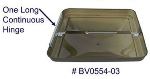
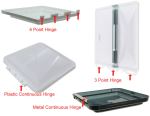
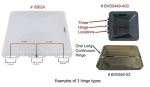
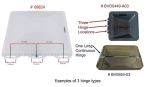
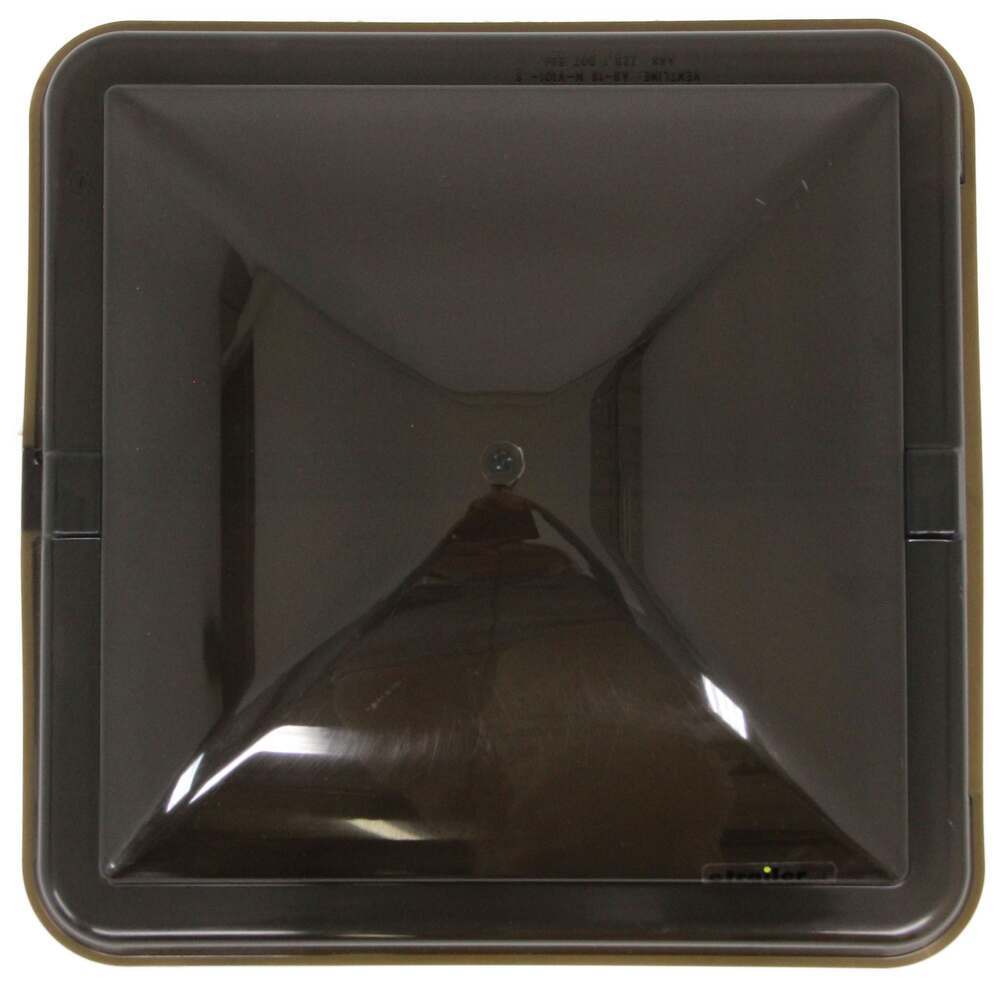
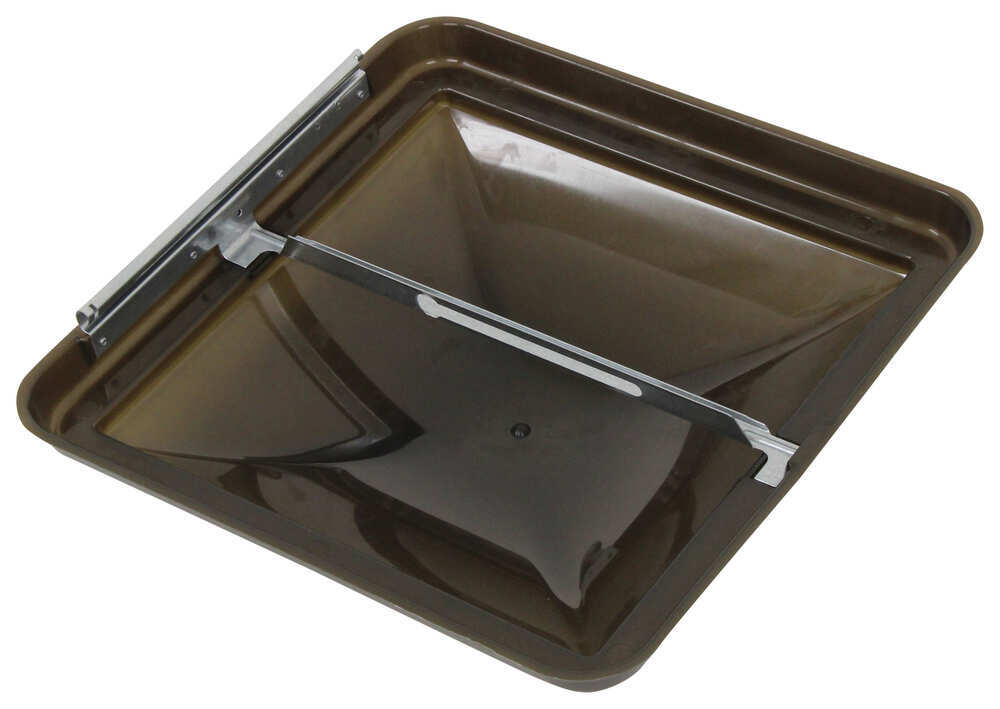
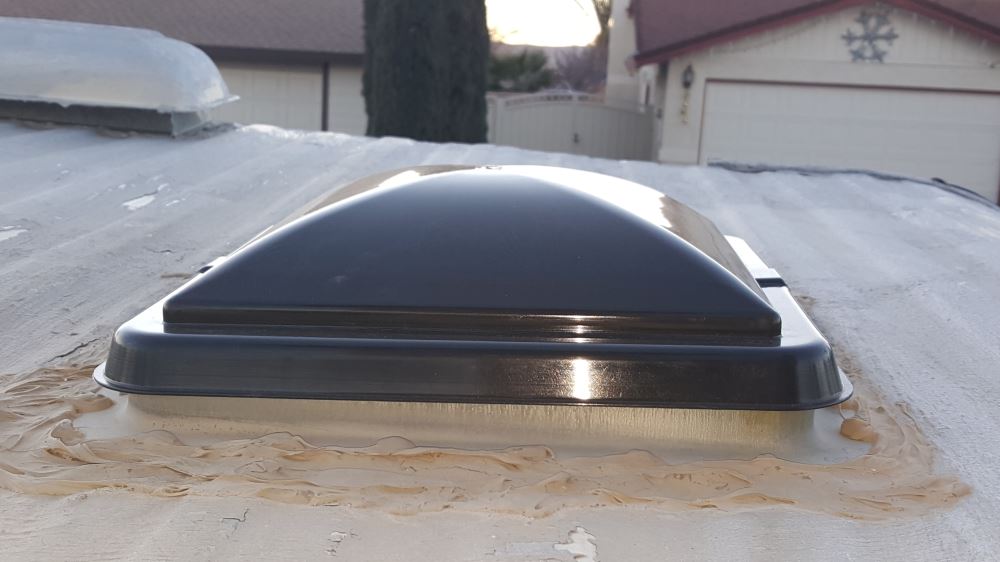
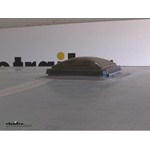
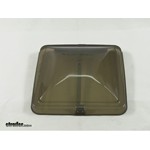
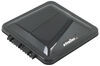
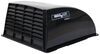
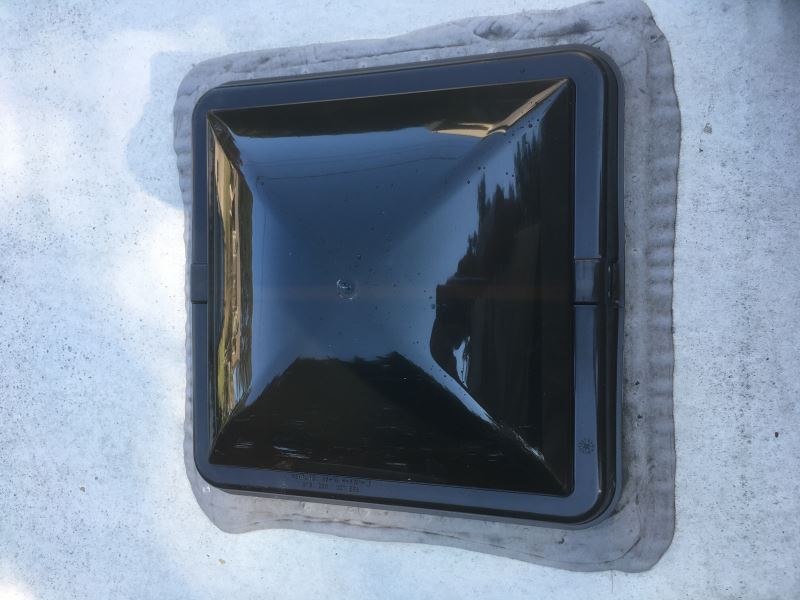
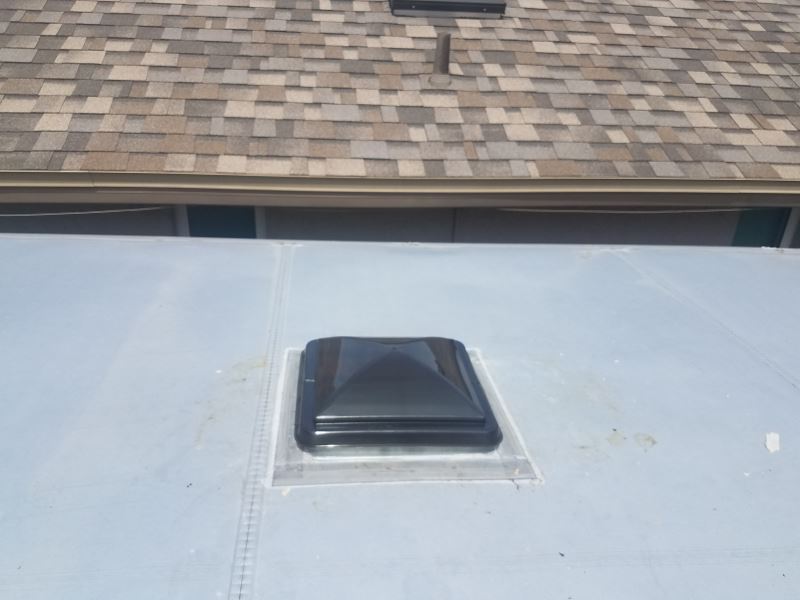
This vent cover is made to keep your vent working like it should. It’s a direct replacement for old-style rounded dome roof vents that use a continuous metal hinge. The domed shape lets air move freely while keeping rainwater from pooling on top, and it fits standard 14-1/4" x 14-1/4" roof openings used on most Ventadome and post-1995 Elixir vents.

When a cracked or aged lid starts leaking, this replacement brings back a tight seal. It’s made of polypropylene plastic that stands up to everyday sun and weather exposure. The smoke tint reduces glare inside while still letting in a bit of natural light, so you’re not sitting in the dark.
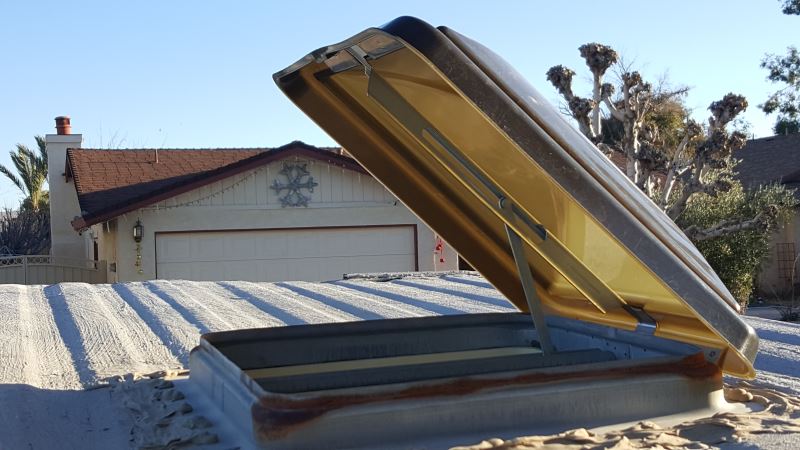
You don’t need to change the whole vent assembly—just swap the lid. The hinge slides onto the existing metal hinge rod on your vent, and the lift arm connects in the same spot as before. Once attached, it opens and closes smoothly by hand, just like the original.
This cover is built for years of service and backed by a 2-year limited warranty from Ventline. Once installed, it restores the function and protection of your roof vent so you can travel without worrying about leaks or broken lids.
Replaces 61271, 63115
Videos are provided as a guide only. Refer to manufacturer installation instructions and specs for complete information.
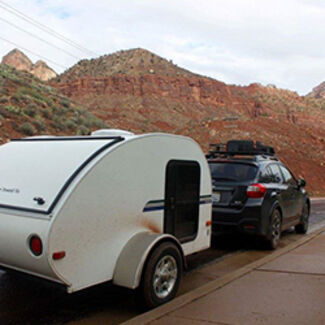
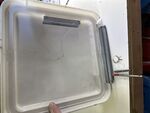
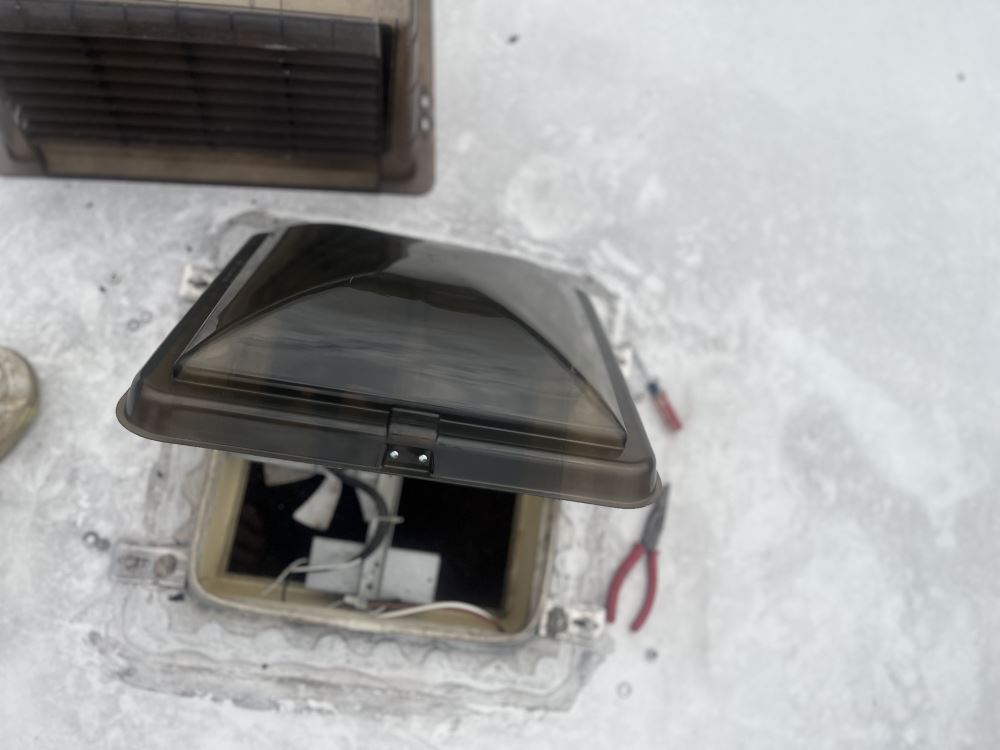
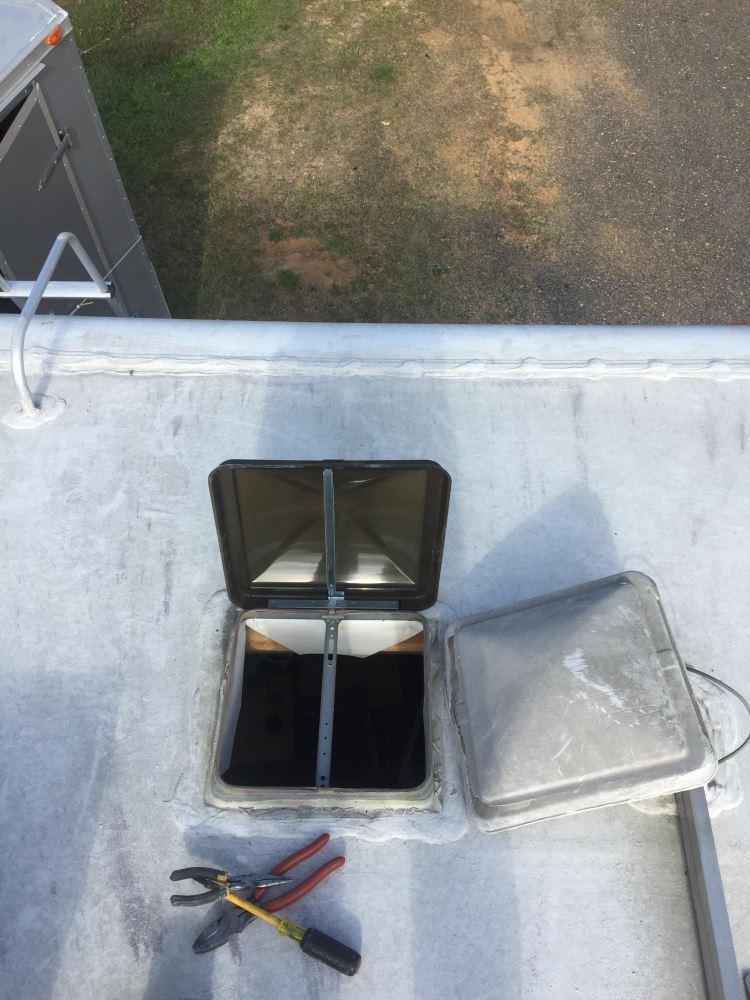
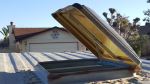
Today on this enclosed trailer, were going to install part number BV0554-03 from Ventline. This is a Ventline rounded dome in a smoke color. To start off well go ahead and remove the trim panel at the very bottom. Next well go ahead and remove the screen and also the crank handle as well. Once we have those parts away, well go ahead and reinstall the handle temporarily and raise the lid up, so we can remove it easily. Now well go ahead and then unscrew the crank assembly from the crossbar and then we can go ahead and release it from the lid.
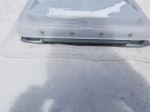
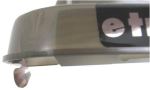
Well slide the arm down towards an open slot at the bottom and then we can go ahead and release it. We got completely loose from the crank, now well go up top and go ahead and remove it from the vent. Well go ahead and open it up and you can see theres a small tab on the inside edge of the hinge and usually these are twisted to the inside, so we just have to untwist it and then it can slide it off. Now we can go ahead and slide on our new vent cover and then basically reinstall it in reverse order. Well go ahead and put our crank assembly up into place and line up the arm with the vent dome, put it into track and then well go ahead and reinstall the crank arm to the vent.
Then we can reinstall our screen and then our trim ring around the edge. In just a few steps the old one has been removed and our new one has been installed. Thatll finish it for part number BV0554-03 on this inclosed trailer. .
Customer Satisfaction Score:
95% were satisfied with this product
5% of customers were not satisfied
Ratings & Reviews



Mike L.
8/11/2026
You're very welcome Ryan, I'm glad we could help you with your s**t!


Dave L.
6/3/2018
It has been working great, summer keeping rain out and winter storage keeping snow out. Great product.
Randy K.
2/4/2018
So far so good!


Do you have a question about this RV Vents and Fan?
Info for this part was:
At etrailer we provide the best information available about the products we sell. We take the quality of our information seriously so that you can get the right part the first time. Let us know if anything is missing or if you have any questions.
















































Mike L.
4/9/2026
Hey Raul, you're very welcome. I'm glad we could help!