


To see if this custom-fit item will work for you please tell us what vehicle you'll use it with.


Thank you! Your comment has been submitted successfully. You should be able to view your question/comment here within a few days.
Error submitting comment. Please try again momentarily.
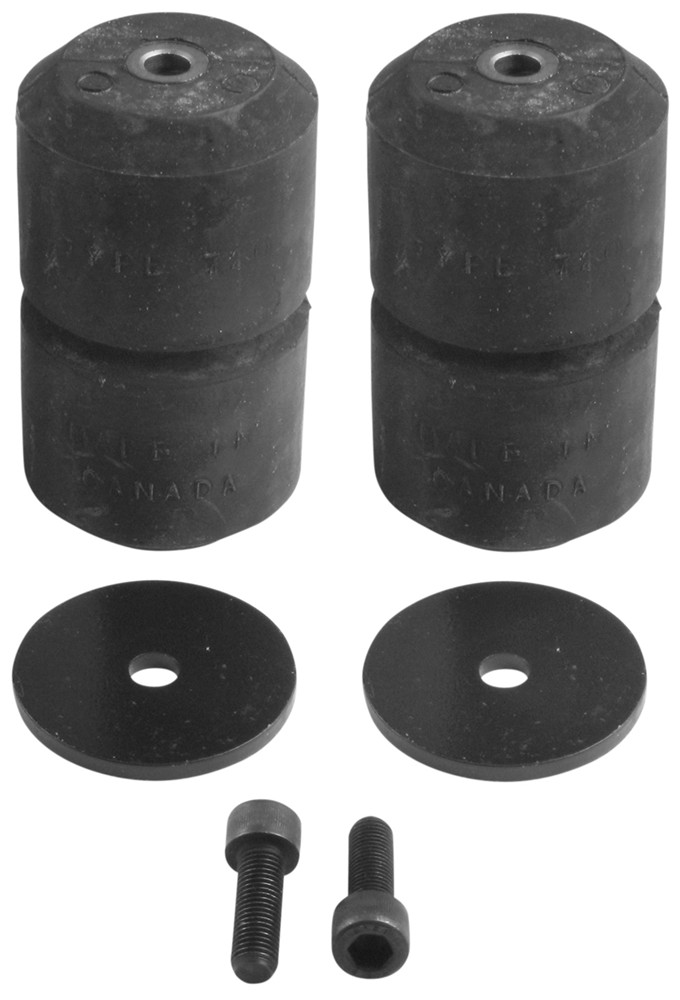
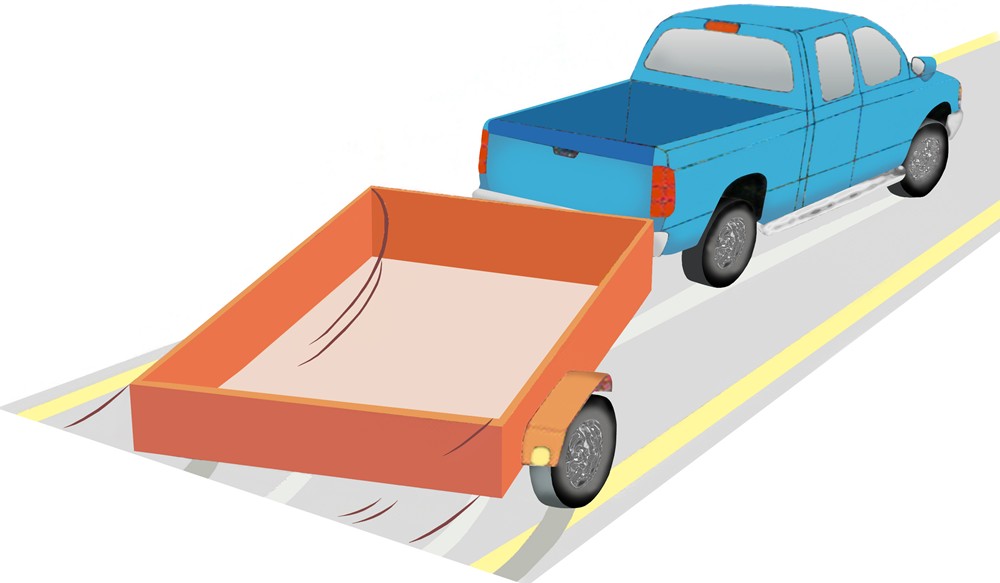


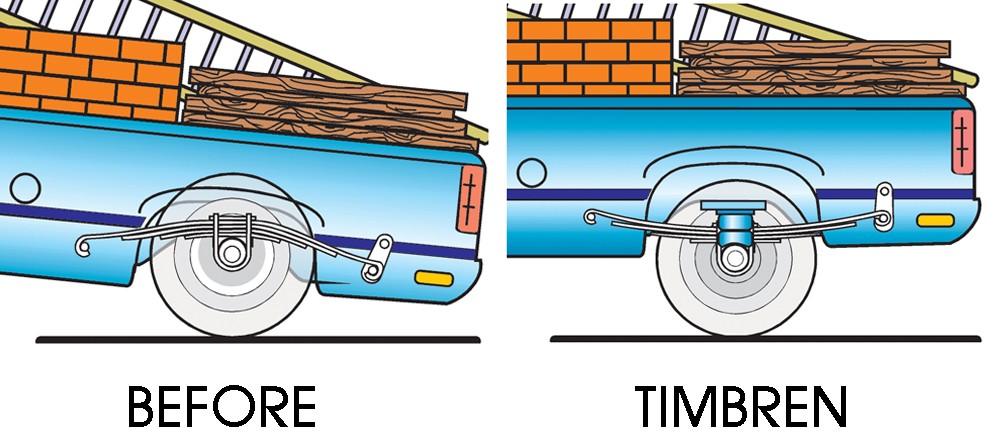
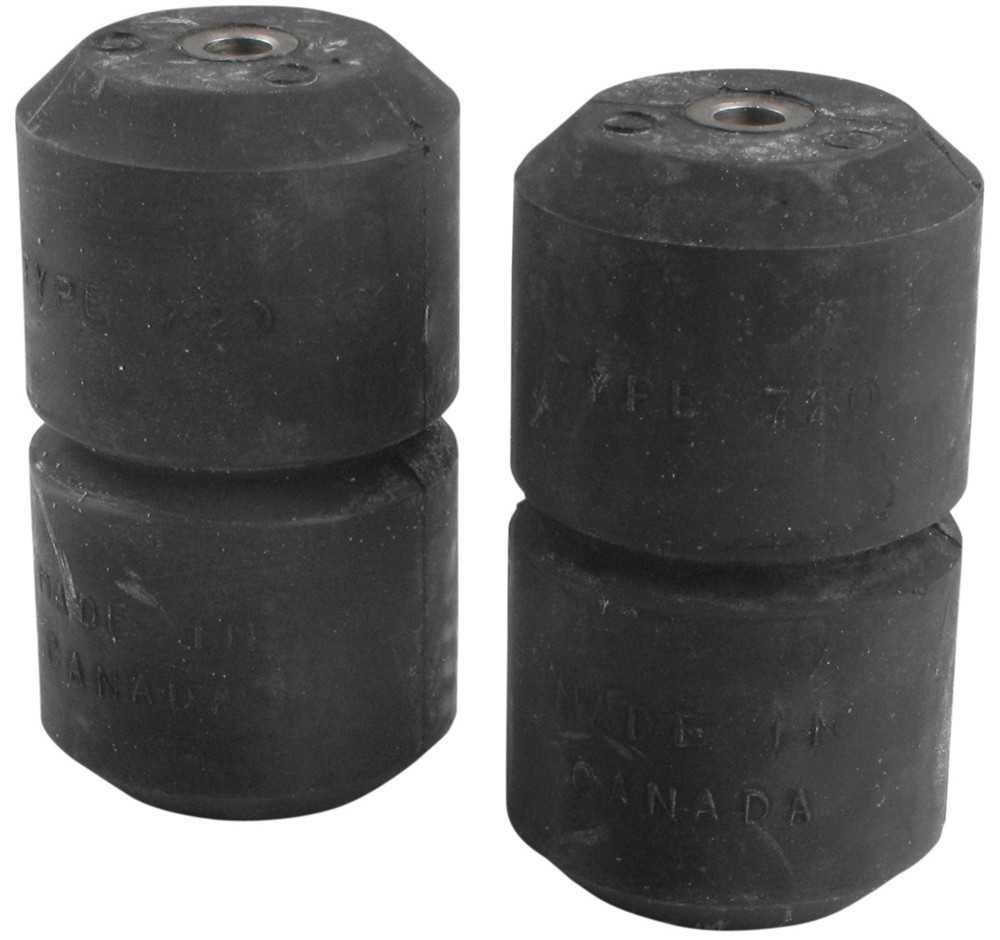
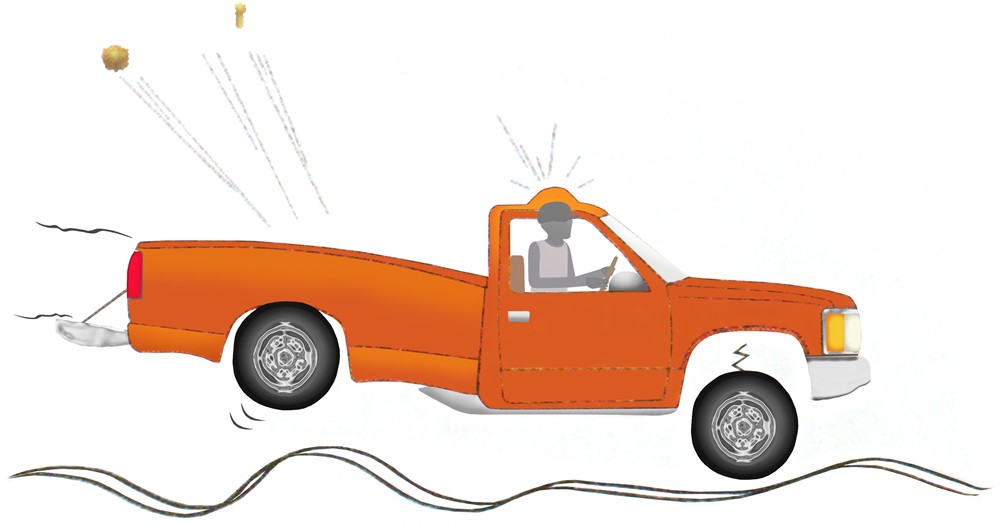
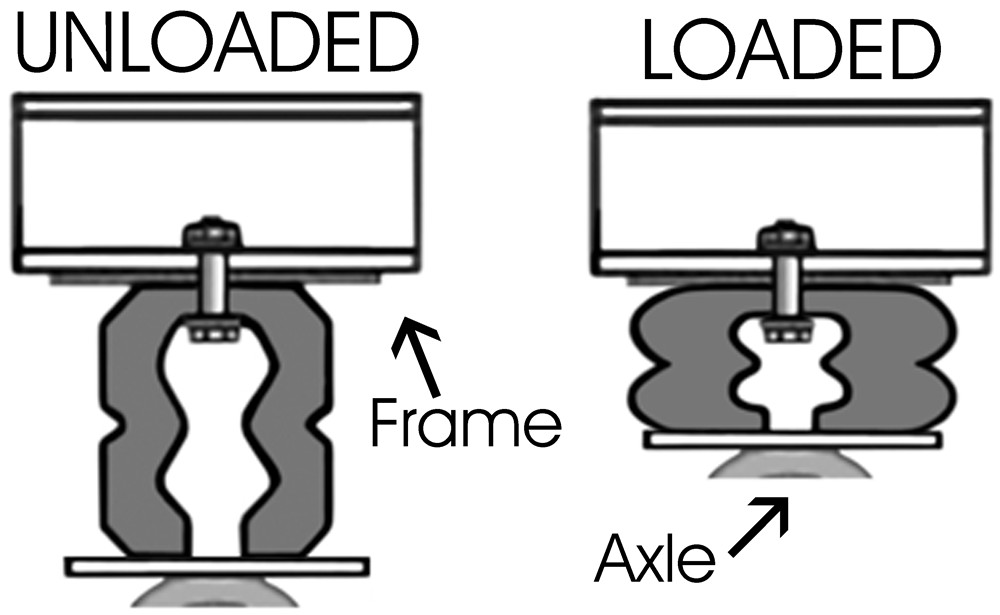





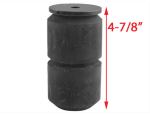
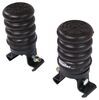
When heavy cargo or a trailer makes the rear end sag, handling and braking can get sketchy. The Timbren Rear Suspension Enhancement System adds up to 2,000 lbs of load support above the rear axle to keep your ride level. These hollow rubber Aeon springs work with your factory suspension to stabilize steering, maintain traction, and reduce squat when hauling or towing.
A bumpy road or uneven load doesn’t have to make the drive harsh. The Timbren system’s hollow rubber springs compress progressively—soft for light loads, firm when the weight piles on. That means they cushion smaller bumps while stiffening under heavier pressure, so you get a smooth ride no matter what’s in back.

Sharp turns and off-center loads can shift weight from side to side. Each Timbren spring works independently to support the driver or passenger side as needed, cutting down on body roll and sway. The result is steadier cornering and a more controlled feel when maneuvering or towing through curves and crosswinds.


The durable rubber springs absorb road shock before it hits your suspension, helping prevent bottoming out and reducing wear on factory components. With no airlines, compressors, or adjustments to worry about, the system stays ready whenever you add weight—just load up and drive with confidence that your suspension is protected.
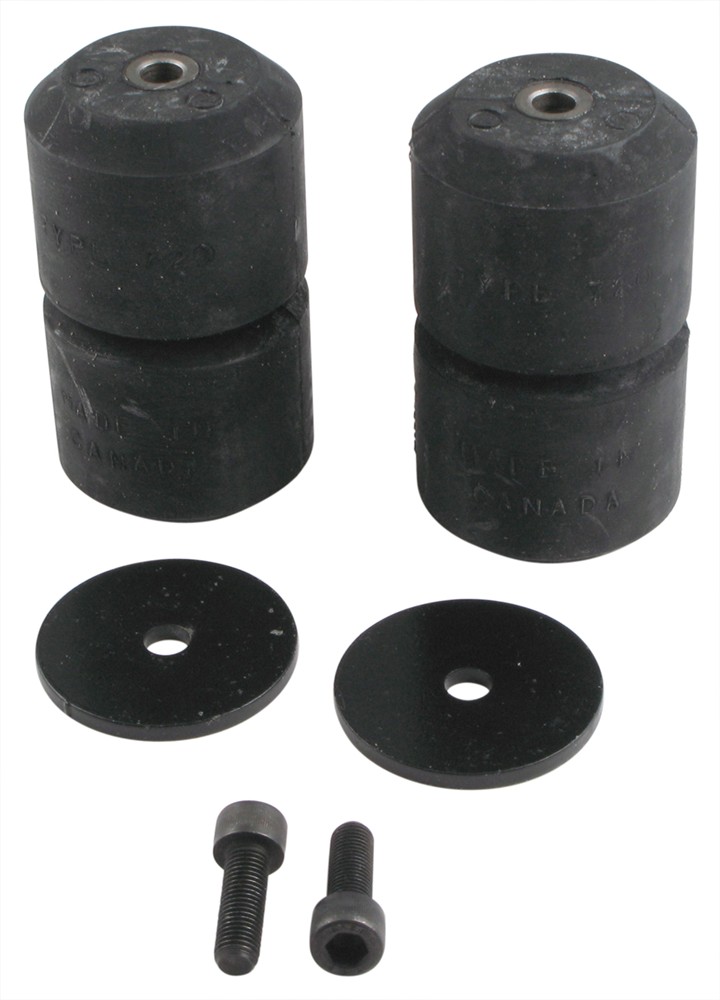
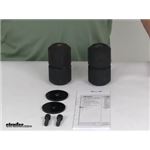
Installing serious load support doesn’t require major tools or fabrication. The kit includes two Aeon hollow rubber springs with vehicle-specific brackets and hardware that bolt in place of the factory bump stops—no drilling required. Once mounted, the springs automatically engage under load for a leveled stance and stable ride every time you tow or haul.


Customer Satisfaction Score:
96% were satisfied with this product
4% of customers were not satisfied
Ratings & Reviews

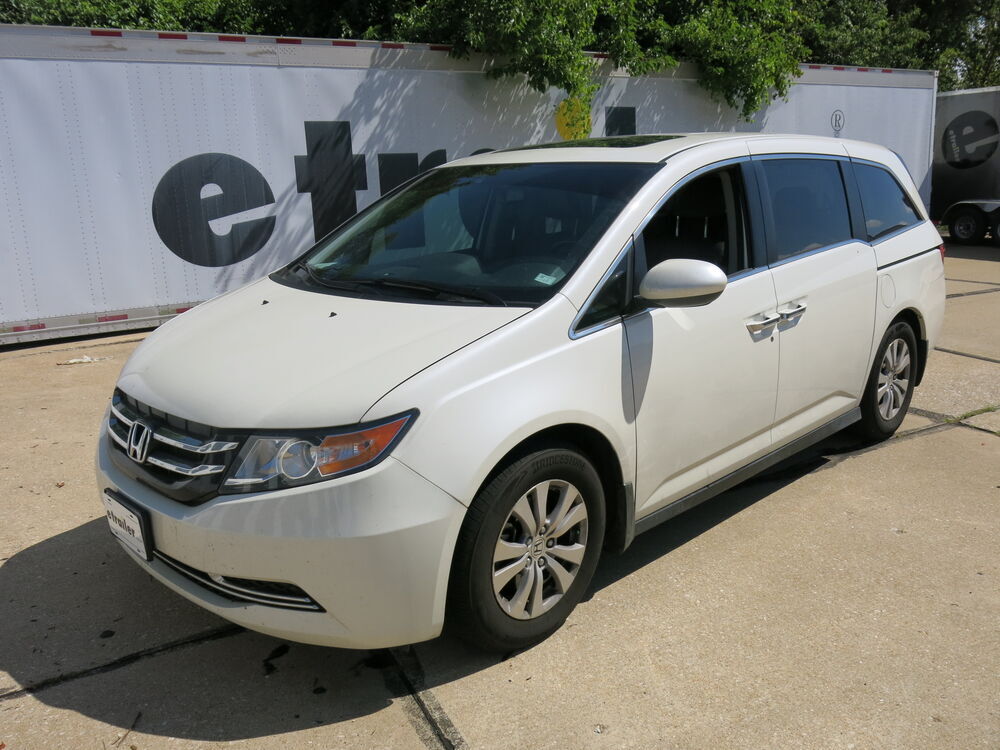
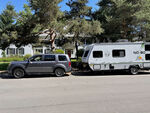
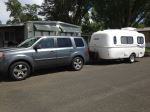
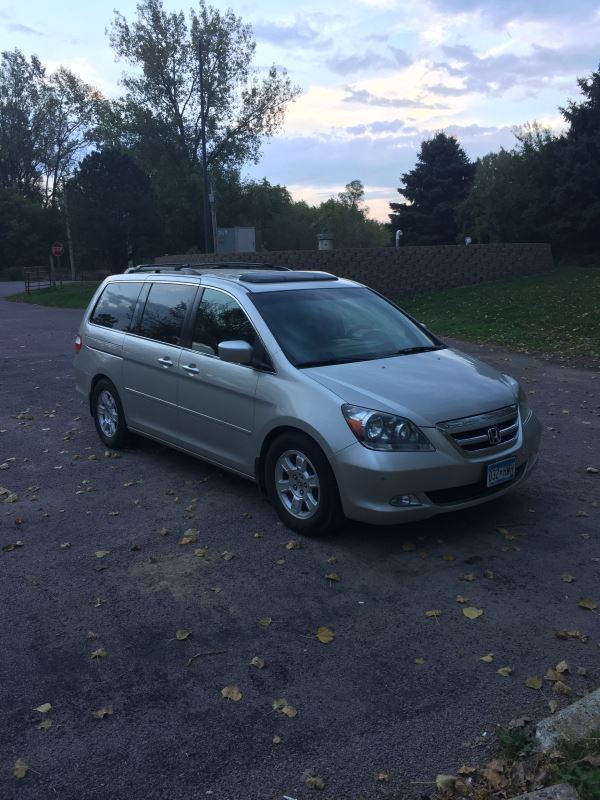
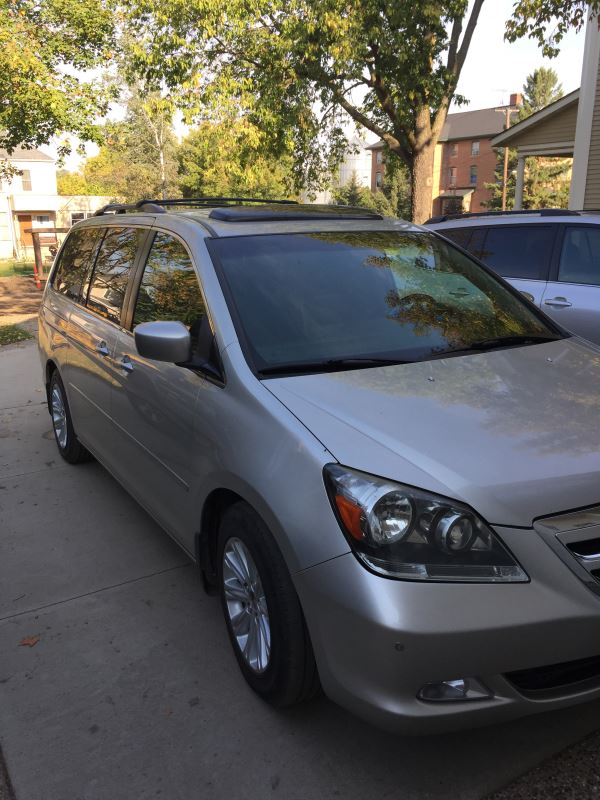
I can't believe the difference these have made on our Honda Odyssey. The overall ride and handling is much improved (even when empty) and we can now tow our 3500lb tent trailer with the van. Would highly recommend...
Product as described. Easy installation.
Excellent system. Levels the vehicle and enables me to haul much heavier cargo. Rides normal when empty, rides a little stiffer when loaded,but will not sag the springs like before.
Steve
2/7/2015
Hi jim , do you use on honda odyssey or another vehicule ? Thank you for your answerSteve

Greetings all: Just got the product yesterday via UPS. Have not had a chance to install them yet. If they are like the other products we have purchased from etrailer, they
will perform as advertised! Shipping was as usual, prompt, and customer support
by etrailer is outstanding. Nichole is a "keeper" :-). Thanks to all for your help and
support. Keep up the excellent work!
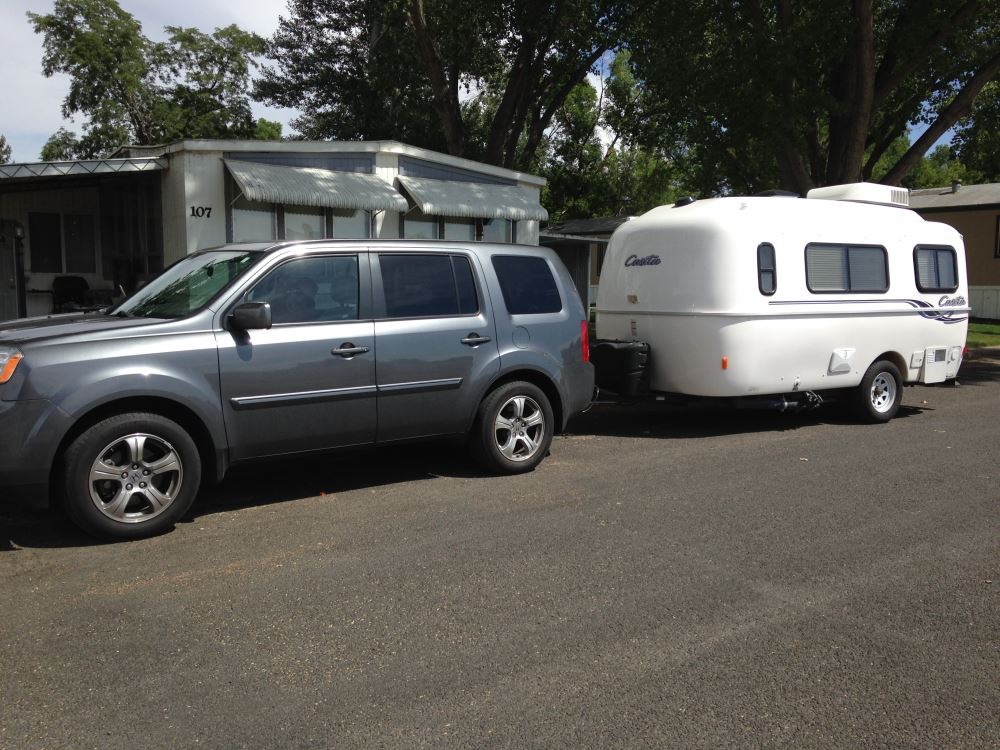
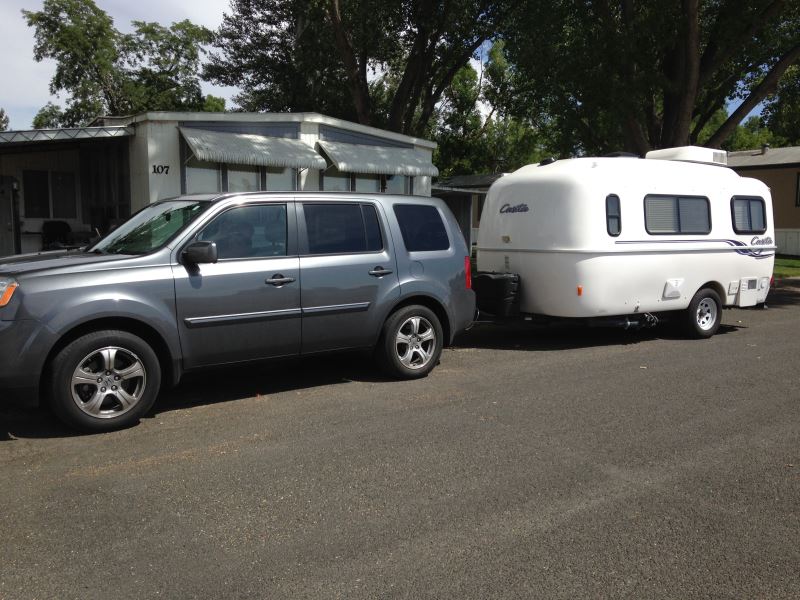
So far so good. I installed these myself on a 2008 honda pilot it took a couple hours because the bolts on the sway bars were rusted to the point that I just torched them off and installed new ones. I pull a pop up camper that is full of every thing that my wife can fit into it so it is pretty heavy and Vehicle was sagging noticeably. As far as I can tell the ride hasn't changed with or without load and there is no extra road noise. It feels much more stable and safe. I am happy with the purchase.
Recently enhanced the rear suspension on my Honda Pilot because i load it up for my tailgates every weekend and the ride is much better now. Driving in and around NYC roadways has improved dramatically. I shouldve done this sooner.
I installed these on one of my customers vehicles, A 2006 Honda Odyssey. They use it to tow a trailer and transport several people and as expected, weighs down the backend. These did a great job in supporting the added weight. Reduce sagging greatly and no more bottoming out. As a professional mechanic, I highly recommend these.
Have not tested to the fullest but instalation was not bad once I installed the first side on 2009 Honda Pilot. So far so good. Recomend watching few videos on instaling rear spring and shock absorbers. If equip with tow package, there is an aditional bolt on a stabilizing bar that connects to the arm that will require a 14 wrench and a hex for the tip. Muffler does get in the way to pull the spring but nothing a big push the arm cannot fix. Make sure you have hex tips for your wrench to install.
I ordered the Timbren SES for my 2008 Honda Pilot because I do a lot of towing, and with heavy loads the rear end sags too much. The Timbren SES helps a little, but I think that, at least in my case, an air bag system would have been better.
BTW, Etrailer.com service is excellent!
I installed this and bilstein heavy duty shocks and stuts on a 2010 pilot to pull a little guy mini max trailer - 2400# trailer, 240# tongue weight. It works great with no rear sag and no bouncing or bottoming out.
These things are great. I put them on 2011 Honda Odyssey with 180,000 miles. We road trip a lot and load the van to the weight limit (at least…). They do engage with moderate to heavy loads. I only had a half inch between the axel and the bottom of the Timbren after loading the vehicle and when the family entered the vehicle I am sure we were resting on the Timbren. Felt much more confident with these things on. I pull a small camper (pop up—2,000 lbs loaded) too and love these for that.
I had my mechanic put these on when he changed out my shocks and coil springs in the rear. Think he charged me like $60 since he was already in there.
*** Don't try this at home. *** These rear spring inserts for beefing up the suspension and limiting the rear end sag, well they really do work. For anyone towing, you need them. If you have any doubt, put it aside and bite the bullet. The Australians know so much about suspensions because most of their roads are unpaved. However - regardless of what you read on the internet - don't try and install these at home. My Honda Pilot rear springs still have tension in them when the vehicle is up on a lift and the wheels off. Removing those rear springs without jacks to compress the rear springs, and then slowly releasing the tension with a hydraulic jack - it could result in you not needing this product after all - because you'll be dead. Have a good mechanic install them for you. It took my mechanic about 2 hours of labor in a professional shop with all the right tools. I am very satisfied with the product and with etrailer.
Our 2015 Pilot 4WD was rated to tow up to 4500 LBS. We bought a 3000 lb.trailer that had a tongue weight of around 375lbs. The heavy tongue weight caused the back end of the Pilot to sag and bounce when towing. After having the Timbren Enhancement Sys. THROD2 installed there is NO sag and NO bounce when towing! It has not changed the suspension characteristics when not towing either. I highly recommend this product . Install from an independent shop was $225. This product was worth every penny!
Installed THROD2 kit on rear of my 2013 Honda Pilot to fix rear sag with heavier loads. I am a Master Technician.
Tools needed:
3 and 6 inch extensions 3/8 drive
5 & 10mm allen headed socket 3/8
14mm, 19mm wrench
14mm deep socket 3/8 drive
17mm short or long socket 3/8 drive or 1/2 drive
19mm short socket 3/8 is best, (1/2 drive may be needed to break bolt loose)
Good full range wheeled floor jack.
A pry-bar may also be helpful.
Engage parking brake. On a hard flat surface (cement floor) brake the rear lug nuts loose 1/4 turn while vehicle is on the ground. Do not remove the lug nuts at this time. Raise the rear of the vehicle as high as you can with a professional floor jack, plus another 2”. I used a 2x4 on top of the jack to obtain proper height. Install a quality jack stand (or two!) on the side you are working on. (I recommend servicing one side at a time.) Remove lug nuts and the wheel.
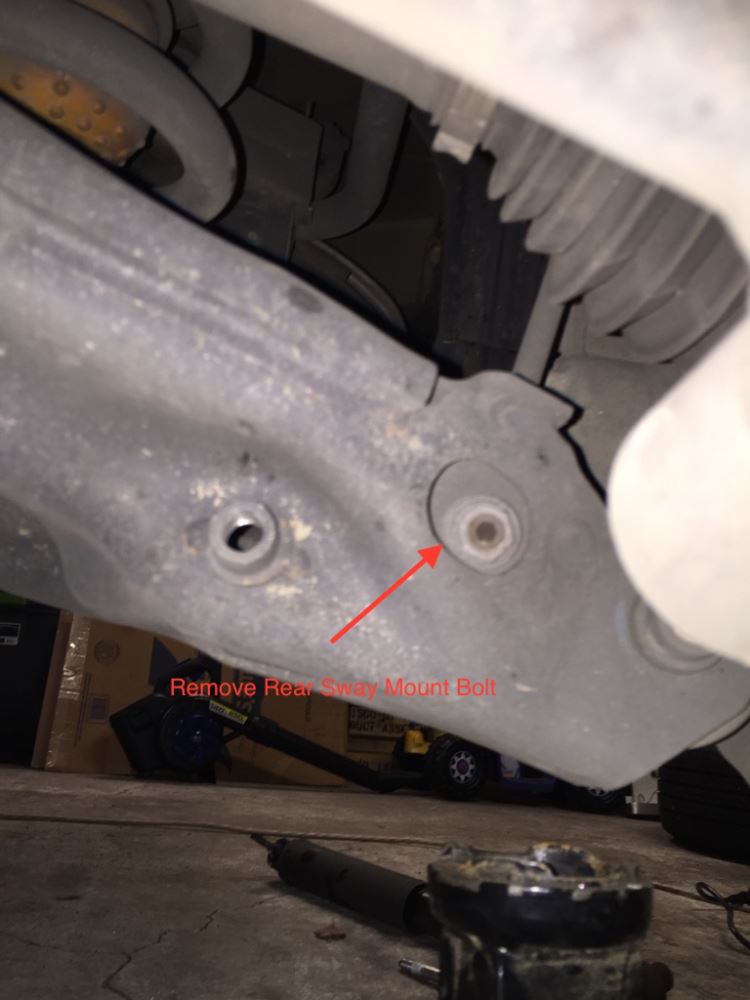
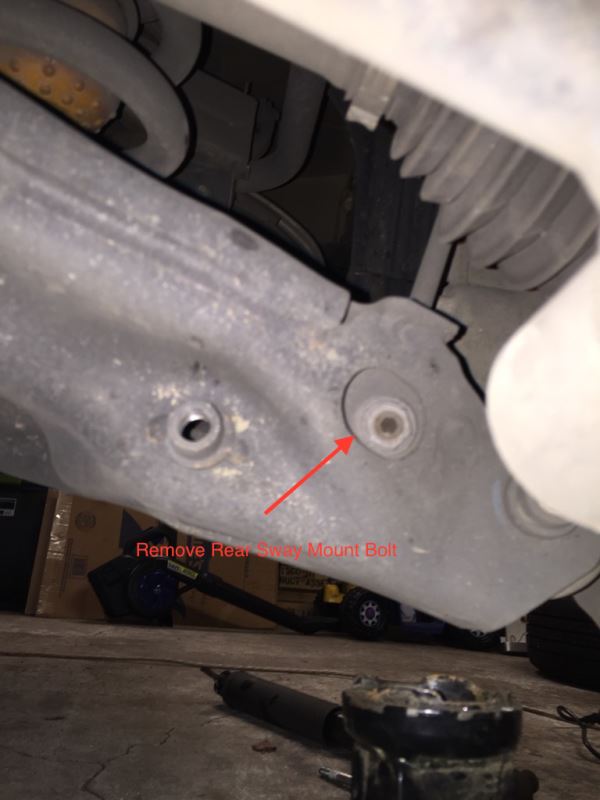
Brake the sway bar link end nut loose, after it has broken loose and spins you will need to use your 14 wrench and 5mm Allen to finish removing the nut. Tap the 5mm wrench or Allen socket into the sway bar links stud end. While holding the wrench on the nut rotate the allen socket/wrench clock-wise (yes, in the tightening direction). Use caution, if the allen begins turning in the stud, you will not be able to remove the sway bar end link and complete the installation. After removing the sway bar end link nut disengage the stud from the lower control arm.
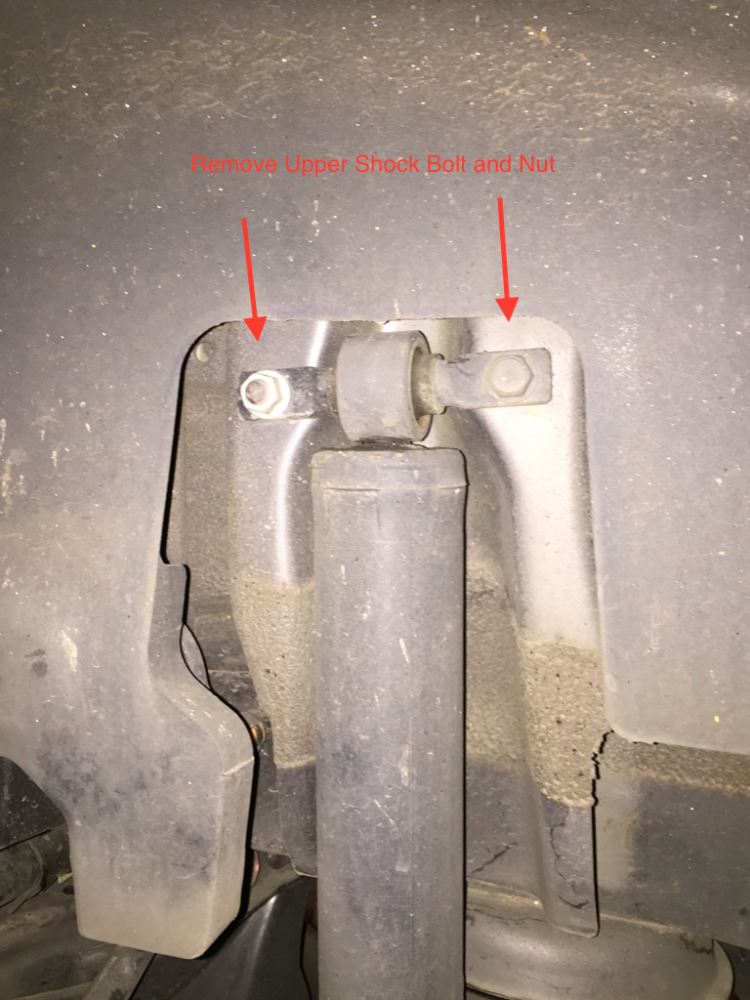
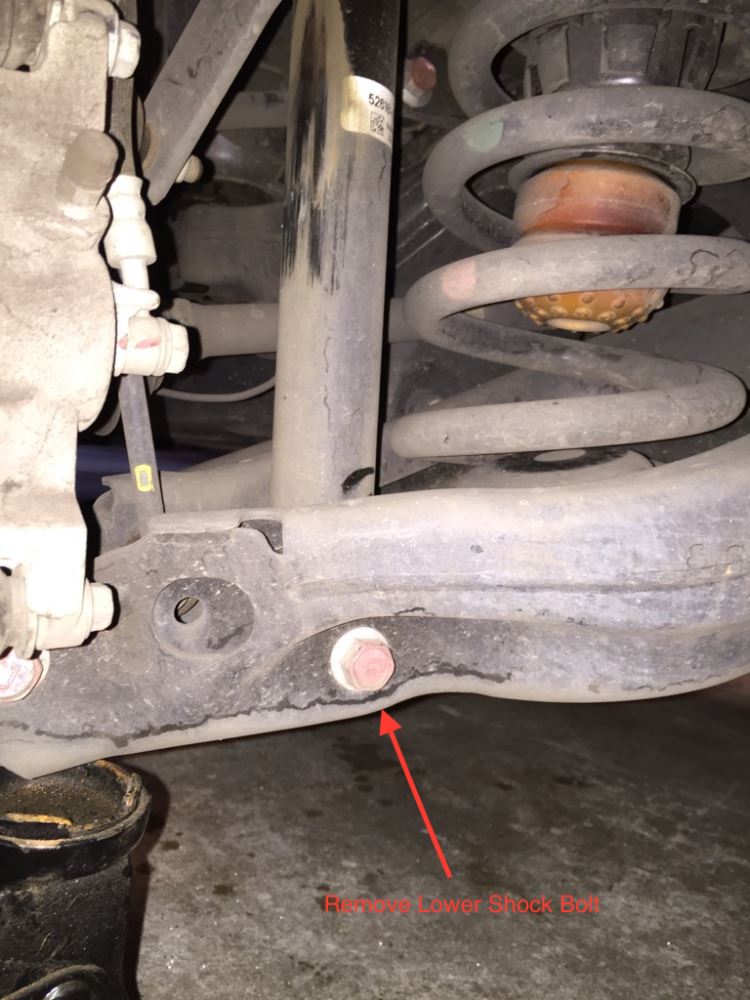
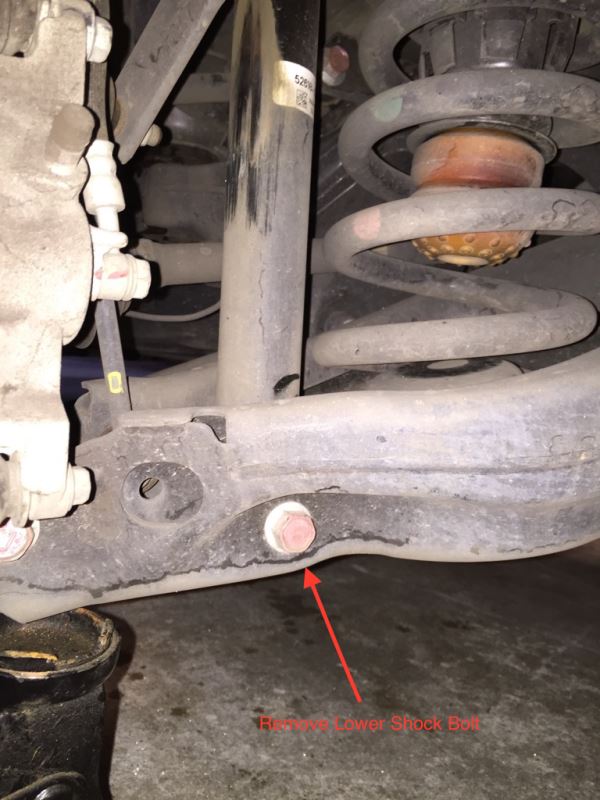
Install the jack below the lower control arm directly below the 19mm headed bolt at the spindle. Jack up slightly to remove some pressure in the spring. Remove the 17mm headed lower shock bolt in the lower control arm, remove the two 14mm headed bolts at the top of the shock and remove shock.
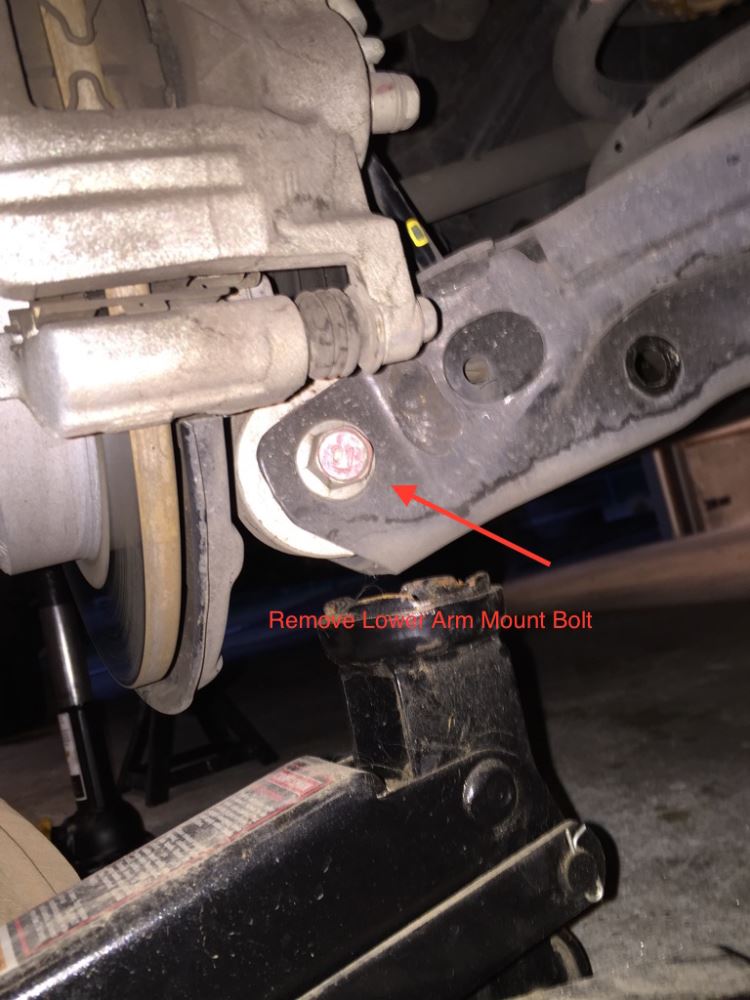
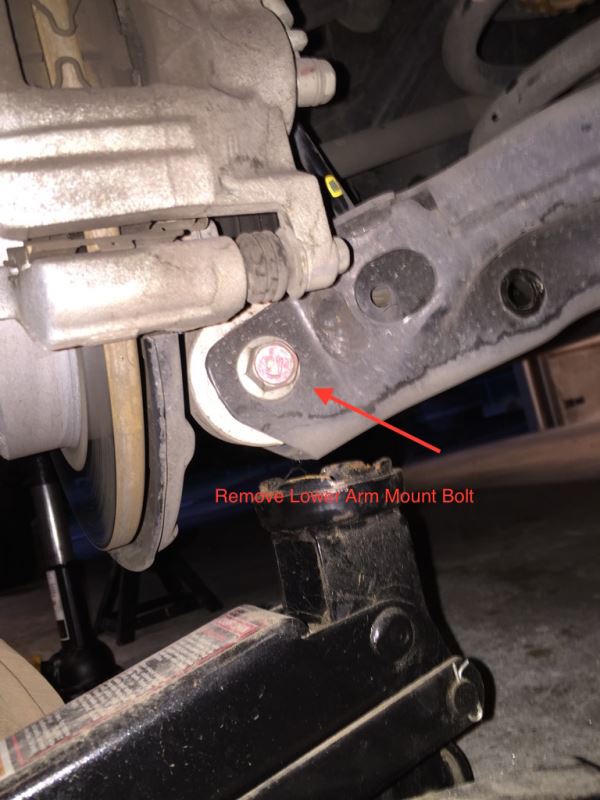
Make sure jack is secure under the control arm. Remove 19mm headed bolt at spindle. (you may have to remove caliper and bracket if your ratchet and socket cannot engage the bolt head.)
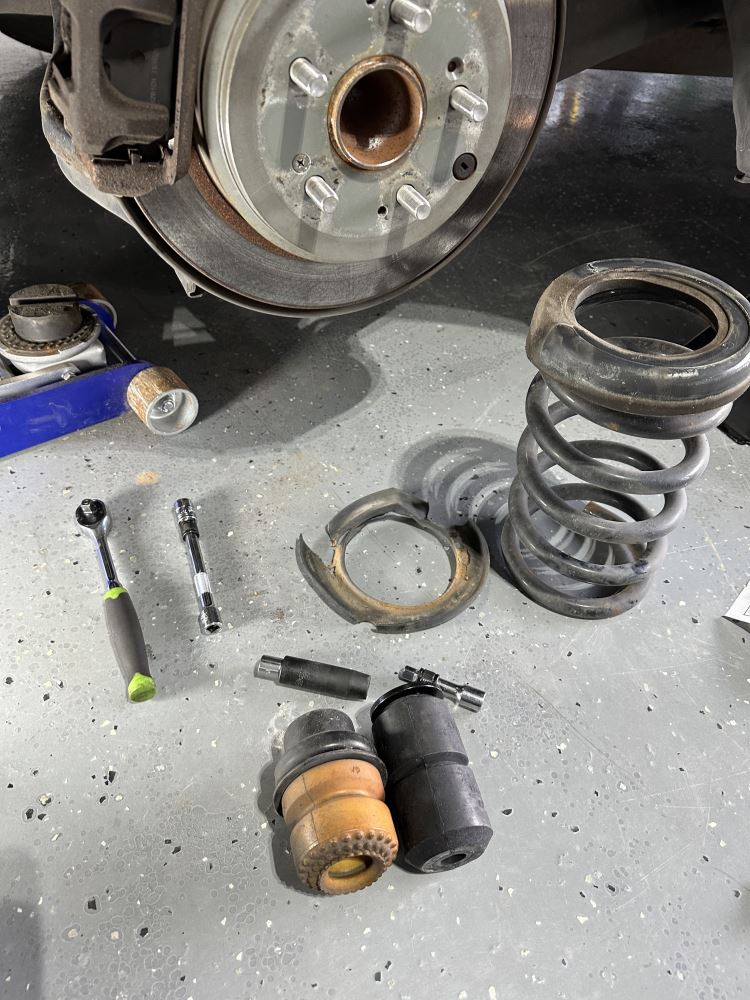
Now, mark the position of the upper spring seat mount in relation to the frame and the spring with crayon or paint marker. Mark the position of the lower spring insulator to the lower control arm and the spring. (This will help you get the spring and it’s friends back in the original and correct position, you will find that these items can and will turn out of position. They must be put back in their original position.)
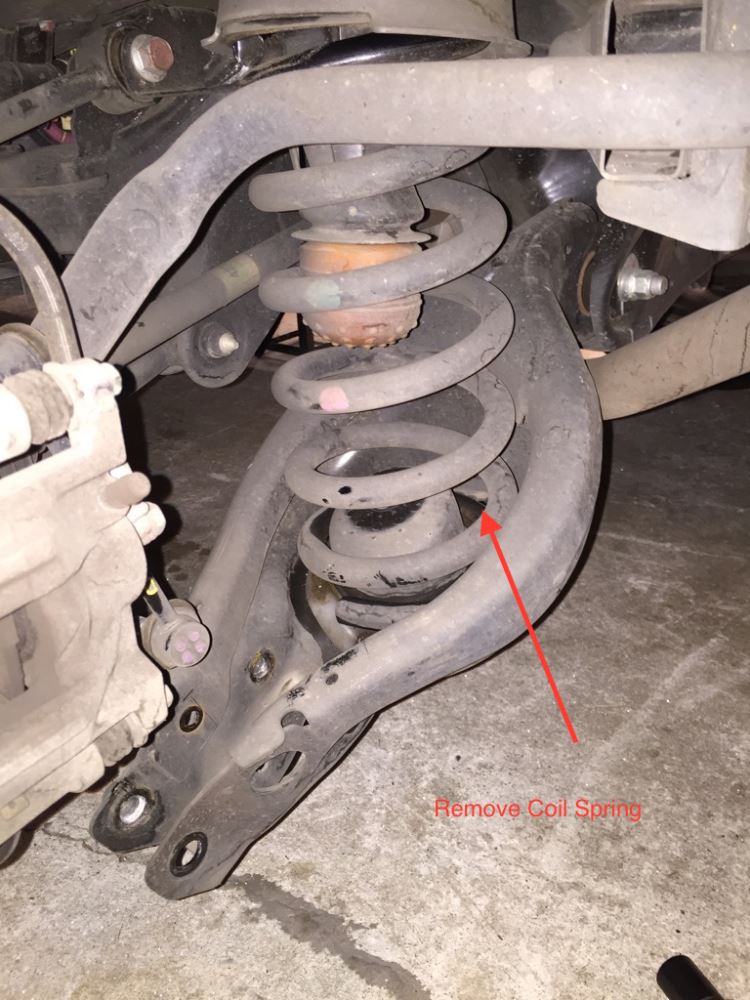
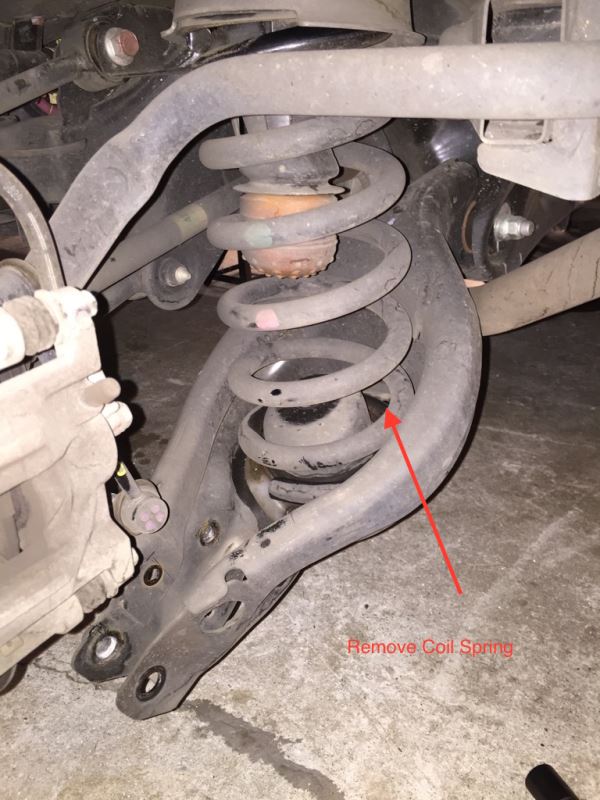
A friend will come in handy here, (and gloves). Push the lower control arm down low, then pry or pull the spring off its lower seat. Then pull the bottom of the spring towards the spindle, pulling down and then past the OE jounce bumper. Set spring aside.
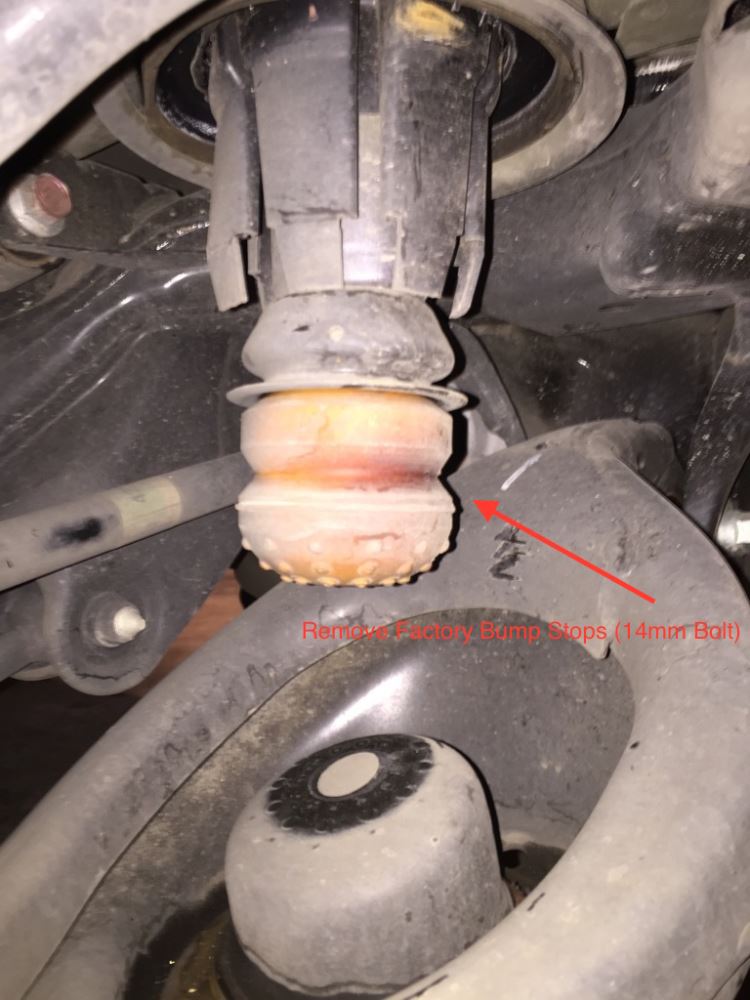
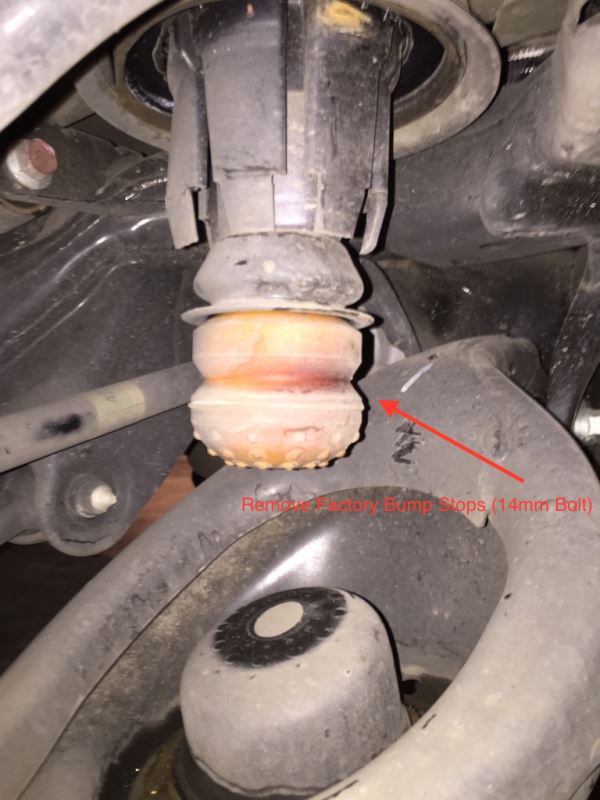
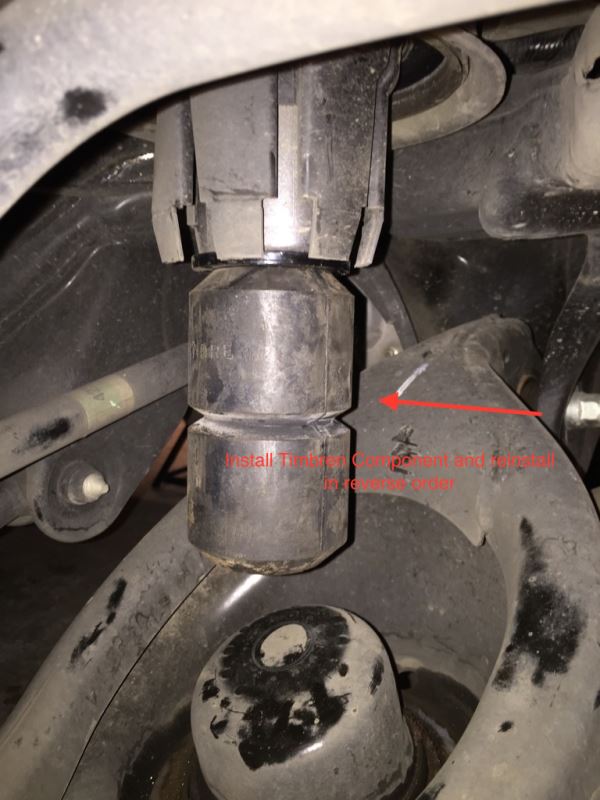
Remove OE bumper with a 3 inch extension and deep 14mm socket. The bolt is located inside and in the middle of the bumper.
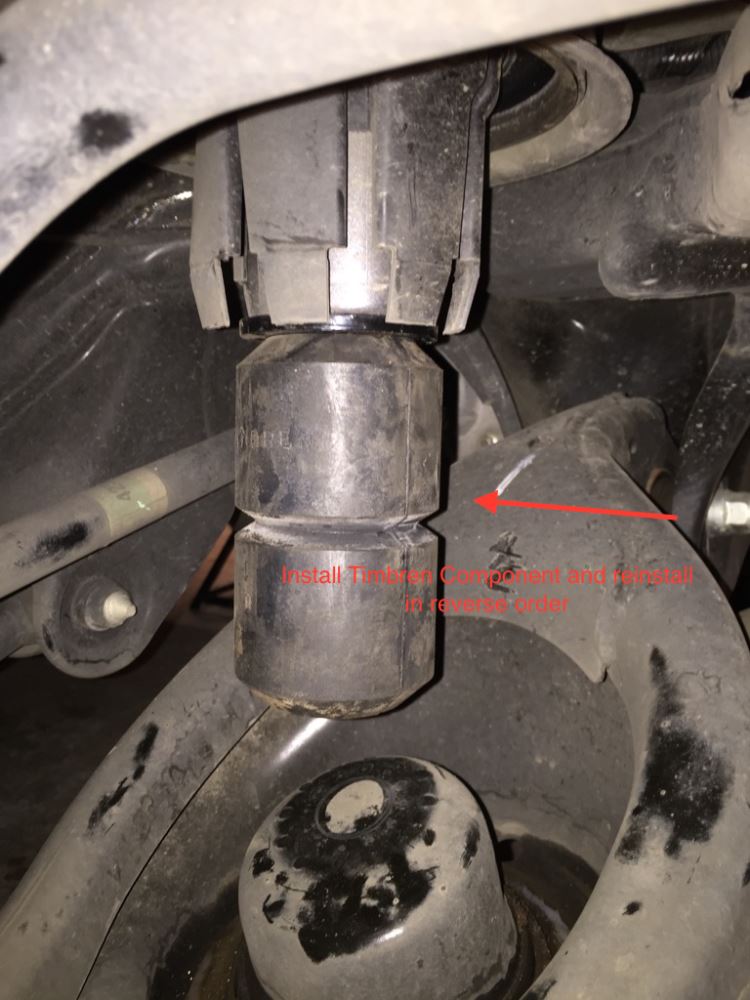
Install washer on the top of the new bumper, insert new 10mm allen headed bolt inside the bumper and through the washer on top. Install bumper where the old one was!
Installation of spring: pull down control arm, start spring around new bumper. Get it up and around it as far as possible. Use a twist upward motion. Then while lowering control arm push spring to get it over the lower seat. (That little hump towards the interior of the spring seat). This is not easy. If a friend can hold the spring in place (on the sides, in the middle from under the vehicle) while you push the spring in the seat it will be easier. I had to turn on “beast mode” to do it by myself.
Next align all your marks on the spring. If you didn’t make location marks you can look and see where the spring made impressions in the upper spring mount and put it back in the same place by hold the spring and turning the mount. The lower insulator and spring position should be aligned first, then the upper.
Only after the spring is correctly aligned, jack up the lower control arm and install the 19mm headed bolt into the spindle. MAKE SURE SWAY BAR END LINK IS INSIDE LOWER CONTROL ARM FIRST!
Put it all back together in reverse order.
Leave lower 17mm shock bolt and 19mm lower control arm bolt 1 turn loose. After this side is back together. Service the other side. When you are done and wheels are installed. Drive vehicle back and forth 10 feet or so a few times. This neutralizes the suspension. Now tighten the 17mm and 19mm bolts in both lower control arms. This is inconvenient but necessary so that the bushings are in the correct position when tightened.
My Pilot was raised 1/2” in the rear, I also aligned the vehicle to see if it had changed my toe measurement reading, to my surprise it did not. So you will probably be safe not having an alignment, depending on if you followed my instructions.
Positives: Happy Wife, she likes the better handling.
The handling is much more “truck like” now, roll is gone. It is much firmer in the rear now. Absolutely love it.
Time of installation:
(Professional 1.0 hr at home in “beast mode”)
Expect to pay 2.0 hrs for an honest shop to install them. An alignment wouldn’t hurt either.
Product arrived quickly and as advertised by etrailer. Upon seeing the product in person, it hardly seemed to warrant the steep price tag. It's basically two bolts, washers, and rubber bumpers. Install was easy and the video provided by etrailer was excellent. But even after the install, my 2016 Honda Odyssey still appears to sag under the modest weight of a trailer hitch bike rack and a load of weekend gear. In the end, I don't think this product warrants the price.
I installed these on my 2003 Honda Odyssey that I tow a small pop up trailer with. It really improved the road feel and the occasional bottoming out of my trailer hitch mount. The installation was fairly easy thanks to the video tutorial and the product fit perfect. I highly recommend it!
Great product Greatly Improved the ride and control while towing trailers with my 2008 Honda Pilot
Timbren THROD2 work as stated. Easy to install. We have them installed on our '06 Honda Odyssey to help us pull our pop-up camper (2k# dry). The suspension was being bottomed out with 3 kids, camping gear and tongue weight of our camper. While they won't raise like an air bag system they don't require any maintenance either. Set and forget them. They will support once the springs are being maxed out. Much better ride when we have a loaded vehicle. They are also nice that they won't affect the ride when driving with light or regular loads. We have owned and used them over a year now with multiple trips and glad we bought them for our Odyssey.
Product requires removal of coil springs, sway bar, original stop bumpers, and wheels to install. Product contacts lower swing arm when installed and not under a loaded condition. Increases stiffness in suspension and also creates a rougher ride and increased road noise. It does prevent the typical sag in the rear suspension. There is no gap between the newly installed Timbren rubber and the vehicle suspension when installed and the normal weight of the Pilot as per instructions indicate there should be.
Michael C.

3/22/2015
Suspension is solid! Vehicle rool on turns is gone, towing an enclosed 16 foot cargo trailer is a breeze! Nice product and never have to worry about loosing an air line or bag because this system is simple and solid. Keeping it simple!!!
Product installed easily into 2015 Honda Pilot Touring 4WD. Both sides took a little over an hour to install. I've noticed minimal ride quality difference when not under load, and a stiffer ride under a 430 pound tongue weight but less sag in rear suspension.
I purchased this product for my 2013 Honda Pilot to avoid rear end sagging when towing our new travel trailer. Tongue weight on the trailer was near 400 lbs. I had my mechanic install the Timbren's as it required some rear suspension disassembly before the coil springs could be removed. That was a good call. The install on the Honda is more complicated than most. End result was a less than 2 inch drop in the rear end under load and no weight distributing hitch necessary. Great purchase. Great product.
Despite reading about the popularity in using Timbren’s for suspension modifications to assist in ride quality when loading up the Odyssey, I haven’t found many reviews about the Timbren’s for 4th gen Odyssey though there are a ton of positive reviews for the 5th gen Odyssey on the forums and internet.
I went with Timbren’s due to the “set it and forget it” lack of maintenance. I do notice a more stable ride even unloaded at highway speeds. There’s less sway in on/off-ramps and big sweepers. Not a huge change, but warmly noticeable. About the same quality of change one might experience from buying a brand new set of tires vs. not dangerously worn down tread. Where it really shines is under load/heavy cargo.
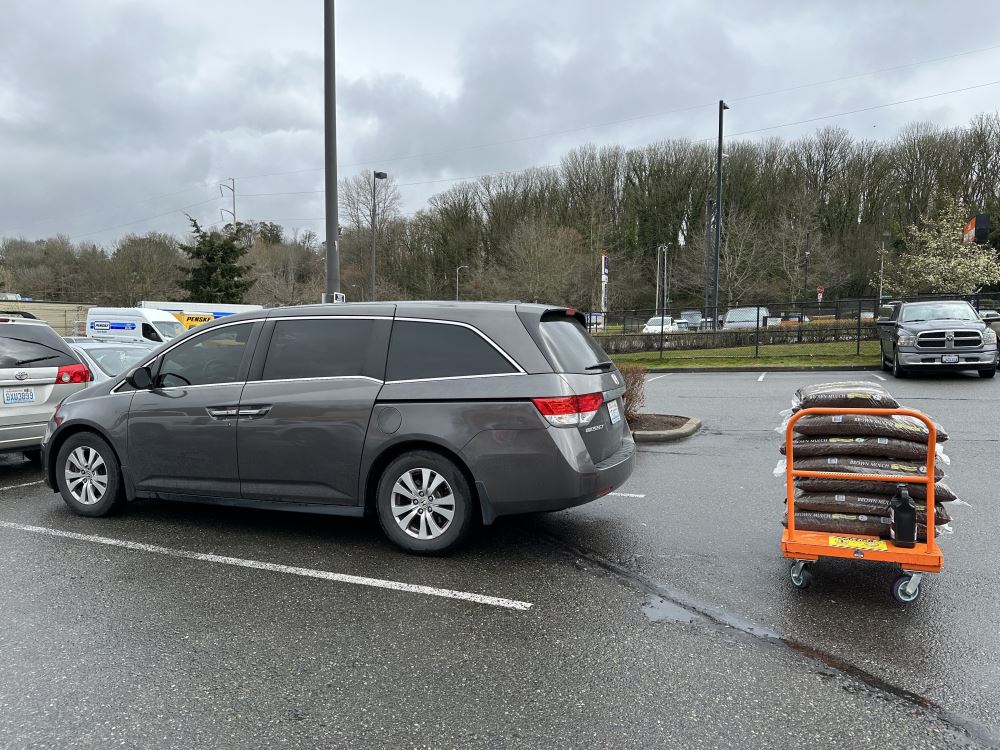
Before Pic (unloaded mulch); After Pic (loaded) - definitely not as much squat as with the prior OEM bump stops! Comfortable ride with less jostling/sway and haven’t bottomed out the springs over rough road. I’m impressed! Install was fairly easy, about 45 min per side taking my time, cleaning removed parts. One year later, I haven’t had any issues, and I feel very comfortable loading the minivan with all our gear/stuff.
I do not tow.
I bought this kit for my Honda Odyssey because my winter tires would rub the rear fender liner when I hit a bump, especially if I had people or cargo towards the rear cabin. I ended up removing this kit and replacing them with a 1,000# air bag helper kit that fit inside my rear coil springs. The airbags enabled me to dial in the exact ride that I wanted, furthermore they were less than half the cost.
Pros: easy installation, long life, always in place, maintenance free, no airbags to pop.
Cons: non-adjustable
If you have a honda odyssey you need these-they improve handling and are easy to install I am 75 years old and got them in there in 1 hour-I guarentee you will love them
I installed these on my Honda Pilot along with new rear springs and shocks, plus all new front suspension. The difference is night and day. Being front wheel drive, the Pilot was sagging in the rear causing poor road contact with the front tires. These bump sticks were only part of the fix, but they certainly have helped fix all of my issues. My 4500 lb trailer tows just fine now. I was thankful to find this excellent product
Do you have a question about this Vehicle Suspension?
Info for this part was:
At etrailer we provide the best information available about the products we sell. We take the quality of our information seriously so that you can get the right part the first time. Let us know if anything is missing or if you have any questions.








































Jesse B.
2/10/2018
Both are working great! Everything I have purchased from you is working like it’s supposed to.