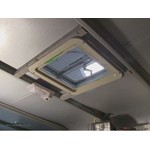
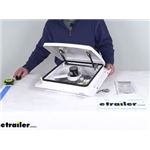
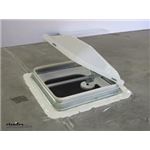
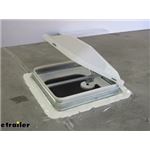
Swap in roof or wall vents to boost airflow and manage moisture. Options include reversible multi-speed fans, rain-ready covers, and temperature-triggered opening, while some covers don't include bug screens. For replacements and upgrades, confirm your vent model, plan 12V and wall-control wiring where required, check clearance near solar panels, keep screens clean, and factor in noise if you run the fan overnight.
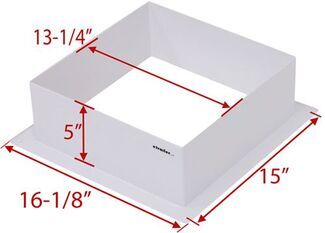
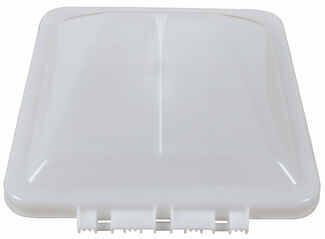
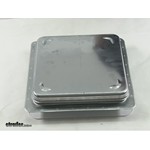
Check the brand on the vent and look for stamped numbers like AS-13M-VDO449 or VB0568. Note the lid style, such as old style rounded dome, and the rough opening size like 14-1/4" square. Match color preference (white or smoke) once the model and style are confirmed.
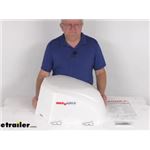
Tall, tapered covers provide more lid clearance and may use a separate bug screen. Lower-profile, straight-louver covers sit closer to the roof and do not have a bug screen option. Measure your space and check if you need added height for a fan lid that opens high.
Expect some noise, especially at night, though adjustable speeds can help. Look for features like reversible airflow and temperature-based automatic opening for better comfort. Keep the screen clean—brushing debris off helps maintain smooth airflow.
Installing the new unit is typically straightforward; removing the old sealed unit can take time if self-leveling compound was used. Cut silicone at the hinge, open the lid halfway to disconnect the crank arm, then remove screws. Seal new screws with self-leveling caulk and keep it out of the upper hinge.
It can, but clearance varies. Some lids may lightly contact a cover when raised without affecting operation. If your lid opens higher, choose a taller cover. If your fan has factory brackets on the lid, pick a cover designed to pin to those brackets with included hardware.


 Filters