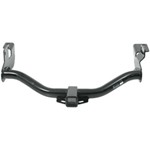
Trailer Hitch Size:
1-1/4 Inch Hitch Opening
Towing Capacity:
200 Pound Tongue Weight
2000 Pound Towing
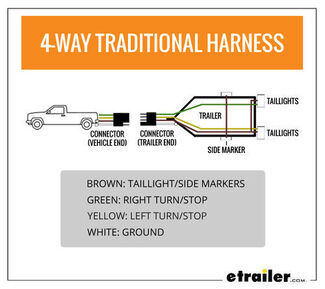
Trailer Wiring:
Recommended Ball Mount:
Features:
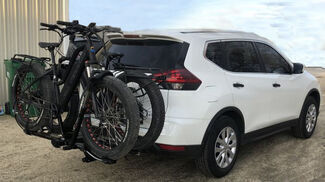
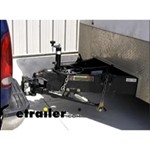
Perfect for light-duty towing, this custom, vehicle trailer hitch receiver features fully welded, gloss powder coated steel construction. Drawbar sold separately.
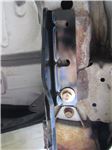
Installation Notes:
No drilling through vehicle frame required for installation
Trunk access required for hitch installation
Fascia trimming required for installation
More Information > Filters