


To see if this custom-fit item will work for you please tell us what vehicle you'll use it with.


Thank you! Your comment has been submitted successfully. You should be able to view your question/comment here within a few days.
Error submitting comment. Please try again momentarily.


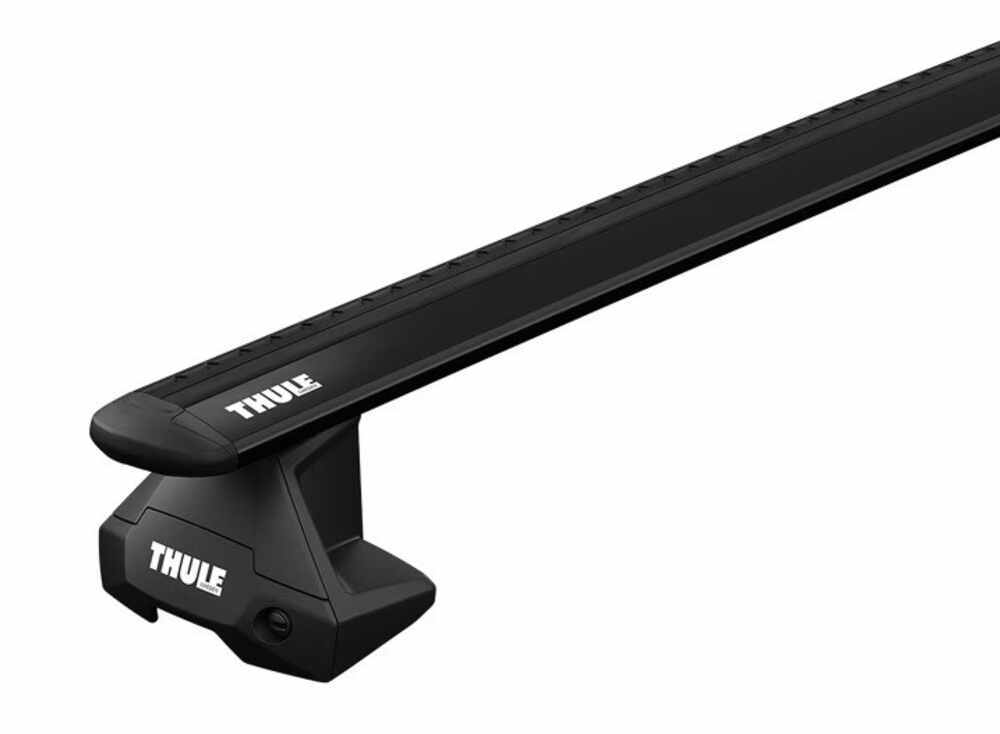


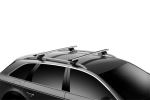
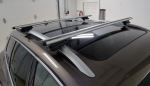
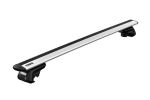
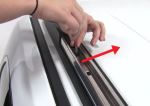
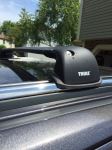
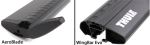
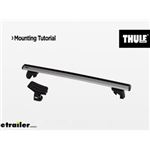
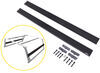
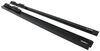
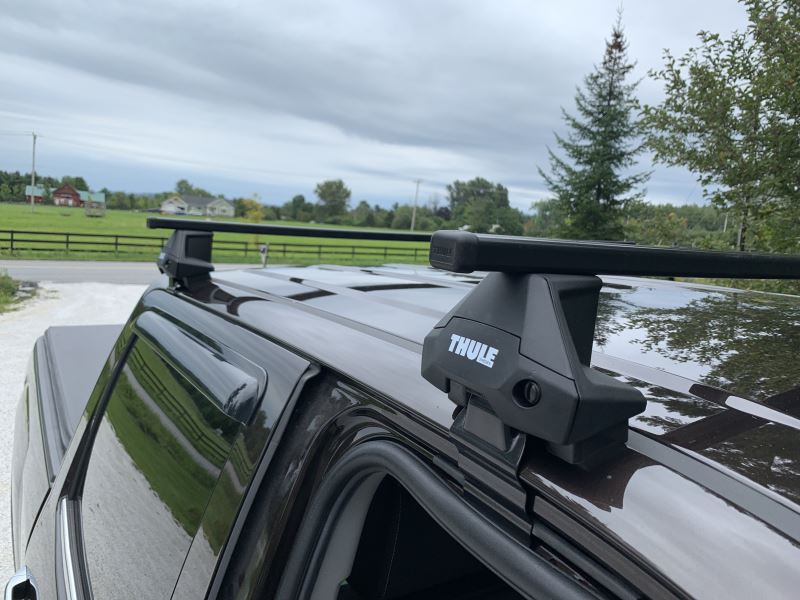
This Thule roof rack lets you carry cargo and gear on your vehicle. Aerodynamic crossbars with split rubber strips in top channels work with channel-mount and clamp-on accessories. Installs on your vehicle's naked roof.
Features:
Specs:
 Alternate Instructions
Videos are provided as a guide only. Refer to manufacturer installation instructions and specs for complete information.
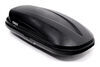
Hi, John with etrailer. Okay, so you have your Telluride, you have the third row seating, and you still need more room. Here's a popular accessory. This is the Thule Roof Rack System. It's going on our 2023 Kia Telluride. One of the reasons I like this system so much is just maybe, for this, you can throw a roof box up here and gain a ton of space inside your vehicle.
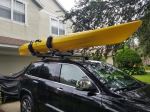
A lot of times if you're traveling, your hitch is already gonna be used either towing the trailer or if you have a bike rack or something back there. It's easier to load bikes on the back than up on the roof. But, this system can take a bike rack as well. Can also load kayaks up there. All right, so the crossbars come in black.
They also come in silver, so it's gonna give you a couple of different color choice combinations. They are 53-inch crossbars. They're gonna add approximately 4 inches of height from your rail up to the top up here. If you have T-slot accessories, this is something else I like. You just flip this forward and you have access to the T-slot here.
So another feature that I like is the noise or wind noise. These crossbars are pretty aerodynamic. Everything touching your Telluride is gonna have a rubberized surface, even the coatings down here. Now, if you would prefer to have a little bit more security, we do have lock cords available. So you could actually lock these crossbars to the Telluride.
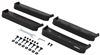
Now this system is super easy to install. It'll take you maybe 30 minutes. You can do it in your garage. You can do it on your driveway. If you wanna see how we did it, stick around. All right, so to begin the install here, we've already got one of the crossbars installed. So that's gonna be our end result. What we can do right now is show you how to assemble the crossbar. We're gonna have everything here that came in the kit. You have the feet, you've got the crossbar itself, the end caps, then you have the custom fit kit here. Also, this is a torque tool. It's really an Allen head but it'll torque to a specified setting so that we know that our feet are on tight. So to begin with, we can assemble our feet. We're gonna grab one foot here, and this is gonna be the top section. These parts on the fit kit actually are stamped A and then C. So go ahead and grab A. I'm gonna slide that over the tabs, like that. We'll take one of the feet, and then just snap in to the bottom of it, like that. And then you could take part C here. We're gonna go over the hook, and then we'll have the screw exposed there. Then take, you have a threaded end on this nut. And then you have the hex head end, which the tool's gonna insert into. So we'll take the threaded end and just spin this on about two rotations or so. And essentially, this foot's complete. We'll go ahead and repeat that for the other. Now with our feet assembled, we're gonna go ahead and install them on the crossbar. We can take the crossbar. Underneath you'll see that it has a T-slot, and the top of our foot has the metal and the two plastic fittings on top. This will actually just slide in, like that, and it's a good time to go ahead and put our end cap on, (end cap clicks) like that. We'll go ahead and repeat this on the other side. With the crossbar assembled with the feet, we'll go ahead, and we can swing this up and over it. Be good to have an extra set of hands, but these are pretty light and it's not too bad to handle. And we'll set these on our rails. Now, I marked with painter's tape on the car the minimum distance that Thule recommends to have these crossbars set up. We can see how the different widths are gonna affect it. If you have different accessories, you can move 'em back and forth. Just make sure that you don't go any closer than the minimum recommended distance. So once we have it set up here, everything is still loose. You can see the crossbar is able to move left and right. So you'll gonna want to center this. You can get a tape measure or just eyeball it. We're gonna go ahead. Set it in here. This should be pretty good. So once you're satisfied that you're equal both left and right, and forward and backwards, we can go ahead and tighten it down. And this system is pretty good. You'll insert the provided tool, and just start spinning clockwise. Now, this motion is gonna tighten both the clamp at the bottom and the crossbar itself all in one. That's what I really like about it. Once you have it snugged on one side, come around to the other side and just go ahead and do the same thing. You don't wanna fully clamp one side and still have the other side loose. So with both sides snugged, we'll come in for a final torque. And again, this tool is gonna do all the work for you. It will simply just click, kinda like your gas cap when it's reached the recommended torque that Thule wants. (clamp clicks) Now once you have all four feet torque down the specifications, then we can put our end caps on. You'll see that this has a flathead screwdriver and you'll turn it to lock it on like that. So in order to put it in, will be horizontal. Go ahead, match it up there, and give it a quarter turn so that it's vertical and it's locked on. And that was a look at the Thule Roof Rack Kit on our 2023 Kia Telluride.
Ratings & Reviews

Steveo

1/27/2023
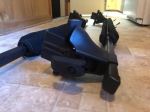
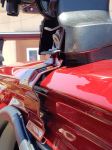
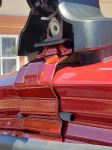
Not nearly as happy as I was! I love the rack style, and it works OK, but the rubber strips on top are a bad design. Once I had one of the strips fly off while driving, and the wind noise was horrible after that. Luckily, I made a note of where I was, and went back and found the strip on a freeway. This time I GLUED it in, because even though it was properly seated the first time, it came off. Then, the same thing happened on the rear rack! This time I caught it before it blew off. The front one had been driven over by a car or two, so I was going to replace it rather than reuse it - until I found the price of this simple piece of blow away rubber - it was outlandish I think it was $80 for a set - ridiculous at even half that price!. So I ended up gluing them in AND I put an eye bolt on both ends - since it seems to come loose at an end and work its way across. The idea is good, but the captive track is not adequate, and Id rather just take them off - but the wind noise is unbearable, so Im just going to make due.

Tulga
12/2/2023
So far so good. Could not ask for better
Steven
8/22/2022
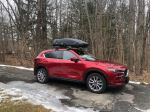
Review of Entire set: After a year of using this, it still works very well. Easy to take on and off your car and make slight adjustments if needed. Only maintaining is really just cleaning it which is simple enough. No issues with lockingunlocking with the keys. It has definitely helped saved space for my tiny Honda Civic.



Brooke M.
9/7/2021
Hi Michael, thanks for the review! For future reference, you might consider trying a wind fairing to help cut down on noise. These will not get rid of all sound, but they are designed to cut down on noise quite a bit. I hope this helps!

Christopher H.
8/4/2026
Sorry to hear that you were missing one of the end caps. If you let me know if you're missing a left (driver) or right (passenger) we can get you a replacement shipped.
Douglas
8/28/2022
My purchase from etrailer.com was world class. And their service was superb. They are a 5-star organization. They are knowledgeable folks with experience in what they sell. They will quickly get you out of what would otherwise be a nasty, complex situation and make it look easy. You can trust this company. Put them to work for you. Note, I do not own stock in this company but wish I did.

Heather A.
11/29/2021
I can see that you got the 52 inch Thule square bars. The square bars are known to whistle compared to the aerodynamic cross bars. I recommend the Thule AirScreen XT part # TH22WV to divert the wind up and over the cross bars to eliminate some of the wind noise.
Helpful Links
Bruce
2/13/2021
Sits too high off roof and hear lots of wind noise
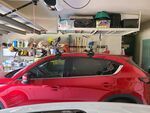
Do you have a question about this Roof Rack?
Info for this part was:
At etrailer we provide the best information available about the products we sell. We take the quality of our information seriously so that you can get the right part the first time. Let us know if anything is missing or if you have any questions.



























Darrel P.
1/23/2022
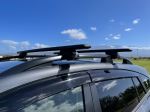
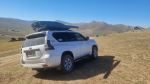
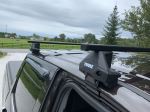
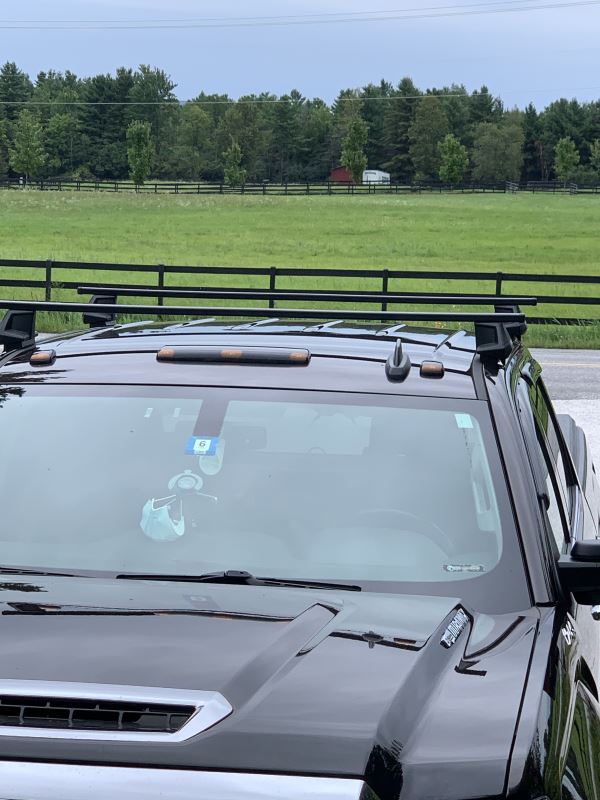
It’s been a year since I purchased and installed these. They’re still holding up and look great. I added a roof rack on top of it using the slots and t-bolts. Definitely worth every penny! You will not be disappointed! ????