


To see if this custom-fit item will work for you please tell us what vehicle you'll use it with.


Thank you! Your comment has been submitted successfully. You should be able to view your question/comment here within a few days.
Error submitting comment. Please try again momentarily.


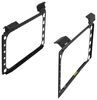
Protect your vehicle from mud, rocks and road debris with this pair of mud guards. Extremely durable, thermoplastic construction is both weather and impact resistant. Sleek, contoured design and black finish pair for great-looking, functional guards.
Features:
If you ever tow a trailer, boat or car, then you know the importance of keeping flying debris to a minimum, and these mud flaps are designed to do just that. Husky Liners' custom-molded mud guards are tailored to perfectly fit your vehicle's rear fenders. They are longer and wider than traditional, factory mud flaps, giving you a mud guard that looks great, fits great and provides the most coverage possible.
Videos are provided as a guide only. Refer to manufacturer installation instructions and specs for complete information.
Today on our 2012 Toyota 4Runner, we're going to install the Husky Liners Custom Molded Mud Flaps, part number HL57921. This Husky Liners' set of mud flaps will be installed on the rear wheel well. Now, to make the install easier, I've gone ahead and remove the wheel. Once you identify the driver and passenger's side, we're going to go ahead and take the driver's side here and match it up with the vehicle. I need to identify the area that need to be cleaned so that we can put a clear film in between the mud flap and the paint. Our clear film will run from the top of the mud flap where it meets the plastic body underneath the vehicle.
So I'll just make a small mark here and then I'm going to take a permanent marker and just make a small dot on the inside that will get covered up when we install the mud flap. Now, I can take some cleaner and we want to spray and clean this area thoroughly. This way, our clear film that we put on would adhere well. Now that we've got our area prepped, there are a few fasteners that need to be removed. Next, I'm going to show you quick tech tip because our clear under laminate film will stretch all the way to the edge of the paint.
There is a pushpin underneath that will get in the way. To make it easier to install the film, we're going to go ahead and remove this pushpin. We need to get underneath the center of the pushpin and pry it out, and then once we had the center pried out, we can go ahead and remove the whole pushpin. Now, I will recommend that you go ahead and clean the area again just to make sure no additional dirt got in the way. Now, we're ready to go ahead and install the film strip.
To do this, we're going to apply a soak and water mix then we'll take the pre-cutout strip and put it in place. I'm going to start at the bottom edge of the paint and work my way up. Now, we're taking a squeegee or a sponge, or even a household soft spatula. We're going to go ahead and squeegee the water out from underneath the film strip. We want to push all the water and air pockets out from underneath.
Next, we're going to go ahead and allow our film strip to dry and set up nicely before we can install the mud flap. Now that our film strip is set up, we're going to go ahead and go back underneath. We'll remove our pushpin tab. I'm going to take a sharp razor blade and cut a slice through the film strip so we can reinstall the pushpin. Now with our pushpin reinstalled, we'll move on to the next step which is removing the three fasteners on the inside of the wheel well. These pushpin fasteners will be removed and will not be reinstalled. Once again, we're going to pry the center of the fastener out and then remove it. Now, to install the mud flap, we'll be using three screws. In order to install the screws, we need to install three new fasteners. These are going to go behind the inner wheel well and snap into place where we just removed the pushpin fasteners. Now with our fastening hole down is in position, we'll go ahead, put our mud flap in position with the screws provided, and with our three fasteners installed, we can go ahead and reinstall the wheel. And that will complete the install of our Husky Liners, part number HL57921, on our 2012 Toyota 4Runner.
Ratings & Reviews


Paul
4/10/2014
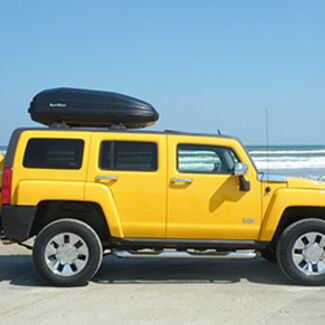
I love them. They work great and look great. I did notice the other day that one of the mud flaps was missing a locking piece. Not sure if you can help with that. Thanks for reaching out.

Ken

11/22/2019
After install I have been very pleased with the fit and finish, they work as they should.
Brian S.
4/20/2015
The mud flaps still look great and have done a great job helping to keep the truck clean. Awesome product.

Ken
11/22/2019
After install I have been very pleased with the fit and finish, they work as they should.
Paul
11/5/2018
It has been a year and the mud guards are secure. No problems.
Chet C.
4/25/2016
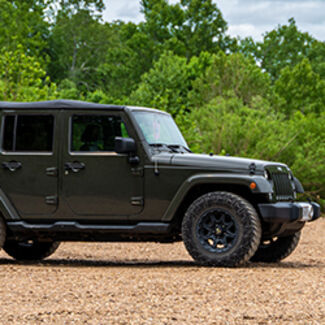
They are holding up great.
Doug W.
1/27/2015
Thank you for the note and followup. Its a first for me from any company, frankly! The product is still as I stated, holding up like new, and just no problem whatsoever.
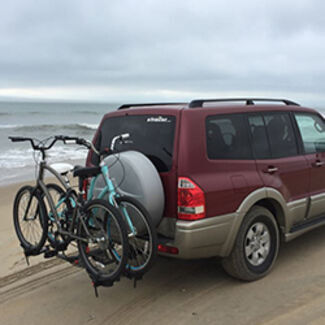
Michael
1/28/2019
Working just fine. No issues.
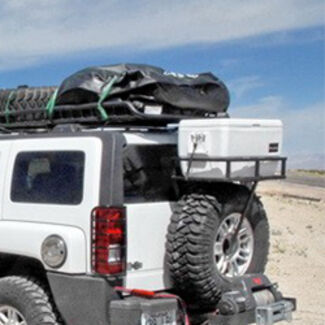
James H.
8/14/2016
G_R_E_A_T ProductII Would recommend to all.
Jr
1/22/2017
The perfect fitment and ease of installation easy and they are in the same new shape as when installed. Great Product, best product I have every purchased.
Info for this part was:
At etrailer we provide the best information available about the products we sell. We take the quality of our information seriously so that you can get the right part the first time. Let us know if anything is missing or if you have any questions.














Karl
12/31/2013
How much wider and taller are these over stock mudflaps on a 2012 4Runner Trail Edition? Thank you