
Inno Aero Flush Roof Rack for Naked Roofs - Aluminum - Black - Qty 2


To see if this custom-fit item will work for you please tell us what vehicle you'll use it with.


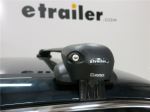
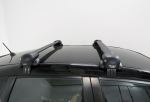
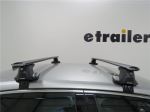
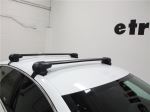
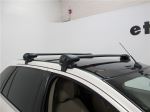
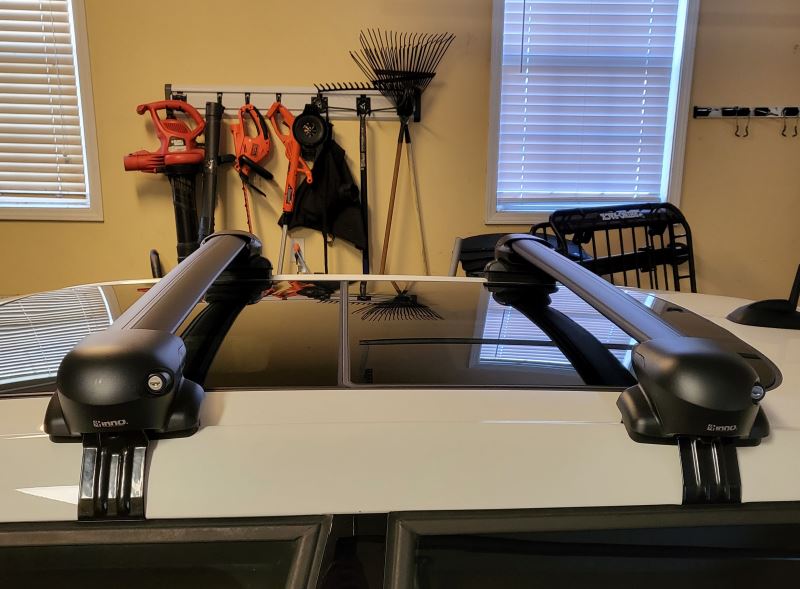
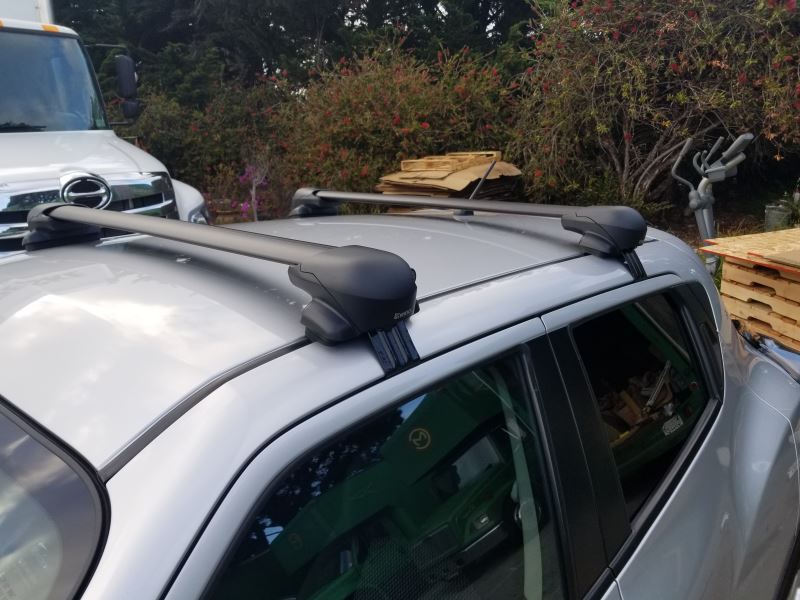
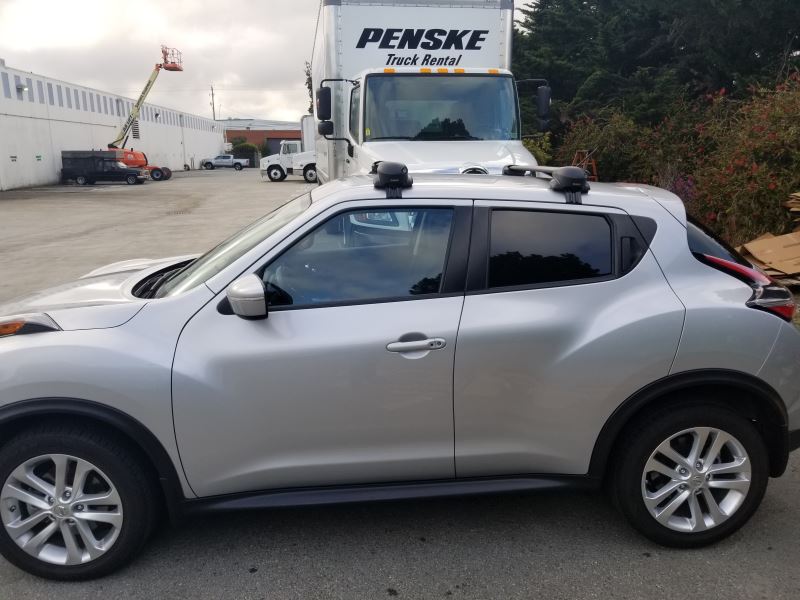
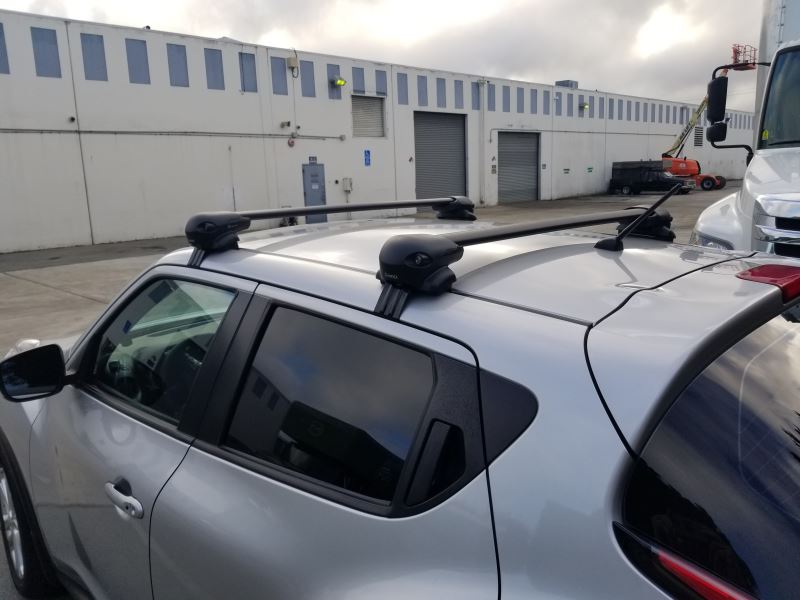
The Inno Aero Flush Roof Rack keeps things streamlined with a flush design that sits tight against the roofline. Nothing sticks out past the feet, so it looks like it came straight from the factory. The two 42" aluminum crossbars have a low profile that blends in cleanly while staying tough enough to handle heavy loads.
Wind noise can wear on you during long drives, but these aero-style crossbars help keep things quiet. The aerodynamic shape reduces drag, and the rubber strips fill the top channels to cut down on whistling and vibration. You get a smoother ride without extra noise from your gear up top.
Whether it’s kayaks in summer, skis in winter, or a cargo box for road trips, this rack handles it all. The bars work with both channel-mount and clamp-on accessories, so you can use the gear you already have or swap attachments as your adventures change. It’s ready for cargo, water, snow, and bike carriers.
When you’re parked at a trailhead or campsite, lockable leg covers help keep your rack and channel-mounted accessories secure. It’s a simple built-in way to deter theft and protect your setup when you’re not around.
Each crossbar is made from durable aluminum that resists rust and wear. With a weight capacity of 165 lbs—always staying within your vehicle’s roof load limit—you can carry everything from paddleboards to camping gear with confidence. Finished in black with a limited lifetime warranty, this rack is built for years of trips ahead.
 Alternate Instructions
Videos are provided as a guide only. Refer to manufacturer installation instructions and specs for complete information.
Hi everyone, I'm Evangeline right here at etrailer. Today we're taking a look at this INNO roof rack system here on our 2024 GMC Terrain. Now there's plenty of different roof rack options if you're looking to carry around some gear on top of the roof of your car. But depending on what you're carrying, how long you're leaving it on there, I do have some different recommendations or things to, like, look out for to make sure that you get the best fit for you. And later in this video, I'll also show you how to get this all installed. As you get the right roof rack for you, it's first important to make sure you get the right type because your Terrain comes in different trims.
So you might either have a naked roof, which is what we have here, or you might have raised rails. It's always a good thing to use our fit guide, put your year, make, and model here on our page, and then that's where you can see all the different options depending on your roof type. Of those different options, I personally really like INNO. I think they're really good quality. They have very nicely machined fit kits for the Terrain where the pads and the hook fit well against the vehicle.
In fact, personally, I actually had an INNO roof rack system on my Prius that had a naked roof for those exact reasons. Now the INNO roof rack I had was the through feet version and you do have those two options. So you can either have this flush foot version where it's a lot more sleek, more aerodynamic, and it doesn't sit out past your car. You can also get the through feet version with a longer crossbar. The downside for that is if you're a taller person, you may hit your head on the crossbar a little bit more often.
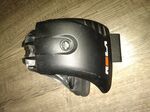
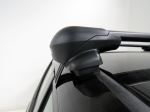
Now the flush version has the same crossbars just on a smaller end. So you can have the aerodynamic shape. You're going to have a channel mount for channel-mounted accessories. You're going to have a press down and push design here so you don't have to cut anything up. And this is all secured by an end cap that comes with locks and keys.
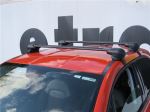
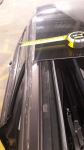
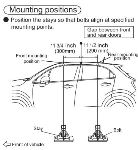
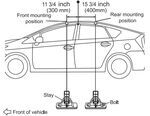
That's a huge thing with INNO rather than having to purchase it separately. It all just comes together and it's all key to like. Because of how specifically designed that fit kit is though, you are set to a very specific spot on your roof for where you can put your front and your rear bar. You can't really make much adjustments. So for your crossbar spread, which is distance from one roof rack bar to the other, I measure at 27 inches center to center. That's on the shorter end. So be mindful of those accessories like ski and snowboard carriers, roof boxes if you want to carry on kayaks and just double check their recommended crossbar spread to see how this will line up with that. This also sits pretty low to your roof. So taking measurements here from the top of the roof to the bottom of the bar, I have a measurement of two inches. And that means if you have things that clamp around, let's say U-bolts and wing nut style the old fashioned way, you might not have as much space for that. Look for your more sleek strap style clamps or your thinner clamps so that you know for sure it'll fit. The next measurement I take is the height added to the top of the roof and I have it at around three inches. Those measurements will change depending on where you measure because of your roof ridges and that's how high up your cargo's going to sit. So picture this, you have skis with extra tall bindings. You want to make sure that you have enough clearance so you're not scratching up your roof with those bindings. If you find that you don't, that's okay. We have accessories here at etrailer like ski carriers that have a little bit of a ski lift so that sits higher up off the roof giving you that clearance. Now an easy fix though is look into channel mounted accessories that go into the channel and then you won't have any clamps going around your crossbars and that will for sure fit. Another reason I recommend channel mounted accessories is that you can use more of your crossbar compared to when you have to clamp it down. This is what your roof rack looks like from the front. So for space inside the towers to towers, I measure here at around 36 and a half inches. For this space up top, I measure here at around 40 inches. A lot of people want that measurement because how much things can they then put on top of their roof Remember you do have about 100 pound weight capacity though with this system as recommended from INNO. So just stay within those measurements and stay within that weight capacity as you plan out your adventures. For roof rack kits on the Terrain, I really like the INNO system. I really like how their pad is machined as well as their hooks. Yes, it clamps into where your door goes, but when you install it properly, you can slam your door on that hook no problem. Plus the fact that it comes with everything you need, all you need to do now is load stuff on there is pretty nice too. So if at any point you're not sure which roof rack you may prefer or what accessories you want to put on it, feel free to reach out to us here at etrailer. We love helping people get set up with the right things for their adventure the first time. And if this is the roof rack that you really like but you're curious about how easy is it to get put together, well, stick around for how I got this installed. Now getting this all installed might seem a little bit daunting at first because you have different numbers on your clips or the pads. There's left, there's right. How do you get your towers onto your crossbars Well, I'm going to guide you through that process. It's actually pretty simple once you know the tricks. What stumps people the most is getting the towers onto the crossbars. It's just simply a matter of sliding the track out underneath your bar. You're going to have a notch on one of your plates, so this will go in from below and then fit into place like this. And then we're just going to press this button here so that we can continue sliding that plate forward until it's in that open gap. Now you're going to then go look at your towers. You're going to have a right and a left, which we'll talk about which direction this goes. So looking at your crossbar, the tallest part is going to be the front and then the tapered part is the back, which means that we are on the right side. So then the tabs on the crossbars will fit into that plate. Just set that on there and then pull. Pull it all the way until it sits on the edge of your bar. Now it'll feel loose, but it's on there. You do have a little bit of adjustment on your towers for how far they sit. So there's going to be two different measurements in your instructions for the front as well as the rear bars. You're going to follow those measurements. You're going to have an included tape measure and you're going to go from the center of the crossbar all the way to the arrow on your tower. So in the case of our front crossbar here, we need to be 20 inches and 5/8 of an inch apart. So with that measurement, we can then just slide this out until we line up with that measurement. Do that on both sides and then you're going to tighten down with your included Allen key. With your towers tighten down, they'll wobble side to side, but they won't go forward or back. Now you can put the rubber pads on. So the way I do it is I just press these onto the tower. I like to make it where the number is on the inside and then make sure it's flush on both sides. With those rubber pads protecting the bottom of your tower, so you can now put this on your roof. Remember what we said about the taller part being towards the front and then the tapered end being towards the back, also double checking right and left towers. So where do you put this on the roof Your instructions will give you a measurement and in our case, that's going to be from the gap between the doors to the center of the towers. You'll take that measurement. In our case, that's going to be six inches and then you'll line that up with the center bolt. Do that on both sides. You're looking for those rubber pads to fit not quite flush on the ledges, but really close. And if they don't look like this, then you may need to readjust where your towers sit. Now, once you're happy with where both towers are, then go ahead and take that screw out from the middle, grab one of your hooks. All four hooks are the same number for a Terrain and you're going to hold it up against your vehicle and against the tower and then put that bolt back in. Hands tighten only for now. Then get your tool and then you're going to start tightening down on the clamp. Now don't go too far. My recommendation is just up to where it sits flush against the door. You're going to then want to go to the other side. It's very important to evenly tighten down on each side. In fact, I go back and forth, maybe three times, as I secure the towers and you'll see it in the clamps too. If you pull too much on one side, one rubber pad will be super smushed up against the car while the other one will have a large gap. So just go back and forth till you're almost all the way tightened down. You'll know you're all the way tightened down because this tool included with your kit is a torque tool. So once you reach proper tension, it will click, prevent you from over tightening. Make sure all four towers click. Finish it off by putting the end cap on there. Now you have two included keys, super helpful. All four towers are going to arrive keyed alike. This slides in over the tower and then you have to turn the key to secure it in place. There is a left and a right end cap. If you needed to mount things onto the roof rack using the T channels, then just take that end cap off and now you have access into that channel mount. After this, what I then recommend doing is, since you have two keys, I put one key on the key chain, the other key goes into the glove box or in the console. I also put the torque tool somewhere accessible because you're going to need that if you're going to remove this roof rack or reinstall it. But once you have all the pieces put together, it's very straightforward from here. This just sits on your roof, very sleek look. You're now ready to load this up with all types of gear for your adventures and hit the road because you just installed your INNO roof rack system with the flush towers. My name's Evangeline here at etrailer. You saw this on a 2024 GMC Terrain.
Ratings & Reviews

Great customer service, thank you for all your help!
Good racks, one year of frequent use and no problems. The instructions could have been clearer, but once I figured it out it was easy to install.
Nice aerodynamic bars.
Heavy duty and well designed feet. Love the locking feature, and instructions were clear.
fast shipping, great customer service, and easy to install
The Inno racks have handled an assortment of different loads without problems. They are quiet at highway speeds. The lack of tie down points are the only drawback with these racks.
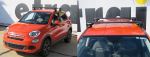
I bought this for my 2016 Fiat 500X which has two glass sunroofs, and it fits perfectly! Follow the directions, put the bars where it says to, and your glass will be safe. You can't open the sunroof while this is in place, but hey, at least you can haul gear on your roof without breaking the glass.
2016 Golf R MK7
Love it so far
I bought these last summer to affix my kayaks to the roof of my corola. my husband, who is decidedly not a handy person, installed them in an hour and they've been great. no issues– slight whistling at times on the interstate, but that's to be expected. highly recommend!
Easy install, build quality is really nice as is fit and finish. Almost no wind noise at highway speed.
Everything about this kit met my expectations.
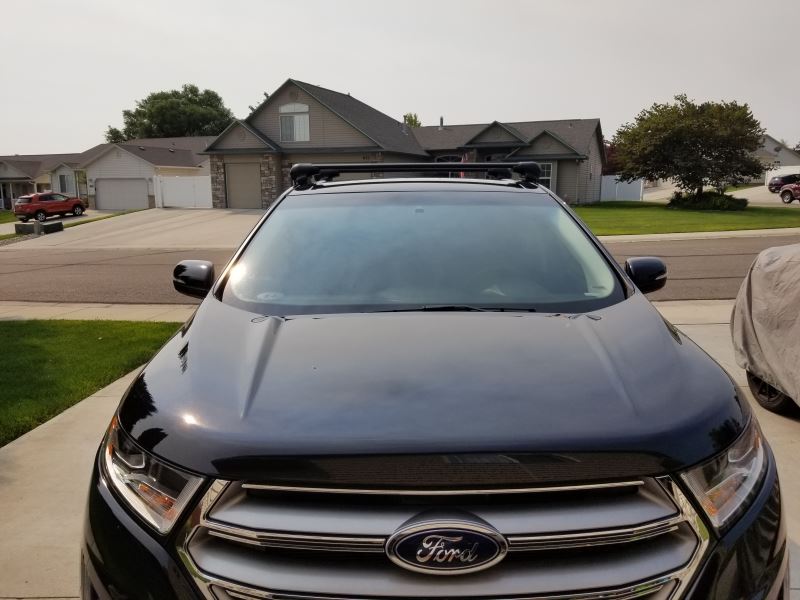
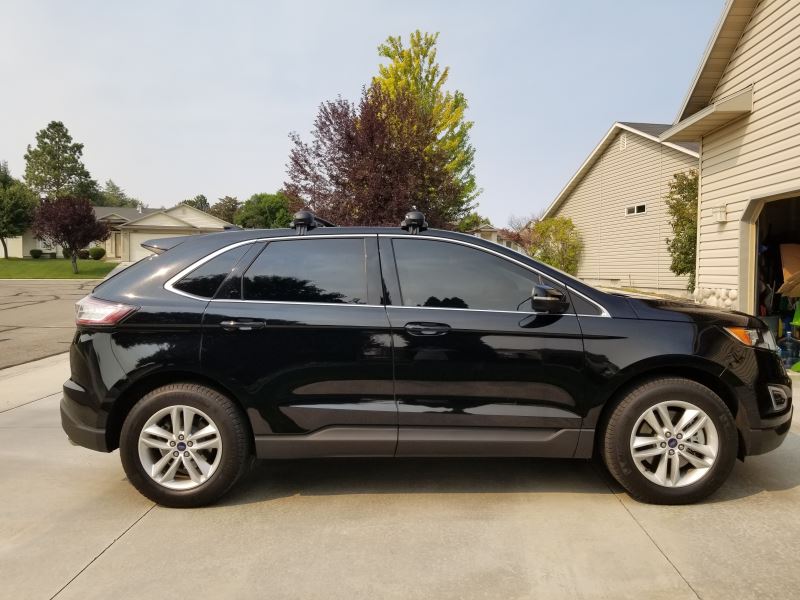
- Perfect fit for my Ford Edge, as advertised.
- Lowest bar height that was still high enough for the Edge Vista roof to clear. The glass does clear when nothing is attached to the bars.
- Aero bar shape. I haven't done a lot of miles yet with only the bars and no other attachments.
I attached an Inno roof box (which still fits through my garage door!) and did a 2000 mile road trip at insterstate speeds. Except the box noise (expected), and a bit of a mileage hit, I had no issues. Secure fit the whole way.
I bought the whole kit for 2008 honda fit for a cross-country trip, and it performed great. Made it with two surfboards on top with no problems. Instructions for installation are atrocious, but youtube videos can fill in the gaps. Shipping was quick. I didn't use any of the customer service options, but it seems like they would be useful if needed.
The roof rack arrived days before it was scheduled to. Everything ordered arrived intact. Assembly and installation were pretty easy per the directions included and the video on the etrailer site. The rack looks fine on my Maxda CX5 and the additional noise from the rack is not too bad. Haven't had my cargo box on the rack yet but anticipate no problems with it. My experience with etrailer has been first rate.
Easy and worked well with the total kit for our vehicle. Feel sturdy and strong. We’re happy with them.
Prefect fit and looks great on my 2008 Evo X. The install videos made it super easy to put together and install.
Perfect fit on our vehicle and they feel strong and sturdy. Install wasn’t bad either. Very happy with the kit at this point and will test them out this weekend.
Shipping and packaging was very good and delivered on time!
Love the flush bar look!
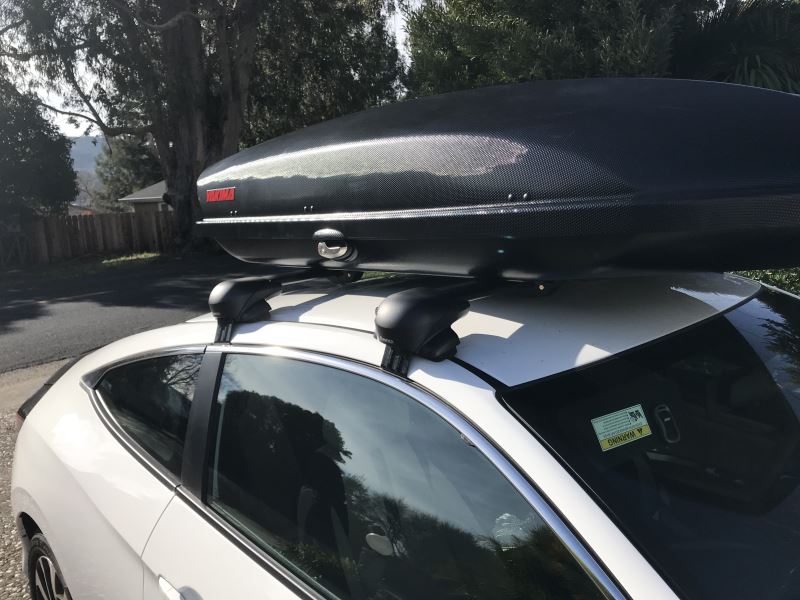
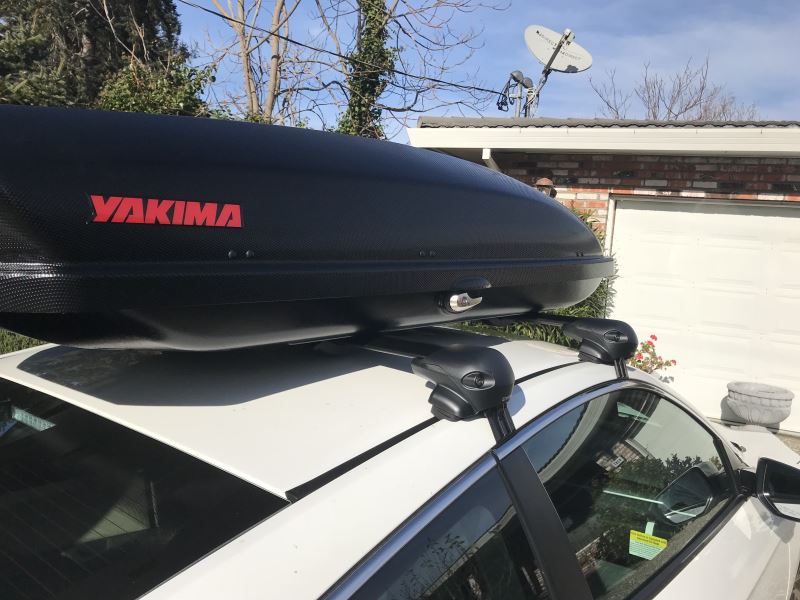
This inno rack fits well with my car. I installed a cargo box with it. The roof rack is well built and sturdy.
Shipping and packaging was very good and delivered on time!
Glad I went with the Aero cross bars for the less wind noise!
Great product and figment, the service was great as well, the only suggestion I have is if there is a product that cannot be shipped to Canada it should be told when you try to order it, however the follow up call was appreciated .
Thank you etrailer my car looks great I spent 4 hours to ensemble this cross bar and the bask rack but finally I made it now I have more cargo space in my car I really recommend etrailer good quality items and good service thanks again
By far the best service I have received in a very long time. I recieved my inno flush feet areo crossbars, sooner than expected and the assembly was just as specified. I especially liked having the video with the tutorial.
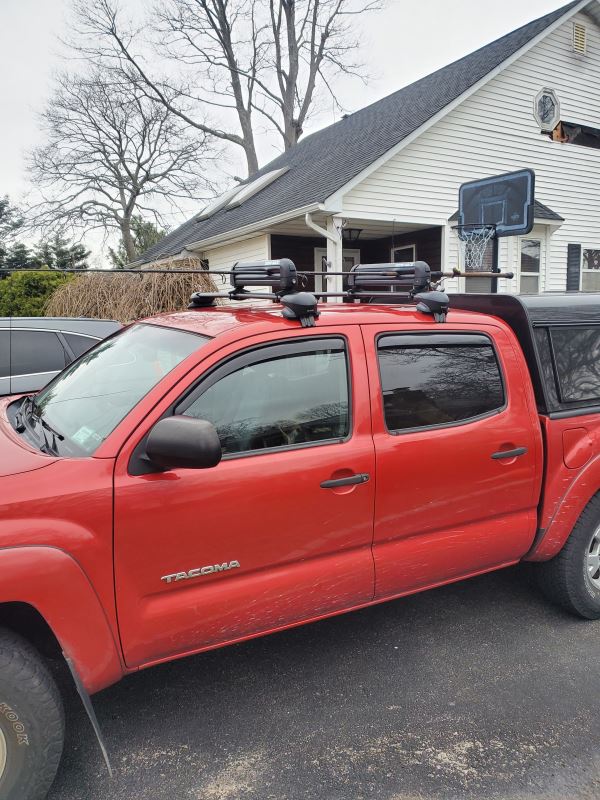
I like the look of the low profile and the quality is outstanding. I have used this for my kayak and the low profile helps with the loading and unloading.
I would highly recommend this product and Company.
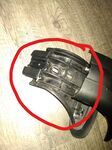
The e trailer box didn’t come with the the flush feet. There are the 4 metal grab pieces and also nice rubber pieces to go against the car but the flush feet pieces that are used to attach didn’t come with it. Idk if that has to be ordered separately. I’ll probably return the whole lot if so because I thought it was the entire kit when I ordered it.

Do you have a question about this Roof Rack?
Info for this part was:
At etrailer we provide the best information available about the products we sell. We take the quality of our information seriously so that you can get the right part the first time. Let us know if anything is missing or if you have any questions.

























Thank you! Your comment has been submitted successfully. You should be able to view your question/comment here within a few days.
Error submitting comment. Please try again momentarily.