


To see if this custom-fit item will work for you please tell us what vehicle you'll use it with.


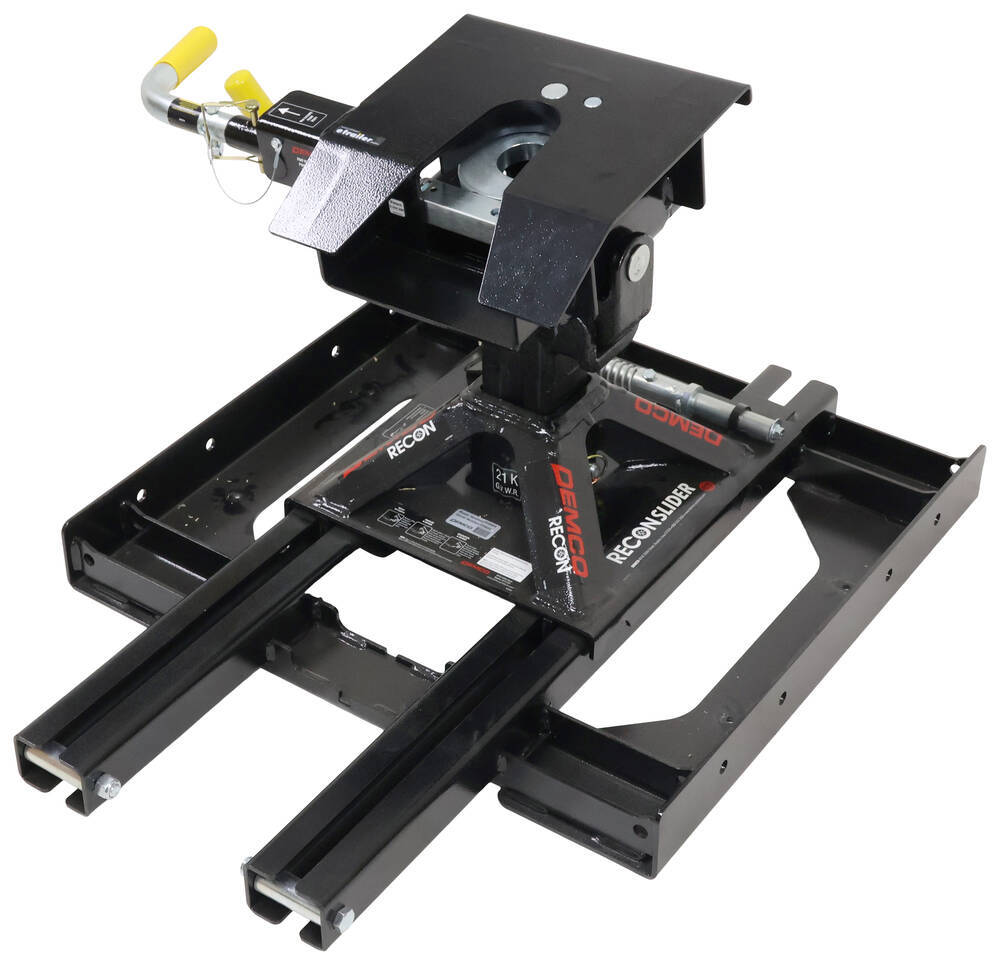
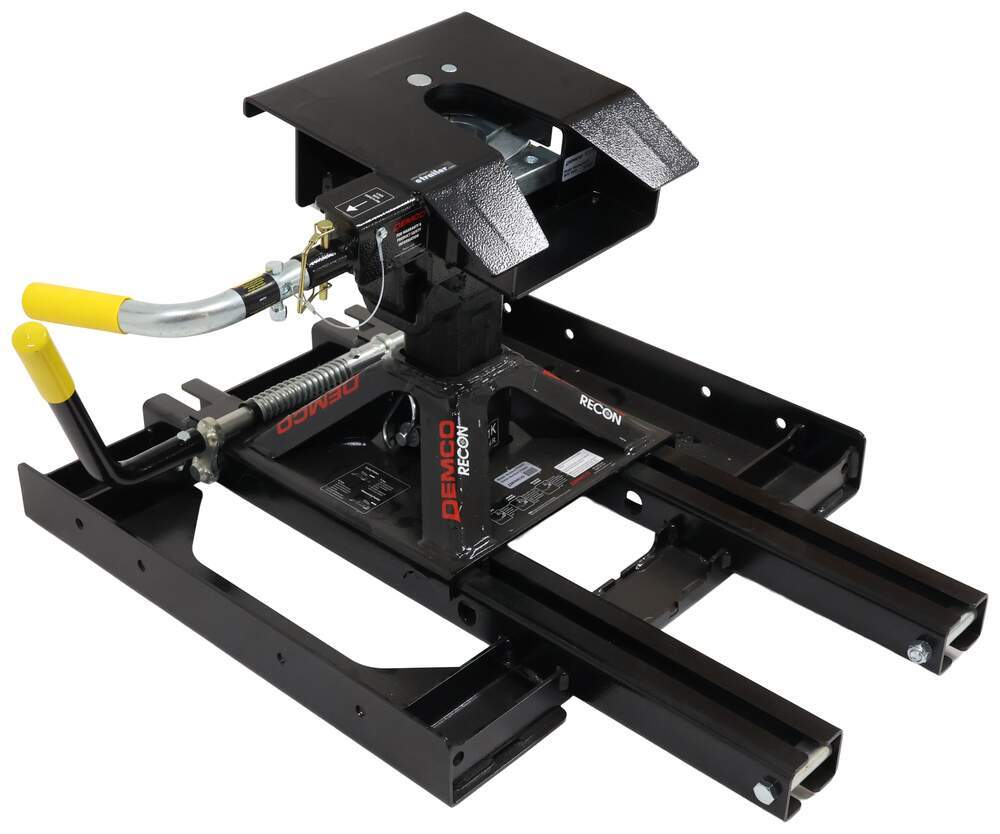
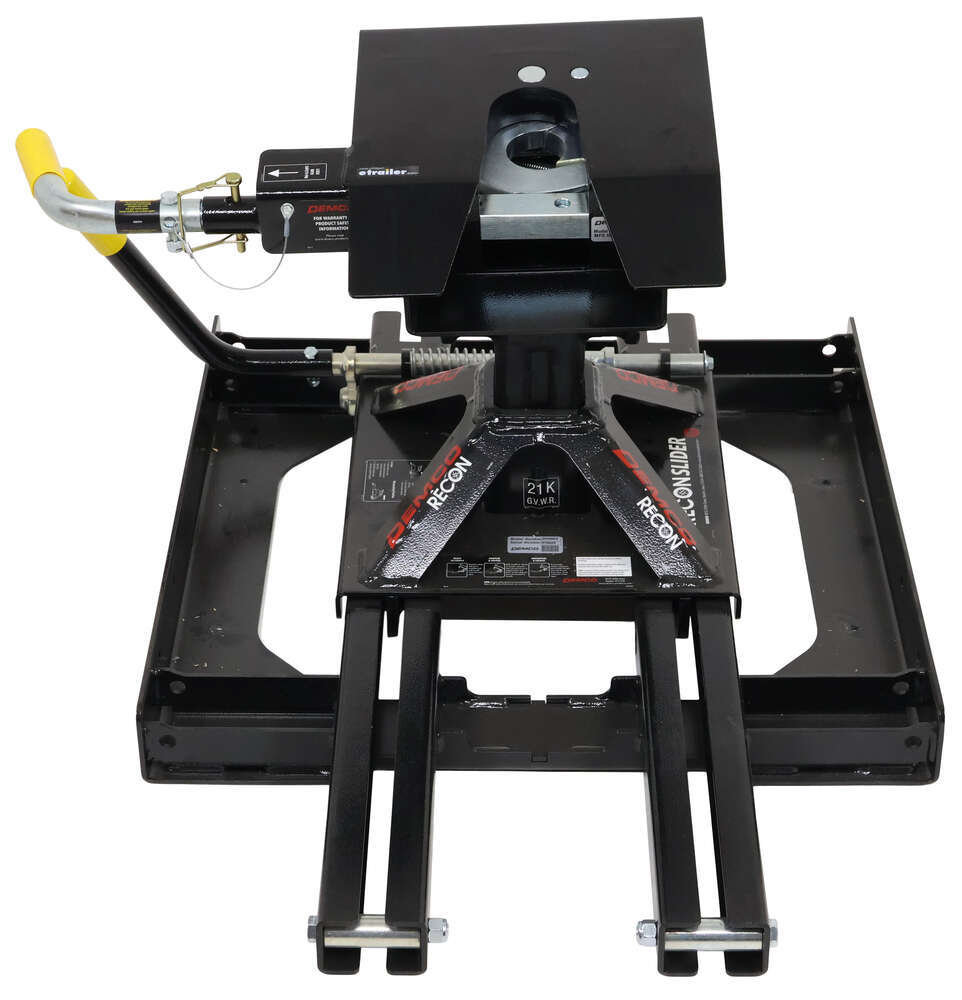
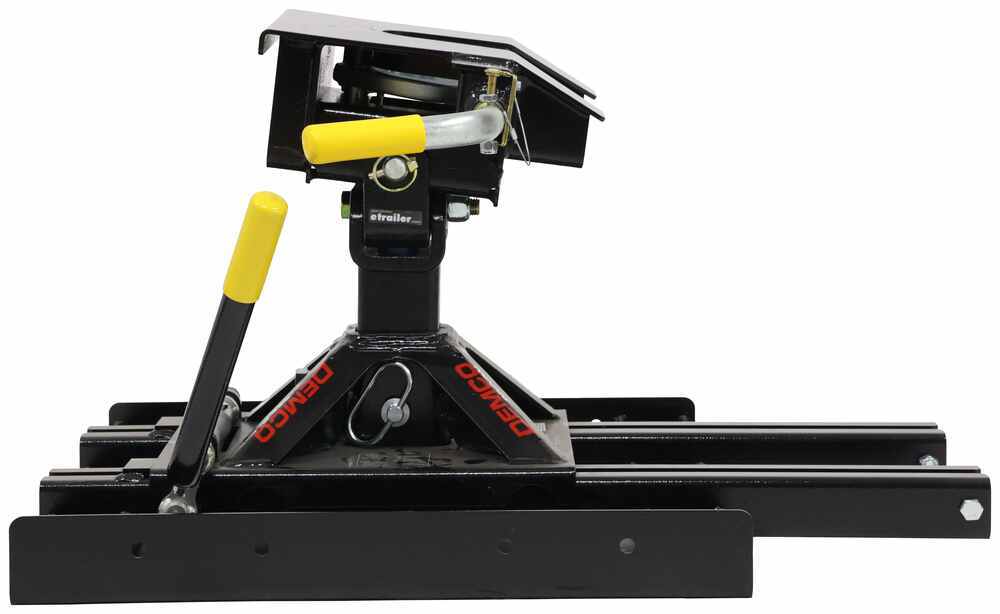
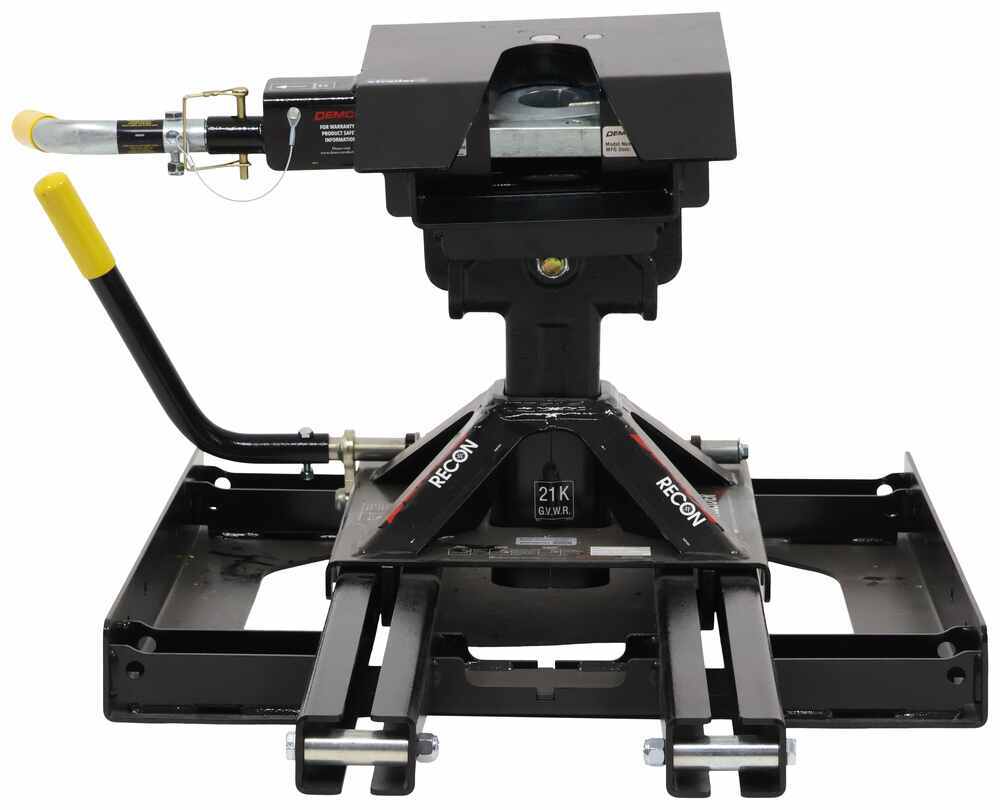
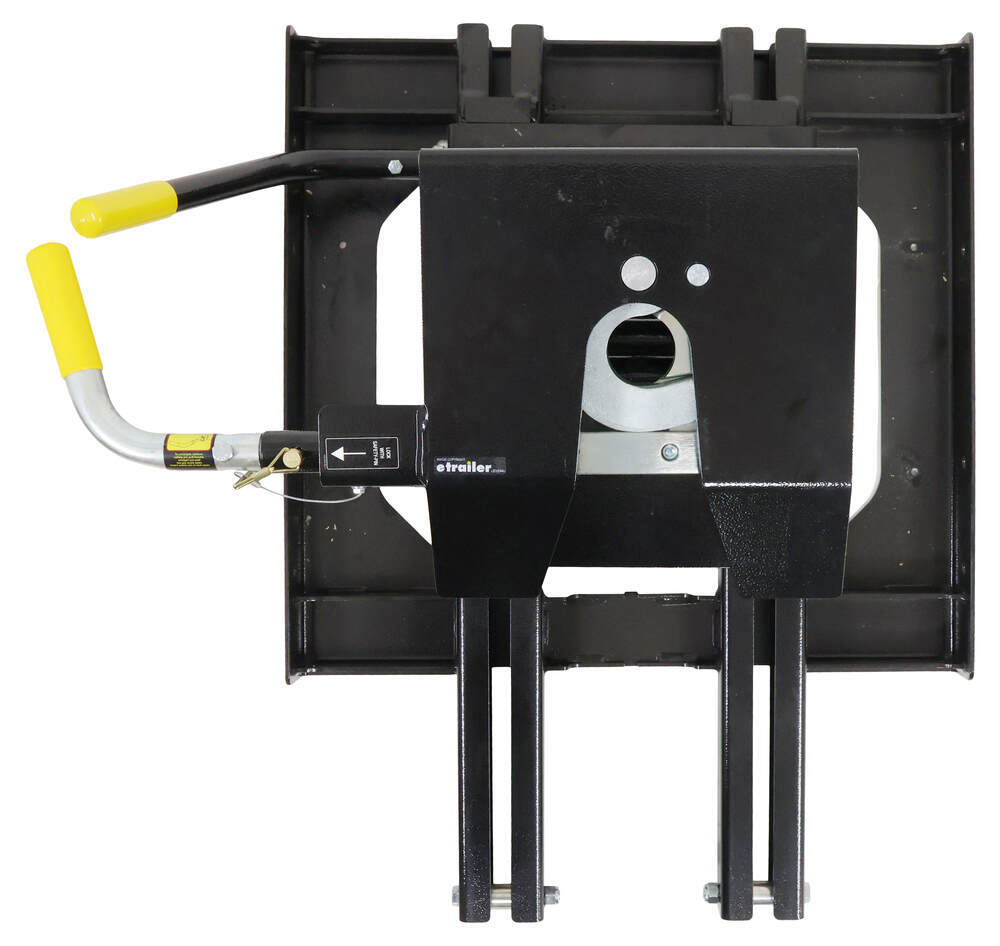
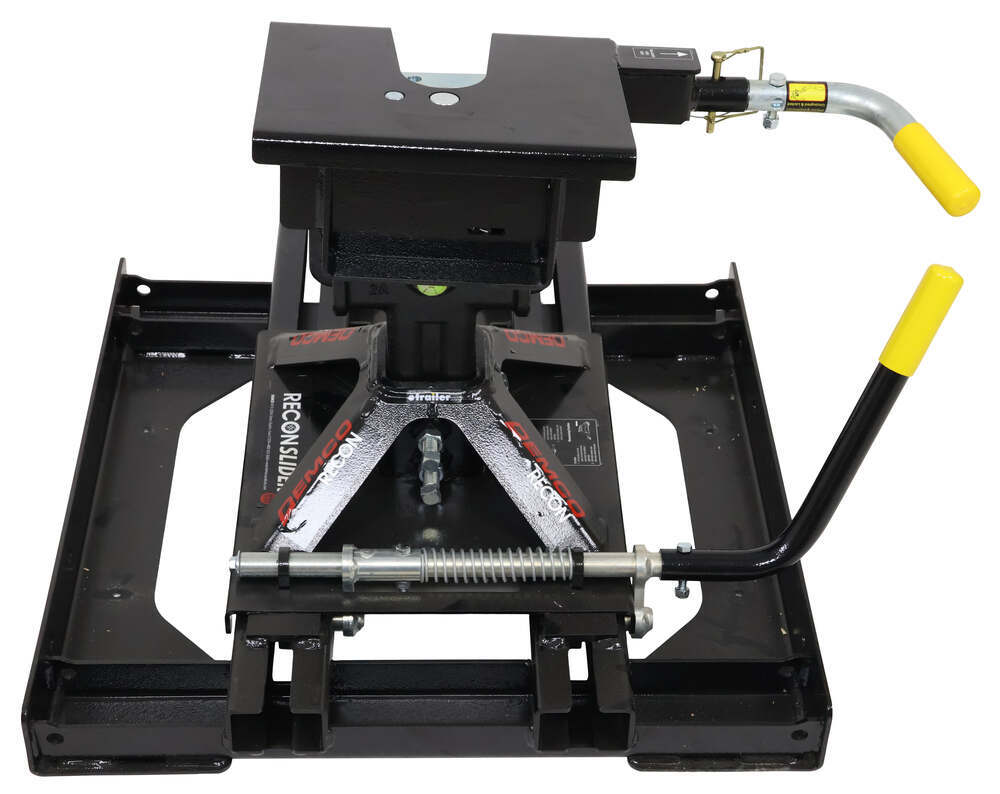
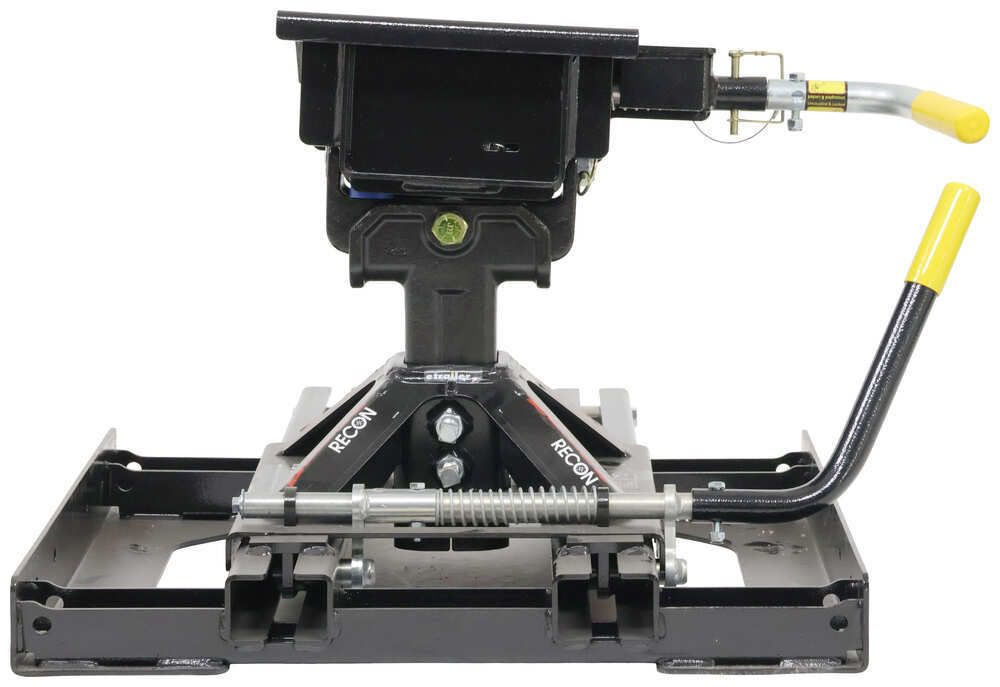
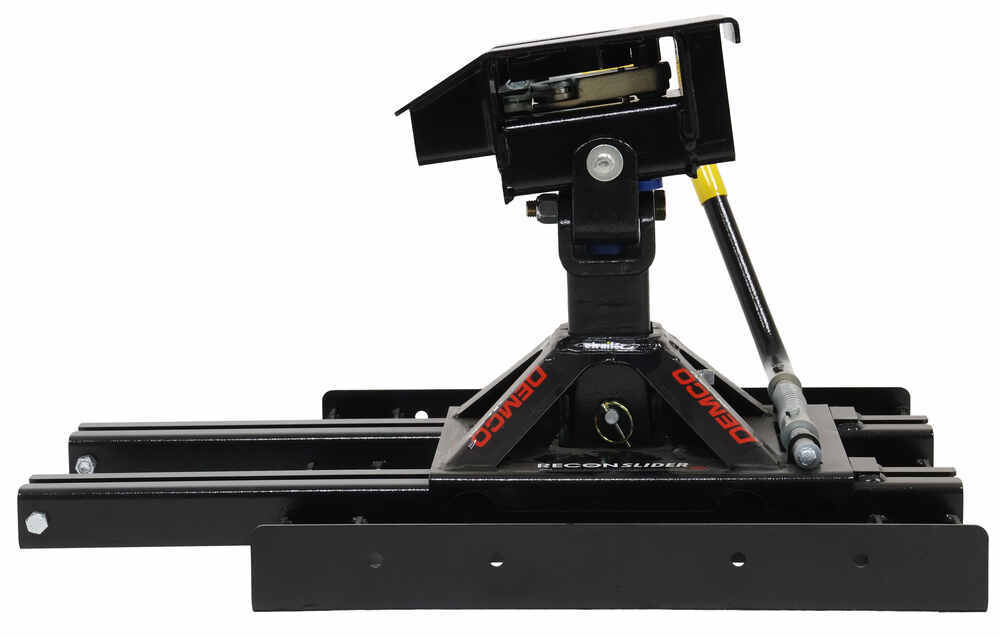
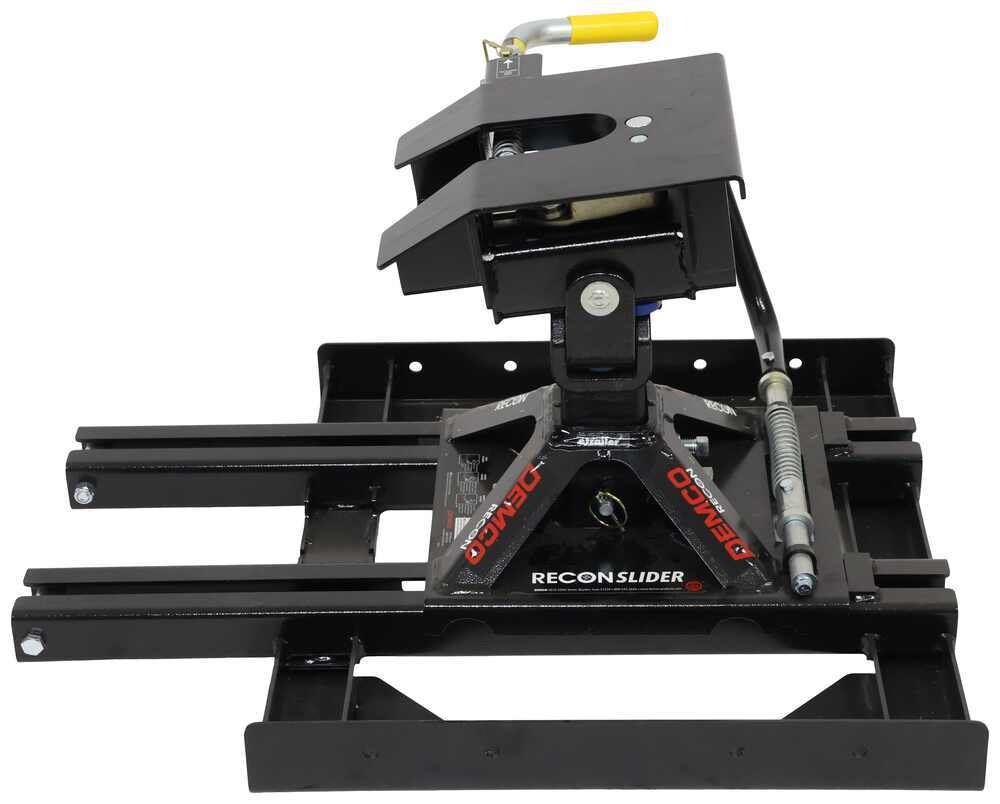
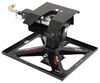
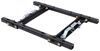
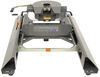
This hitch manually slides to give you 14" of clearance for tight turns. Sturdy wraparound jaw has a locking bar for added security. Pivoting head allows easy hook up and helps limit chucking. Polyurethane bumpers ensure a smooth ride.
Features:
Specs:

California residents: click here
Videos are provided as a guide only. Refer to manufacturer installation instructions and specs for complete information.
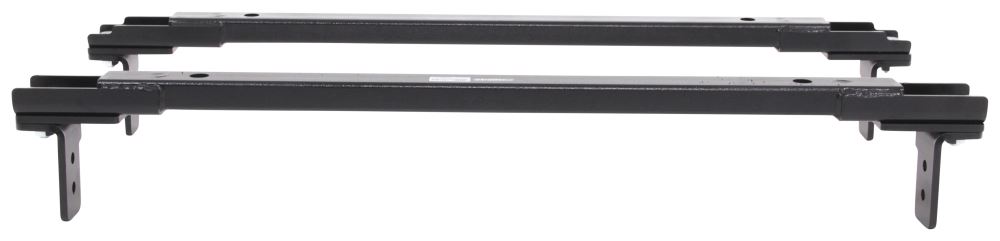
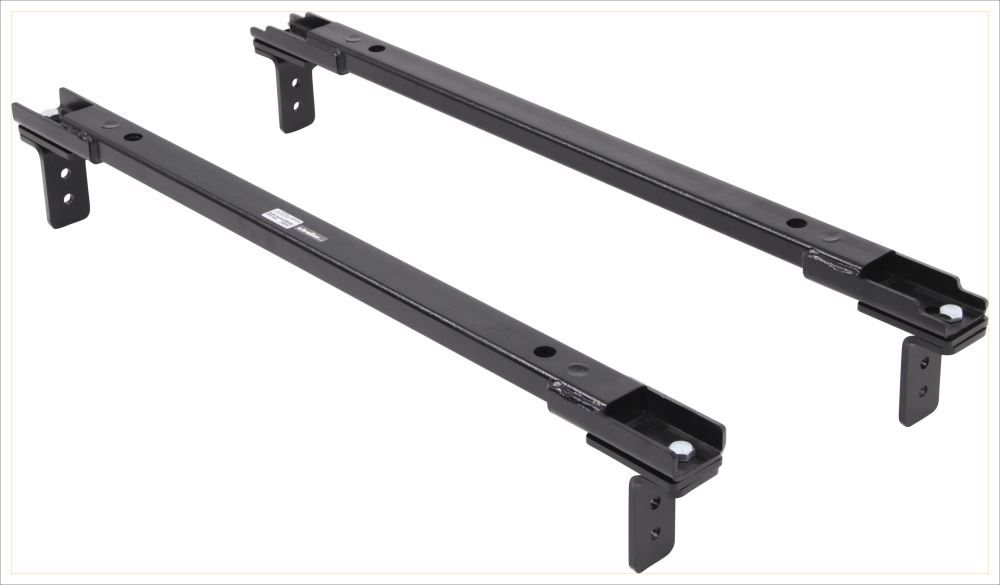
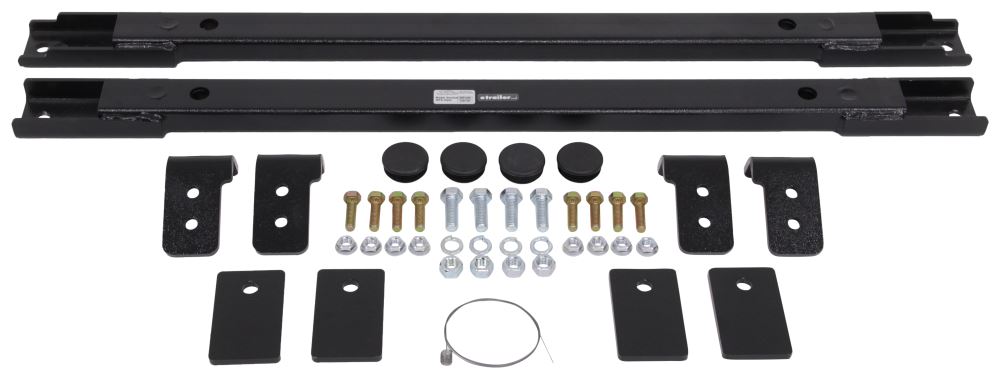
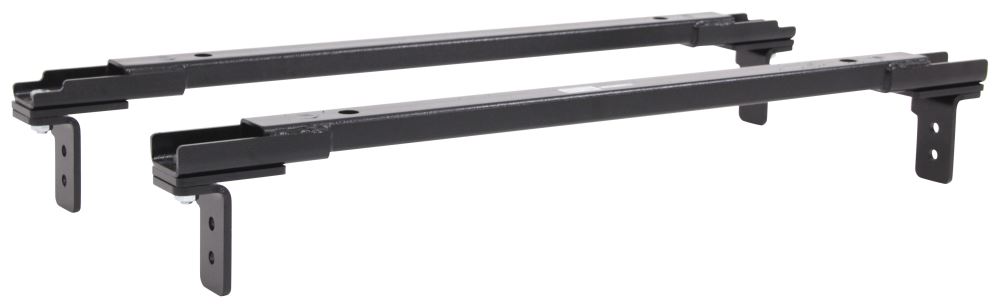
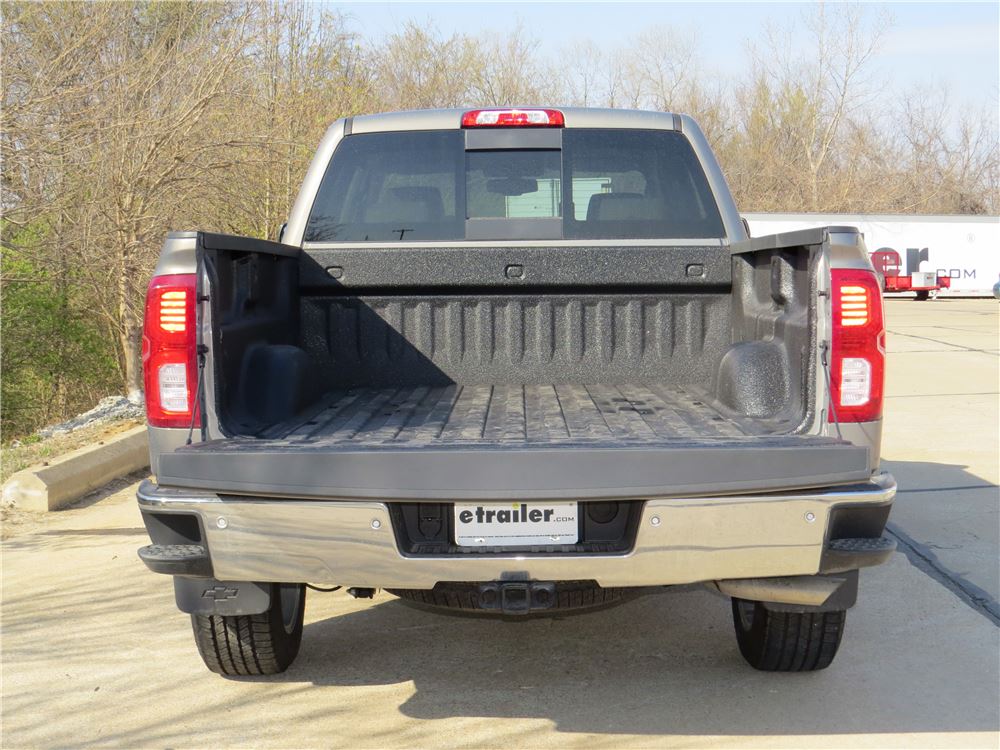
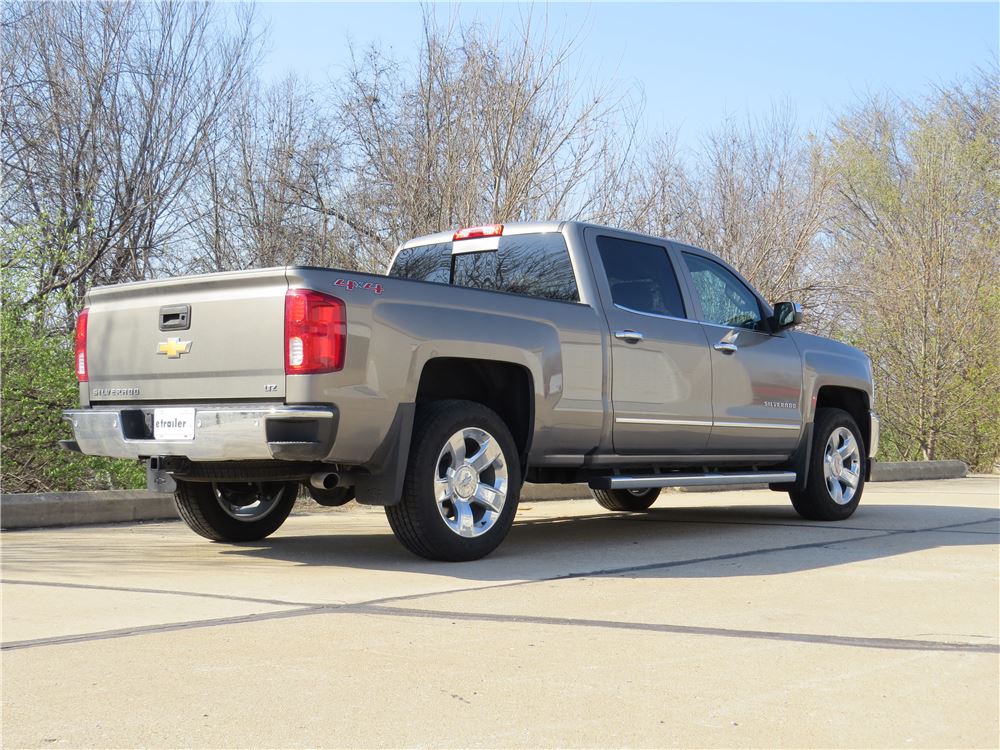
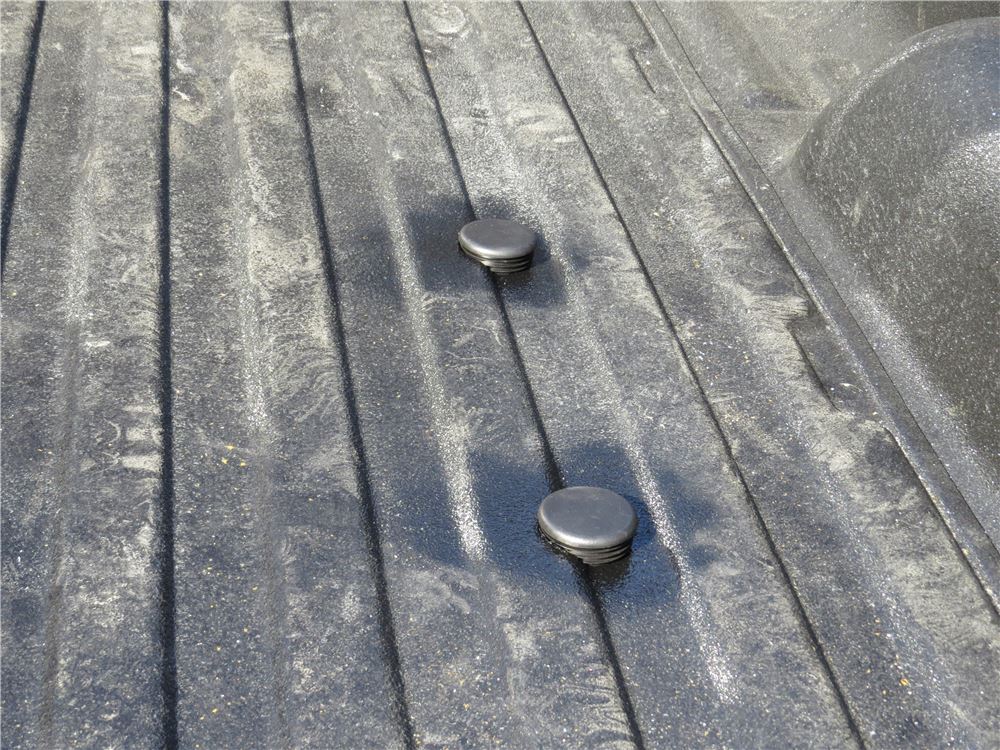
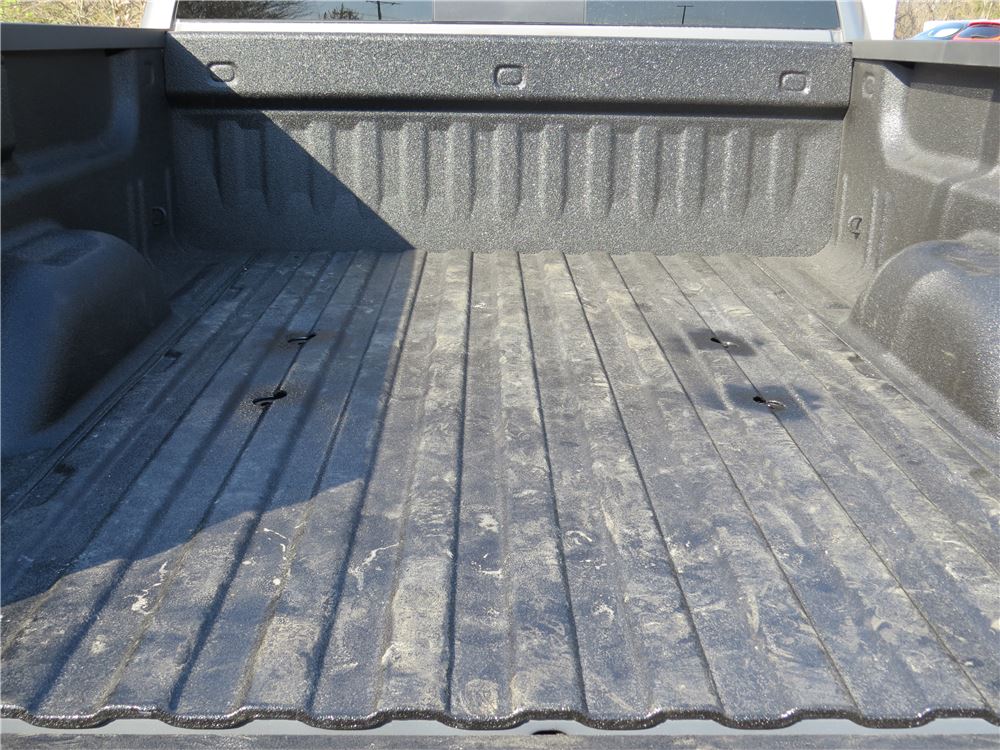
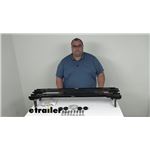
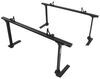
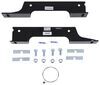
Today on our 2017 Chevrolet Silverado 1500 we'll be having a look at and installing the Demco Underbed Rail and Installation Kit from Demco Hijacker UMS 5th Wheel and Gooseneck Trailer Hitches, part number DM8551008. All right, here's what our Demco Underbed System looks like installed. As you can see, it doesn't take up any of our valuable bed space. It's completely recessed underneath the bed of our truck, and when we're ready to put in a 5th wheel or a 5th wheel slider it'll just drop in to our puck system. This almost converts our truck to almost like a factory 5th wheel or gooseneck prep package, where they have the pucks underneath the truck. Now, when we're not towing it does come with these plugs that you can snap down into place to keep any dirt and debris from entering down into the rails, making it difficult for your slider or 5th wheel to go into place. When you're ready to tow, they lift out real easily.
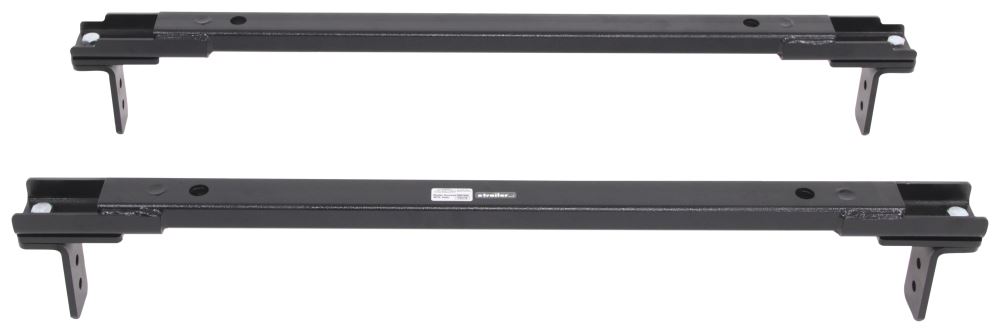
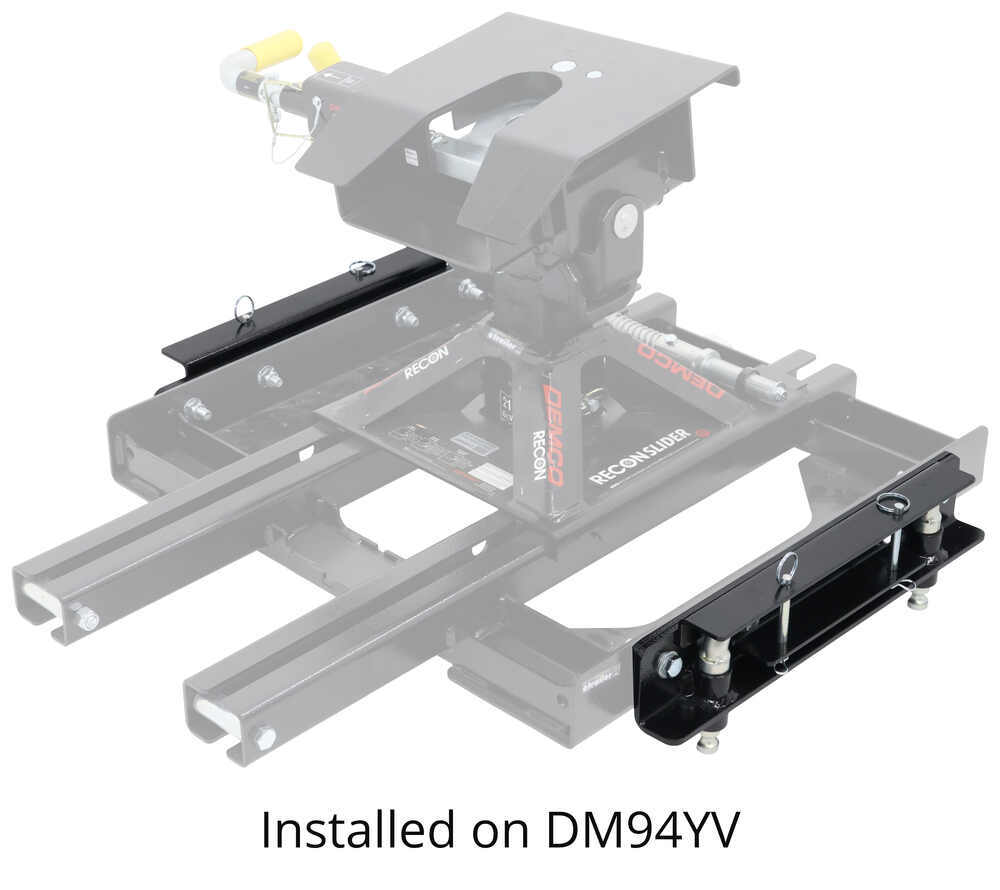
Now, these underbed rail system that we have installed is designed to work with Demco Hijacker 5th Wheel Hitches, such as sliders and non-sliders, and we can also use a Demco Gooseneck Adapter, which will drop right into place. This'll give us the versatility of being able to tow both a gooseneck and a 5th wheel trailer with these rails installed. Now, what I like about this rail system compared to other rail systems on the market is that it's an underbed rail system, meaning we'll have full capacity of our truck bed when we're not towing a trailer. When we don't have our gooseneck or our 5th wheel adapter in the bed we don't have any of the rails sticking up taking up our valuable bed space. Gives us a nice, clean look and looks like it's there from the factory. Now underneath our truck, having a look at our rail system.
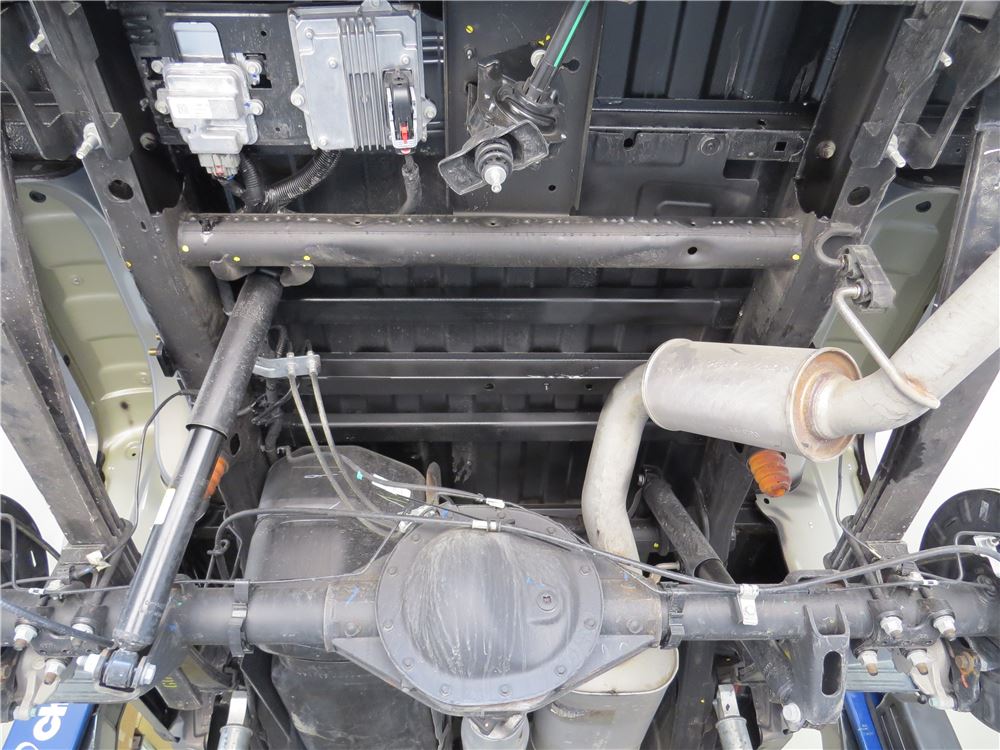
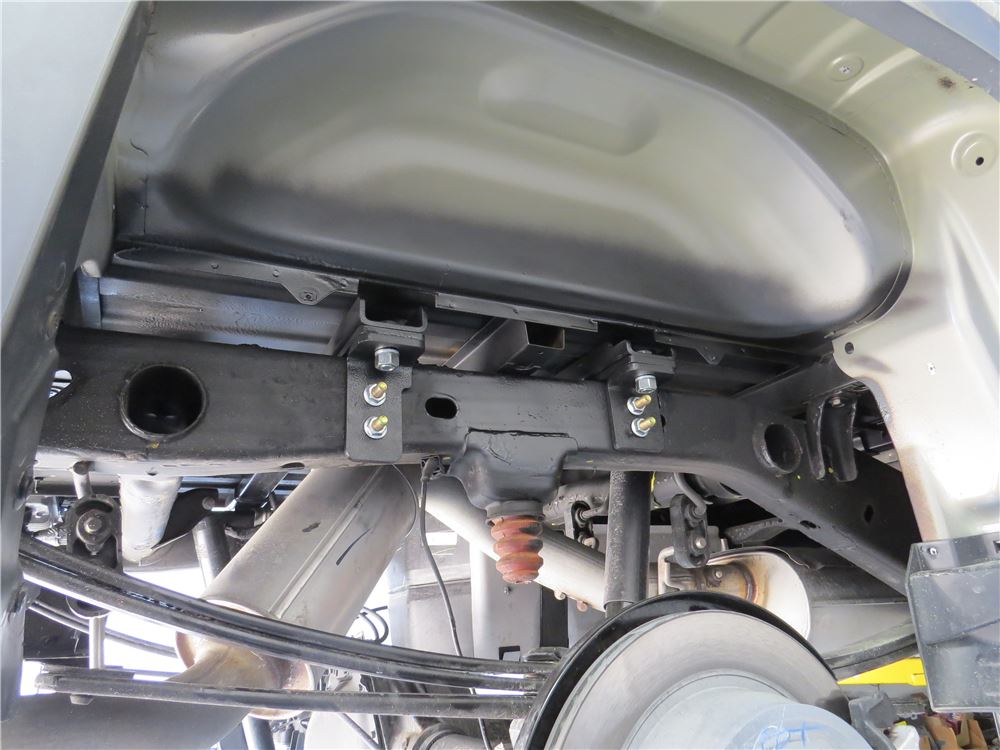
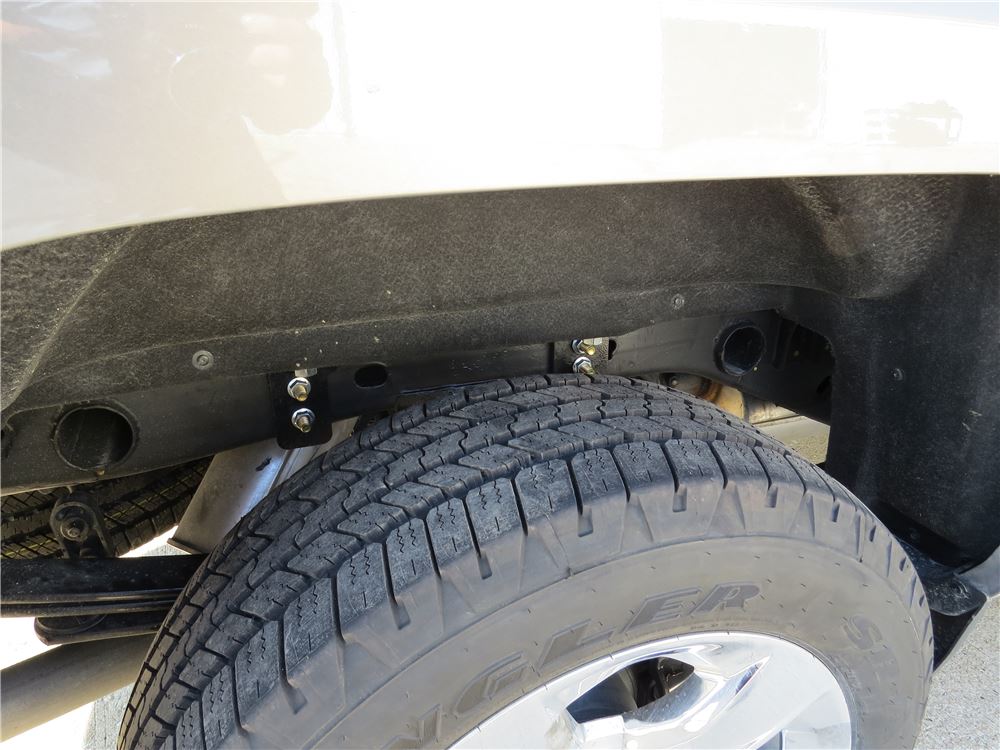
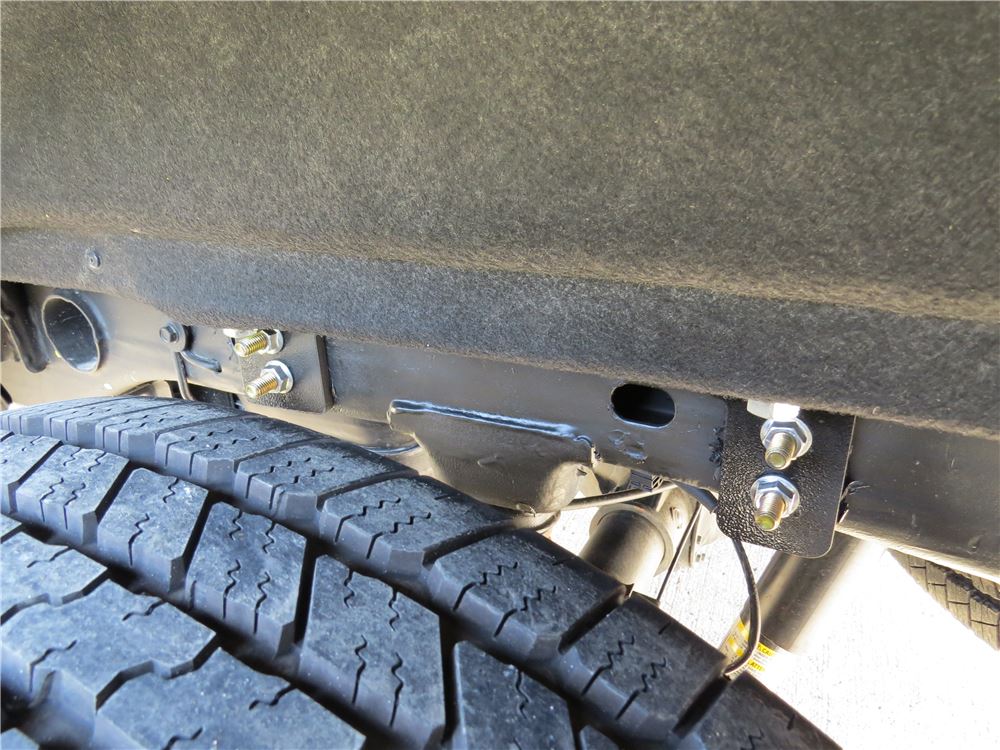
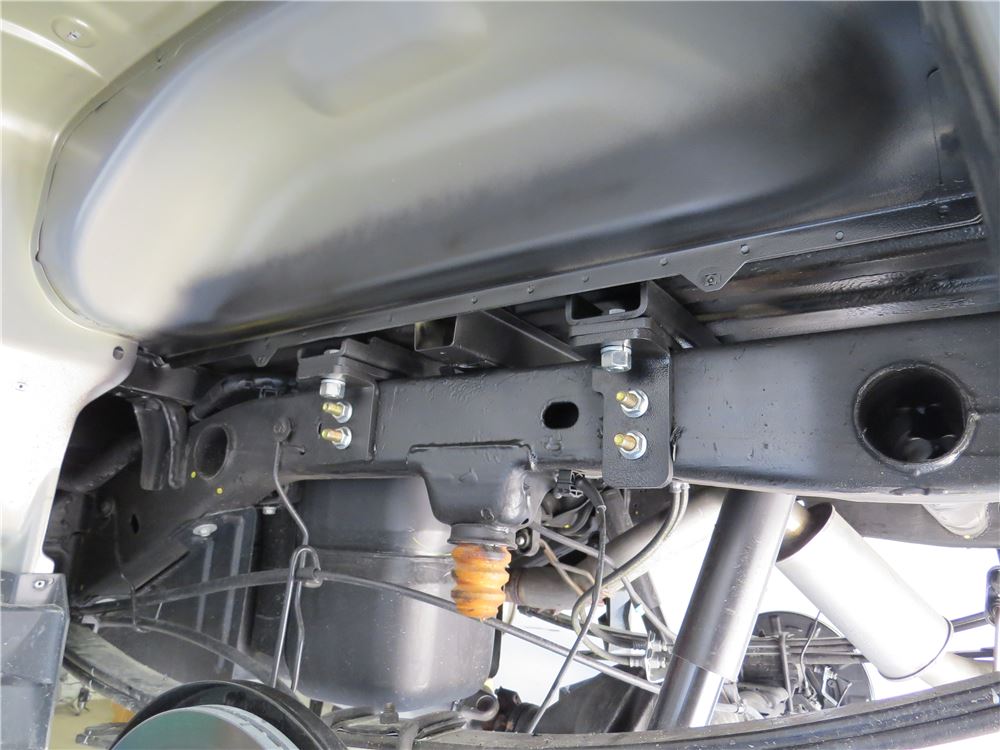
You can see it in place here for our rear rail, and here for our front rail. These rails have a nice high gloss black powder coat finish, which will resist rust for many years down the road. Now that we've gone over some features, we'll show you how to get the Demco Underbed Rail System installed. All right, before we begin our installation we've already removed both of our rear wheels to make it a little bit easier to see for you at home. Additionally, we've removed our spare tire as well just for a little bit more working room. Now we have this exhaust heat shield above our muffler and exhaust system.
We need to trim a section of it out. I've already marked the rear section right here above this cross member, right by our spare tire mechanism. Our front section goes right in front of our passenger side rear shock mount, so we'll cut there and there, and remove these two bolts right here and this section will come on down. These screws are T25 torque screws. A lot of times these screws are cross threaded and held in place with Loctite as well from the factory, so sometimes you can get them out. We we're able to get one of them out.
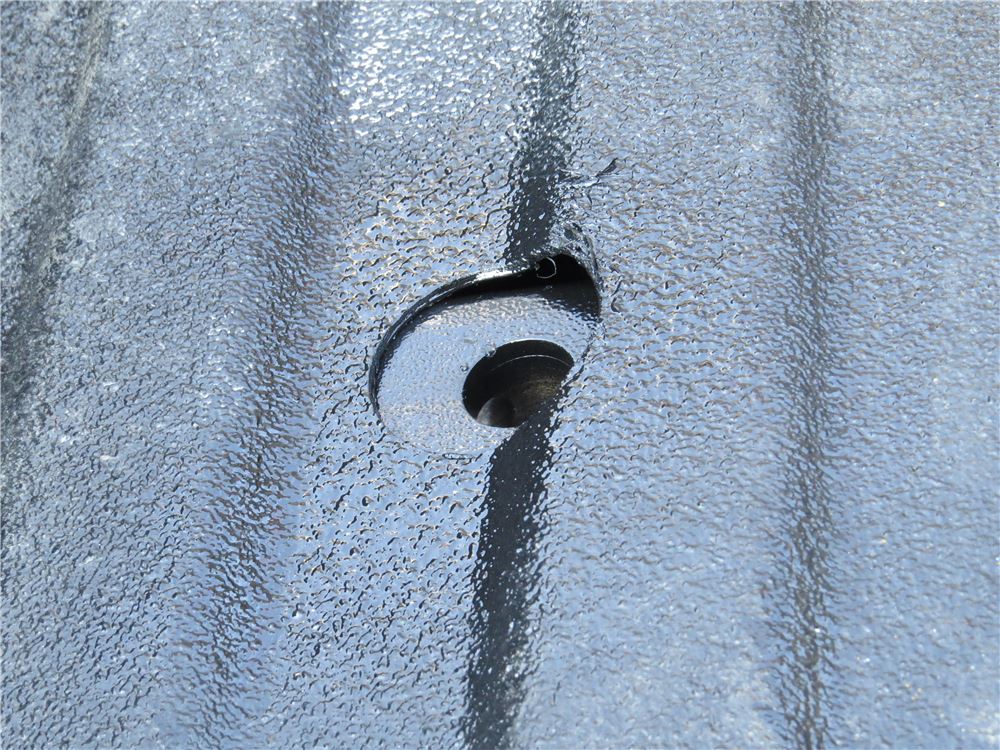
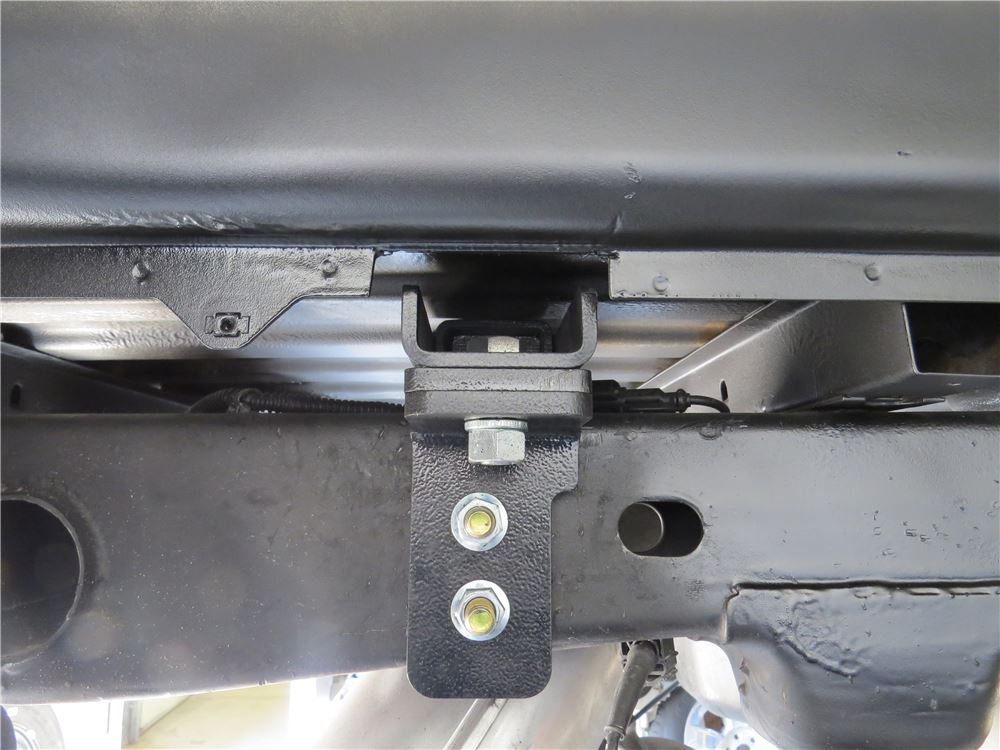
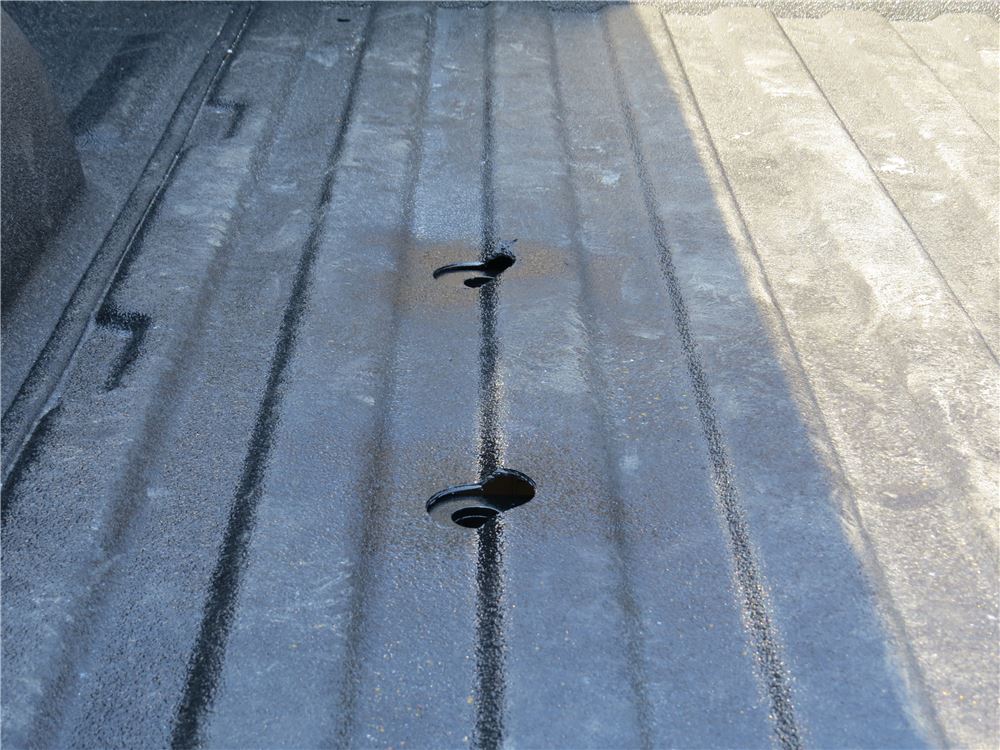
The other times, sometimes you can't, so you have to cut the head of them off. With the head cut off, take out our section of heat shield. Okay, you can see where our line was where we originally marked. Now, this section's going to flap around and be loose, so I'm going to cut it additionally right by this bed support where we have two more screws. This'll keep us from having any noise underneath our vehicle when we're driving down the road. Now that we have our heat shield removed completely, we're going to take out a wheel liner so we have more room to work and easier access to slide our rails into place. There's about 13 of these T15 screws on each side that hold our wheel liners in place. With all of our screws removed, we can grab our wheel liner and we'll set it aside. We'll repeat the same process on the other side. Okay, we've followed the instructions according to our bed length and made the appropriate measurements to mark our four locations where we're going to drill our 2 inch holes in the bed of our truck. We have two here and here on the driver side wheel well area and two more here and here on our passenger side wheel well area. Now, in order to determine our measurements, according to the bed length of our truck if we have a 6 1/2 foot bed or an 8 foot bed, we measured out the appropriate distance from the instructions. From the end of our bed, not our tailgate, the end of our bed, made a line across, determined center, measured out the appropriate distance in the instructions to make our locations for our two holes in the back. Measured forward the appropriate distance, and double checked diagonally from our four marks to make sure they we're the appropriate distance and square to each other. Okay, now we'll take a center punch and we'll drill a pilot hole. We'll do the same for all four of our locations. You can see where our hole is, how it's right on the edge where our two sections come together as a V, so we want to have it centered where we made our mark. Okay, with all of our pilot holes drilled now, we'll now use an appropriate sized hole saw to enlarge all of our holes. If you have any burrs inside your holes after you cut them with the hole saw, just use a file to help clean them up. Now that we've de-burred our edges, as you can see we have an edge of exposed metal. What we're going to do is take some black spray paint here that matches our bed liner in our truck, spray around that hole so we don't have to worry about any rust in the future. We'll do that for all four of our holes. We have two options at this point in order to get our rails between our bed and the frame of our truck. What we can either do is unbolt the bed completely on one side and loosen the bolts a little bit on the other and raise the whole bed up, or in order to make it easier on yourself if you don't have a second set of hands, you can cut a small notch about 3 1/2 inches wide in line with where the holes are in the bed in two locations. That's what we're going to do in our case since it's a little bit easier and we don't have to worry about grabbing a second set of hands. Also, our fender liner will cover up where we make our notches, so we won't be able to see it ever again. Just use a rotary tool for this. Now, if you don't have a rotary tool you can also use your grinder. All right, as you can see we went ahead and cut out our other notch for our rear rail as well. Now, just like we did in the bed, we're going to use some spray paint to help prevent our bed from rusting. We're in the passenger side of our truck now. Now, right where we made this notch we have this wire, it's for our ABS sensor for our right rear. We'll pry this sensor up away from the frame. Now our driver side is very similar, but there's a few more things we need to do. We'll start at the ABS sensor again, this is for our left rear. We'll just tuck that down. Now additionally, right here in front of a bed channel, there's a clip that helps hold our brake lines in place. We'll pop this up too. Now that we have our clip loose here, we'll remove these two bolts right here. These two bolts are 13 millimeter. We're underneath our frame. This clip here is what we unclipped earlier for our brake lines. We'll just bend it down and hold it out of the way. We'll leave this where it's at, just unbolted for right now. All right, now that our frame has been prepped we can insert our rails into position. The rail that I'm holding here is our rear rail. We can tell the difference between this and the front one because in this area there's only one hole. Our front one has two. When we slide this into place we want to make sure that this hole here is facing up towards the bed of the truck. All right, we'll go to the other side and I'll raise it up all the way. All right, here's our front rail. As you can see it has those two holes I was talking about earlier. This is how you distinguish it from the back. Again, we'll want to make sure that this hole here faces up towards the bed of the truck. We'll go to the other side and lift it on up. Okay, once we have it touching over our frame we'll push it the rest of the way through the passenger side, and we'll try to line it up as best we can with the holes in the bed of the truck. Okay, we'll take our spacer here and insert it between our frame and our rail. Just rests on top of the frame like this. We'll make sure our hole here lines up with the hole in the rail. It's the same on all four corners of our rails. For our front rail we'll make sure our hole lines up with the outermost hole on the rail. We'll repeat the same process on the other side. All right, now we have our 5th wheel or our slider, whichever model we chose, in the bed of our truck. We'll place it down into our rails and secure it. Once we had it locked down, we centered our slider and got it square in the bed of our truck, and the weight of our slider will hold our rails in the proper position and now we can install our frame brackets, securing our rails to the truck. Now we'll take one of our 5/8 of an inch bolts, we're on our back rail right now. We'll put it in position, drop it down through the hole. We'll take our frame bracket, this notch will face towards the front of the truck. Slide it up, we'll place on a lock washer and a nut. All right, I used a clamp to make sure that our bracket is held tight against our frame while we tighten it in position. We'll use a 15/16ths wrench on the top and another 15/16ths ratcheting wrench on the nut in order to tighten this up. With that nice and tight we can remove our clamp and use the bracket as a guide to drill our holes in the frame. We'll drill a pilot hole to start. We'll continue drilling our pilot hole on the upper hole. Now that we have our pilot holes drilled, we'll enlarge them out to a 1/2 inch diameter. All right, here's a tech tip for you. You can either use smaller drill bits and work your way up to 1/2 inch, or you can use a step bit. I've found that the step bit actually goes through the frame pretty easily, and it will speed up your installation time. We want to make sure our bolts go through the hole nice and easily, which they do. Okay, here's our fish wire. We'll use this to bring our hardware inside the frame. We'll just insert it into the holes that we drilled, and it will come out this access hole right to the side of our bracket. We'll thread our neral 00:13:17 bolts onto the fish wire and pull it through the hole. Remove the pull wire. Now we'll take our 1/2 inch flange nut and thread it onto our bolt. Now we'll do the same for our other hole that we drilled. Okay, now that we have one bracket in place we'll repeat the same process on the other three brackets on the truck. All right, now that we have all of our hardware in place and started, we can now torque it to the amount specified in the instructions. All right, now that we have all of our hardware torqued in place and everything's installed, we can start the process of reassembling our truck and putting our wheel liners back in place. With our wheel liner back in place we can replace our wheel mount. That completes our look at and installation of the Demco Underbed Rail and Installation Kit from Demco Hijacker UMS 5th Wheel and Gooseneck Trailer Hitches, part number DM8551008 on our 2017 Chevrolet Silverado 1500.

Looks great

Great product
Do you have a question about this 5th Wheel Hitch?
Info for this part was:
At etrailer we provide the best information available about the products we sell. We take the quality of our information seriously so that you can get the right part the first time. Let us know if anything is missing or if you have any questions.

















Thank you! Your comment has been submitted successfully. You should be able to view your question/comment here within a few days.
Error submitting comment. Please try again momentarily.