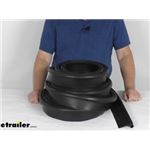
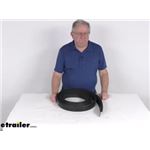
Refresh your slide's weather barrier with a wiper seal matched to your setup. Choose by mounting style—glue on, peel-n-stick, press-in, push-on, or slide-on—and by needed width like 1-1/4", then measure the total length of the run. Tight clearances can make installs tough, but a small amount of seal lubricant or Windex on the seal and channel helps it slide in.
Yes. A small amount of seal lubricant, Windex, or a bit of dawn dish detergent can help it slide—use sparingly so you can keep a grip. Tight channels may need a dowel and mallet to fully seat the seal. Allow a couple inches more for each slide to create a good seal with a tad of overhang so you don't see daylight.
Confirm the track points the right way and matches the seal style. If a cover strip won't slide into a track after install, check track orientation; some tracks pointing outward can block the cover. When a cover can't be used, applying caulk over each screw head can help protect nearby seals from abrasion.
Match the wiper seal by how it mounts and its profile, not just RV info or width. Identify if yours is Glue On, Peel-N-Stick, Press-In, Push-On, or Slide-On, and note the base shape. Remove a small section to compare profiles and measure the total length you need. Some setups pair a wiper with a bulb, so confirm if you need both pieces.
Recheck orientation so the correct edge does the wiping and the base is fully seated. If it rolls or pulls out, work it deeper into the channel with a dowel and mallet and reduce lubricant. Let the material relax, then run the slide slowly to verify contact. If it still won't lay flat, compare the profile and track style for compatibility.


 Filters