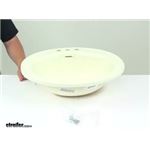
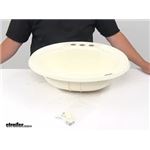
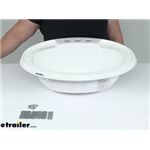
Clean up your bath space with white 17 x 20 inch RV sinks that keep things simple and tidy. Installs are often straightforward, though some setups may need slight trimming or hole adjustments, and you can use the sink itself as a template for faucet holes. For a smooth swap, measure your opening and check mounting tab locations.
Typically no. Use the sink itself as the template: set it in place, trace, and mark any faucet holes from the sink once positioned. Make careful, incremental cuts and dry-fit to confirm the opening and mounting tab grip before finalizing. If your counter is tight, be ready to slightly enlarge the opening where the tabs need room to bite.
Set the sink on the counter and use the mounting tabs to clamp it to the underside. Screw a tab to each mounting point on the sink and face the tab outward so it grips the underside of the countertop. Test each tab's reach before tightening; adjust hole placement or screw length if the tabs don't bite securely.
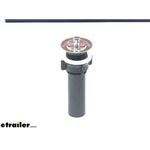
Match the drain to the sink's drain-hole size. If your drain hole is 1 5/8, a 1-1/2 inch threaded diameter drain was suggested. Measure the opening and confirm the thread spec on the drain body. If reusing an existing drain, also check that your drain pipe and P-trap align and seal properly after the swap.
It can, but plan for a test-fit and minor tweaks. Some installs needed a small trim or an enlarged opening, and brackets could sit closer to the rim than the old sink. Check your cutout size, bracket reach, and screw length; shorter number eight screws were needed in one install. Dry-fit the sink, mark the tabs, and confirm clearance before final tightening.


 Filters