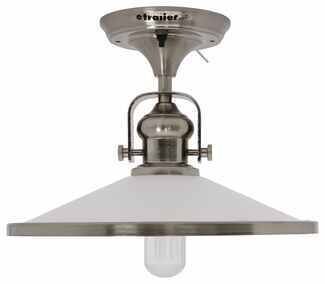
Looking to brighten up a camper or enclosed trailer, these Optronics RV interior lights bring dependable incandescent lighting you can service. Install is straightforward, and if your old screw pattern doesn't match, drilling new holes is an easy workaround. They work well on ceilings or side walls when the roof design makes overhead mounting tricky.
Yes, installation is straightforward. Mount to the ceiling or a side wall and connect the wires. If your old screw holes don't line up, be ready to drill new ones. Keep the mounting footprint and hole pattern in mind when replacing older fixtures.
It varies. Some fixtures arrived with bulbs installed while others did not, so confirm what's included. If you're reusing a base or just need a lens, match the lens shape and size to your existing light. Verify your bulb type before replacing.
They use loose wires with a black power wire and a white ground wire. These are not offered with a 12 volt power port plug. If your lights don't come on, verify you have a constant 12 volt feed to the interior lighting circuit rather than just the running light circuit.
They provide strong illumination for enclosed spaces. Users have reported they really light up dressing rooms and cargo areas, and adding multiple fixtures can make a big difference. Plan the number of lights based on your trailer size and how bright you want it.
They can, as long as the shape, size, and mounting match your old unit. People have used them to swap in for older campers, horse trailers, and similar setups with good results. Check your cutout, screw spacing, and lens style before ordering. Be ready to drill if holes don't match exactly.


 Filters