
Roadmaster Direct-Connect Base Plate Kit - Removable Arms


To see if this custom-fit item will work for you please tell us what vehicle you'll use it with.


Thank you! Your comment has been submitted successfully. You should be able to view your question/comment here within a few days.
Error submitting comment. Please try again momentarily.
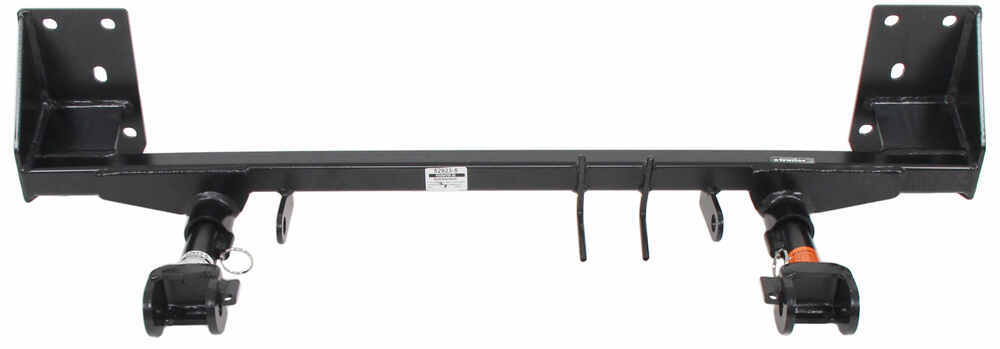

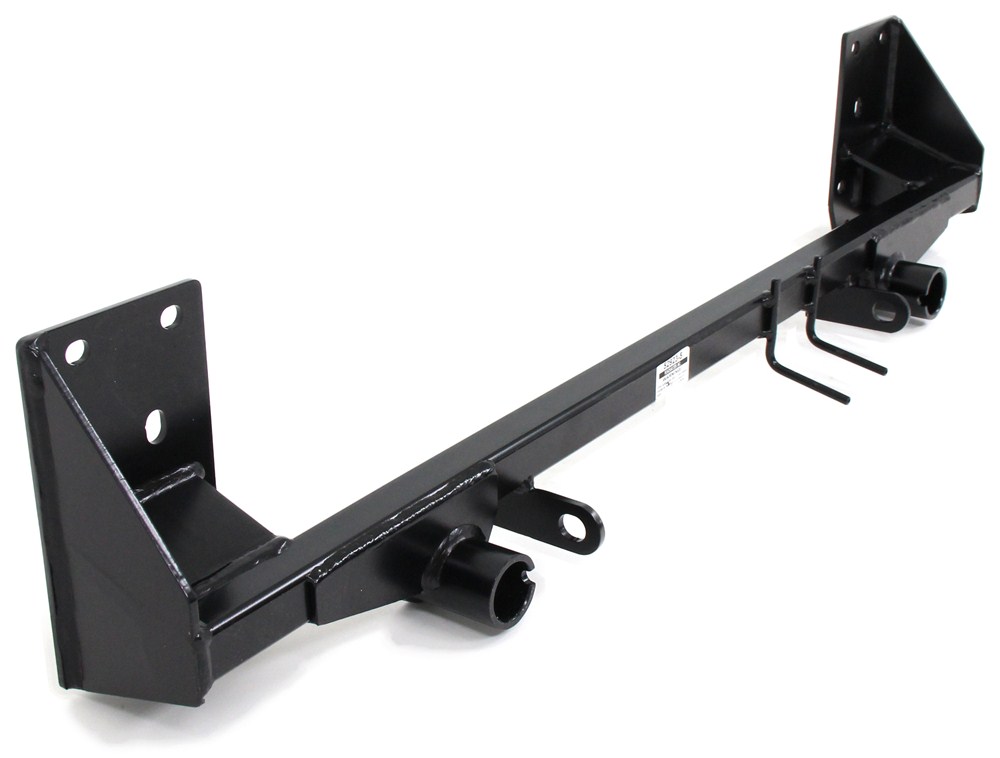


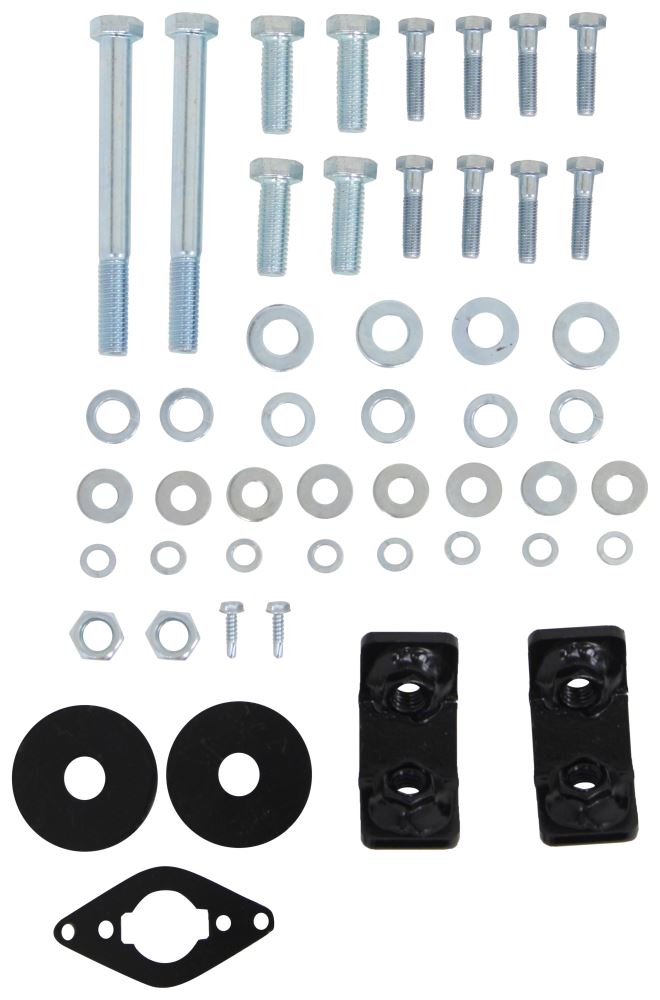
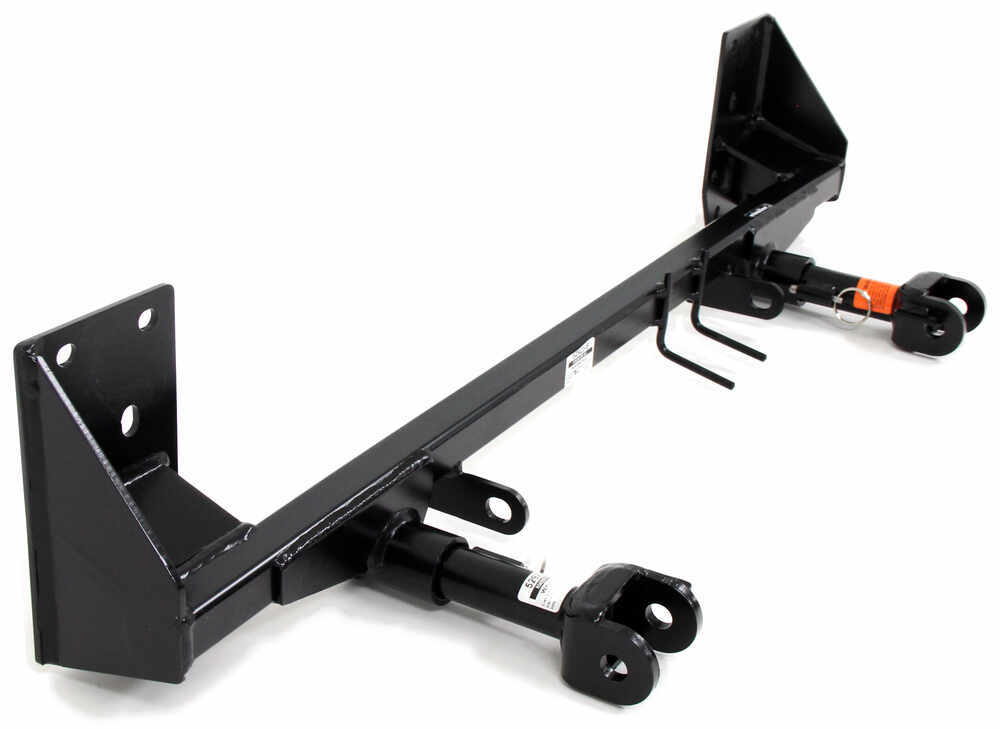

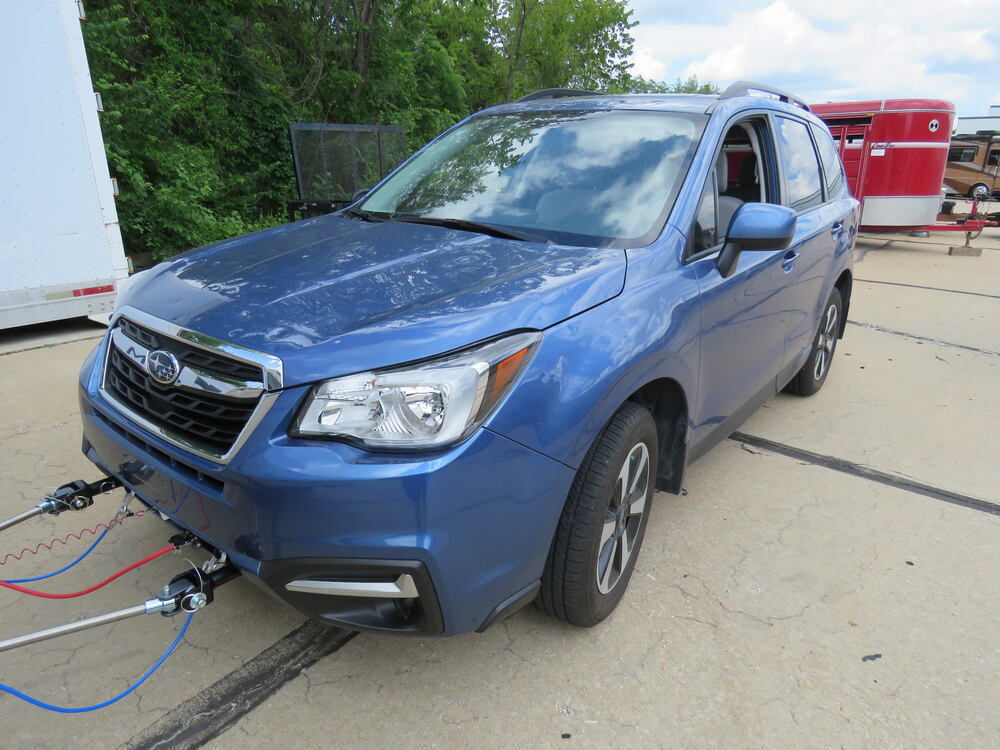

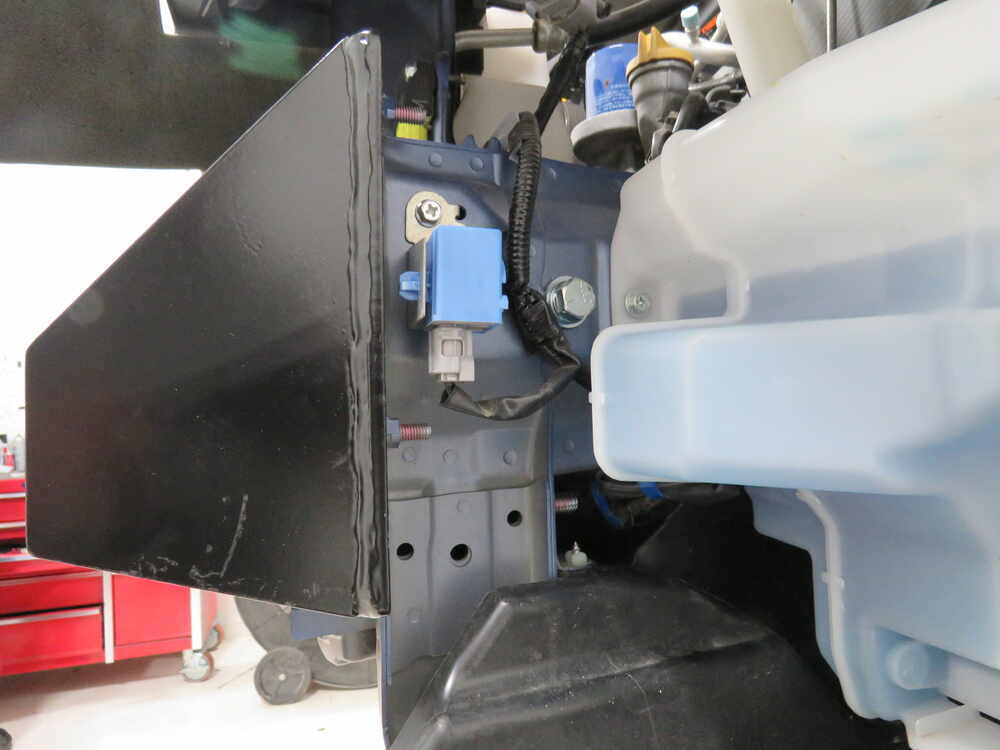

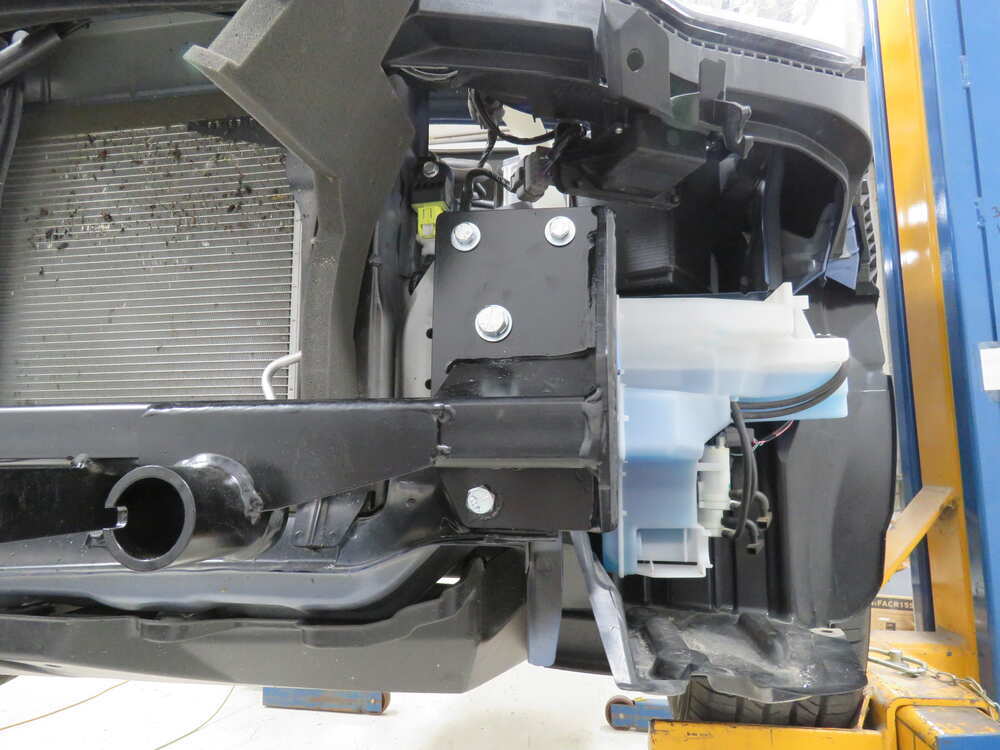
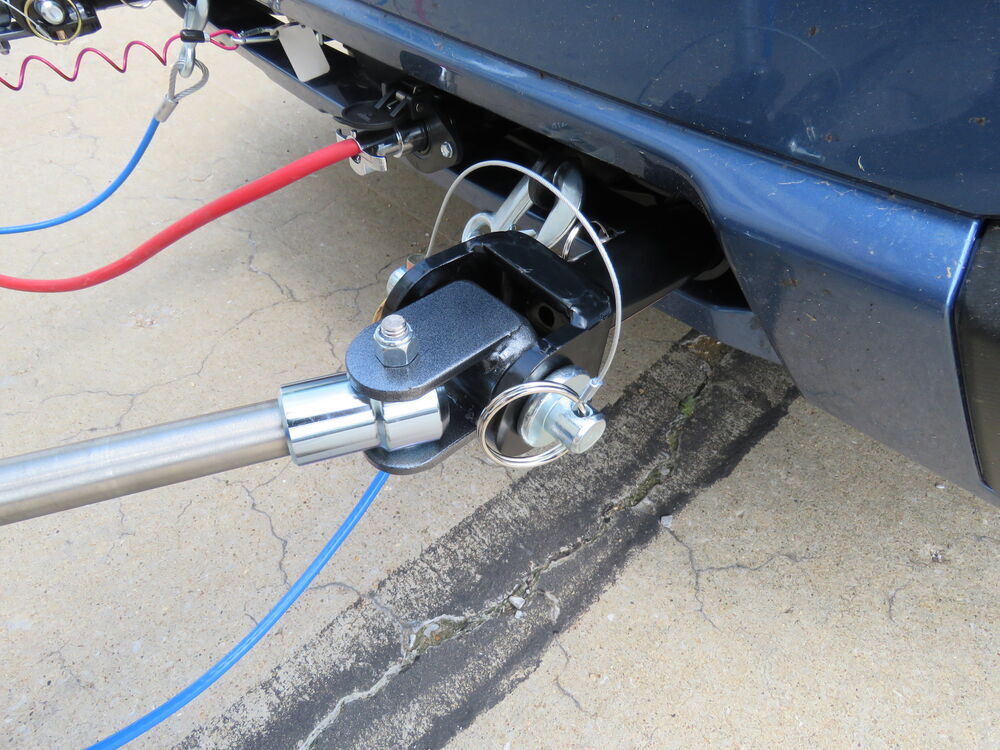
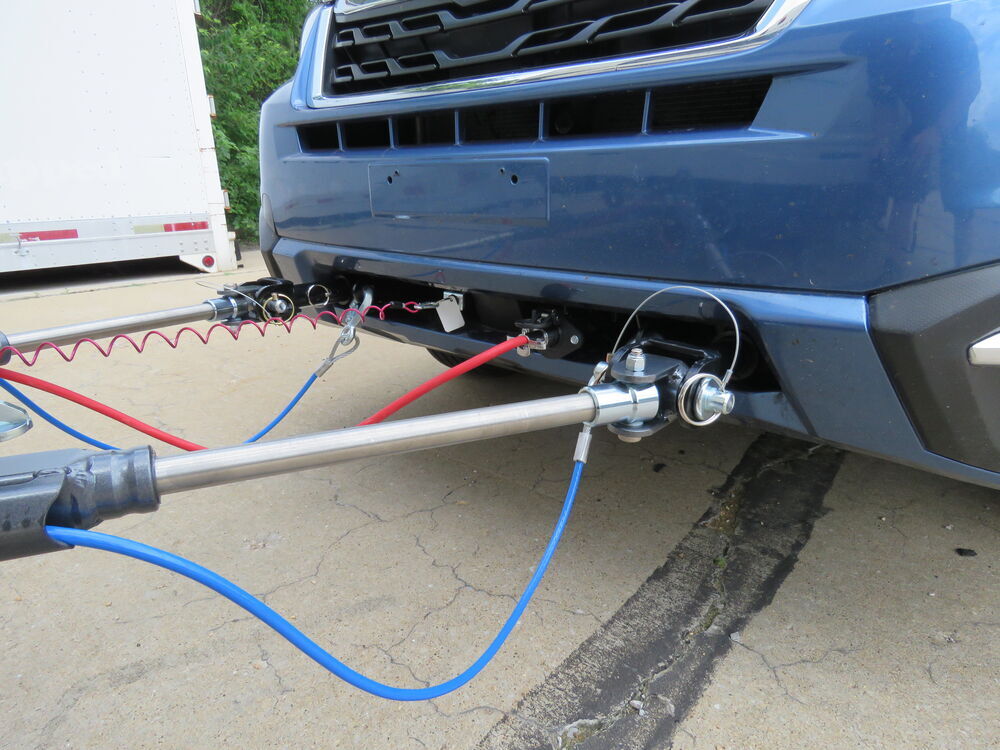
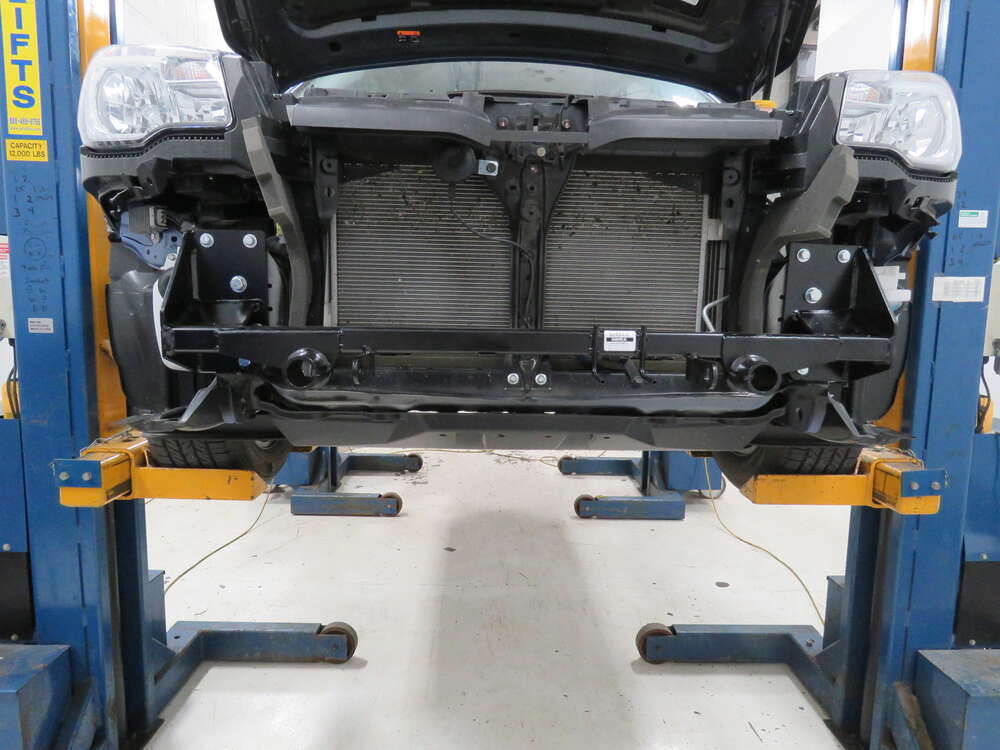


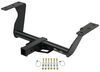
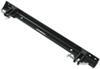
This base plate keeps the front of your vehicle looking clean when you’re not towing. The direct-connect brackets sit farther back than standard setups, so once the removable drawbars are out, the remaining parts are virtually invisible and protected within the grille. There’s no obtrusive quick-disconnect crossbar sticking out, so you get a factory-style look that stays out of the way when you’re just driving around.
Connecting and disconnecting is simple. Each arm slides into the bracket, twists to lock in place, and stays secured until you pull the built-in release ring. To remove, just pull the pin, twist, and slide it free. The system uses 3/4" diameter pins to attach the tow bar, giving a solid connection that’s easy to handle whether you’re parked in your driveway or at a campsite.
The computer-cut, all-steel build gives this base plate exceptional strength while the black powder coat finish adds corrosion resistance for long-term durability. It bolts directly to the vehicle’s frame and doesn’t require any welding. The design spreads towing forces evenly across the chassis so you can tow confidently mile after mile.
This kit is built for Roadmaster motor-home-mounted tow bars that slide into a trailer hitch—like the Nighthawk, Sterling, Blackhawk, Blackhawk 2, Falcon, or Falcon 2. Because it’s a direct-connect system, there’s no need for a quick-disconnect crossbar. That means fewer parts to manage and a cleaner overall connection from tow bar to base plate.
Roadmaster direct-connect base plates will only work with Roadmaster tow bars that slide into a trailer hitch, such as the Nighthawk, Sterling, Blackhawk, Blackhawk 2, Falcon, or Falcon 2. These base plates will not work with tow bars that require a hitch ball.

Videos are provided as a guide only. Refer to manufacturer installation instructions and specs for complete information.
Shane: Hi, I'm Shane with etrailer.com. Today, you're going to be taking a look at and I'm going to walk through the installation of the Roadmaster Direct Connect Base Plate on your 2018 Subaru Forester.There are five main components for a flat tow set up. You have your base plate. You have your diode wiring kit. You have your braking system, your tow bar, and your safety cables.Your base plate is going to attach directly to the chassis of the vehicle. It's going to give you a solid connection point for your tow bar.
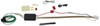
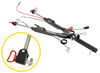
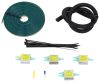
Your tow bar is going to be the attachment point from your base plate to your RV. Safety cables, they're going to be a secondary safety device in case your tow bar fails.Your braking system is going to sit inside the vehicle or mount inside the towed vehicle. It's going to allow the vehicle to not only slow but stop itself, so we're not relying on the brakes in the RV to do both.Our wiring, that's going to allow our Subaru to receive light functions from our RV, so that we're safe when we're flat-towing and people know what we're doing, whether we're braking, turning, or driving at night.Now, there is a possibility of a sixth component that's going to be needed depending on the wiring system that you're using. If you're installing a diode wiring kit, it's going to require a brake light relay. The relay attaches to the brake light wire inside the vehicle.
It keeps your brake light signal from overriding your turn signal.If you're installing a ball and socket kit, you're not going to need a brake light relay, but keep in mind you are going to have to drill a hole in the back of your tail light housing to get the ball installed, and with these tail lights there is not a whole lot of room to do that.Now, our base plate is going to be a custom fit base plate for our Subaru Forester. It's going to be a black powder coated seal, so it's really going to resist any rust or corrosion. Roadmasters puts really thick welds on their base plates, so we're not going to have to worry about this breaking down over time.It's going to have removable arms. When the arms are removed. You can see it's going to maintain a nice clean look on the front of the vehicle.
It's going to have a spring loaded pin. To remove them, simply pull the ring, twist, and then slide them out. To install them, slide them in until it pushes the pin in, and twist it until it locks. You want to make sure that this tab here is facing in and up.These are going to be your safety chain loops. We're going to have a cross beam, and that's going to have a pre-welded bracket for your breakaway switch for your braking system.
It's also going to have two free welded pegs. This allows you to mount your six pole plug for your wiring.Now that we've gone over some of the features, let's walk through the installation together. We're going to have six push pin fasteners along the top here. You take a trim panel tool or a flathead screwdriver. You're going to have one right at the corner of your fascia there, one here, and here.We're going to have a push pin fastener on each side, on the inside of the fender well. And then underneath the vehicle we're going to have three more fasteners. We're going to have one here. We're going to have one here, and we're going to have one right in this corner. Now, we're going to do the same thing on the other side.Now, we're going to start moving our fascia. We're going to start on the very outside edge and work our way to the center. If you have fog lights, make sure you don't just pull your fascia off. Pull it off slowly, and then unplug your fog lights. We're going to pull out, release the tabs, and then we'll set our fascia aside to be reinstalled later.Actually we're going to take a 10 millimeter socket, and we're gonna remove this outside bumper core cover. We're going to have four bolts along the bottom. We're going to have one in each corner and one right up here in the center on the top. Take your trim panel tool, we're going to pop this lower foam piece off just like that. We're going to do that on both sides.Now, on each frame rail where this overlaps your frame, you're going to go a 1/2" in and then center it between this line and this line, so you can see where I have it marked there. You're going to do that on both sides. Now where we marked, we're going to have to drill a 1/2" hole there. It looks like our horn might be getting in the way, so what we're going to do is take a 10 millimeter socket, and I'm going to remove it, and we'll just let it down to the side.I'm going to start with a pilot hole. What I like to do to make it easier is start with a small one and just step up every couple sizes each bit until you get up to a 1/2", or you can use a step bit. Now, you're going to do that same thing on the other side.Now, we're going to install our brackets. These are going to fit inside the frame rail. This back hole, we're going to bolt from the outside of the frame through the frame rail into the bracket. You want to make sure that you have the correct back to the correct side. This hole, you can see how it's towards the one side more. It's going to be on the top like this, so this one is going to be our driver's side. 1/2" bolt, lock washer, flat washer, you want to make sure you use Red Loctite on all of your hardware. Red Loctite does not come with the kit. You can find it here at etrailer.comWe're going to slide it inside the frame rail. We're going to line up this hole with the hole that we drilled and we're going to thread in our bolt. We're just going to loosely install it for now. We're going to do that same thing on the other side.We're going to set our main receiver brace in position, another 1/2" bolt, flat washer and lock washer. Make sure you're using Red Loctite. We're going to take this bolt, and we're going to bolt through to the bracket inside the frame rail.On the driver's side only, this wire loom we need to pop it loose. We're going to take a 1/2" drill bit. This lower hole and our main receiver brace we need to go all the way through, through the backside of the frame rail. It might be a good idea to take a piece of metal, or a block of wood or something, and stick it in here so that when your drill bit comes through you don't damage your wiring. All we're doing is, there is a hole in there that your wire loom would attach to and we're just enlarging it.We're going to take our longer 1/2" bolt, and you're going to need the large washer like this, a lock washer, and a nut, Red Loctite. We're going to run our bolt through all the way to through the other side on the hole we drilled. We're going to put on this plate first.The hole we just drilled around our driver's side here, you'll notice this lip and this lip is not allowing me to get my washer or this large washer on, so what we're going to do is we're going to open this hole up a little bit more. On the passenger side, that's a very large hole, so it allows you to move the head of that bolt over just a little bit, or I'm sorry, the end of this bolt. We're just going to take a bigger drill bit and open that hole up a little bit more.Now, we're going to have four small hex head bolts, a small lock washer, a small flat washer. You're going to have four for each side. They're going to bolt right into the existing weld nuts from the bumper inaudible 00:08:32. Two on the top, and we'll have two on the bottom. Once you have all your hardware installed, you're going to tighten everything and then torque it to the specifications in the instructions.Once you've got everything tied and torqued down, or reinstalled anything that you may have pulled off to get out of the way, it's a good idea if you are adding anything else like your braking system or diode wiring to go ahead and add that now before you put the fascia back in place. Once you install the fascia, you're just going to do it in reverse order from the way you took it off.Again, I'm Shane with etrailer.com. I hope this video has helped you whether you're still deciding or installing Roadmaster's Direct Connect Base Plate on your 2018 Subaru Forester.
Customer Satisfaction Score:
93% were satisfied with this product
7% of customers were not satisfied
Ratings & Reviews


Matthew

4/25/2026
Weve been using our Roadmaster set up for over two years and have traveled several thousand miles. All I do is make sure everything is cleaned and lubed. No problems so far.
Judith
7/15/2022
Great product! Towed Subaru Forester up and down the east coast no issues.
Janine C.
12/20/2021
7500 miles, still strong!


Gwendolyn Y.
2/12/2025
Install looks great, Jeff! Do you have any plans of where you are going to go this season yet?
Jeff
2/12/2026
I’ve pulled the Chevy behind our motor home several times over a the last year. It has worked excellent. And when not in tow the tubing is barely noticeable.
Gwendolyn Y.
2/26/2026
Looks great, Mark! Where are you off to next?

Heather A.
4/10/2026
Wow great job Crystal! It looks great! Also, I couldn’t help but notice “Ski Express” on the car, that’s pretty cool. What kind of work do you do?

Mike L.
9/23/2026
Which trim is your 2026 Chevy Trax? Per Roadmaster, the # RM25EQ (523228-5) fits all trims of the 2026 Trax except the ACTIV trim....

David
8/2/2026
It’s been a great year. No problems with the base plate. Works great with my tow bar. Towed my trailblazer from Texas to North Dakota and back, and several short trips.

Gary S.
6/19/2026
No issues at all. This is a solid piece of equipment.
Do you have a question about this Tow Bar Base Plate?
Info for this part was:
At etrailer we provide the best information available about the products we sell. We take the quality of our information seriously so that you can get the right part the first time. Let us know if anything is missing or if you have any questions.





















Brooke M.
4/27/2025
It ain't nothin' but a thang, Matthew! I hope you know we will always be here if you ever have any more projects we can help you with :)