
 Product Experts Available Now!
Call 1-800-940-8924


To see if this custom-fit item will work for you please tell us what vehicle you'll use it with.


Thank you! Your comment has been submitted successfully. You should be able to view your question/comment here within a few days.
Error submitting comment. Please try again momentarily.


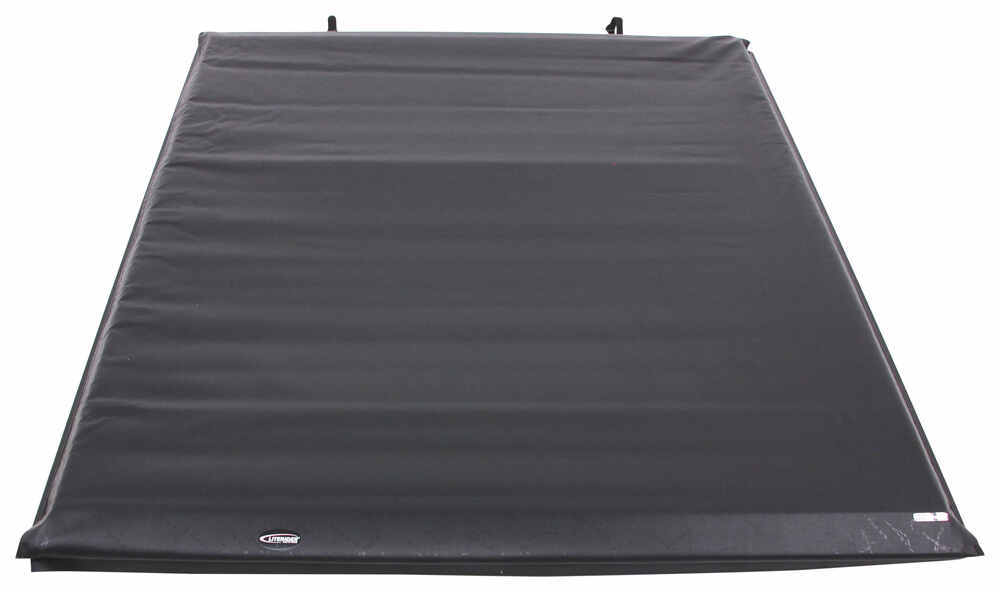


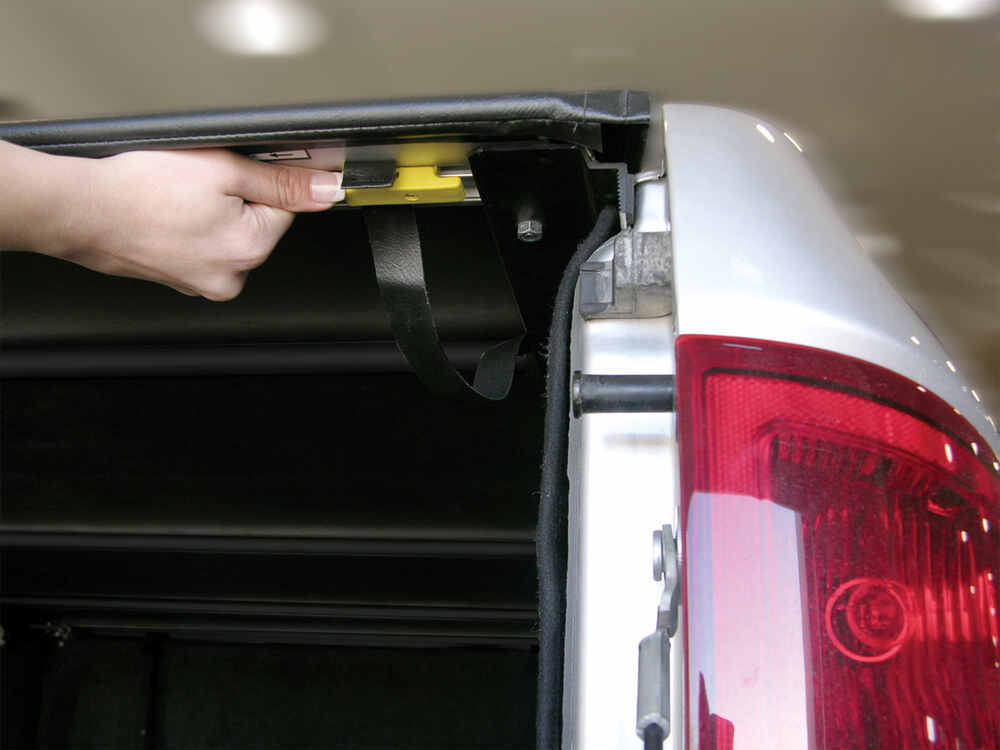
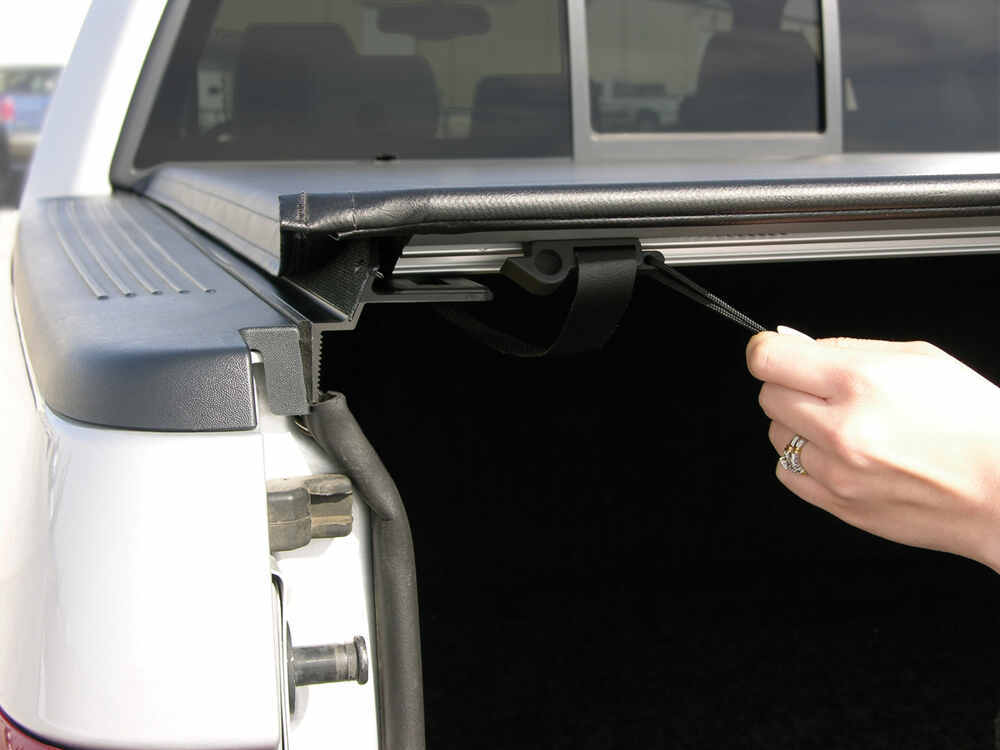
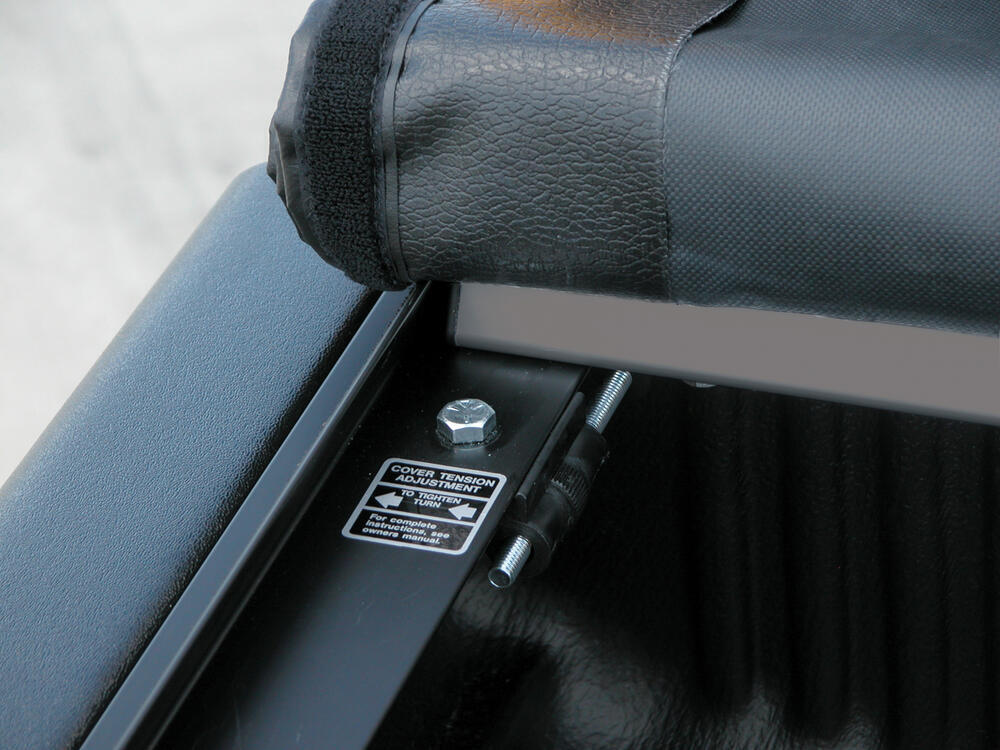



You don’t have to give up bed space when you need to haul something big. The Access LiteRider rolls up in seconds and secures neatly behind the cab using Quick Clip straps, so you can load tall or bulky gear without removing the cover. The soft vinyl surface peels back easily from the Velcro side seals, and when rolled down, it sits 1-1/2" above the bed for a clean, streamlined look.

Rain, snow, and dust stay out thanks to the double-coated, UV-blocking vinyl and a reinforced flap along the tailgate. The material stays flexible down to -40°F and won’t shrink or fade in the sun. That makes it a solid year-round choice whether you’re in heavy rain or bright sun, keeping your gear dry and protected without extra fuss.
Closing the cover automatically engages the AutoLatch, so there’s no need to line up latches or snap buttons. A single pull on the release cord opens it just as easily with one hand. For extra assurance, the Slide Lock adds a second point of security, and when the tailgate is locked, your cargo stays safely out of sight.


Weather changes can loosen or tighten a soft cover, but you can fine-tune the LiteRider’s fit in seconds. The EZ-Dial adjusters at the front let you set the right tension with just a twist—no tools needed. The cover stays tight and smooth across the rails, preventing sag and keeping it looking sharp mile after mile.

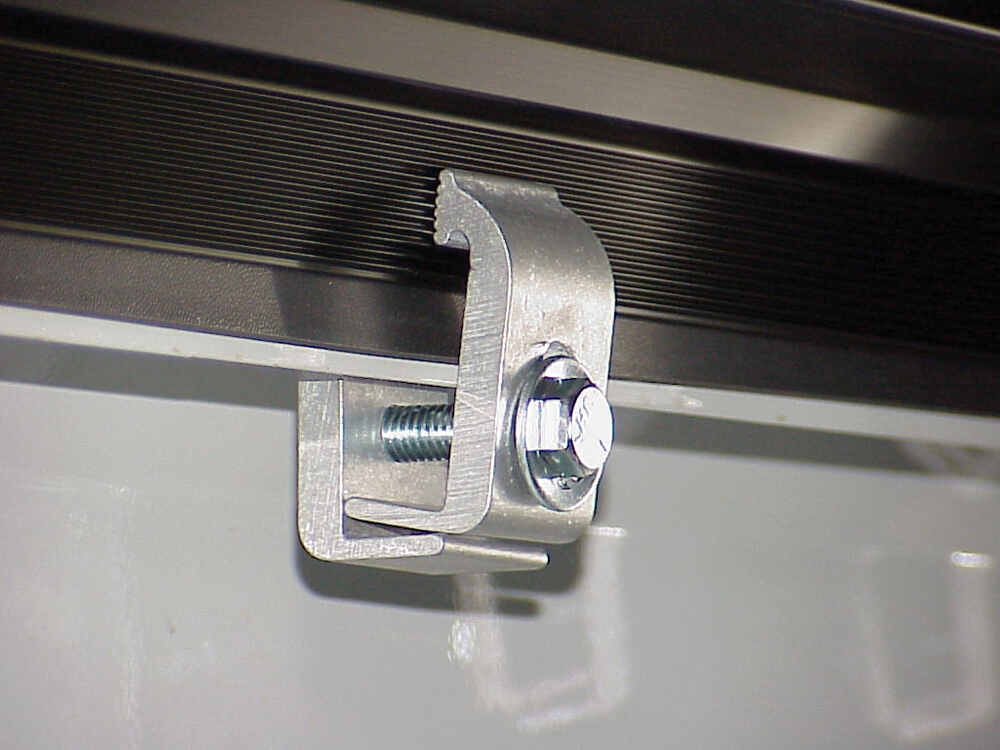
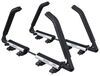
Rust-resistant, black powder-coated aluminum rails and aircraft-grade aluminum clamps keep the cover solidly in place. The Tight Bite clamps grip the rail ridges securely without drilling, while the inside-the-bed mounting leaves stake pockets open for racks or tie-downs. It’s a sturdy setup built to last through years of use and weather.


Videos are provided as a guide only. Refer to manufacturer installation instructions and specs for complete information.
Today on this 2010 Ford F-150, we are going to install part number 834532004737, the Access tonneau cover LiteRider. The first thing that we need to do is install the side rails that go into the bed of the truck. Alright, we are going to take our first rail. We are working with the driver side. We are just going to hold it up to the inside edge of the top rail of the truck and we will make sure that this edge is flush with this or maybe a little bit higher will work just fine. You will notice on the rail here that we have this plastic edge here. That is where the back part of the tonneau cover locks into place. You want to have this towards the back of the truck when you install the rails. Scoot it all the way towards the front and make sure that touches the front rail. Once we have it the way we want, we are just going to use a clamp just to hold it in place. We will start working on the clamps that will hold it permanently in place. Take your clamp, push it into place. I like to go as far as I can on the inside edge of the rail and try to go as far back as possible. 1:03
And then let us go ahead and snug it down. Now let us go to the front part of the rail and let us go ahead and make any adjustments if we need to. Alright, let us just make sure that we have it at the right height, just like the back side. Now you want to try to put it as far forward as possible. Now, there may be stuff inside the bed that will get in the way too, underneath this edge right here. So, just try to get it as far as you can. Now let us go to the middle of the bed and go ahead and put in our third clamp. We you put your third clamp in there, just make sure you get it as centered as possible. If you have something again underneath the rail here, that is ok. As long as you keep it as close to the middle as possible it is good. Once we have it the way we want it, let us go ahead and snug it down for good. OK, we have one side done. Let us go to the passenger side of the truck and repeat the same process. 2:07
OK, when you have your rails installed, double check to make sure that this flat part right here is reasonably level. If it is tilting up a little bit, like this, you may have to adjust the clamps. To bring it back down a little bit, take the clamp and bring it down a few teeth and then try it again. The next thing we are going to do is to do some assembly work to the actual cover itself. This is how it is going to be rolled up onto the truck, sitting flat. So, we know which side is going to be the driver side and that is going to be the passenger side. We will flip it back over. We need to loosely install the tensioners. Now, the tensioners are marked left and right, see the L here for left. And what is going to happen is this is going to get set into the track just like this. And there is a nut preinstalled from the factory inside the track. So we are just going to set our adjuster on top of it. And we are going to set a flat washer and run a bolt through it, just enough that you get attached to the nut and leave it loose. And we do this on both sides. OK, let us go ahead and set our cover into place, in the front rail. You also want to make sure that your straps come below, on the inside of the bed of the truck too. That way, when you have it rolled up, it will wrap around and just latch on the other side. Now, we have our rail installed in between our two bed rails. Now you want to take a second. You can see how it moves back and forth. Make sure you have it even on both sides. I am just going to use my fingers just to roughly gage it. Once you have it set the way you want it, we will go ahead and connect it to the side rails. And remember this part here, the adjusters, we loosely bolted on. That is why we have them loose. So, it can sit like this. This will wrap around this rail right here. And this part will actually get bolted to the rail. This adjuster actually moves this in and out, as needed, to adjust the tension of the cover itself. 4:01
We are going to take a 3/8 bolt and we are just going to push it through here. And we are actually going to thread it in through the plastic part here. It is a tight fit and it is meant to be that way so we just have to thread it in. You do not have to crush it. Just nice and snug will work just fine. Alright, we have this set. Let us go ahead and tighten down this bolt here. This tightens the adjuster to the front rail, simple as that. Let us go over to the passenger side and do it one more time. At this point we can go ahead and roll back the tonneau cover and check to make sure we have proper clearance for the tailgate. It looks like a good fit. Now, if you did not have the clearance that you needed right here, you simply just raise the rails up and down just a little bit to gain what you need. Alright, now we have a couple more things to do. Let us go ahead and unlatch the tonneau cover. There is a strap on each side and you just pull them to the center. This one is spring loaded and the other one is not. So, you just undo the passenger side first and then you do your spring loaded on last. Then you can flip it right up. Let us roll it back up. The next thing we need to do is this kit comes with a special spacer right here that gets attached to the back wall of the bed itself. Basically, there is a little gap right here. And it kind of knocks down on the entry of air and water and stuff like that, and dust. Basically it is just a big sticker that gets stuck up in there. With our driver side done, let us go ahead and do it on the passenger side. 5:48
Alright, while we have the tonneau cover rolled up, we will go ahead and show you the straps that hold everything together when you have it rolled up. This little strap just snaps together. Give it a little quick tug. And everything is held together. When you are not using it, and you want to unroll it to cover up the bed, undo the snap, let it sit below and just roll everything back. Then we will take the sides of the cover and just push it into place. It might be a good idea too on the other side to pull it a little bit towards you and then push down the Velcro, to help take out any slack. And with that, our install is complete. And there you have it for part number 834532004737 on a 2010 Ford F-150.
Ratings & Reviews



William
12/13/2024
Have had the cover for 2 years and it is still in great shape and it looks like new. Definitely worth the price!!


Brooke M.
3/1/2025
Thats great to hear! What will you be towing or carrying with the new addition?
Mike Q.
12/21/2020
Cover is showing wear from being rolled up to tow 5th wheel. Even with it strapped tight. Hoping it doesnt wear through

Jenny N.
3/7/2022
You mentioned that the tab on the cover had rubbed the paint off on your truck. I wanted to see if would be able to send a picture?

Glenn
3/7/2022
I will take one and send it to you as soon as I get a chance
Info for this part was:
At etrailer we provide the best information available about the products we sell. We take the quality of our information seriously so that you can get the right part the first time. Let us know if anything is missing or if you have any questions.





















Tyler M.
12/8/2020
Hi Lee, Thank you for your comment. The owners manual for the cover says that if the latch system doesnt engage, then the first step is to check the side rails for height and level, referring back to a step in the initial setup process, as well as inspecting the latches for jammed or broken parts.