


To see if this custom-fit item will work for you please tell us what vehicle you'll use it with.


Thank you! Your comment has been submitted successfully. You should be able to view your question/comment here within a few days.
Error submitting comment. Please try again momentarily.
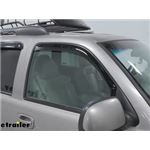
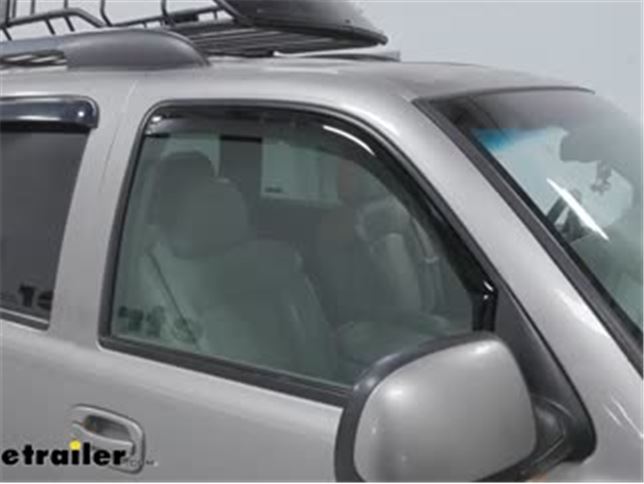
Let fresh air in while keeping bad weather out. These heavily tinted rain guards keep your interior dry, reduce wind noise, and help to keep temperatures down by promoting better air circulation in your vehicle.
Features:

Videos are provided as a guide only. Refer to manufacturer installation instructions and specs for complete information.
Today, we're gonna be taking a look at the WeatherTech Rain Guards. These are gonna be great for just kind of keeping the heat a little lower in your vehicle so you can kind of crack your windows and just allow a little bit of air flow without having a direct path into your vehicle. This kit's gonna come with both the driver and passenger side front windshield. So if you do want to do it for all of the different vehicles, just use our fit guide. It's gonna give you the list of them. You can either buy them just the front and just the back, or you can buy them all as a kit.
WeatherTech is gonna provide a little bit thicker rain guard compared to some of the other ones. I actually took off my OEM ones, which as you can see, very, very thin, very flimsy, and they started to crack over time. So these aren't gonna crack near as quickly as these did. Also a nice thing about these compared to the OEM ones, as you can see, all that glue and stuff. So these actually sat up top.
So it wasn't as near as aerodynamic as the WeatherTech. So this is gonna bring my wind noise down a lot, and it is very low profile. So you can see the difference between the one that goes on the inside of the little channel compared to the one right behind you, which is on the outside like I was talking about before. I like the look of the WeatherTechs better, and this is not as efficient when it comes to aerodynamics. So we're getting the same amount of benefit as the OEM ones.
We just get a better looking one. It's a nice dark tint, a little bit darker than these right here. And, overall, it's gonna add to the look of my car, which is kind of what I was going for. All of them install the same exact way, both the driver and the passenger side. So if you wanna see how quick the process is, stick around.
We wanna start with the front. So just make sure you have the right side. And this is gonna go in the channel that the window goes in. So roll up your window, see the little slot where it goes in, and that's where this is gonna be. So what we wanna do is start with the front. Get it kinda into that slot the best we can, like this. And then we're gonna have to slowly kind of bend this to get it up into place. We'll be kinda gentle with it, kind of lean it down, that seems to help a little bit, kind of go up like this. They say to leave a gap right here, once it kind of gets into place, then you wanna go into the driver's side and we're just gonna kind of roll it up, but we're gonna do it really, really slowly just to make sure that nothing really bad happens. So just roll up your window. You can see how it's kind of pushing out. All right. All right, so now it's at least bypassing the window. So now I have to do that a couple of different times. We wanna kind of hopefully take out that gap a little bit. Just by coming over, just pushing up a little bit like that. And then we're just kind of gonna go ahead and put it up and put it down about five different times, nice and slow. And five. So we're pretty much good there. Once that's done, you can do that same exact process on the other side. And that'll do it for our look at the WeatherTech Rain Guards..
Ratings & Reviews

John

4/16/2024
After a few days the guards had found their natural place and the slight annoyance from the closing window contacting the guard had gone away. I think that they just needed to conform after the install. I’m super happy that I purchased these and not the exterior stick-on type. They have a factory-look and are ideal when I want to crack the window during rain or wind. Highly recommended.



Rachael H.
5/10/2019
I have spoken with my contacts at WeatherTech and these deflectors have a small clip that needs to be installed in the front of the window sill. It gets taped to the outer gasket of the Outback and it sits very close to the rear view mirror. This clip helps to hold the deflector up and keep it tight within the window channel. I have included a link to an installation video, this clip is featured at about 2 minutes 45 seconds of the install video of this install for your reference as well as the installation instructions for your reference. If this clip is not installed it may sag and appear to be too loose of a fit and too long for the window.
Helpful Links
https://assets.weathertech.com/assets/1/25/9422_(Impreza,_Civic,_WeatherStrip_Clip).pdf
tv-install-weathertech-air-deflectors-2018-subaru-outback-wagon-wt82780.aspx

Jenny N.
11/24/2021
I recommend reinstalling the defector and making sure to leave the window closed for 12 hours.

Sierra K.
7/12/2022
Watch the attached video at the 2:20 mark. You will need to pull on the deflector to make the tape stick and that also makes sure any gaskets are not pinched. By moving the window up and down a few times, it ensures that the deflector is seating correctly.
Kim A.
9/17/2020
They are still looking great and working well. Definitely a good investment!
Info for this part was:
At etrailer we provide the best information available about the products we sell. We take the quality of our information seriously so that you can get the right part the first time. Let us know if anything is missing or if you have any questions.



























Laura E.
8/21/2017
Jon, I called the manufacturer and verified that these are installed through the front flap, pushed up with the included special tool, where they will rest outside the seal, but inside the first flap of weatherstrip. Feel free to call us with any further questions. We would love to help!