
Curt Trailer Hitch Receiver - Custom Fit - Class III - 2"


To see if this custom-fit item will work for you please tell us what vehicle you'll use it with.


Thank you! Your comment has been submitted successfully. You should be able to view your question/comment here within a few days.
Error submitting comment. Please try again momentarily.

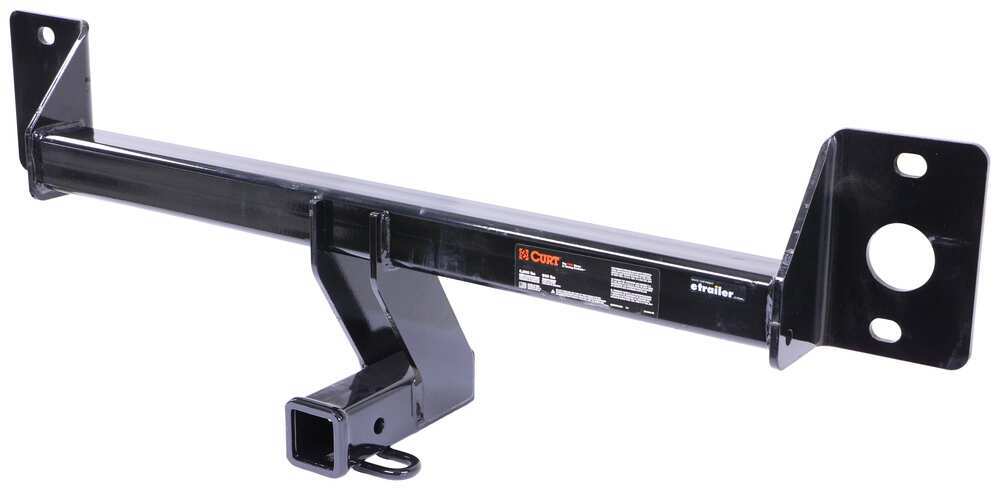
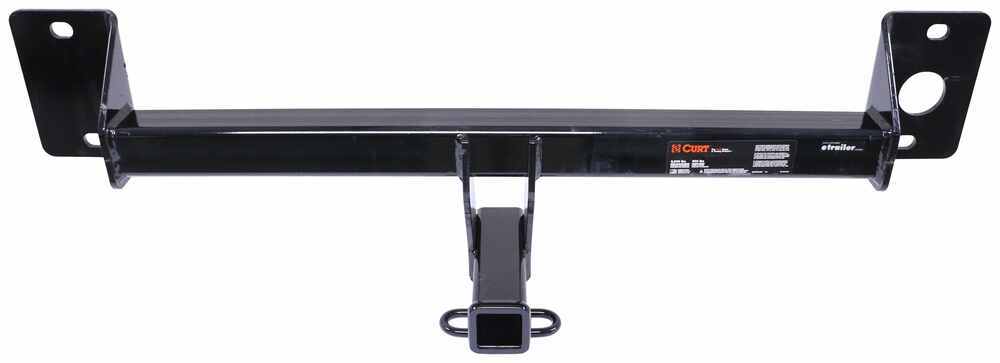
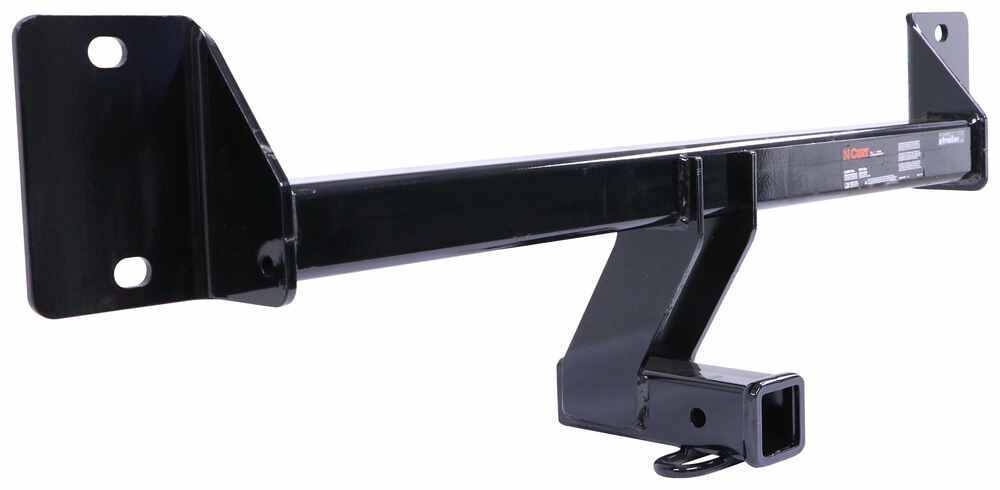
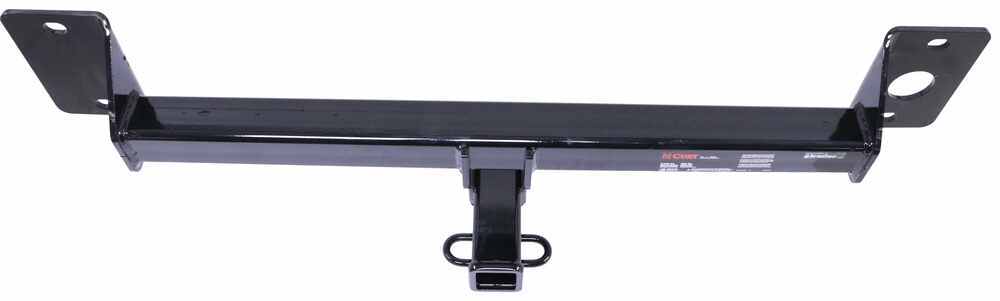
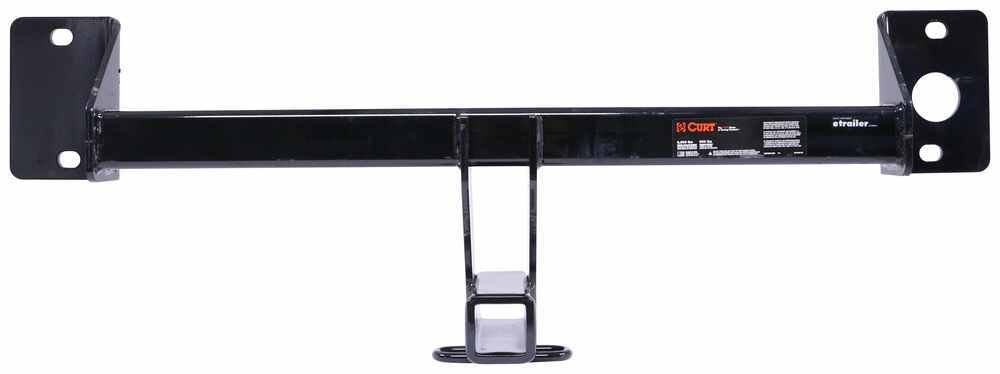

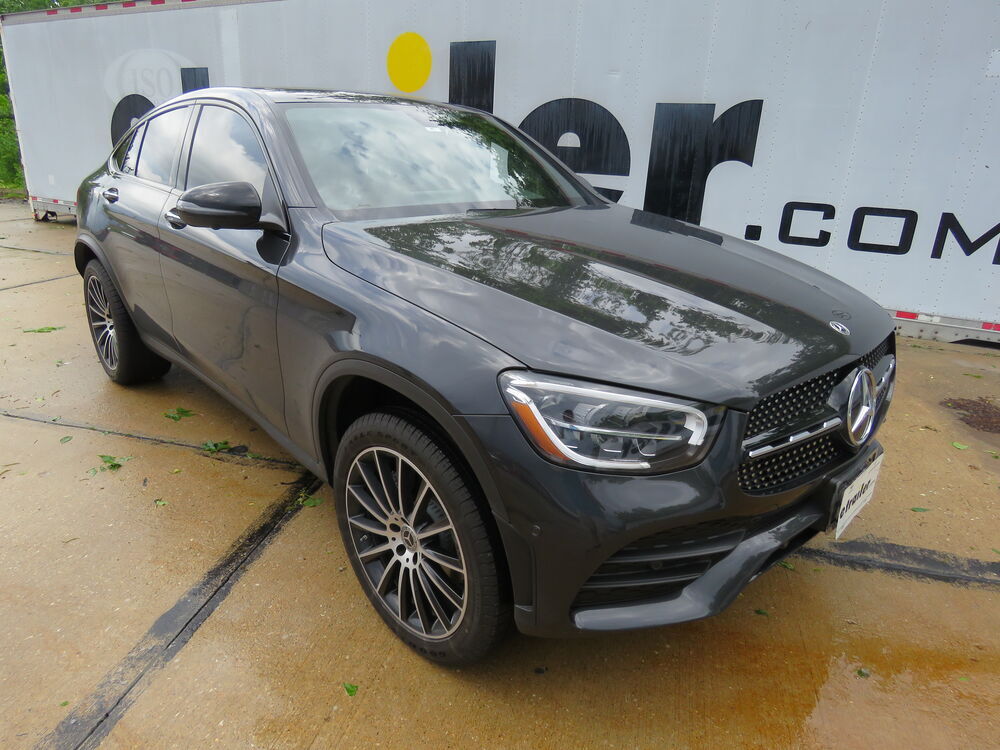


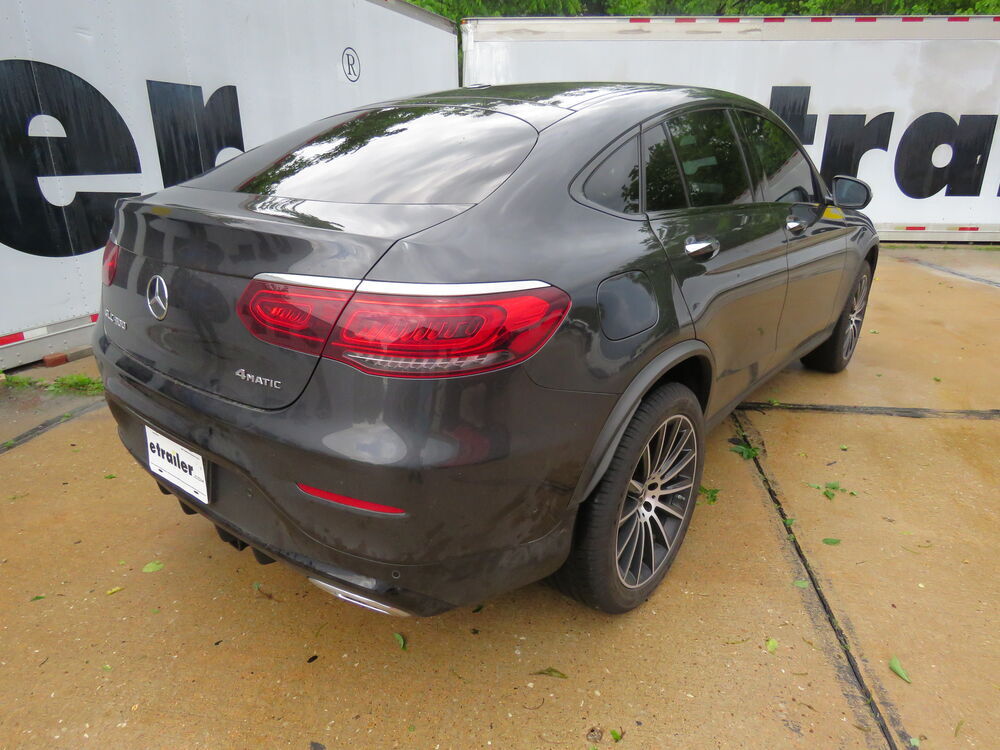
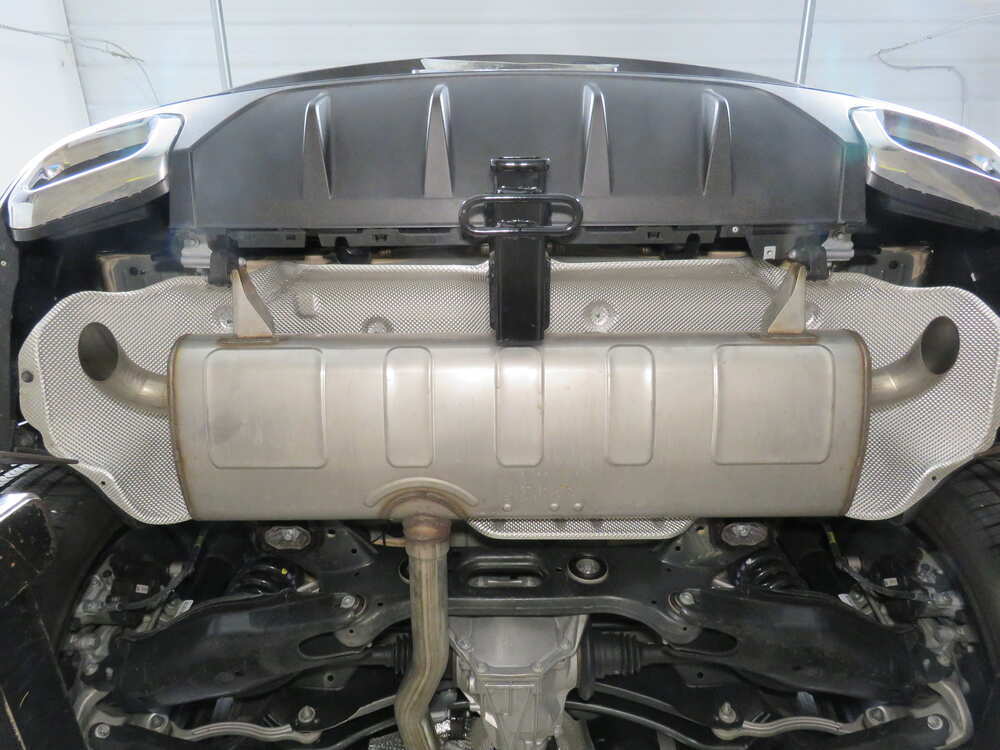

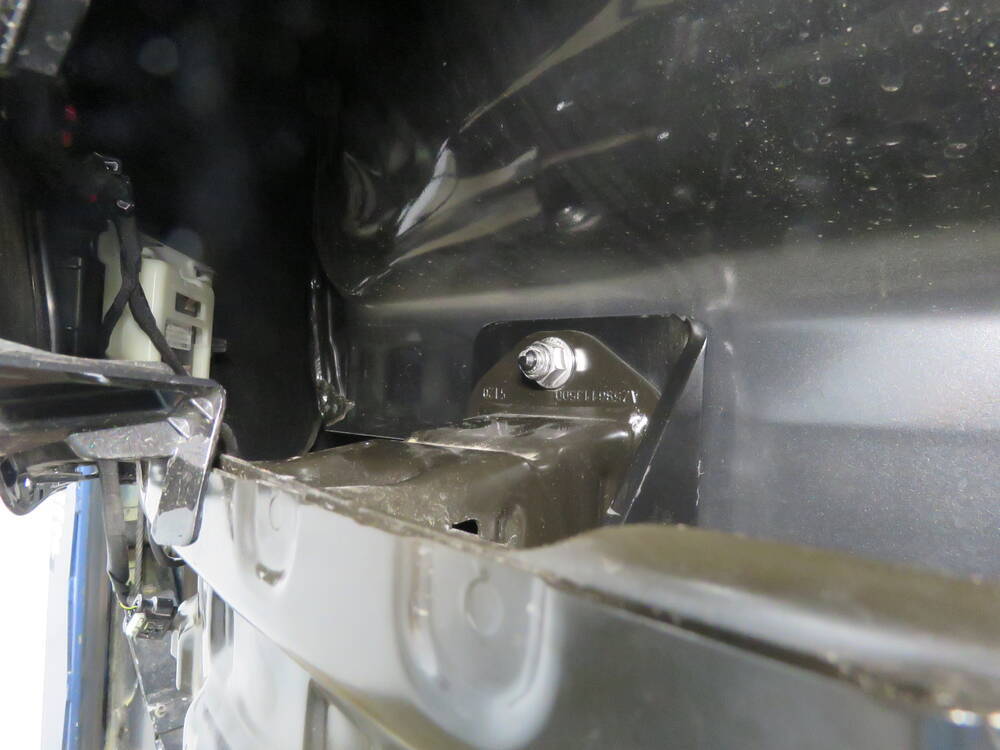
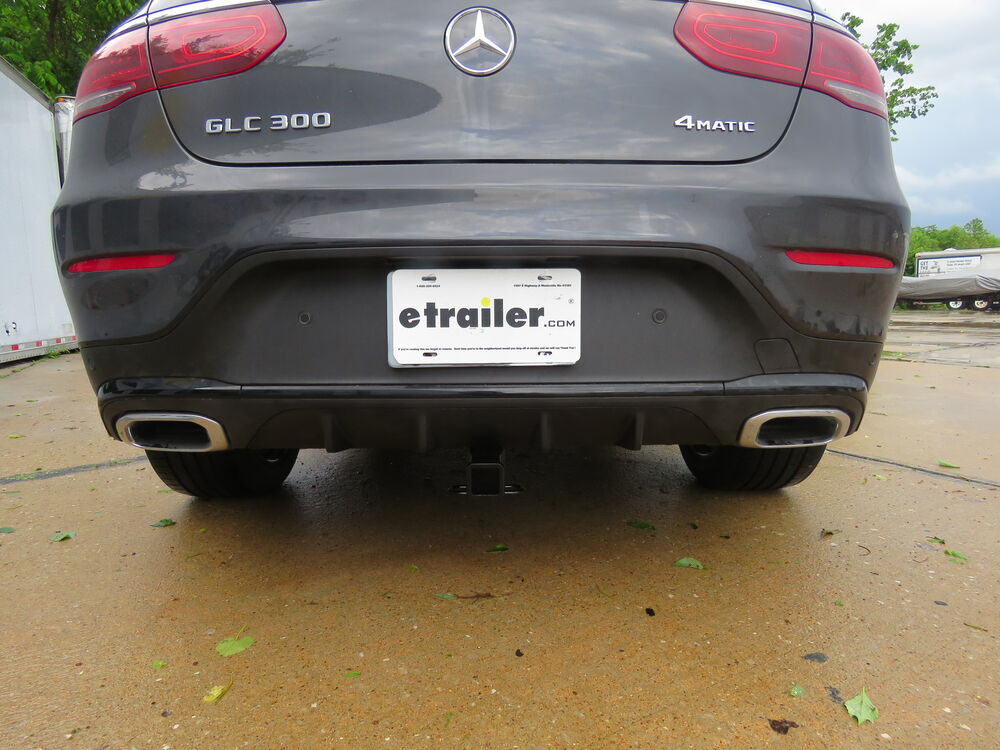
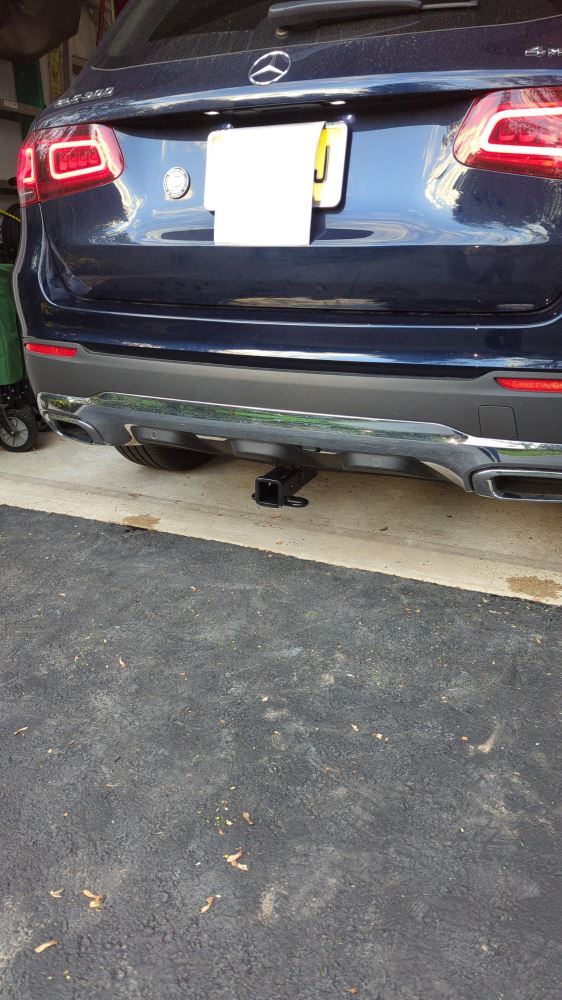
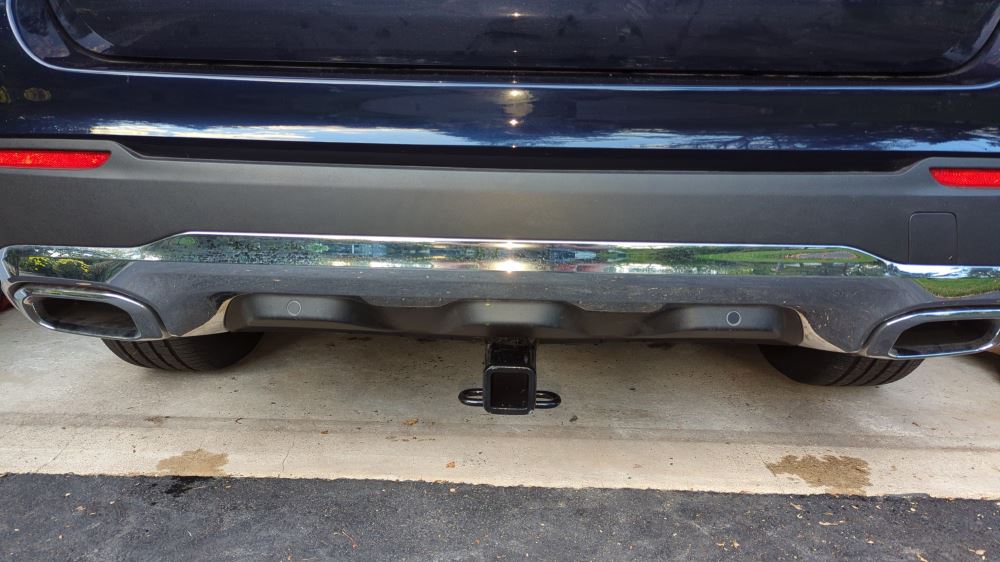



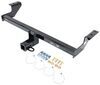
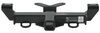
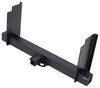
This Curt Trailer Hitch Receiver is built for real-world use with up to 6,000 lbs gross trailer weight and 900 lbs tongue weight. The 2" x 2" receiver fits the most common accessories like bike racks, ball mounts, and cargo carriers. Whether you’re towing a small camper or adding storage for a long trip, this hitch gives you solid strength and everyday versatility.
The sturdy, square-tube steel design is precision welded for superior strength and fit. It’s protected inside and out with a gloss black powder coat finish over a rust-resistant liquid A-coat, so it stands up to road grime and weather without corroding. That durable coating also keeps the hitch looking clean under the bumper long after installation.
This fully welded hitch bolts straight to the frame—no welding or fabrication needed. It’s engineered as a custom fit so the mounting holes line up just right for an easy install using standard tools. The concealed main body keeps a clean, OE-style look once it’s in place, so you get added utility without changing your vehicle’s appearance.
The open-back receiver makes it easy to keep the tube clear of dirt and debris, while the hitch itself is tested in accordance with SAE J684 safety standards. With its heavy-duty build and dependable design, it’s ready for daily driving, towing, or weekend trips whenever you are.

Customer Satisfaction Score:
97% were satisfied with this product
3% of customers were not satisfied
Ratings & Reviews

Very quick
Made well and works well
Great. Strong & reliable. Fits perfectl y.
Easy and quick installation, works grea t!
Hitch box got wet, poked through, had some scars when it arrived.
Bob T.

8/25/2024
This hitch has been rock solid. I use it for my bike rack and for that, its great.
Great product and price!
Didn't receive instructions in the box and looked like the hitch itself was in and out of the box several times before reaching me. Disappointed.
Customer service has been excellent in resolving damaged shipments. If vehicle is equipped with park assist there are additional connectors at side sensors that need to be removed. Also lower bumper cover needs about an extra half inch of material removed toward the side that butts up to the hitch. Otherwise instructions and video were helpful.
Despite having every tool required (including an E12 Torx socket), installing the trailer hitch took me substantially longer than 1 to 3 hours! My 2022 GLC300 was different in a couple of areas from the video. I believe the differences were because mine has the DC1 “Night Package” that includes a unique rear diffuser (the instructions call it a bumper fascia); more about that later.
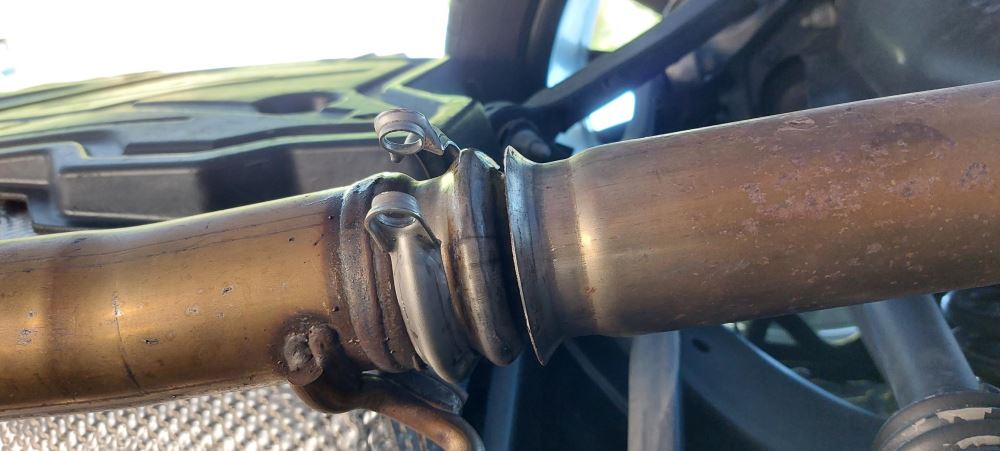
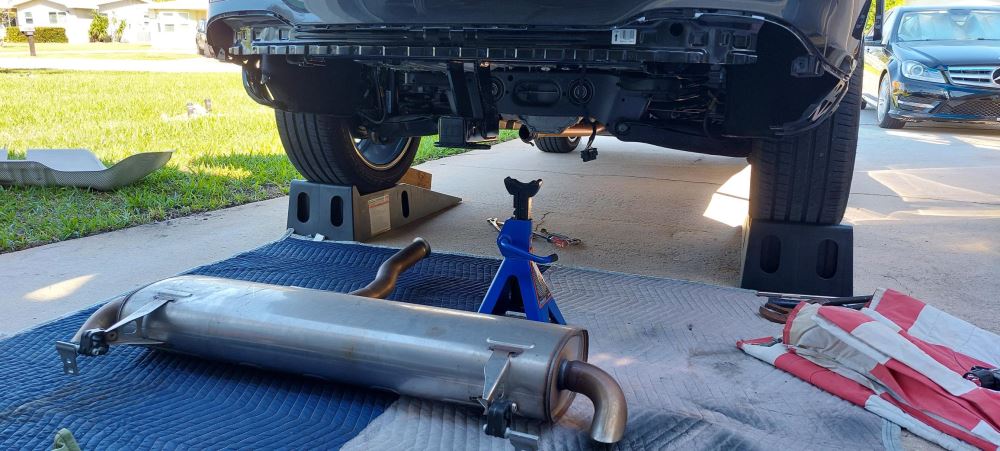
If I could make one change to the installation instructions it would be to remove the muffler in Step 1 as opposed to letting it hang in the way. Every part of the job is much easier with the muffler removed from the vehicle. Remove one additional clamp (shown in photo) that holds the muffler assembly to the exhaust pipe and the whole assembly slides right out of the way. The cutout for the heat shield ended up being 3-1/2” wide vs. 3” for my installation.
One of the issues with the Night Package Rear Diffuser is the metal bumper is still covered by the rear fascia when the rear diffuser (including back up cameras) is removed. I was able to stretch the rear fascia enough to remove the bumper by prying and removing the bumper one side at a time. That was the easy part. Getting it back on without damaging the rear fascia was brutal. After hanging the trailer hitch off the factory bumper bolts, I hung the bumper by the two lower bolts with the nuts loosely screwed on to prevent it from falling. At this point the bumper was hanging at an angle below the fascia. Placing a flat pry bar between the fascia and the bumper, I was able to stretch enough space to pop the bumper up and under with a floor jack. There was no way to get a torque wrench on the top nuts, so I tightened the heck out of them best I could.
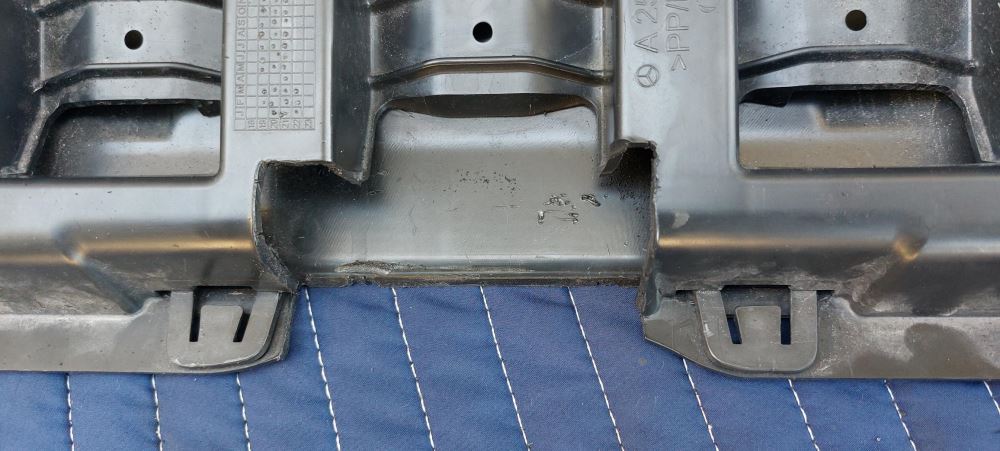
The other issue is the rear diffuser is also riveted to the rear fascia on both sides. I drilled out and removed one rivet on each side to remove the rear diffuser from the vehicle. It appears to me the rivets are an assembly aid to reduce risk of scratching the vehicle during installation of the rear diffuser. I did not have an appropriate sized rivet at home, so I reassembled mine without. I considered substituting a stainless steel sheet metal screw, but reinstalled without filling those holes. Of note is I used the “cut and try” routine to establish what size slot to cut out of the diffuser because the “Night Package” is different from standard. I included a photo of the finished cut …
BTW, investing a couple of dollars for a Torx socket set will pay off if you plan on doing any other work on your Mercedes. This is the one I have: Amazon.com: DURATECH 14-Piece External Star Impact Socket Set with Storage Case, E4 to E24, 1/4”, 3/8”, 1/2” Drive Female E-Torx Torque Socket for Working with Impact Wrench, Cr-V Steel : Tools & Home Improvement

Gary H.
5/12/2024
It has been a little over a year since I installed this receiver. I always remove the hitch when it is not in use as my last one got rusted in so solid it was sold with the car. I live one block from the Atlantic so the inside of this receiver also rusts where the hitch rubs inside of it. I have sanded and painted the inside of the receiver several times so far. I guess it wouldn’t rust if I didn’t use it so much! :
Do you have a question about this Trailer Hitch?
Info for this part was:
At etrailer we provide the best information available about the products we sell. We take the quality of our information seriously so that you can get the right part the first time. Let us know if anything is missing or if you have any questions.






















Tom
9/7/2023
works flawless!