
Blue Ox Trailer Hitch Receiver - Custom Fit - Class III - 2"


To see if this custom-fit item will work for you please tell us what vehicle you'll use it with.


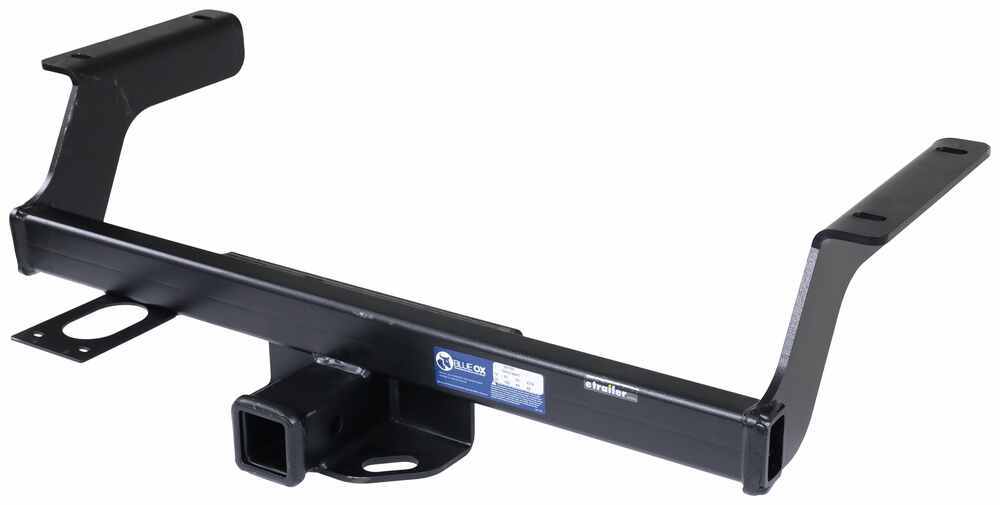
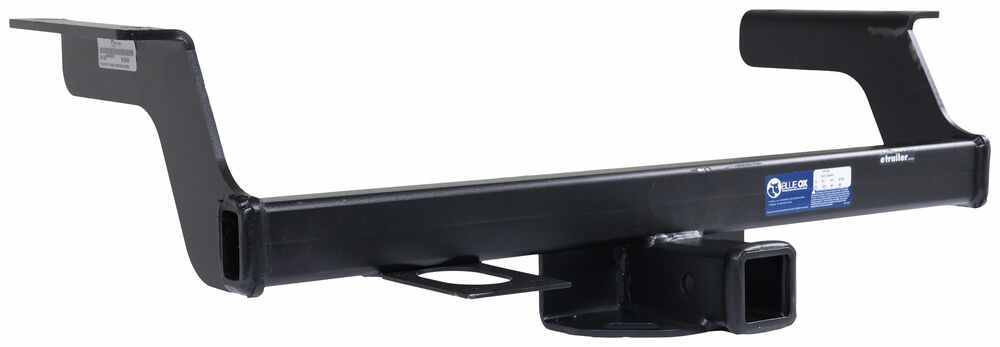
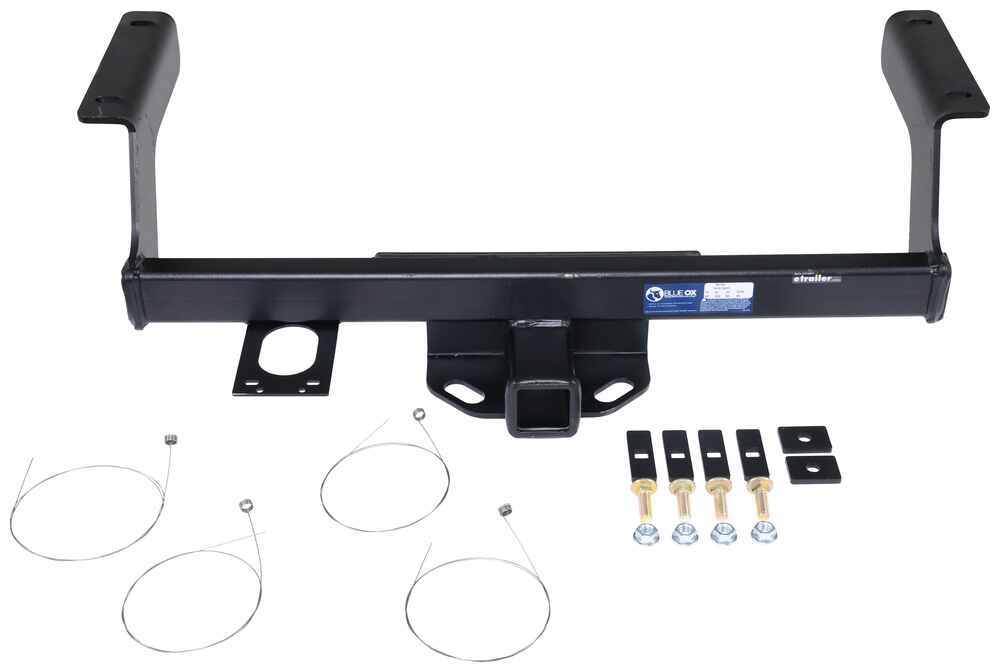
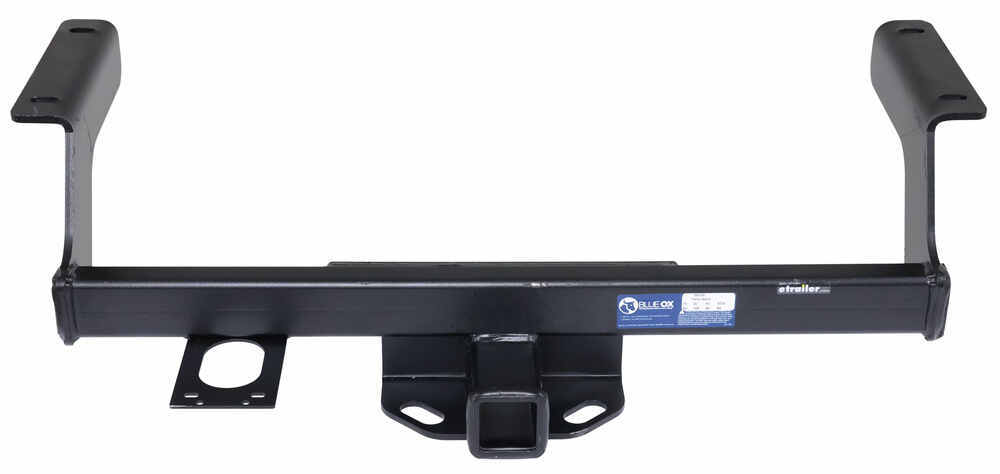
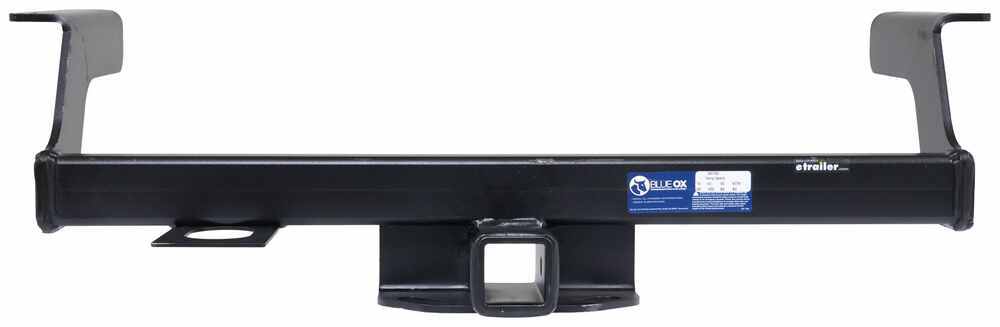
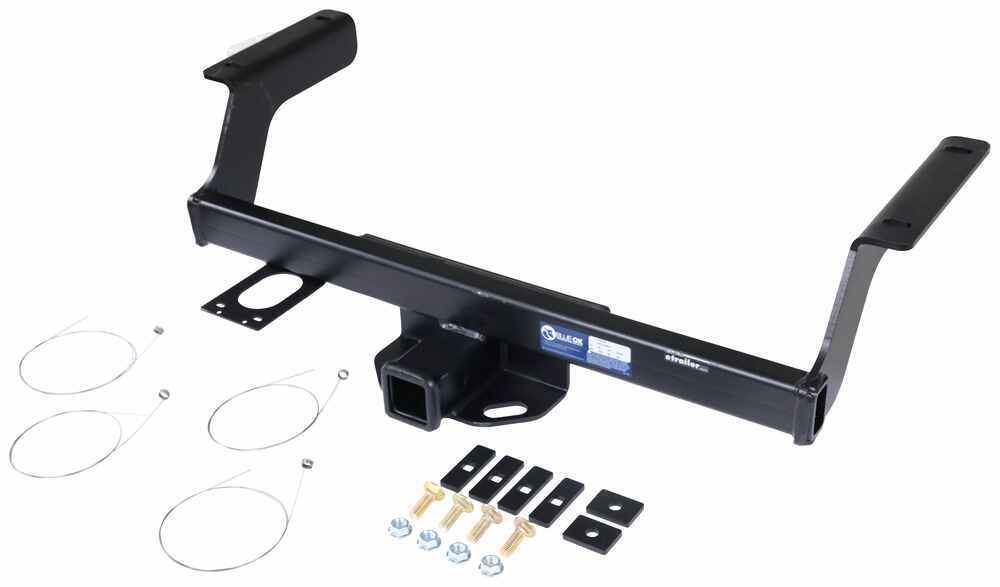



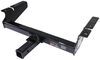
With a 2" x 2" receiver opening rated for 4,000 lbs gross trailer weight and 600 lbs tongue weight, this hitch is built for everyday towing and hauling. The concealed cross tube keeps things looking clean and low-profile, so your vehicle doesn’t lose its style just because you added utility. It’s a sturdy, square-tube design that blends strength with a sleek finish.
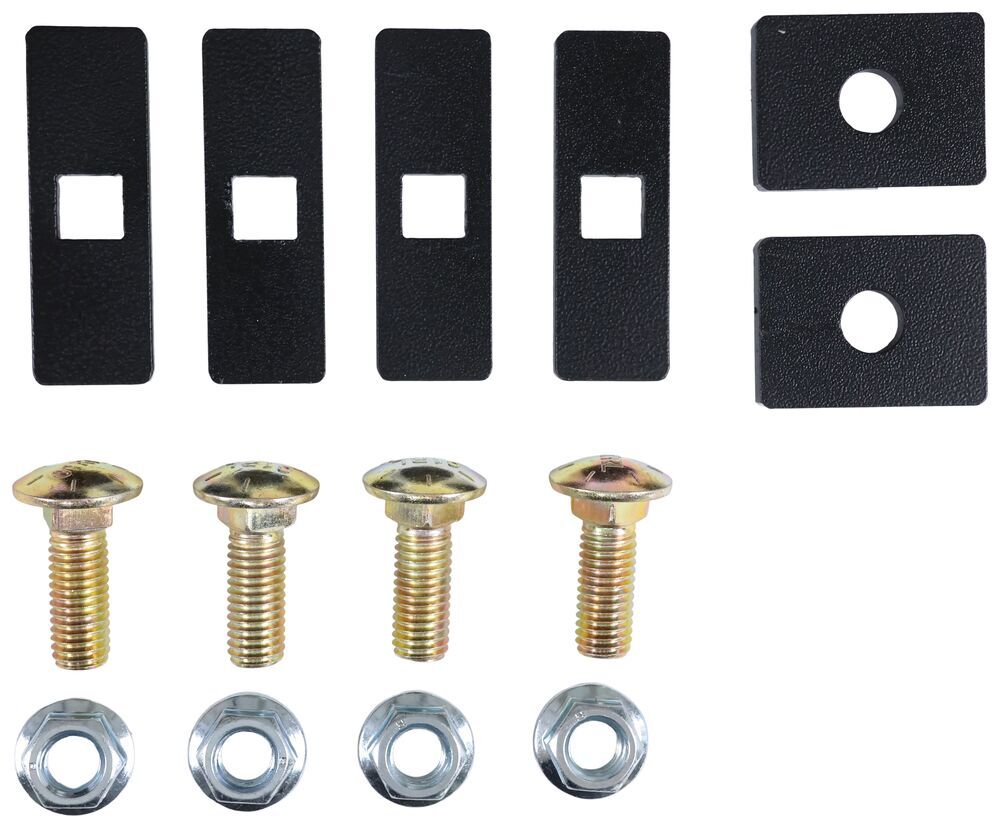
This hitch bolts right to the frame using the included hardware—no drilling or welding required. The precision, robotic welding ensures all the mounting points line up correctly for a smooth install in your driveway or garage. Everything you need comes in the box, from the full hardware kit to detailed instructions, so you can get it done without extra trips for parts.
A welded-on bracket gives you a solid place to mount your trailer plug or wiring harness, keeping connections tidy and easy to reach. It’s designed to work with standard 4-flat brackets, so you can set up your wiring without clutter or dangling cords. Whether it’s lights for a camper or a small utility trailer, everything stays neat and secure.
A textured black powder coat layered over a rust-resistant e-coat protects the hitch from road grime and weather. That combination keeps corrosion at bay and helps the finish stand up to years of towing and hauling. It’s crafted with durability in mind so you can keep using it trip after trip without worrying about wear.
Videos are provided as a guide only. Refer to manufacturer installation instructions and specs for complete information.
Hi, this is Scott with etrailer. Today we're taking a look at and installing our Blue Ox Class III Hitch on our 2025 Subaru Crosstrek. The Subaru Crosstrek is a really popular and a very versatile vehicle; it's nice to add some versatility to it by adding a hitch. By adding a hitch, you're gonna be able to haul around your bike racks with your bikes on it, or a cargo carrier with some extra gear, or even pull a small trailer. This hitch is gonna be a almost hidden cross-tube design. Your cross-tube's gonna be hidden up behind the fascia a little bit here, so you're not gonna see that hanging down at all, all you're gonna have is your receiver and your chain loops hanging down, so that's about all you're gonna see.
This one hides behind your bumper really well; so on day-to-day use, say you're back here in the back of your Crosstrek a lot, you're not gonna be hitting your legs on this all the time. Some hitches will come out quite a bit and they kind of get in the way, where this one kind of tucks in behind. It's gonna have a nice powder coat finish, so it's gonna hold up for a really long time and resist chips and scratches as well. It's gonna be a heavy-duty hitch, there's gonna be a two-inch receiver opening. So most of your accessories now are two-inch variety, so it's gonna hold a lot of different accessories for you, and it's gonna hold up for a really long time.
This hitch is gonna have a five-eights pin hole opening that's gonna hold any of your accessories in the back. And with this, this will not come with a pin and clip, so you may wanna pick one of those up. But keep in mind, a lot of your accessories, like your bike racks or your cargo carriers, will come with an anti-rattle pin. This hitch has heavy-duty welded-on chain loops, it's gonna accept either your S style hooks or your clevis-style hooks. So either one of those are gonna work for your trailer towing needs.
As far as measurements go, from the center of the pin hole out to the edge of our bumper, we're looking at right around three and a half inches, that measurement will help you decide that if any of your accessories fold up or stow away, will make any contact with the back of your Crosstrek. Now from the top inside lip of our receiver down to the ground, we are looking at a measurement of. Right around 13 and a half inches. That measurement will help you decide on if you may need a ball mount to pull your trailer behind here, what your measurements will be for that, but it'll also help you figure out if you need a rise of the shank, of either your bike racks or your cargo carriers, for clearance. As far as weights go for this hitch, we're looking at a tongue weight rating of 600-pounds, that's gonna be the weight of your bike rack loaded down with your bikes, or your cargo carrier loaded down with all of your gear, pushing down on the lower section of the hitch itself.
Now for a gross trailer weight rating, we're looking at 4,000 pounds; that's gonna be the weight of your trailer and everything that you have loaded on that. Now keep in mind it's always a good idea to take a look in your owner's manual and make sure that you're not exceeding any of your maximum towing capabilities listed in there. If you have any questions or comments about this hitch for your Crosstrek, you can always leave any questions or comments down below in the Comments section, or you can get a hold of one of our experts here at etrailer, they'd be glad to help you out. As far as installation goes, this one's really straightforward, and it really isn't too hard to do, but if it's something you don't have the time or the tools or the place to do, you can take a look at our Installer Locator and get something done for you locally. If it's something you feel like tackling yourself, stick around, watch our video, and we'll help you get it installed. To start our installation, we have our Crosstrek in the air, you can do yours in the driveway if you need to. So underneath of our vehicle, we're gonna have three rubber plugs on our frame that we're gonna need to remove. So with that, I'm just gonna take a flathead screwdriver, and on each side, we're gonna have these three little plugs, just wanna pop those out. And we're only gonna be using these two holes, but we're gonna go ahead and pop this center one out as well, that way, our hitch will go up and sit flush. After we have those out, we're gonna have to get our hardware into these two holes here. So what I'll use is what's called a burr bit, and I'm just gonna basically put a notch on both sides of the hole, and that's gonna give us enough room to get our carriage bolt and our hardware through. And I will be doing this on both sides. (power tool whirring) (metal grinding) With the hole enlarged, I'm gonna come back through and clean up this body sealer we have here. Now you can use a putty knife or even a screwdriver or something. The reason we're gonna get this cleaned off here, just to make sure that our hitch sits flush. So I'm gonna use my multi-tool cutter and just kind of work that off of there. (power tool whirring) With that all cleaned up, I'll come back through with a little paint 'cause we do have a little bit of bare metal here where we opened up our hole, and also where we've removed our sealer. We'll just use a little paint and we'll get that covered up so we don't get any rust or corrosion in the future. For our hardware in our kit, we're gonna have our carriage bolts, we're gonna have our spacer blocks, and we're gonna have these extra blocks; what these are gonna be for is if we get our hitch mocked up and we decide that our receiver is not quite level enough, we can use these in our forward-most hole to get some levelness to that. Now I already held mine up there and I did find out that I'm not gonna be needing to use those spacers, 'cause it sits fairly level. To get our hardware in place, we're gonna take our fish wires that comes in our kit, and we're gonna start at our rear-most hole, and we're gonna push that wire forward to our access hole, and we need to pull that out our access hole, and that's where we're gonna get our hardware through. Once we have that through, our coiled end, we'll put on our spacer block, followed by our carriage bolt, we're gonna thread that onto our coiled end. We'll take our spacer block, push that into the hole, followed by our carriage bolt. (bolt clacking) And we'll pull that back to the hole we're gonna use as our mounting location, and just pull that down. We are gonna leave our fish wire on, just leave that on there. Now we'll take our other fish wire, and we're gonna do this one a little bit different. This is gonna be what we call reverse fish wiring. We'll put our spacer block on, thread on our carriage bolt, and then the hole that we enlarged, we'll take our carriage bolt, push that up in, (bolt clacking) followed by our spacer. And you may have to wiggle that around a little bit to get that to work for you, it can be a little bit tricky. We'll pull that through, and, again, we'll leave our fish wire on there, and we'll do the same thing on the other side. With an extra set of hands, we're gonna go ahead and lift our hitch into position. What we wanna do at this point is get our fish wires pulled through the corresponding holes. Our fish wires are pretty long, so that's pretty easy to do at this point. Just get those through there. After we've done that, we're gonna wanna lift it up over our exhaust. Helper Yeah, I have it on. Make sure we don't tangle our fish wires on anything. (bracket clacking) Kind of pull those down and through as you go, that way, you don't end up with any tangles. (bracket clacking) You may have that little piece of body back there that you'll have to get around. Pull our bolts down through our hitch, so that we're gonna remove our fish wire. And we want to get one of our included nuts ran on there, so we can hold our hitch in place. Now once we get one of these nuts on both sides, that's gonna hold our hitch in place so we can get the rest of our hardware installed. With all of our hardware in place, I like to get behind the car and make sure that our receiver is centered up where we want it. After that, I'll come back through with a 19-millimeter socket, and we'll snug down all of our hardware. (power tool buzzing) With all of our hardware snugged down, we'll come back through with our torque wrench and we'll torque everything down to the specifications listed in our instruction manual. Now if you don't have a torque wrench, you can always pick one up here at etrailer, we do have options available, or you can take a look at your local auto parts store, you should be able to rent one there. (torque wrench buzzing and beeping) And that was a look at the Blue Ox Class III Hitch on our 2025 Subaru Crosstrek. I'm Scott with etrailer, and thanks for watching.
Customer Satisfaction Score:
94% were satisfied with this product
6% of customers were not satisfied
Ratings & Reviews

Speedy service and delivery. Thank you
Do you have a question about this Trailer Hitch?
Info for this part was:
At etrailer we provide the best information available about the products we sell. We take the quality of our information seriously so that you can get the right part the first time. Let us know if anything is missing or if you have any questions.


















Thank you! Your comment has been submitted successfully. You should be able to view your question/comment here within a few days.
Error submitting comment. Please try again momentarily.