
etrailer Invisible Base Plate Kit - Removable Arms


To see if this custom-fit item will work for you please tell us what vehicle you'll use it with.


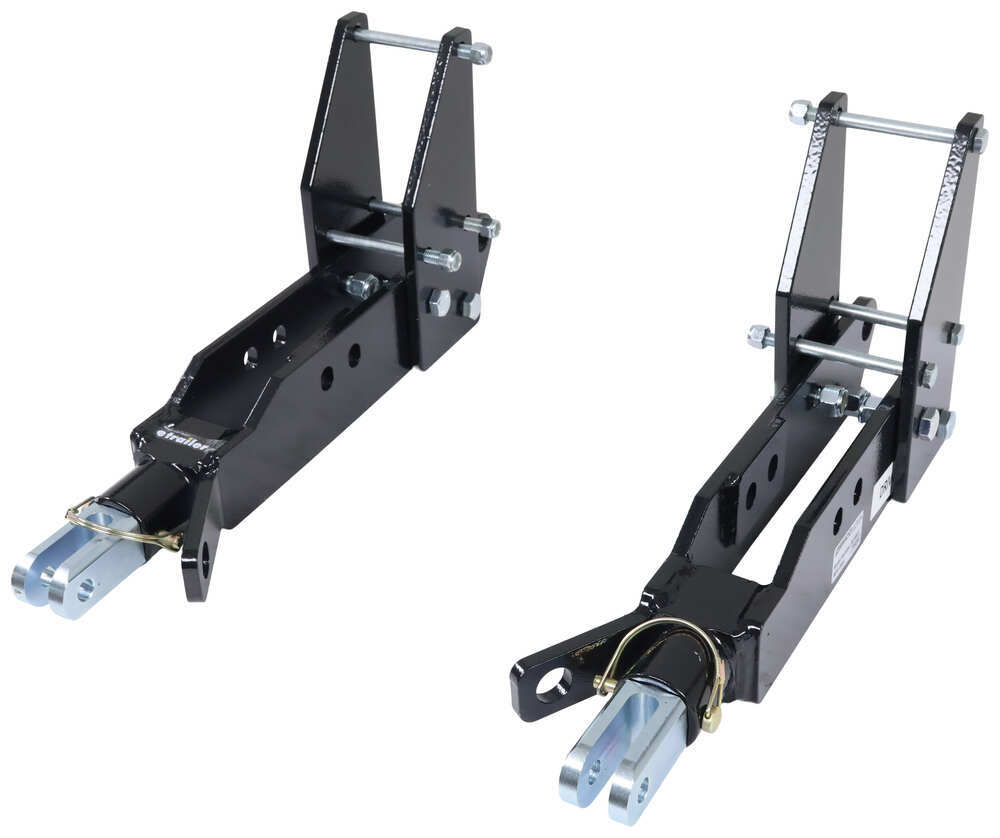


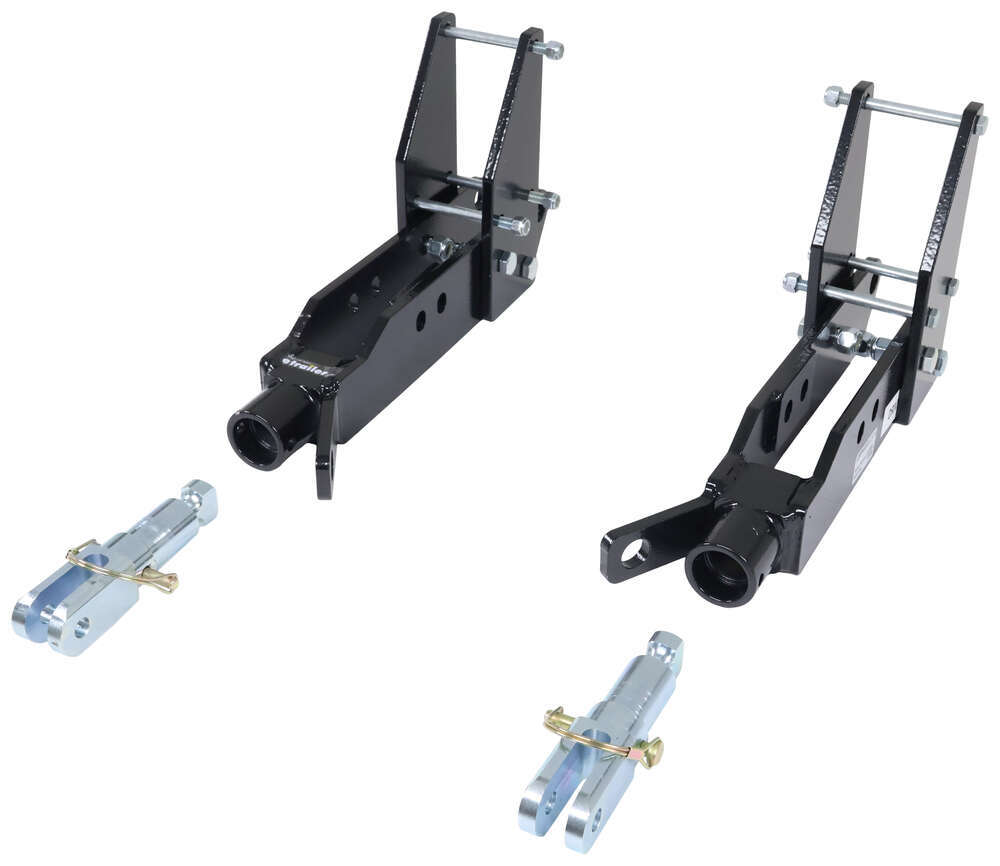


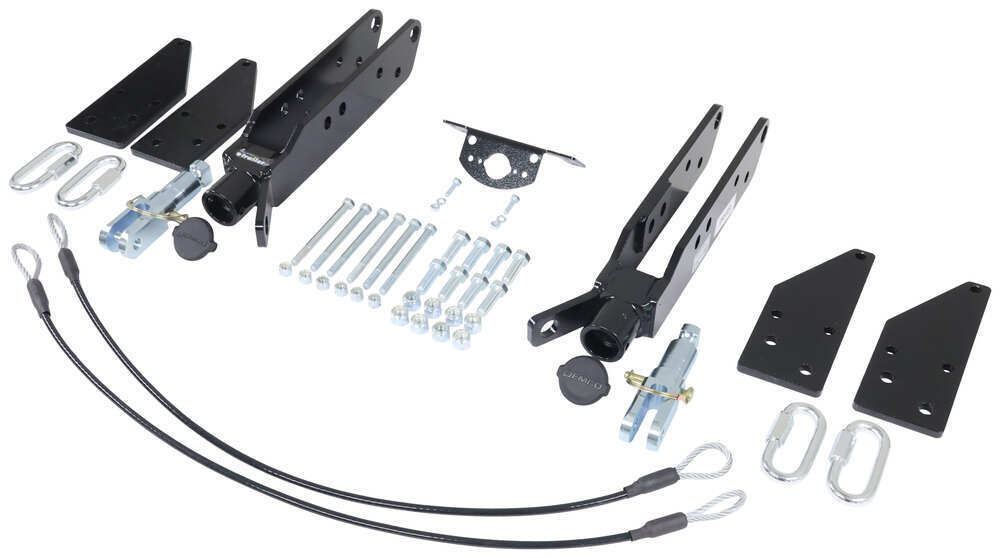



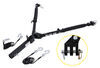
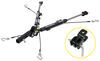
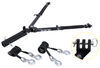
If you want your vehicle to keep its factory look when you’re not towing, this setup does the trick. The invisible design leaves no bulky crossbar or brackets in sight, and the attachment tabs stay on your tow bar so there’s nothing sticking out from the bumper. Snap-in polyethylene covers keep dirt and debris out of the receivers, so the arms slide in and out smoothly every time you hook up.
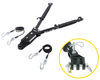
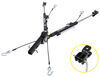
Each arm slides into the base plate receiver, twists to lock, and secures with a pull pin. It’s a quick process that makes connecting simple whether you’re at home or on the road. The twist-lock design keeps things tight while the pins add an extra layer of security. When you’re done towing, just pull the pin, twist, and remove the arms—no tools needed.
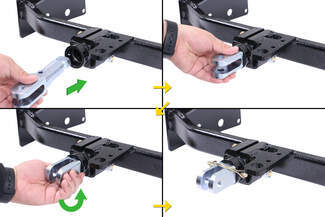
This kit bolts securely to your chassis with no welding required. Its sturdy design spreads towing forces evenly across the frame to minimize stress on your suspension. Constructed of durable steel, it’s made to handle many miles of towing without worry. The dependable build keeps your setup solid through long trips and rough roads alike.
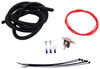
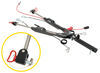
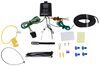
Already have a tow bar setup you like? You’re covered. This base plate is compatible with all Demco, etrailer, and Blue Ox tow bars—no adapter needed. For Roadmaster systems, use one of four adapters (e98983, e98984, e98979, or e98981, sold separately). It also includes an electrical bracket so you can mount a round connector plug up front for a tidy wiring setup.
The installation is straightforward thanks to its bolt-on design—no welding required. The kit comes with clear instructions, necessary hardware, and an electrical bracket to make things easier. If you’ve done hands-on projects before, this one’s manageable in a weekend and gives you a reliable connection ready for flat towing.

Videos are provided as a guide only. Refer to manufacturer installation instructions and specs for complete information.
Hi, this is Scott with etrailer. Today we're taking a look at and installing our etrailer base plate kit for 2024 GMC Canyon. Our base plate kit is gonna allow you to get all set up for flat towing. What it's gonna do is allow your mounts here to mount up in the pockets of where your tow hooks actually go. So you'll actually remove your tow hooks and you'll put these in its place. Now it's pretty cool.
What these do is you can get your pins undone, and you can pop this part out and this part here, you can pull out this section here, get that out of the way. And with those out of the way, that's gonna allow you to pretty much hide this behind your bumper. You're not gonna have anything sticking way out or anything like that, so you're walking by, you're not gonna hit your shins on it or anything. So that's a really nice feature of these that they're hidden. And another nice part about this is you don't have to cut your fascia up to get these installed.
All you do is pull your hooks off and put these in place. So that's a really nice feature. Another nice thing is, this is gonna incorporate your safety cable loops as well. So those go on there nice and easy. To get your flat tow set up, there are quite a few components that you're gonna need.
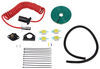
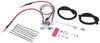
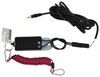
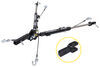
You're gonna need your tow bar set up. You're gonna need your base plate kit. You're gonna need a battery disconnect, a charge line, and you're also gonna need a diode kit. That's gonna be your wiring that's gonna be set up so you can have your rear lights on your towed vehicle. You're going to also need some type of braking system, which we have installed here.
And we have the air set up to where it runs out of our coach, and runs air. And that will be our braking system set up on our vehicle. Installation for this setup is pretty involved. You are gonna have to remove your fascia. You're gonna have to remove your tow hooks and get them installed, and it's pretty tight spaces where you're getting put up in there. So it took me about three days to get everything completely set up, and that was working at least eight hours a day to get this one done, so it is pretty involved. If it's something you wanna tackle yourself, you can always watch our video, and we'll help you get it installed. If it's something you really don't have time to do yourself, you can always take a look at our dealer locator, and we'll get a place local set up for you to get it done. To start our installation, we have four T15 screws in the top of our fascia. We're gonna need to get those removed. (tool whirs) On the inside of our fender well, we're gonna have nine T15 screws we're gonna remove. (tool whirs) That, we'll need to pull off our fender trim. It's gonna get behind it. I'm gonna apply a little pressure. It's gonna have plastic pop clips behind it. Let's kind of move along, get it to break loose. Once you get the lower area of pops, you can move along, get your hands behind it, and pull back with a little bit of pressure. Okay, now we got it back that far. Now I like to pop a piece of rag right in behind our trim that's gonna hold it out of the way. On each side we're gonna have another T15 right here that goes into our front part of our fascia, and attaches it to the front fender. I just wanna remove that. You may have to pull your fender well down just a little bit to get it on there, (tool whirs) and we'll do that on both sides. On the passenger's side, we're gonna have two wiring harnesses we need to disconnect, so these can be a little tight. So I like to just pop 'em out and pull this back. Now we'll pull up on the little black clip in this one. Just pull up on it and pull her out and it's good to go. Now we can move on. We have two 15 millimeters on this little bracket down here. I'm gonna go ahead and get those out while we're here. (tool whirs) Now right up in the top of our fascia, right in here, it's hard to see, but you're gonna feel a little seven millimeter. We need to get up in there. It can be a little tricky to get to. We'll just back it out. And that's what that one's gonna look like. Underneath of our fascia, we have six T15 screws. We're gonna get them removed. (tool whirs) Now we can start on the corner of our fascia, and just nice and gently pull out on our edges. Work our way up. This can be a little tight. Once we get this popped loose, we're gonna work our way across, and it will pop out of the way. There is little tabs on the top. Now we can pull away our fascia. Now with an 18 millimeter socket and an 18 millimeter wrench, we'll back off our bolts for our tow loops. (tool whirs) Now we can pull those out of the way. On our driver's side, we're gonna have this wire that connects into the side of our frame piece here. Let me just get that out of the way for now. Just move that off to the side and out of the way. Now we'll get our pull pod put into place. Each one is labeled driver's side, and you wanna make sure your chain loops are facing the inside of the vehicle. That will be reusing the hardware that we used, took out for our hooks. Now we can loosely get our nuts in place on both sides. To get room to slide our plates in place on the sides of our pull pods, we're gonna have to get this lower panel out of the way. So we're gonna take a 13 millimeter socket, (tool whirs) remove all our bolts, and get our panel. Now we have our plates we're gonna sandwich between our frame. So we want these facing this direction, the slope going forward. And we're gonna take our hardware in the kit, line up our bolts, and usually easier to do this one that's in the front of our vehicle first in case we'll have more room. One thing you can do as well is just get your bolt in part way. So that's gonna hold it in place so it's not swinging down. Then you can get behind here and get your nut put in place. And then we'll go ahead and get our other one on finger tight as well. Now we'll take another plate facing the same direction, and we'll get it in place just like we did the other one. Now from the outside in, we're gonna take our long bolts and run them through both of our plates. We're just gonna get a knot on those loosely, and we will have those two that are side by side. They can be a little tricky to line up, but you will get it. Now, as you can see, this is gonna be a tight space, so just hold it with two fingers like this, and just spin your bolt itself, and that's gonna help you get it started. Now for our top hole, we will run our bolt through as well, just like we did our two down here. And this can be a little bit of a tight space. So what I'm gonna try to do is hold the nut on a wrench. Now that we have lock tight on every bolt, what we're gonna do is just make sure we have this looking good and level. I like to go with the frame and just make sure I look good there. Everything looks to be on point. Now we'll come back through and we'll just snug down all of our hardware. (tool whirs) Now we'll go back through and torque our hardware down to the specifications listed in our instruction manual. For our safety cables, we wanna put it on above our frame of our vehicle up and over and down. And it's gonna connect right down here to where we have these holes. For our plateau mounts, we're just gonna run our loop through, put our cables in, and snug that down. Now that we have everything torqued down, normally at this point you would go ahead and put your fascia back on, but we're gonna go ahead and finish up some more of our flat tow components, and then we'll move on to the next step. Now we have 'em all set up, and as you can see here, everything went really well through these openings, and they hide really nicely. So this is really a good plus with these that they hide so well, and they're behind your bumper line. Other than that, it was a little bit tricky to get our setups for where to figure out where our air comes in and for our plugs. So we had to take two long brackets and fabricate those in order to get them to mount up to our bumper brace on both sides. So we had to trim out a piece of our panel here where it comes straight across. We cut both of those out, and we ended up getting them marked in there and screwing these onto the bumper panel itself and coming down and then bending a 90 in both of our brackets. And we got 'em to drop out through here. So we're able to make our connections right here in the front. And that was a look at our etrailer base plate kit for our 2024 GMC Canyon. I'm Scott with etrailer, and thanks for watching.
Customer Satisfaction Score:
99% were satisfied with this product
1% of customers were not satisfied
Ratings & Reviews

Product was as advertised, Installer Hitch HQ which you recommended did a excellent installation
Everything is great so far, still installing.
I do need the removable arms to fit a Falcon 2
Tow hitch. Can send me the part number so l can order them.
Thanks, Bob
Installation on a 2018 Jeep JL Unlimited Sahara went well, no surprises. Attaching the base plate to chassis safety cables required some ingenuity as the instructions were useless in this installation. Etrailer should post some actual installation photos vs. a poor generic diagram.
Very easy to install and I love the finished look. However I had to cut a couple of relief points in the rock guard in order to get the back two screws into place. Without these the rock guard would bind against these points on the base plate and not allow the rock guard to travel back far enough to reattached the screws. I have a 2025 Jeep Wrangler Sahara.
This was my second time installing a base plate kit. I have to say, this etrailer base plate was so much easier to install compared to my other base plate that required drilling, which was not fun at all. I would highly recommend the etrailer baseplate kit. No drilling was required and everything lined up perfectly. The install videos provided are also great.
Easy to install and works like should. I put a aftermarket bumper on as well so it was simple with no issues to install I have pulled it over 6000 miles and a lot of one nighter stays. It is simple to hook up and no issues pulling.
Came very well packaged, looked great very well made and heavy duty.
Instructions could have been better.
Template for air dam cutout just a rough starting point you will need to do more trimming for proper fit. Overall very happy looks great and very solid.
I've bought from e-trailer several times and I'm always happy with my purchase. The base plate and tow bar are of excellent quality and a good price. Installation was as not too bad; I watched the installation video for my truck even though it was for a different base plate. It gave me enough information to get the job done.
Appears well made and heavy duty...very pleased.
They were easy to install, the video is much better the the instructions
Looks good expensive
Great product and price.
Excellent quality product. Made installation a breeze.
I can always count on the folks at etrailer to send the products I need at a reasonable price. Pleasure to do business with
Do you have a question about this Tow Bar Base Plate?
Info for this part was:
At etrailer we provide the best information available about the products we sell. We take the quality of our information seriously so that you can get the right part the first time. Let us know if anything is missing or if you have any questions.



















Thank you! Your comment has been submitted successfully. You should be able to view your question/comment here within a few days.
Error submitting comment. Please try again momentarily.