
Roadmaster Direct-Connect Base Plate Kit - Removable Arms


To see if this custom-fit item will work for you please tell us what vehicle you'll use it with.


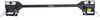
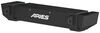
Designed specifically for heavy-duty applications, direct-connect brackets install onto your vehicle's frame to provide attachment points for a motor-home-mounted tow bar. Front arms are easily removable when not in use.
Features:
Note: Direct-connect base plates will work only with the Roadmaster tow bars that slide into a trailer hitch, such as the Nighthawk, Sterling, Blackhawk, Blackhawk 2, Falcon, and Falcon 2. These base plates will not work with tow bars that require a hitch ball.
Direct-connect brackets do not require a crossbar because of the heavy-duty nature of your vehicle's frame. Thus, installation is simplified, the hookup process is faster, and the total appearance is enhanced.
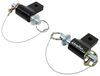
Note: The EZ Hook safety cables included with Roadmaster's Sterling tow bars will not work with direct-connect base plates. These cables connect to an anchor plate on the Quick Disconnect crossbar, which will not be present when you are using these base plates.
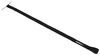
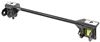
The drawbars, or front arms, on the direct-connect base plate kit are simple to mount and remove, easily securing with pins. Once the drawbars have been removed, the remaining brackets are virtually invisible. On most automobiles, the brackets are mounted within the grille, where they remain not only unseen, but protected from scrapes and scuffs as well.

California residents: click here
Videos are provided as a guide only. Refer to manufacturer installation instructions and specs for complete information.
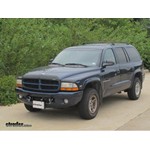
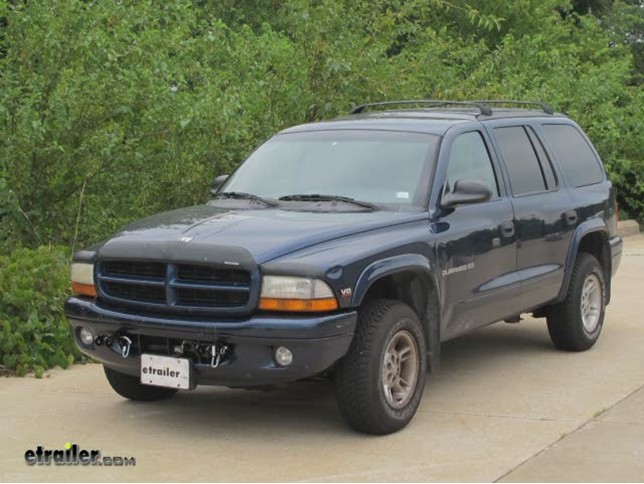
Today on this 1999 Dodge Durango we are going to install Roadmaster Base Plate part number 246-6. First thing we are going to do is open up the hood. We are going to have to start removing the bumper. Two bolts on top here and here that we have to remove. Next we are going to remove these two bolts that are underneath the bumper brace. If the vehicle has fog lights, go ahead and disconnect those as well.
Theres this little tab that you pull right here just comes right apart. Now we have to remove this bolt here that hooks up to the under liner. Alright now we will take this and just king of push it away from the bumper. Alright we will remove these plastic rib bits for a shroud right here, at this point we are going to go ahead and remove the bumper if you want to get an extra set of hands to help do that. These two fasteners we have to remove, just pull back on it and slide forward.
Were done on the drivers side, do the same thing on the passengers side. Now this is a plastic grove that we have to remove as well, its a little easier to do when the bumper is off. Alright our next step is going to be to remove these three nuts here, here, and here. This hardware will be reused. Loose up the bolts before you take them off.
Go ahead and make some marks with this bracket here and with the frame so that will help you line it up when you put it back together, because this whole thing is going to become loose. Alright now we will take our frame bracket, and we will take it to the side here and slide it over the bolts. That is a really super tight fit. We found that if you take out the body mount bolt here, you have a little bit more room to work with. Now we can put our body bolt back into place.
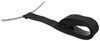
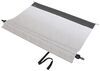
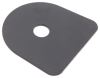
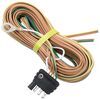
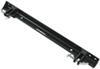
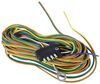
Okay we have all of our bolts snugged down. We dont have them torked down yet in case we have to make some adjustments. Alright now you will notice the bottom tab of the frame bracket is about right in here. So you want to get an idea of where the hole is on your frame bracket because you usually have to drill through right here. First we make a pot hole to make sure were in the center of the hole on our bracket, then we will go ahead and drill out to our final hole size which will be inch. Before we install our hardware we are going to take one of our washers and put this between the frame bracket and the frame. Then well take our large flat plate and a 1-3/4 inch long bolt, then a lock washer, and then a nut. Alright now our frame bracket is fully installed. Now we can go ahead and tork down the bolts as specified in the instructions. Alright now we will take the main receiver brace and install it onto the brackets. When you install this, make sure your receiver tubes are on top of the cross tube. With that in place we will go ahead and snug down the bolts. Now go ahead and tork these down as well. Okay and now we can go ahead and reinstall the nuts that clip back in place. Alright now you loosen up these bumper brackets here. We will take a bracket and push them all the way back out, and snug them back up. This will give us some clearance to reinstall the bumper around the brackets. Alright at this point we can go ahead and reinstall the bumper, and you definitely want to have an extra set of hands to help do that. Alright at this point we will go ahead and reinstall the bumper with the bumper brackets on the inside, and the four bolts are on top of the frame. Make sure you have the front brackets installed, they slide into place; install the hitch pin, and then the clip. We will install a clip link for our safety chains right here. With the drivers side done, lets repeat for the passengers side, and with that that will finish our install of part number 346-6 from Roadmaster. .

Have not installed it yet
Do you have a question about this Tow Bar Base Plate?
Info for this part was:
At etrailer we provide the best information available about the products we sell. We take the quality of our information seriously so that you can get the right part the first time. Let us know if anything is missing or if you have any questions.


Thank you! Your comment has been submitted successfully. You should be able to view your question/comment here within a few days.
Error submitting comment. Please try again momentarily.