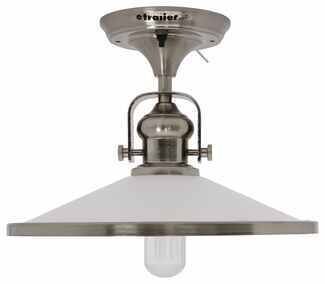
Looking to refresh your cabin, these white lights from RV Designer make a tidy upgrade and have worked well as OEM replacements. If you're covering a recessed opening, check the outside diameter will cover the cutout and that there's enough ceiling material for mounting screws, and verify mounting hole locations. For broken lenses, many puck lights are serviced by replacing the whole fixture.
Usually no—you replace the whole fixture. The swap is straightforward on a 12V, 2-wire setup: black to 12V power and white to ground. Remove the old light, connect the two wires, and mount the new puck. Plan a few minutes for the changeover.
Yes, if the ceiling cutout is small enough for the surface-mount base to cover and for the screws to bite. Measure the actual hole after removing the old light. If the opening is too large, fill or modify it so the new light has solid material to attach to. Remember a recessed puck installs differently than a surface-mount light.
Yes, they can work in 12V interiors. Confirm the fixture is 12V, connect black to 12V power and white to ground, and verify your mounting surface fits the light style. Moisture protection varies, so place it where interior lights are typically used.
Measure the outside diameter of your old light and compare to the new puck. One swap ended up about 1/2" smaller than OE, so double-check sizing if you need to cover an old imprint. If you're covering a recessed opening, confirm there's enough surrounding material for surface-mount screws.
Not guaranteed. Some found the mounting holes didn't line up perfectly. Be ready to drill new pilot holes or reuse an existing bracket or trim ring to adapt the mount. Check the outside diameter so any old marks are covered.


 Dome Light
 Puck Light
 RV Interior Lights Parts or Accessories
 Filters