


To see if this custom-fit item will work for you please tell us what vehicle you'll use it with.


Thank you! Your comment has been submitted successfully. You should be able to view your question/comment here within a few days.
Error submitting comment. Please try again momentarily.

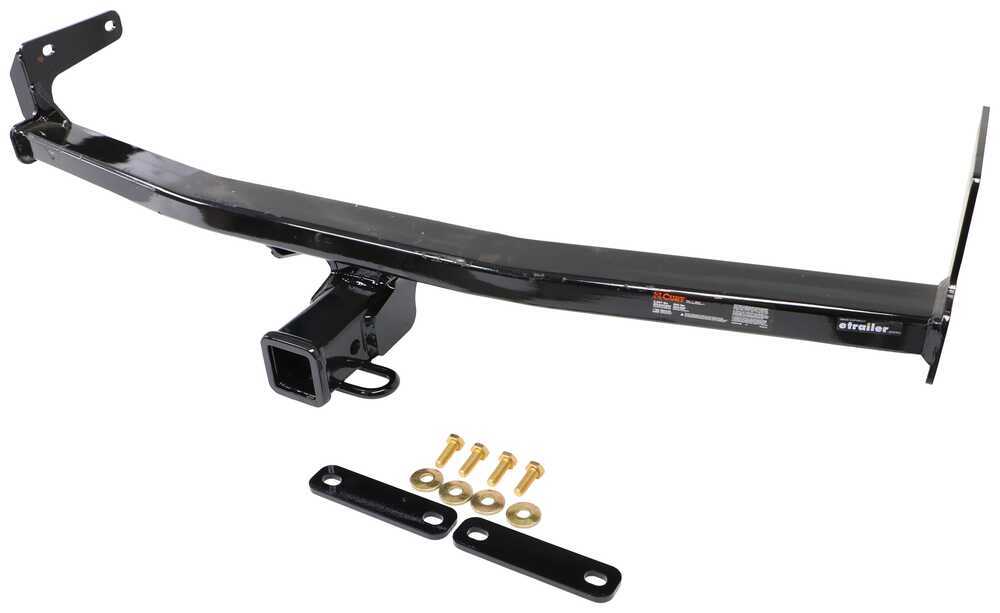
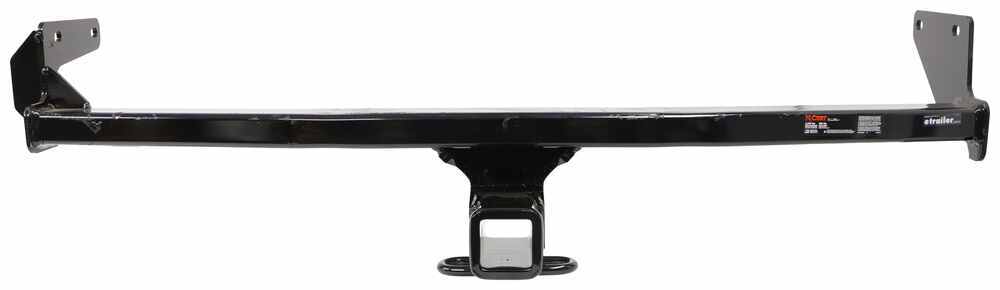
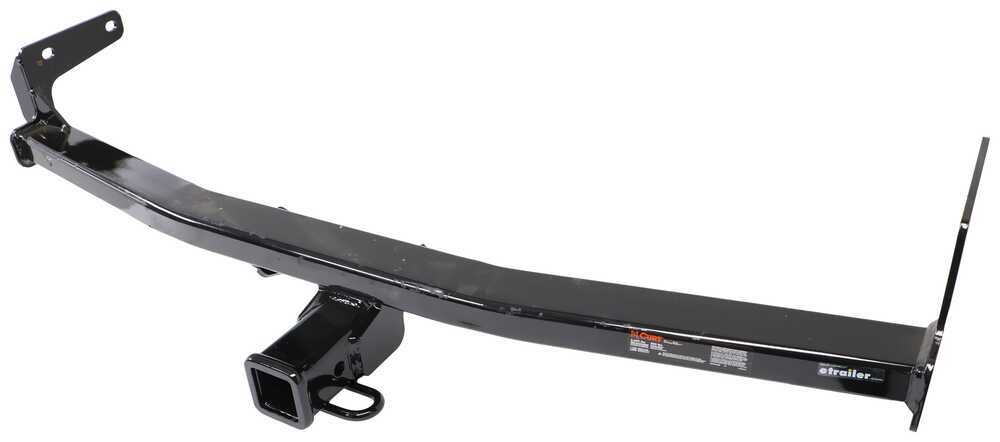
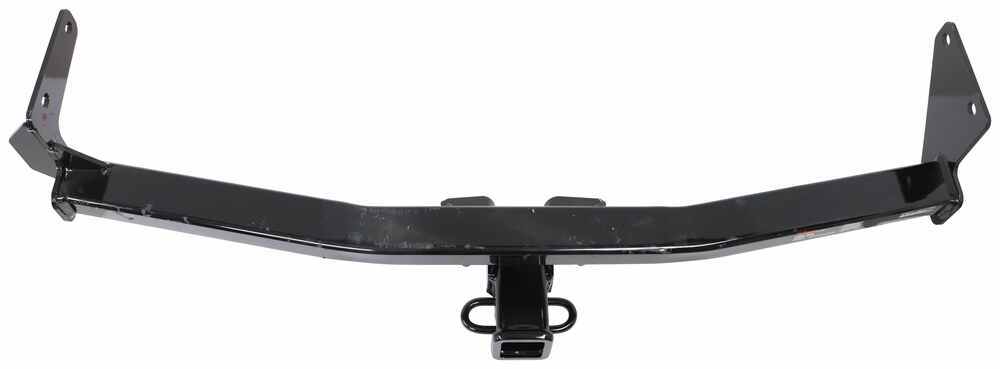
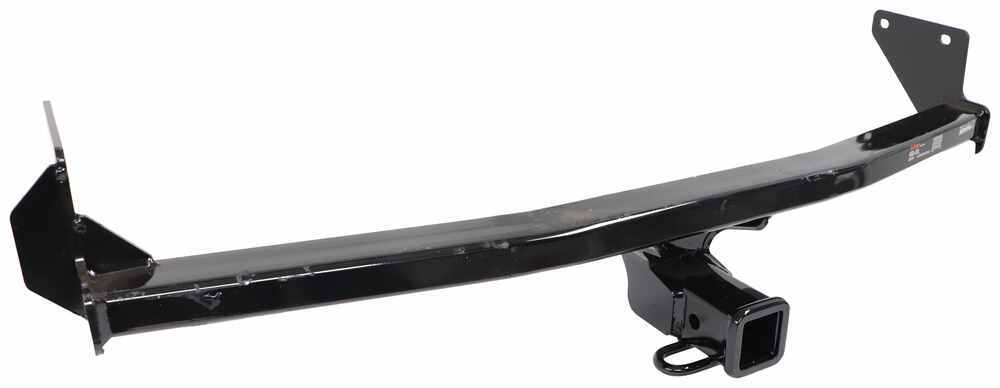
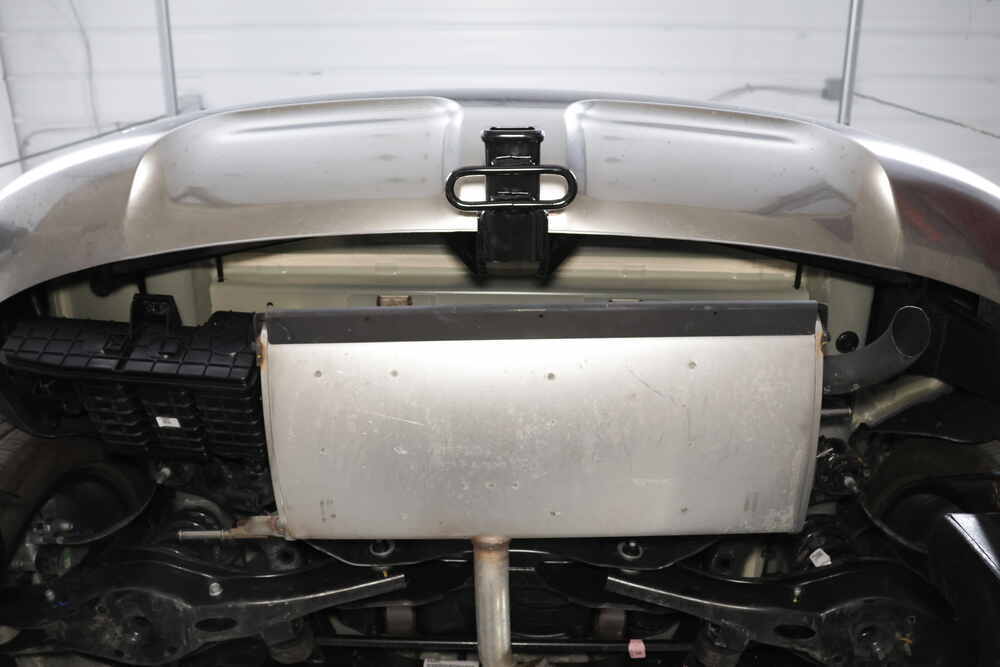
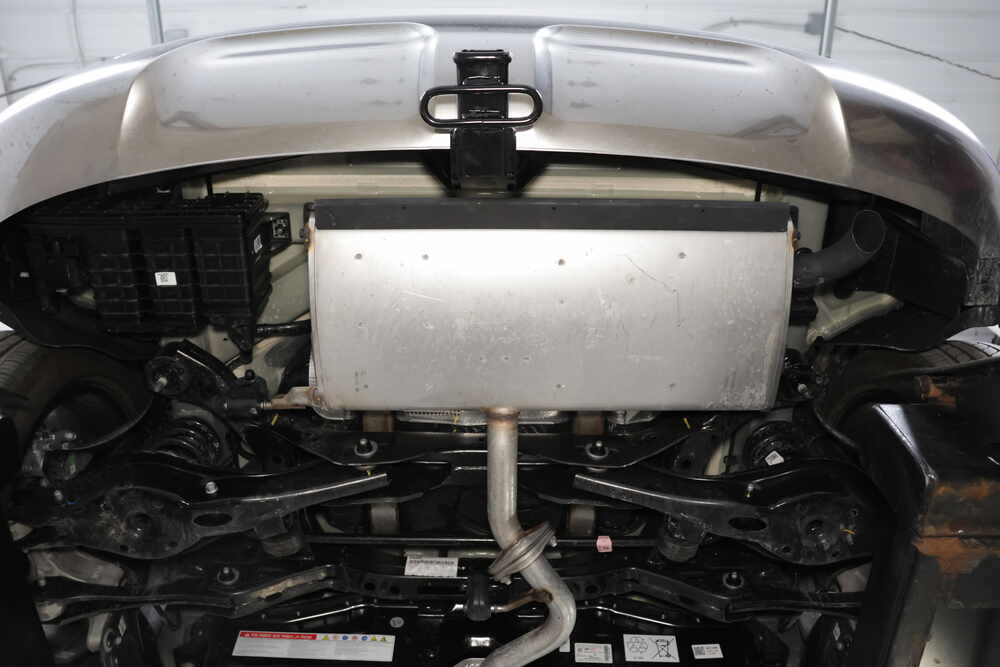
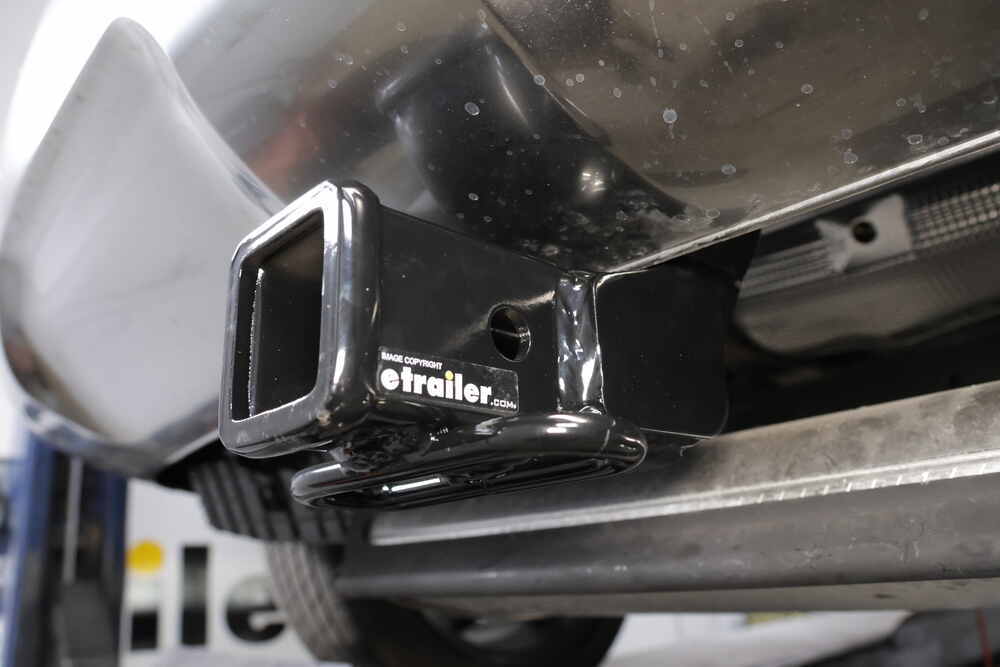
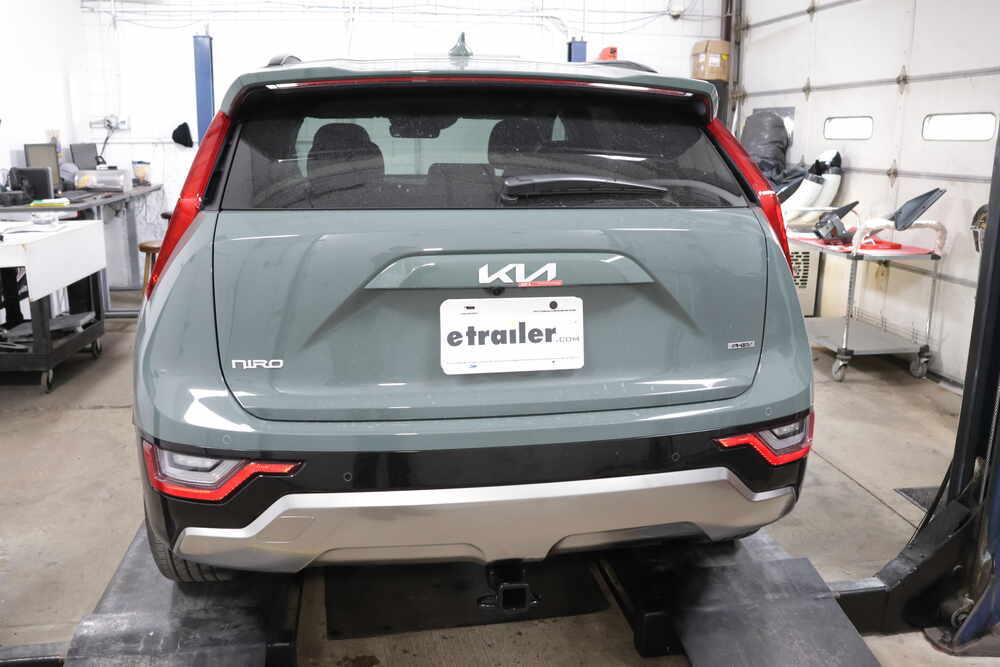
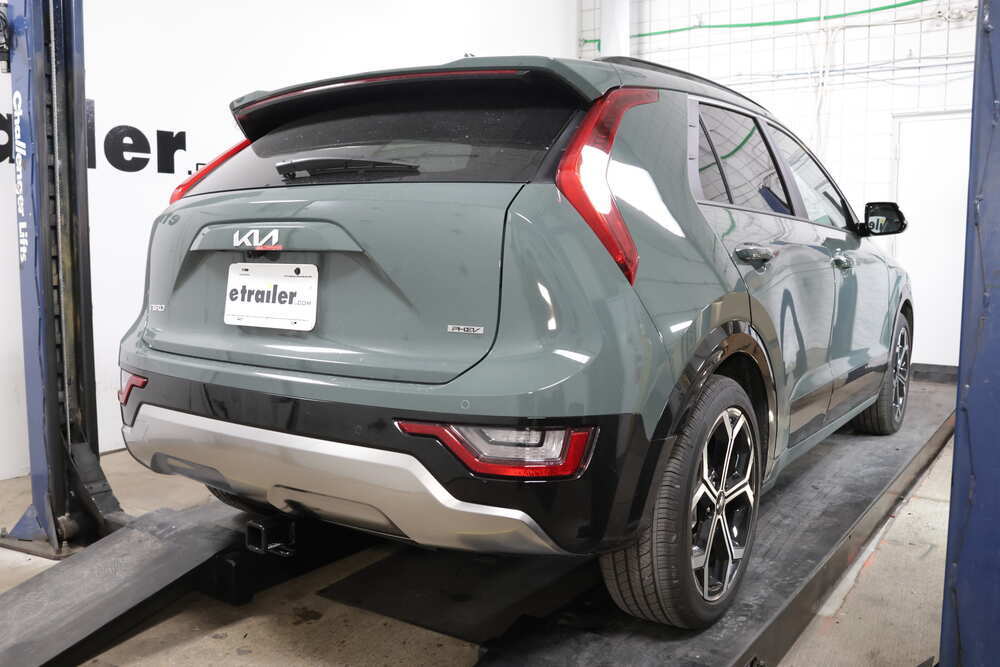




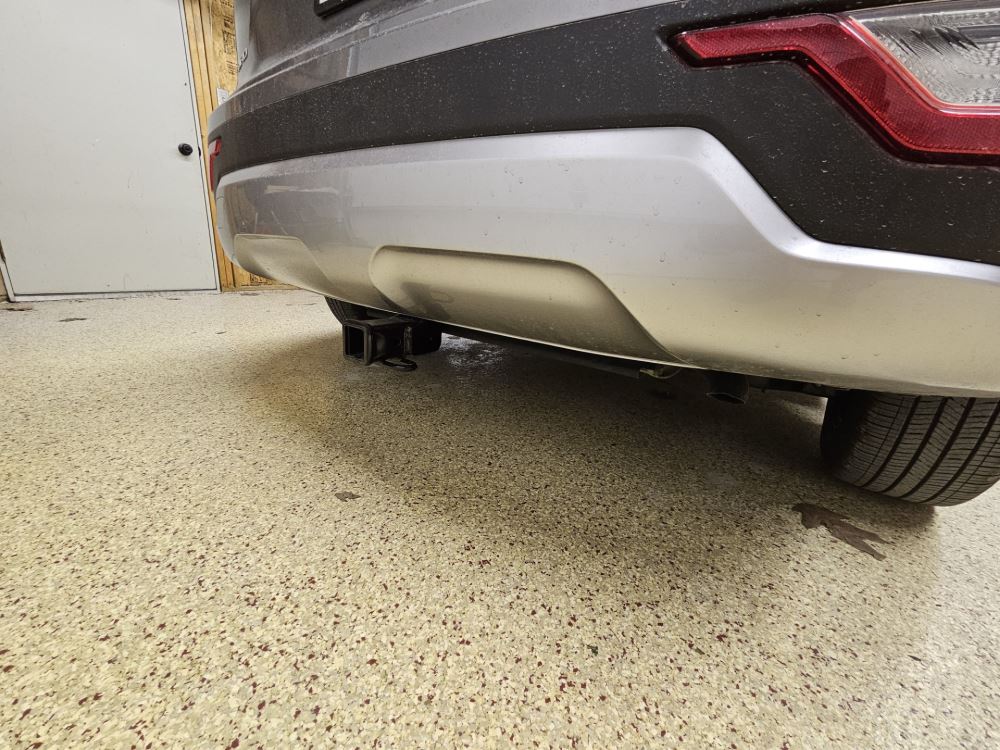
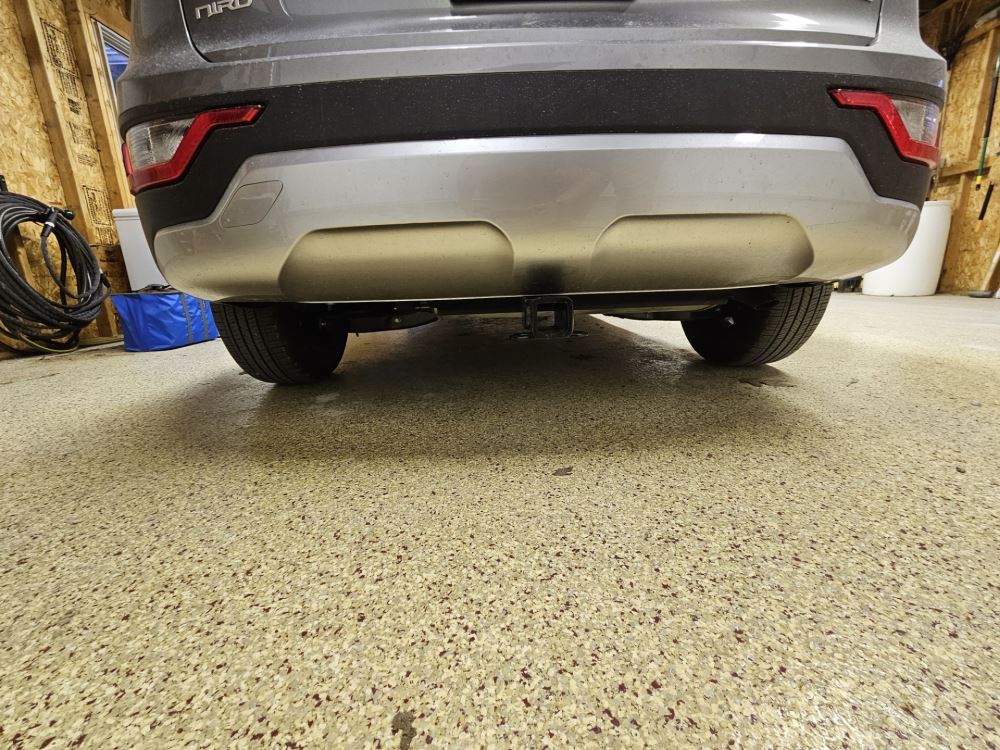

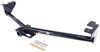
When you need more hauling options, this Curt Trailer Hitch Receiver gives you a solid base for everything from bike racks to small trailers. With its Class III rating, it’s built to handle up to 2,000 lbs of gross trailer weight and 200 lbs of tongue weight. The 2" x 2" receiver fits the most common towing and accessory gear—no adapters, no extra setup. Whether it’s a cargo carrier, a ball mount, or that new bike rack you’ve been eyeing, this hitch is ready for it.
This hitch is made from sturdy, square-tube steel and finished with a gloss black powder coat layered over a protective base coat. That combination helps resist rust and corrosion from road salt and weather exposure. The precision, robotic welds mean every joint is consistent and strong, so you can count on it for both weekend towing and everyday use.
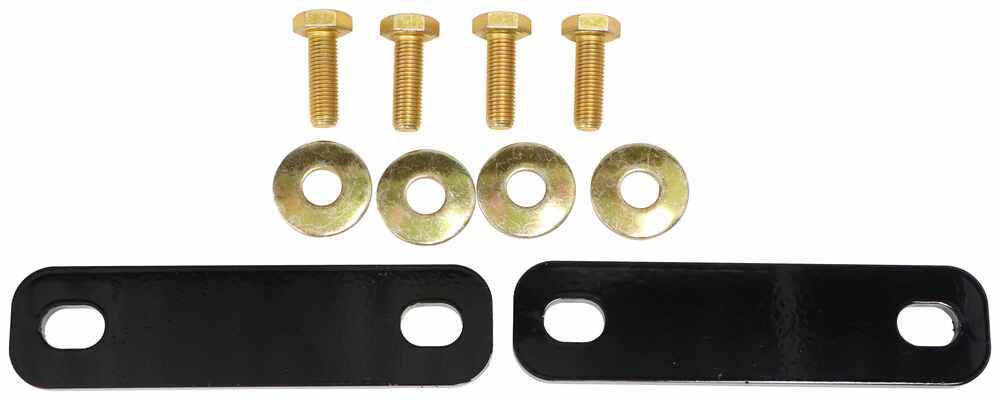
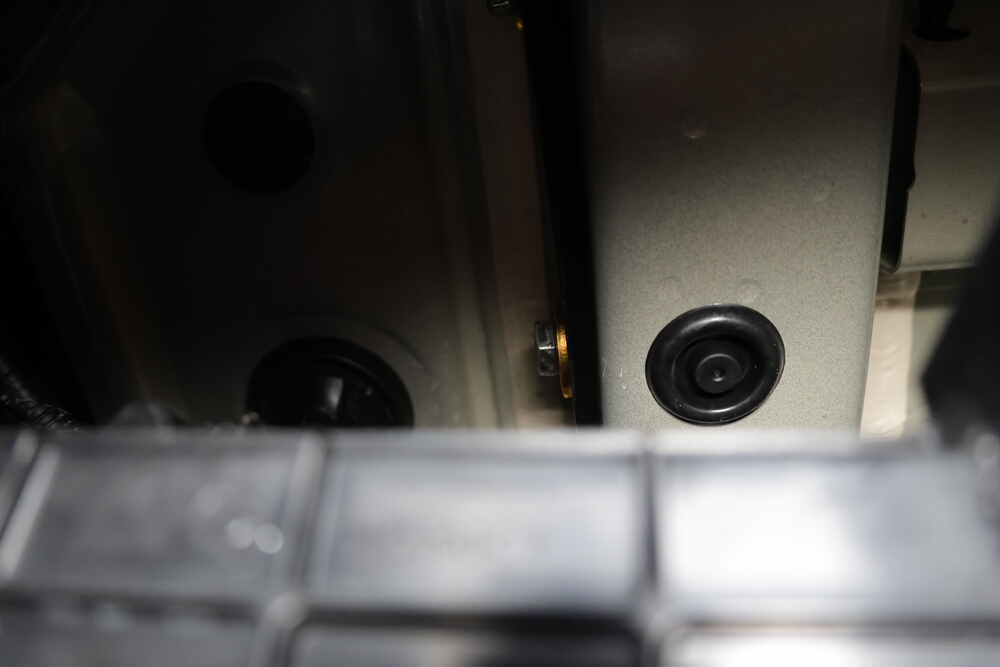
There’s no welding or drilling needed here—just bolt it onto your vehicle’s frame using the included hardware. A full hardware kit and clear instructions come in the box so you can install it right in your driveway with standard tools. The fit is engineered for alignment with existing mounting points, which makes setup faster and cleaner than universal hitches.
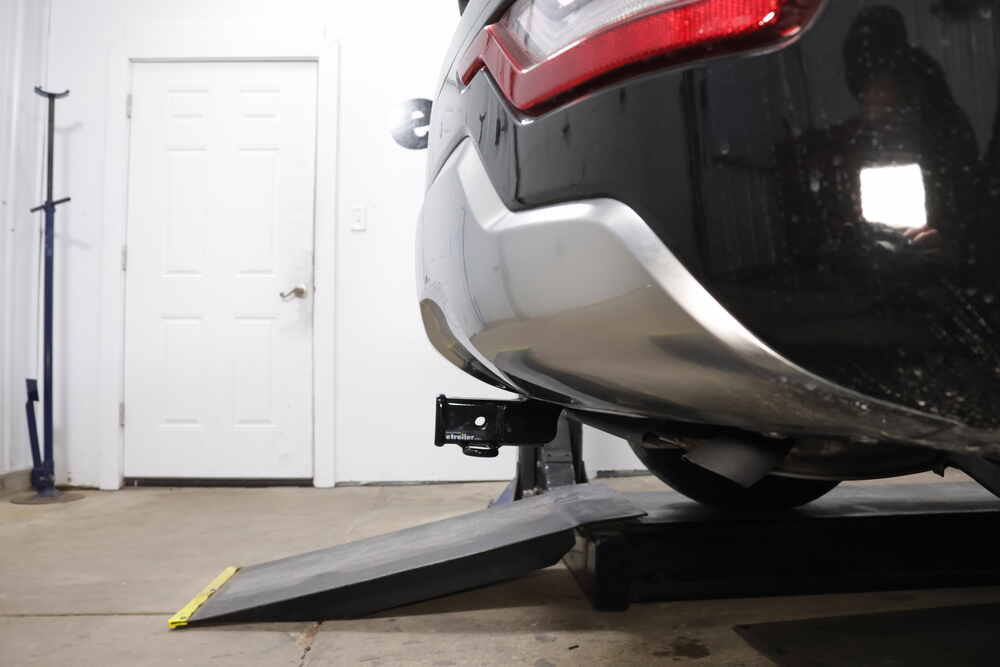
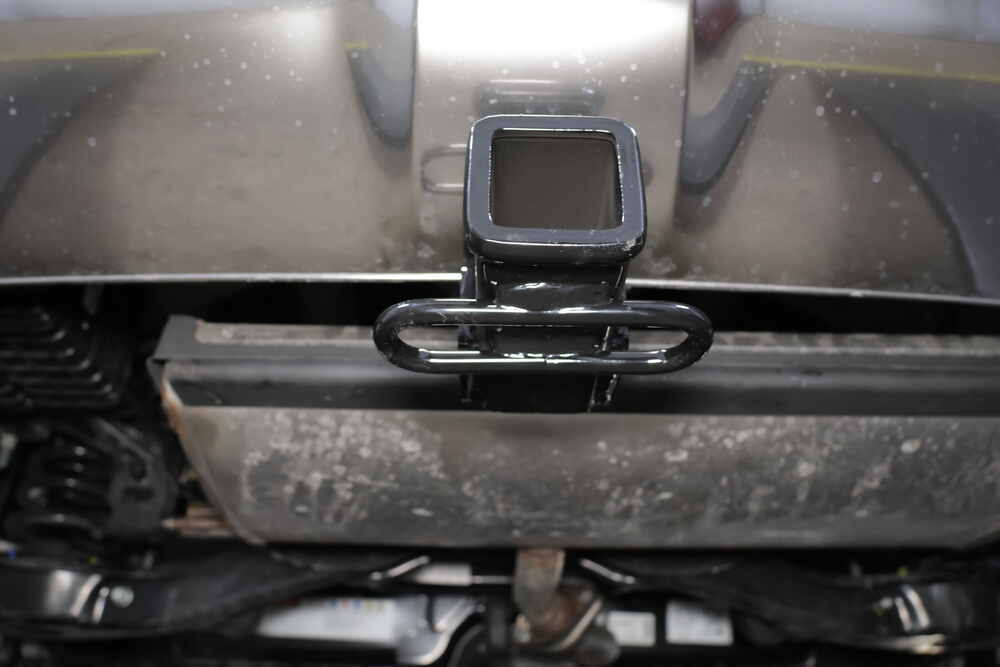
If you prefer a hitch that doesn’t stand out, the concealed cross tube keeps most of the hardware tucked up under the bumper line. Only the 2" receiver is visible, giving your setup a neat, factory-style finish without extra bulk hanging below the rear end. It’s practical utility with a clean look that stays out of the way when not in use.

Customer Satisfaction Score:
95% were satisfied with this product
5% of customers were not satisfied
Ratings & Reviews

It was an easy instillation and looks purpose built and very sturdy.
Everything fit. Easy install.
Very impressive. The etrailer representative Candra G was super knowlegable and confirmed the correct hitch for my new 2023 Kia Niro. She followed up with information and in the end, the hitch arrived 3 days before expected.
I was very pleased with this purchse experience.
This hitch is a perfect fit for the Kia Niro Hybrid. It looks great and works well for hauling a bike rack.
Easy to install. Delivered quickly. Great product and very helpful installation video!
This is supposed to be an exact fit for a 2023 Kia Niro, and I had to drill out the holes on the driver side and lift the hitch slightly with a bottle jack to get it to fit. Quality is good but the engineers screwed up with the fitment.
I installed this on my 2023 Kia Niro EV (Wave). This is my third Curt aftermarket hitch over the years, and this install was one of the more frustrating I've ever done. I think it's marked "easy" because it doesn't require fishwires or frame drilling, and that is a plus, but the positioning is very challenging.
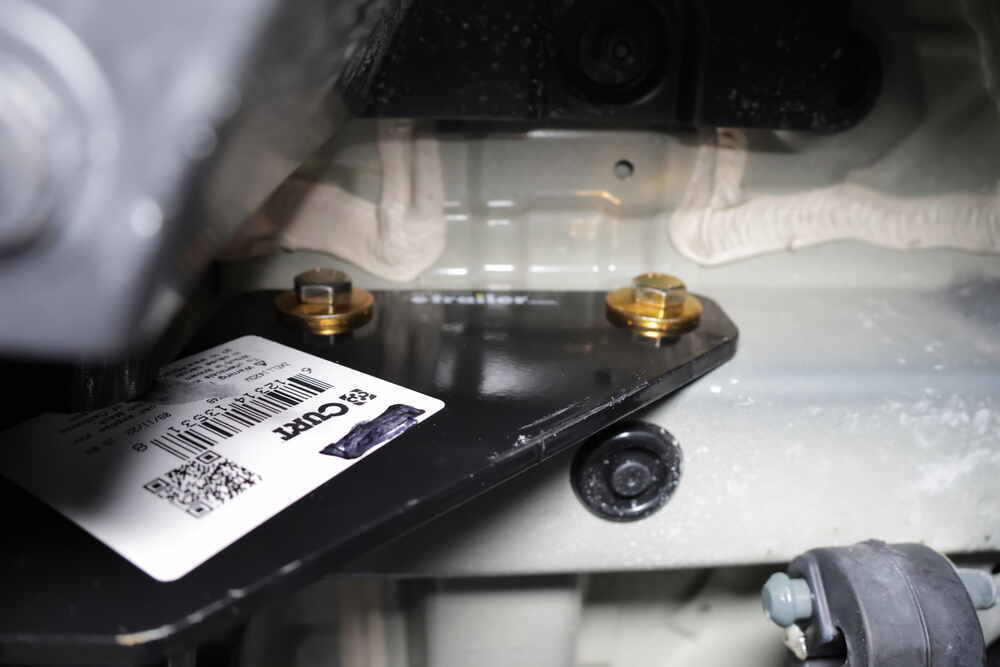
It was clear I needed to use the spacer plates: without the spacer plates, the hitch is too lose (I can easily fit a finger between the hitch and the frame). With the spacer plates, however, getting the rear screws in is very challenging -- the tolerances are extremely tight, since the hitch has to be right up against the frame with the bulk of it inside the bumper. There are two improvements Curt could make that would give this 5 stars. 1) the spacer plates could have some sort of interlocking tabs that fit into slots in the hitch to prevent them from moving independently when positioning the hitch on the frame. It was incredibly frustrating to get the hitch into place and then have one of the spacer plates slide out of alignment. 2) Rather than fitting basically inside the bumper, the hitch could be mounted further back (closer to the front screws than the rear one) with a longer receiver tube. It would require more trimming of the lower body plate, but would give more flexibility when positioning it. However, the hitch is attached which is the important part.
Sturdy build and directions were helpful. I eventually got it installed, though it took longer than an hour. It looks good and seems really sturdy.
The tangs of the hitch weren't quite parallel to the frame of the car and this made it difficult to figure out spacers needed and get the bolts started. only used a spacer on one side, and only with one bolt, due to the non-parallel tang. It all seems to have pulled up square after tightening the bolts.
Happy to have a hitch to mate with a sturdy bike rack.
This is the 3rd hitch I have purchased from etrailer. The installation on all 3 went smoothly. They fit in the existing holes, so no drilling needed. The wire harness was installed as a plug in situation. Thanks for the good quality..
Quality product and video installation made install surprisingly easy! Very happy customer.
Easy installation.
Great product and easy install on my Kia Niro EV . Took about an hour by myself. Used a wood block to hold other side while I bolted up. Toughest part was getting the plastic cover cut out and not snapping any plastic tabs on the bumper. Didn’t even have to jack the car up
Easy install and modify the car.
Great hitch at a good price. Installation on this vehicle was a little difficult but the video instruction were a big help!
I'm pleased. Jim Donnie's did a great job installing it for me.
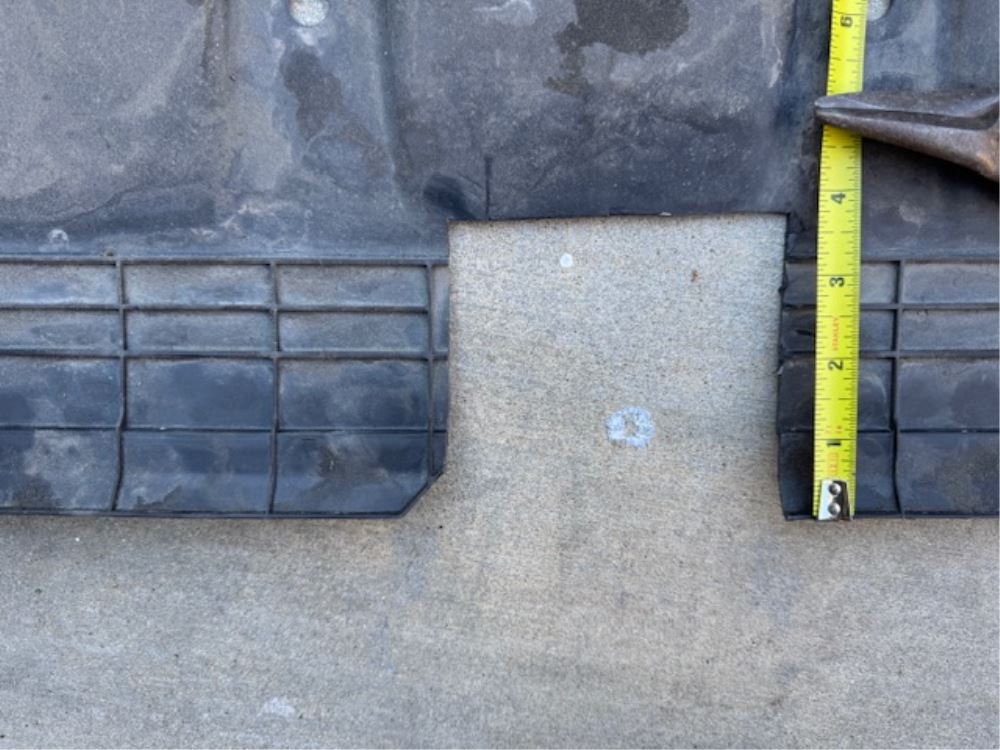
Old style trailer hitch, CMF13531, was shipped instead of newer, C77NR, as shown! Because of this I had to make the mods shown in the attached photos to reinstall the stone Guard cover. If you install the hitch yourself, I recommend placing it on a floor jack as the hitch does have some weight to it. Aligned the one side and had to use a crowbar on the other side as the hitch was hitting the bottom U channel by about a 16th of an inch. Floor jack was able to lift the hitch so I could aligned the bolt holes.
The hitch itself is great, as far as one can tell two weeks after install and 2 uses of a bike rack. We had 3 mountain bikes on a 2in bike rack and it all worked as designed. The installation was a bit more challenging than it should have been. It could have been easier with better instructions and the fix of one design/fit issue.
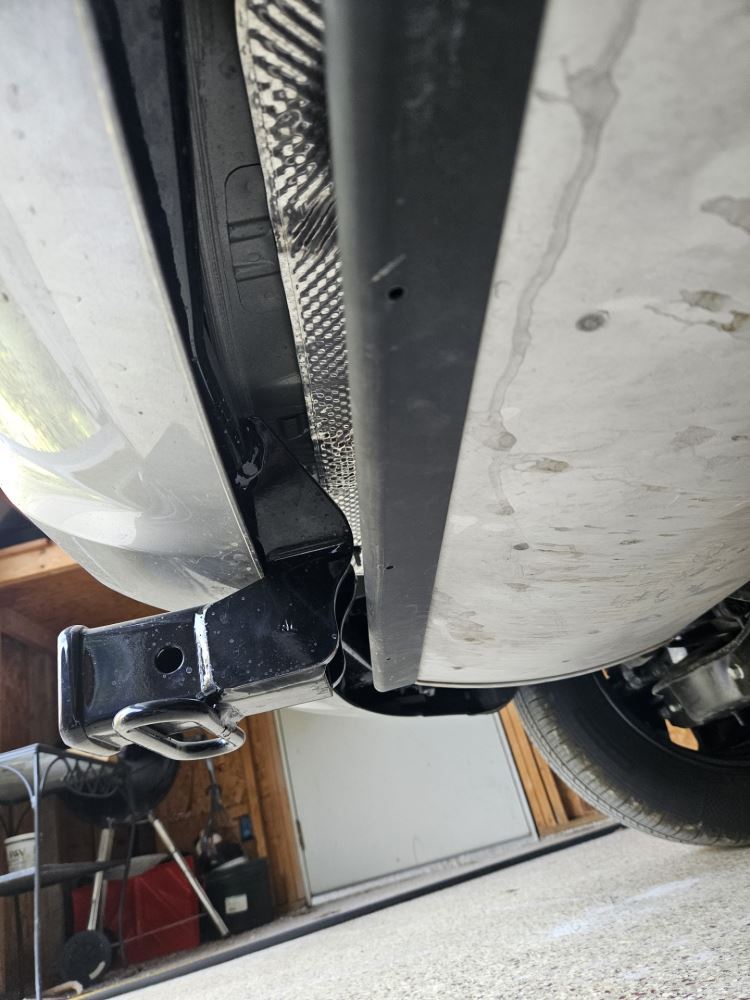
This was installed on a 2024 Kia Niro Plugin Hybrid. The instructions said to remove the bumper fascia and cut it out for the hitch receiver. This was absolutely not necessary. An about 1 in notch where the receiver sticks out, without removing the fascia, is perfectly fine. See attached final installation picture.
The instructions could be more detailed and step by step with a few more pictures. There was a lot of guessing and trying during the installation.
The hitch was welded not perfectly straight, and getting it in place was rather challenging, because it is very stiff (as it should be) and so is the frame of the car. We got it in with some force and were able to somehow line up the bolts and tighten everything.
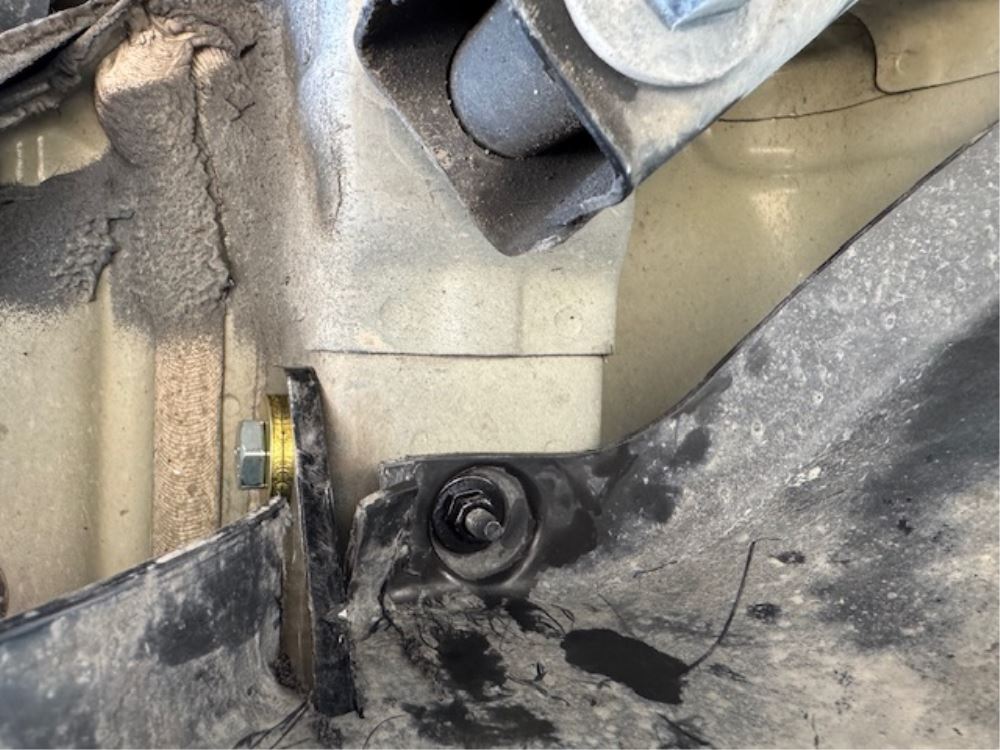
We had an additional fit issue and couldn't at first figure out why the bolt holes wouldn't line up with the threaded holes in the car frame. Many ins and back outs of the hitch, trying to find the issue, and we almost sent the hitch back, because it just didn't fit. We finally found a bolt, one of what appears to be two, holding the bumper to the frame on the driver side. It was preventing the hitch to slide far enough back to align with the holes in the frame of the car. We finally took out the bold and removed about half of the head with an angle grinder, and left just enough to torque it back down. This gave the hitch just enough room to slide in the correct position. I believe the hitch could be designed slightly differently to accommodate the bolt. Picture attached with the red arrow pointing to the bolt behind the installed hitch. This is on the driver side and easily recognizable once you look under your car.
Hope this helps somebody else.
Overall the hitch is great. Installation was straightforward and easy enligh. Once in place the hitch had a nice hidden fit.
Here are a couple tips for future customers:
I did need to use the spacers that go between the frame and hitch. How I installed them was after getting the hitch in place I loosely started the four mounting bolts so the hitch was secured. One side at a time I removed one bolt, slid the spacer into place and reinstalled the mounting bolt through the hitch and spacer. After removing the second bolt I used a pry bar to create enough space between the frame and the hitch to rotate the spacer up and into place. I loosely reinstalled the second bolt and repeated the process on the other side before torquing the four bolts to Curt's specs. It took a little bit of rotating and jockying the hitch to get the bolt, hole in the hitch, hole in the spacer, and threaded hole in the car's frame all lined up but it wasn't too difficult.
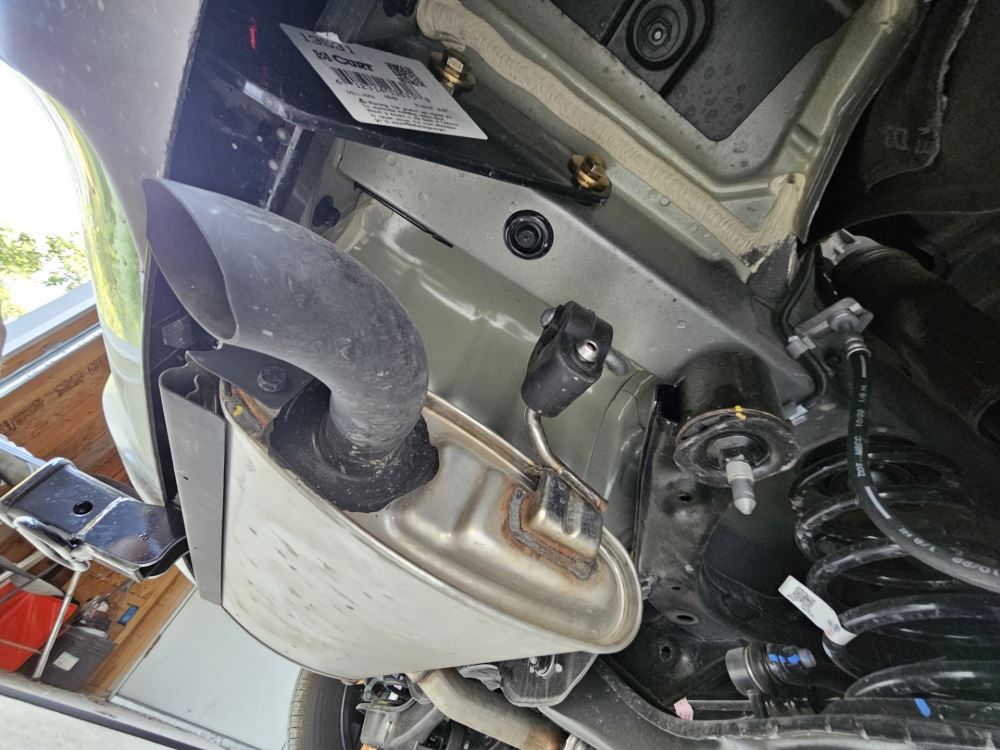
I removed three exhaust hangers. One on either side of the muffler and one on the exhaust pipe toward the front of the vehicle, lowered the exhaust as far as I needed it and secured it with a strap that I wrapped around the rear axle and exhaust.
The evaporative emissions canister was definitely in the way for mounting the driver's side of the hitch. The instructions say remove the two nuts and one bolt holding the canister and lower the canister out of the way. This didn't provide enough space to work so I disconnected the three quick release vapor lines and one electrical plug and removed the whole canister from the vehicle and set it aside. There are some clever little retaining clips that are part of the canister that lock it into place on the mounting studs. You expose these after removing the nuts, which are 12mm by the way not 13. I used a small pick to pry these retaining clips open so they released from the mounting studs and the canister came free.
The instructions that come with the hitch say you need to trim a fascia underneath and in the center of the vehicle for clearance of the hitch receiver. This is for an older model Niro as you can see in the instructions' photos. There is no such fascia on our HEV Niro. I can't speak to what it is like on the EV or the PHEV though. So, no trimming of anything was needed for this install for our hybrid model.
I hope this helps future customers.
I purchased this product about a year ago from ETrailer for my Kia Niro PHEV. The personnel at ETrailer were very helpful in assisting me select the product that would fit. The site did not specifically mention the 2023 Kia Niro PHEV as a candidate for a particular hitch I was interested in so I asked a question through the site. They responded with a detailed answer, as well as an in-house review of whether it would fit my car. Bottom line is I bought it and works fine. I’m very satisfied. I will definitely buy from them in the future.
I have not opened the box but it arrived late, had to cancel my appointment for installation. That is a problem, please give accurate shipping times. Thanks.
Hitch fit. It was tight getting it in place but that was expected. I only ended up using one of the two spacer bars. The manual etrailer sent me was wrong but I used their installation video for the install which was really helpful.
this is a perfect product, fit right on on a kia niro, did it exactly as instructed in the (awesome) video and it took me less than 2 hours (as a rather inexperienced car mechanic...) really happy with it


Kate F.
7/13/2026
Great job on the install JTK! I am happy to hear the video was helpful, and under 2 hours is great timing =) What do you plan on using the hitch for?
2nd Curt hitch I have installed, this will be used for bike rack. The fit is very snug, use 2 people to install and be patient. I had to work around canister on driver's side as they did in video. I ended up using only one of the metal shims on passenger side as that was easier to get to. Hitch looks great and very high quality.
Installed on a 2023 Niro EV. Did not need to lower the car, just put blocks behind the front wheels and held the parking brake up for 3 seconds for the "firmer" parking brake setting. There was enough room to slide underneath on a kneeling pad and remove the underpanel. You'll get plenty of dirt spilled on you as you remove things! Note: the 10mm panel nuts will want either a non-chamfered socket, a deep socket, or some very careful work with a standard socket to start loosening, as the bolt sticks out quite far past the nut. I had to use a fine-toothed hacksaw to cut the center tab on the bumper: it is quite hard and thick plastic and I couldn't get a good purchase on it with any of the tin snips I tried. I only needed one of the spacers; used tape to hold it in place while we pushed the hitch into position. I did not see the dimension of the hitch bolts specified in the instructions; my 11/16th socket was the closest fit, but the bolts wiggled in it more than I liked. The underpanel cutout diagram in the instructions is a little bit larger than necessary, but gives room for error when cutting the thick plastic (again, I used a fine hacksaw for a straight cut). Once torqued to spec, it feels very solid, and the open space at the back of the receiver means I can set the depth of my bike rack to where I want it. Much less wobbly on the highway than the 1.25" hitch on my old car.
The install went well. I have a Kia Niro EV 2022, and their online video covered most everything.
I did not need any spacers.
I have attached a photo of the hitch cutout in the underbody panel - a little deeper than shown on their photo, and slightly wider. It is also easy to hold the panel by hand in its final position and decide what needs to be trimmed more. I used tin-snips, which worked really well. For the back cut, start with a 45 deg cut so you can get the snips in there, and then go back and make it 90deg. There is also a photo of the final install.
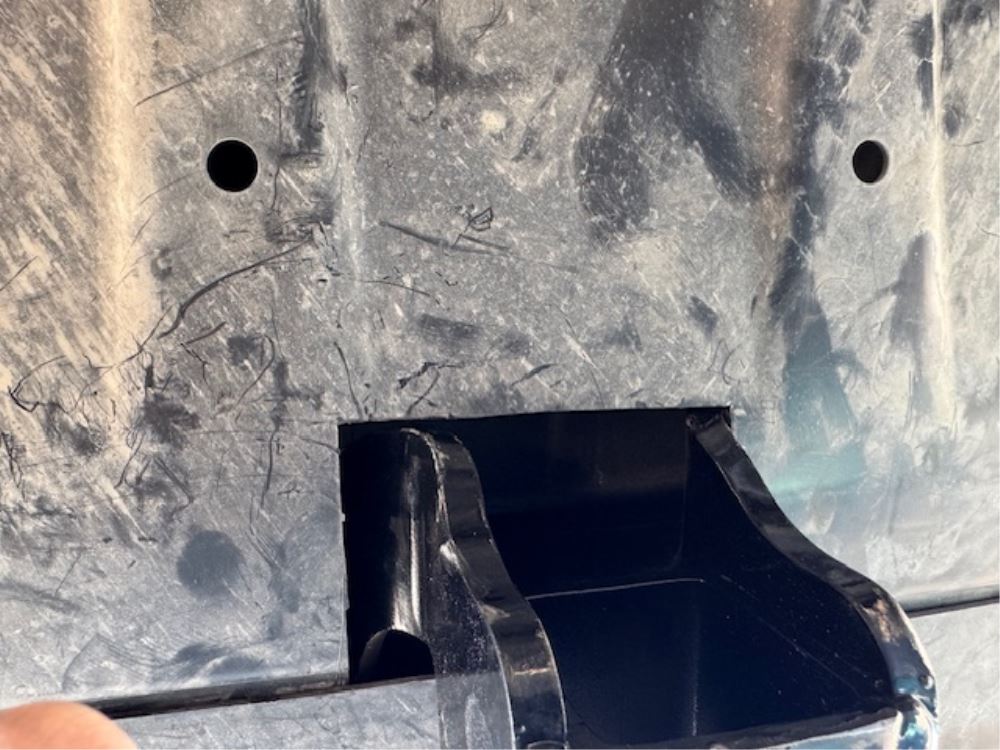
The only item that did not go as per instructions was the final underbody panel install. The right side had a conflict with the hitch flange (photo attached: looking up, you can see the flange+one bolt, and the cut in the panel). I used a hacksaw to cut a slot in the panel for the flange - not the cleanest in the world, but it worked. I don't know why this was needed on the right side, but not the left. The panel must be asymmetric.
Note that the Curt 13531 part number is the etrailer item C77NR. etrailer should cross-reference this on their site so there is no confusion about them shipping the wrong part.
Looking forward to trying it out with a bike rack!
Victoria H.
1/21/2025
Hi Jeff, thanks for the photos and the install looks good! What kind of bike do you have?
Victoria H.
1/21/2025
That sounds super convenient Jeff, I really love the tilt feature as well! Do you have a favorite place you like to ride?
Jeff

1/20/2026
after one year there has been no problems. The bike rack works great with it.

Do you have a question about this Trailer Hitch?
Info for this part was:
At etrailer we provide the best information available about the products we sell. We take the quality of our information seriously so that you can get the right part the first time. Let us know if anything is missing or if you have any questions.
























Michael
9/8/2025
Still working out great. Excellent product!