
 Product Experts Available Now!
Call 1-800-940-8924


To see if this custom-fit item will work for you please tell us what vehicle you'll use it with.


Thank you! Your comment has been submitted successfully. You should be able to view your question/comment here within a few days.
Error submitting comment. Please try again momentarily.
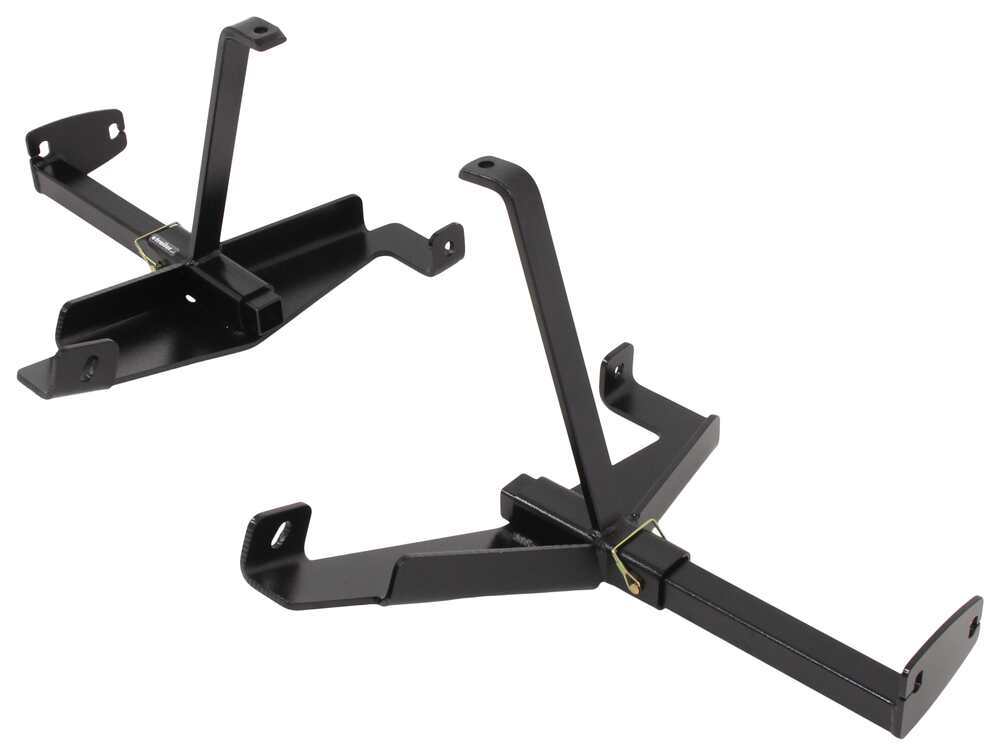


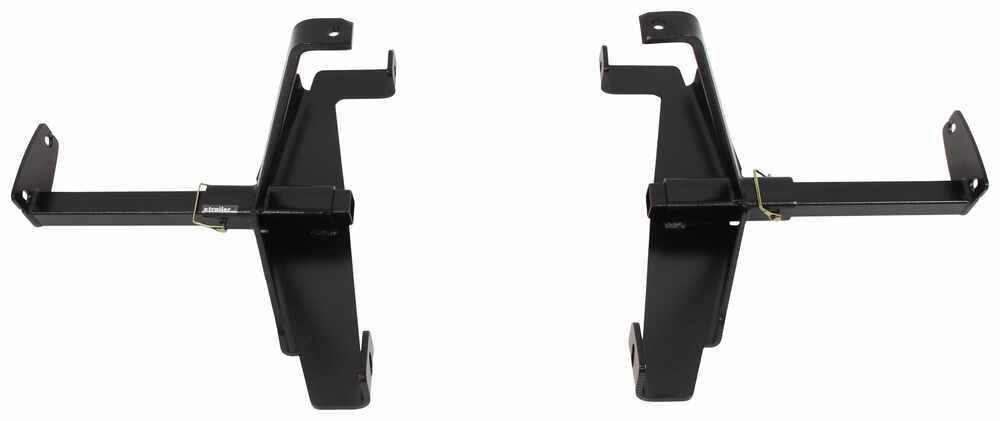


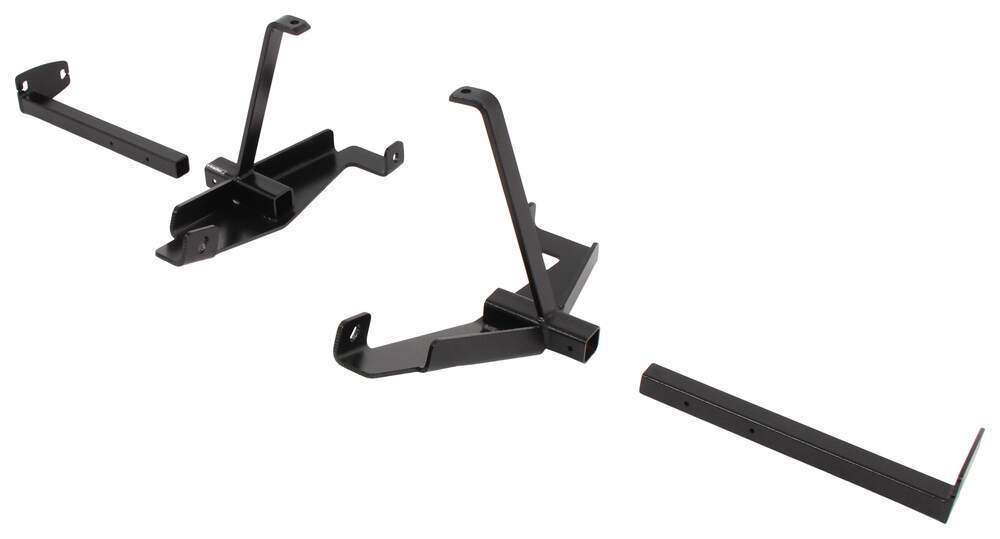
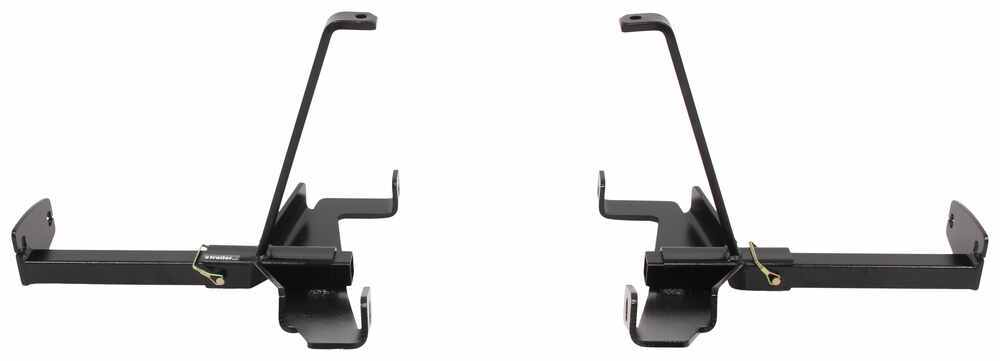
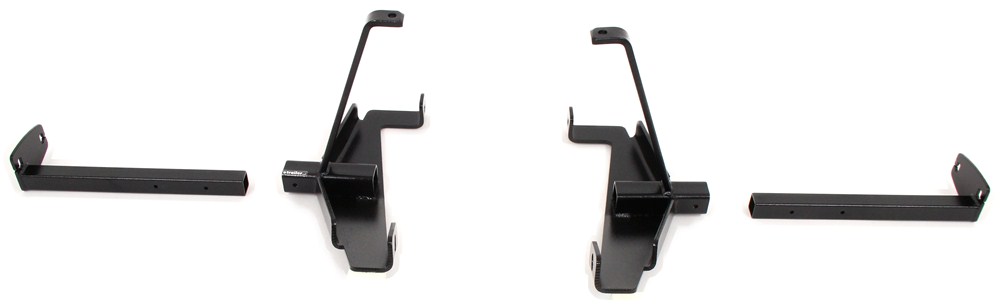
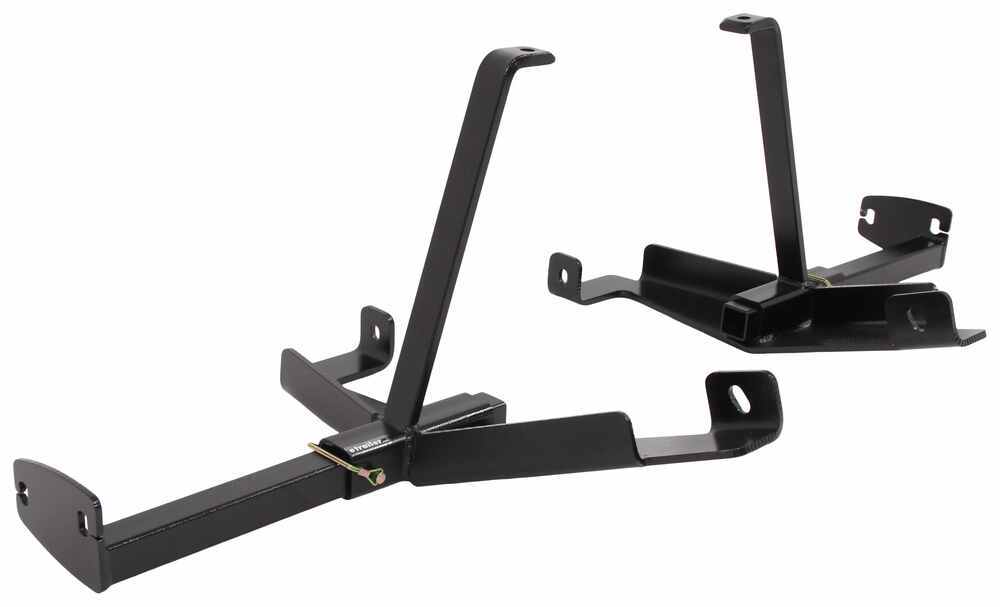

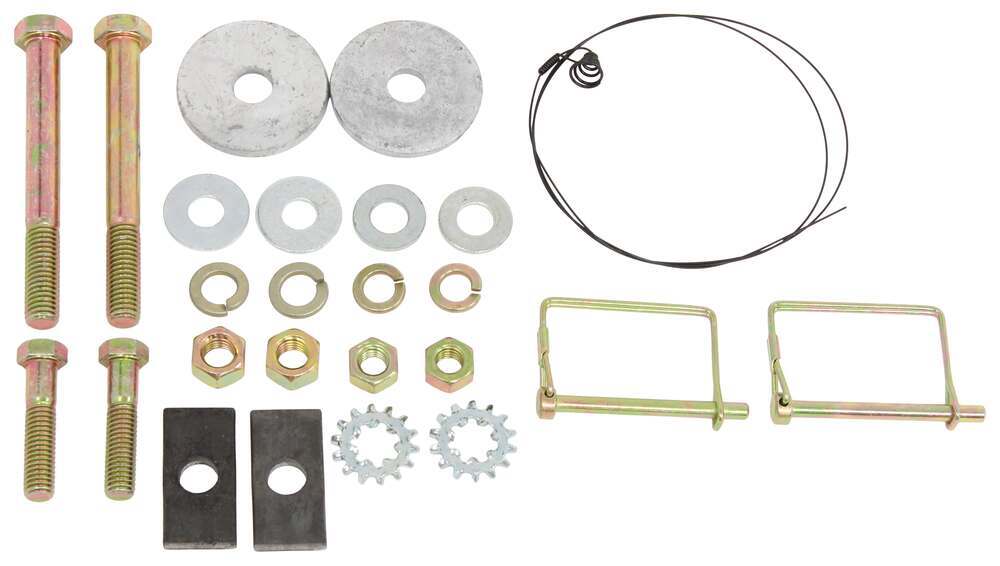


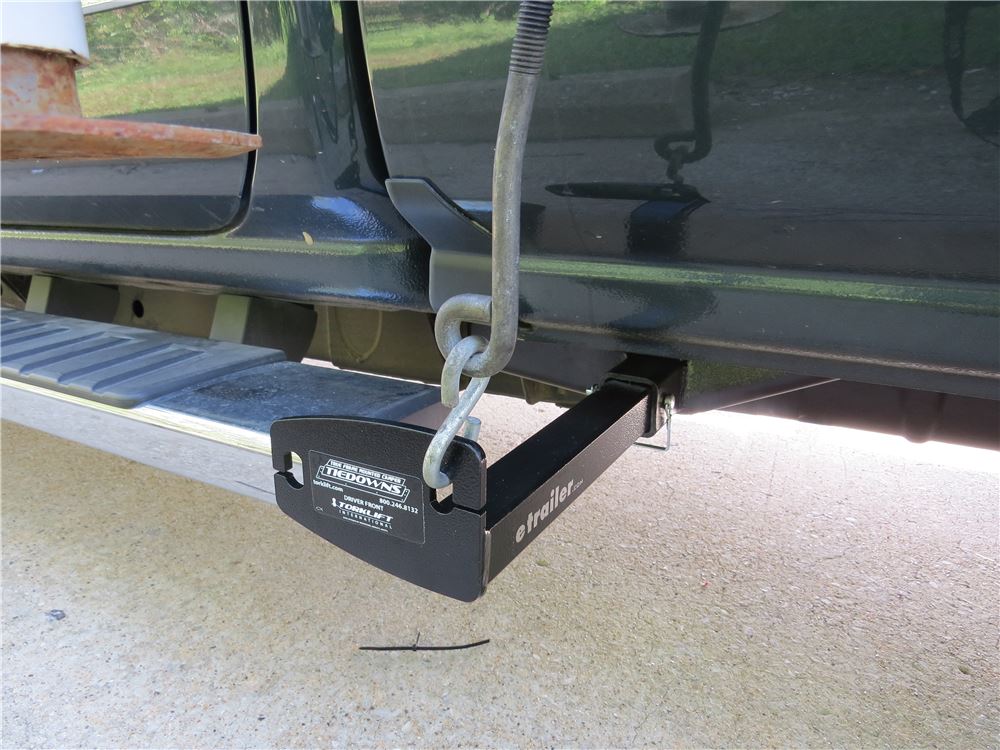


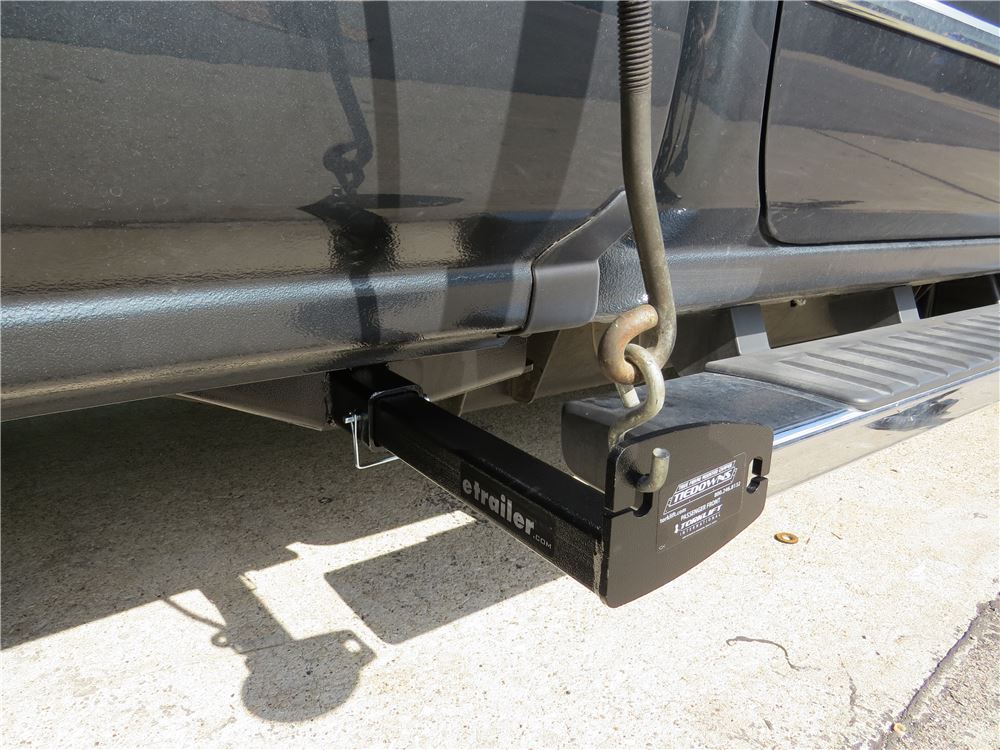


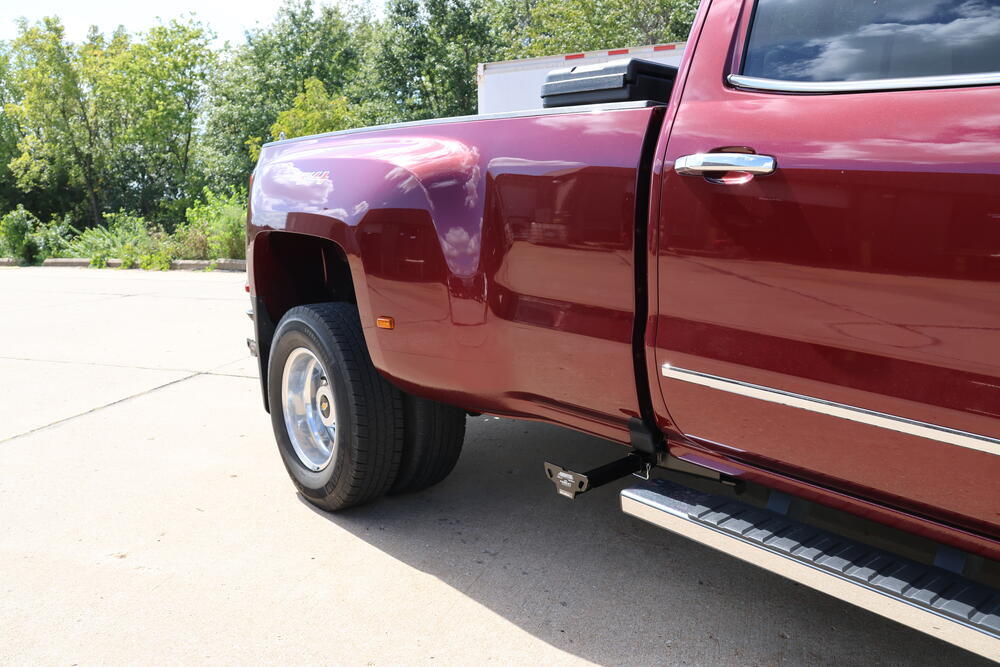
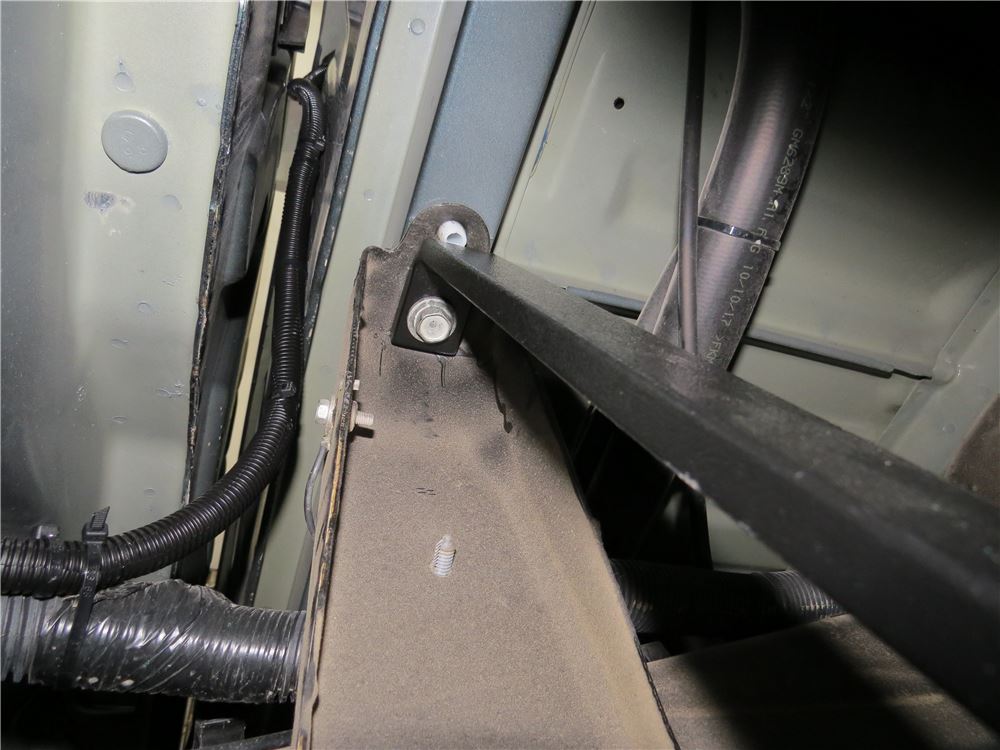

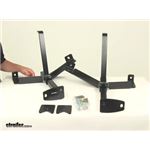
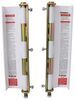
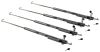
These frame-mounted tie-downs bolt directly to pre-existing holes, so there’s little to no drilling and no cutting or modification needed. The tight fit to the frame means minimal loss of ground clearance, which helps avoid dragging or snagging on uneven roads. Each tie-down adjusts for the best fit, giving you the right alignment between your truck and camper for a solid, balanced setup.
A good tie-down system keeps your camper steady no matter how far you travel. By mounting directly to the frame—the strongest part of the vehicle—these tie-downs distribute camper weight evenly and lower the center of gravity. That helps prevent sway and shifting in crosswinds and keeps handling close to what it feels like when you’re driving without a camper.
When you’re not hauling, you can remove the arms so the brackets are barely visible under the truck. Because they sit nearly flush with the frame, they blend in without affecting ground clearance or appearance. It’s a subtle setup that keeps your truck looking sharp even when the camper comes off.
Made of steel with a high-impact powder coat finish, these tie-downs are built to handle years of road use and exposure to weather. The durable coating adds an extra layer of protection against chips and rust so you can count on them season after season.
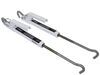
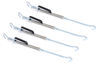
Each arm includes two pin holes that let you set how far they extend from the truck body—perfect for clearing sidewalls or fenders. Two anchor holes on each attachment plate help set the best tension and angle when connecting your turnbuckles (sold separately), keeping your camper locked down from multiple points for a stable, worry-free haul.
Videos are provided as a guide only. Refer to manufacturer installation instructions and specs for complete information.
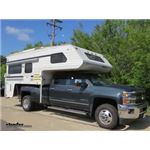
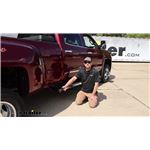
Hey everybody, Ryan here at e-trailer. Today on our 2016 Chevy Silverado 3500 we're gonna be showing you how to install the Torklift frame mounted camper tie-downs for the rear. But before we get into that, let's take a minute, check 'em out and make sure they're gonna work for you. If you plan on using an in-bed camper you're gonna need a way to secure it down, and that's where these are gonna come into play. Being that they are bolted directly to the frame, they're gonna give you a really solid attachment point. That way you're able to hook, you know your turn buckles up to this, up to your end bed camper.
Now with that said, you know, you're gonna want all four corners secured and this particular kit is just for the back, so you get one for each side here on the rear. You can always pick up the front separately. And a lot of times too, you can grab these as a whole kit. With that in mind, something you really need to look out for just to make sure you get what you actually need the first time, is the type of submodel, or what type of options that your truck has on it. You know, is it a short bed, is it a long bed Does it have a factory hitch or an aftermarket hitch Things like that.
And so, make sure to use our dropdown menu to enter that in. With that in mind, these are gonna work with a lot of different configurations in case, if you're curious, our truck today is a long bed. It has dual rear wheels, and a factory style hitch. Something that I notice about these particular tie downs is they're pretty high quality. You know, the finish is nice, the hardware's nice, they fit good, so you really can't ask for too much more there as far as that's concerned.
You know, like the fact that you can actually pull these out if I can manage to get the pin out here, you can pull this pin out, you'll have a couple adjustments which we'll talk about in a minute, but whenever you're not using 'em you know, you can have it set up like this, and it's kind of tucked up underneath the truck a little bit. You know, you're really not gonna be able to see 'em unless you deliberately look underneath here. But if you're just to walk up to the truck from, you know, a few feet away, these are gonna be pretty much completely hidden. There are gonna be two holes kind of pre-drilled into the shank, and that is to allow you to make quick adjustments. So the first one, you know, you'll put your pin through, and that'll set the attachment point out a little bit further from the truck.
Of course you can go in closer to kind of dial in exactly how you want your in bed camper set up. Okay, so if you're curious I'll just give you a couple of measurements. So right now we have this in as far as it'll go, and I'll just go from this small flange down there on our vehicle to the face of this, is gonna be about nine inches. And then if I pull this out further, and set it like that, that will be approximately 13 inches. So this should accommodate just about every situation that you find yourself in. And just outta curiosity too, I go from the ground here, to the very bottom, and that's gonna set it right at about 16 and one quarter of an inch. These are gonna work with a lot of different turn buckles, and in case you're needing a set of those, I like the Fast Guns, they're also made by Torklift, and seem to be a really good, really good match there. But aside from that, you know, not really a whole lot to it. You know, they're well-built, they fit the truck nicely and you really can't go wrong if you're needing a set of camper tie-downs. As far as the installation goes, really not bad at all. Since they are custom fit to the truck they already utilize openings in the frame that are already there so you don't have to drill or really modify anything for that matter. So really shouldn't take up a bunch of your time, or give you a ton of issues. If you like to hang around though feel free to, we'll go ahead, pull 'em into the garage and get started on 'em now. So you begin our installation and we're gonna be here at the back of our truck, and we're gonna be working on the side of it, right where our lease spring pack actually meets up with our vehicle spray. Right here, this is the hole, or one of 'em, that we're gonna use is an attachment point. So what you can do, you can grab the coiled end of your fish wire, put that through, and you're gonna push it to the inside of our truck here. And there's a large hole where we can drop that down through and we'll just let that hang for now, and get some of our hardware prepped. This is the hardware we're gonna use, we're gonna have this bolt, a star washer and this spacer block. So you put the bolt through the star washer, and through the block. And then something that I do, is take some tape and just kind of tape this all together because to be honest with you, when you try to get this through the frame and everything, it kind of can be a pain. Nothing wants to go through, it all wants to get kind of hung up in there. So this is just a trick that I've done to help make it a little more manageable. Thread it onto the fish wire and I usually go about halfway, that way there's still some bend in it like this. All right, and we'll feed this through. The trick is you kind of want everything to stay connected, and kind of be able to get it to all come through in almost one sweeping motion here. So you know, if you need to restart, not really a huge deal. You can always kind of push your hardware back out and readjust everything till we get it to drop down. I was able to get this to drop down, and I'll be honest with you, you're gonna have to fight it for a minute, just there's not a whole lot of room. But my advice would be make sure it's taped good. Like I said, that definitely seems to help, and you know, just kinda lightly work it back and forth until you, you know, you finally get everything to drop down like this. Grab this bracket, a half inch bolt, put the bolt through one of the holes there. You're gonna slide this into the pitch opening, I guess you could call it the support bracket. Drop it through this large hole, and then we're, this is here in the back, take another one of those bolts, drop that through. You can grab our bracket now. And these are side specific, so check your instructions you know, for what one you need. Our pull wire, actually it's gonna sit like this. So this will go up against the bottom of our truck. Take your pull wire, push that through, and we're just gonna work this up. Get everything to drop, drop through there. And with these bolts, you can put on a flat washer. And when you put this on if you use your finger to apply some side pressure to the washer, to the bolt, that'll hold steady, makes it a little easier. So the flat washer split lock washer, and the hex nut, get this in tight here. I'll use that same hardware combo for this attachment point. For this bolt, I remove the pull wire by just some threading it, you know, try not to destroy it 'cause you can use it for the other side of the vehicle once you get over there. And you can take a spacer block and a split lock washer, and I actually again use some packing tape here, taped them together, poked the hole through that, just 'cause you don't have a ton of room to work here. So we'll slide that up over the bolt, take a nut, and we'll get it started and tight. Once you get this nut on you can tighten down the hardware. I wanna mention too, you know, sometimes depending on your particular truck or whatever, it might be difficult to get that nut started. If you're having a hard time, you can always tighten these up to help draw everything up, and that'll buy you a couple extra threads if you need to do that. So, just something I'd mention. But with that said, we can snug these down using a three quarter inch socket. Let's switch out to an 11/16th's. So we'll tighten this one up. And then we will come back with a torque wrench, and torque down all of the hardware to the amount specified in the instructions. With the driver's side all wrapped up you're simply just gonna repeat that exact same process over here on the passenger side. Now in the instructions they say you might have to lower the exhaust a little bit to give you room to work. I've never ran into that. I've done several of these trucks, and I've had the room to get in there. But maybe if you have an aftermarket exhaust system or something along those lines, something you might have to do. And if that's your case, you know, check the instructions, they give you some pointers and things you need to do to make that happen. And that'll finish up or look at and our installation of the Torklift frame mounted camper tied-ons through the rear on our 2016 Chevrolet Silverado 3500.
Customer Satisfaction Score:
98% were satisfied with this product
2% of customers were not satisfied
Ratings & Reviews


Straw

8/24/2026
A year later, no issues with tie downs, except normal wear and tear and metal to metal wearrust progression. These tiedowns are designed great and fit function was clearly created by someone who knows not only design but install ! E-trailer is “the” place to buy rv, camper, towing etc products - the install videos are sooooo helpful ! Thx ET !


Lazer S.
9/16/2025
It definitely is safe the way you have them, Paul! In a perfect world, the turn buckles would be perfect vertical, but this an imperfect world and not all campers have the attachment points in the same place. If you take a look at some of the installed pictures on the TorkLift Locking FastGun Turnbuckles # TLS9529-2-LK page, you can see most of them are at an angle. It's perfectly normal. Are you running any suspension enhancement on your Silverado?

Paul
9/27/2026
These tie downs are great, so easy to use. Camper never budged a hair


Kate F.
8/10/2026
Thanks for the pictures Rich. We will be reaching out =)
Bob
11/1/2025
I have not had any issues at all with the tie downs.

Heather A.
4/10/2026
Looks great! What kind of camper do you have?
Lazer S.
10/14/2025
Install looks great, Megan! Especially for it only taking two hours! They were moving. : ) Happy we confirmed what you found as well. Tie downs can be a pain in the rear with all the options out there. Now I do have to ask though, have you guys thought about any kind of suspension enhancement for the rear axle? It's a little hard to tell, but it looks like the back is sagging a bit in your last picture.
Clay
7/31/2026
A year later and I would not do anything different. Absolutely the best system available especially paired with the fast guns. The camper is solid mounted and does not move. Yet can still be off loaded in just a few minutes. Remember good stuff isn’t cheap and cheap stuff isn’t good.

Kate F.
6/5/2026
Great set-up Viviana!! Glad to see you went with the best =) Where did you go for your first trip?

Nick S.
1/12/2026
I love these TorkLift tie downs, and it is great to hear you are liking the quality as well. What kind of truck camper are you going to be running with these?
Kate F.
8/20/2026
We appreciate the kind words Charles! Where did you take the in-bed camper for the first trip?
Info for this part was:
At etrailer we provide the best information available about the products we sell. We take the quality of our information seriously so that you can get the right part the first time. Let us know if anything is missing or if you have any questions.























Mike L.
8/18/2026
I'm sorry about that, Daniel. We're working on getting replacements out to you.