bing tracking image

How to Install Tire Chains Cover
How to Install Tire Chains
(You Got This.)
When they're just a messy, tangled bundle on the ground, tire chains look like they'd be more at home around a prisoner's ankle in some medieval dungeon than wrapped around your tire. But with some (or a lot of) finagling, they do indeed install on your tires. The intimidating part is usually the fact that you're installing them on the side of the road in freezing temperatures while cars are flying past you on the road, knowing that these chains are your only way out of bad winter weather. (The medieval dungeon might start sounding appealing right about now.) Fortunately, tire chains actually only require a few steps to install, and we'll go over those steps in detail below. We recommend installing your chains for the first time in a dry, relatively warm environment, like your garage. Try it a couple of times there, and you'll be more than ready to put your chains on should the weather demand it!That said, not all tire chains are created equal. Some chains include easy-install features like automatic tensioning (we'll go over this more below). If you're in the market for tire chains, it's worth looking into the different installation options below to get an idea of what will work best for you. If you already have a set of chains and just want to know how to put them on, you can also use the guide below, but also be sure to read the instructions that came with your chains for more specific assistance. If you are a more visual learner, you can check out our video guide on making sure your tire chains fit properly here. You got this — we believe in you.How to put on tire chains:
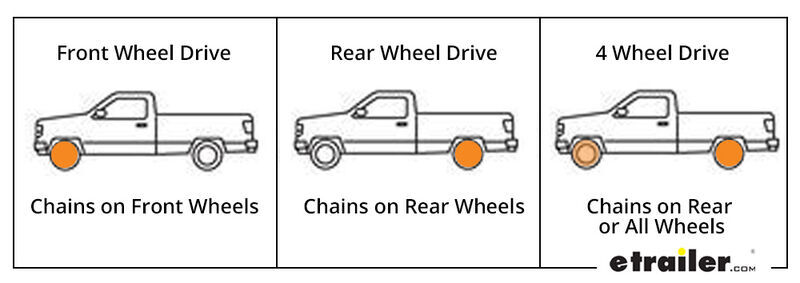
Is it easy to put on snow chains?Installing basic tire chains (with no easy-install features) can be tricky if you've never done it before, but like anything else, it gets easier after you've done it a few times. There are also many different types of tire chains with features like automatic tensioning and clamp-on arms that make installation easier.NOTE: Not all vehicles permit tire chain use, so you should always consult your owner's manual prior to installing tire chains to make sure it's allowed.Are chains required on all four tires?You can use chains on all four tires, but you're only required to have them on two. If you have rear wheel drive, you'll put tire chains on your rear wheels. If you have front wheel drive, your chains will go on the front wheels. Most 4WD vehicles require tire chains on the rear axle, but you should check your manual beforehand. Many AWD vehicles don't allow tire chain use, so consult your owner's manual to see if you can use tire chains, and which tires they should be used on if allowed.
Drive Wheel Tire Chain Installation Chart

Step 1: Lay Tire Chains Out & Drape Over Tire
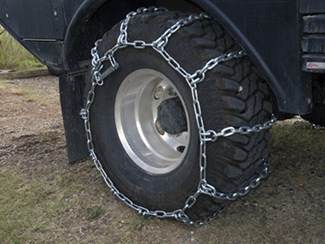
Tire Chains
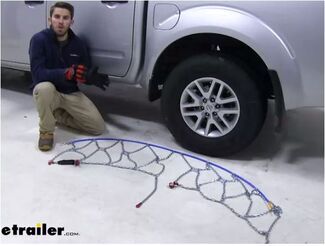
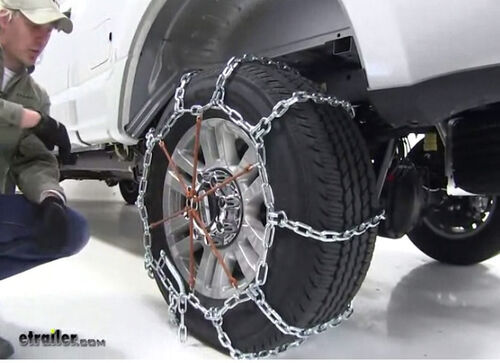
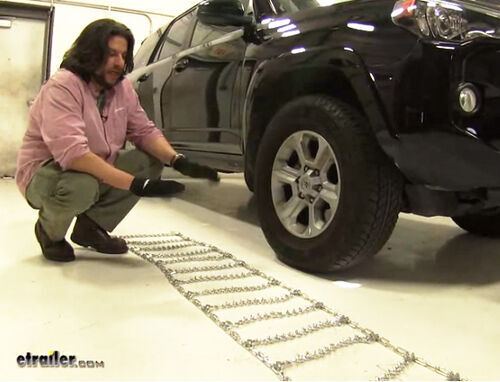
Make sure your vehicle is in park and your parking brake is on. Untangle your tire chains and lay them flat. Make sure the chain hooks are facing upward so they'll be facing away from your tire when you install them. You don't want the hook edges rubbing against your tire sidewall as you drive.
Tire Chain Installation
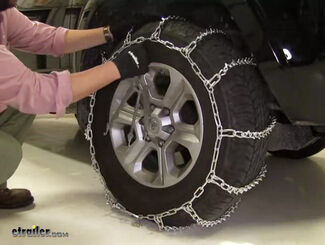
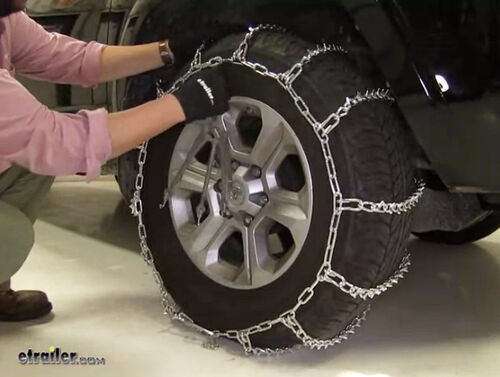
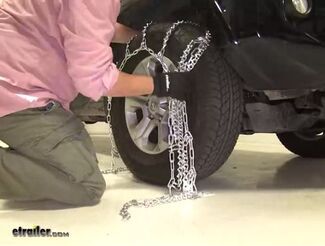
Drape the chain evenly over your tire, again making sure the hooks are facing outward.
Tire Chain Installation
Center the chains as best you can on your tires.
Alternatively, you can drive onto your chains instead of draping them over the tire. If you choose to do this, it helps to have a spotter to let you know when you're properly positioned over the chains. You might want to drive onto the chains if they're too heavy or cumbersome to drape, or if you don't want to lie on the ground to connect the chain.
Upgrade Options That Make This Step Easier:
  • Cords
  • Color coding
  • Rigid chains that don't tangle
Many tire chains these days offer options to ease untangling and installation. Look for features like stiff cords or color coding, which will help you figure out how to lay out the chain and fit it over the tire. Some chains (like Konig K-Summits) are even constructed so that they remain relatively stiff (though they do collapse for storage). These types of tire chains are less prone to tangling.
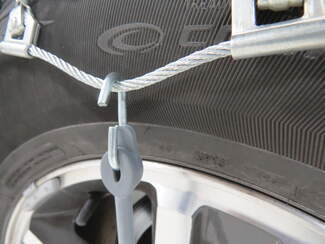
Corded Tire Chains
Pictured: Tire chains with cord, as seen on Konig Self-Tensioning Snow Tire Chains
Color-Coded Tire Chains
Pictured: Tire chains with color coding, as seen on Titan Chain Alloy Snow Tire Chains
Konig K-Summit Clamp-On Tire Chains
Stiff clamp-on chains, as seen on Konig K-Summit Clamp-On Chains

Step 2: Connect Tire Chains

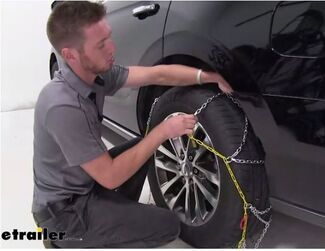
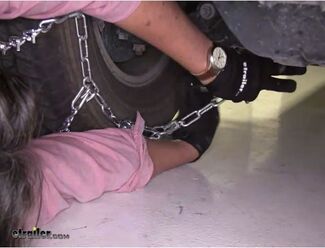
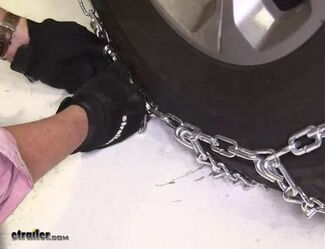
For traditional tire chains, connect the chains on the backside of your tire by attaching the hook to a link on the side chain. You want the tire chain to fit snugly, but don't make it so tight that you can't connect the chains at the front of the tire. Remember, if it's too loose, you can adjust it later.Next, make your connection at the front of the tire. How many links did you use to make your back connection? You should use the same number on your front connection, plus or minus one. For instance, if you hooked into your second link from the end when making the back connection, you'll ideally want to use the second link for the front connection too, but you could also use the first or third link, if needed.You might have to drive forward to get enough slack to make all your connections.
Attach Tire Chains Behind Tire
Make your connections behind the tire first
Attach Tire Chains
Next, make your connections in front of the tire
Upgrade Options That Make This Step Easier:
  • Chains that connect at the top
  • Chains that don't require connections at all
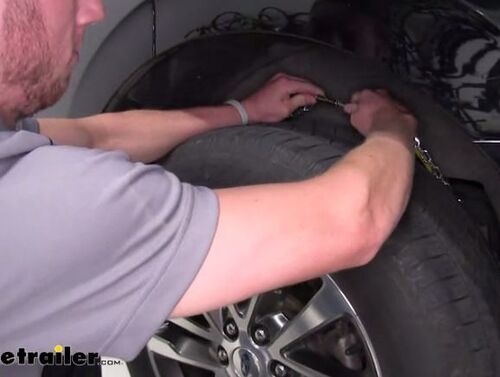
Traditional chains require you to kneel in the snow, reach around the bottom of the wet tire, and make your connections (getting yourself wet in the process). For an easier (and dryer) time, you'll want to look for chains that connect at the top, like these by Konig. There are also tire chains that don't require connections at all.
Tire Chain Connection at Top
Tire chain connection at top. As seen on Konig Self-Tensioning Snow Tire Chains
Tire Chain with No Connections Required
Tire chain with no connections required. As seen on Konig Low-Pro Snow Tire Chains

Step 3: Adjust Tire Chain Tension

For standard tire chains, you'll want to go ahead and place your second chain on your opposite tire now. Once you've done both, we recommend using a rubber adjuster to maintain proper tension on your chains (a rubber adjuster is basically a collection of bungee cords that adds tension to the chains). Make sure the adjuster's hooks face away from the tire so you don't scratch your rims. Try to space the hooks out as evenly as possible across your chains.
Adjust Tire Chain Tension
Rubber Adjuster on Tire Chain
Upgrade Options That Make This Step Easier:
  • Automatic tensioning (easiest)
  • Assisted tensioning with build-in adjusters (easy)
  • Cam-style tensioning (least easy)
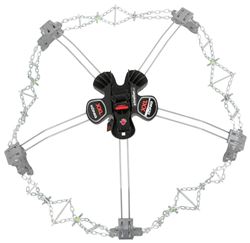
A variety of tensioning methods exist that negate the need for rubber adjusters. Chains with automatic tensioning mechanisms are typically the easiest to install. Chains with assisted tensioning mechanisms are also available. These aren't quite as convenient as automatic tensioning chains, but they generally come in at a lower price point.Finally, there are cam-style chains, which are more tedious than the other styles, but are better than traditional chains that adjust manually. However, you still may have to use a rubber adjuster with this style.
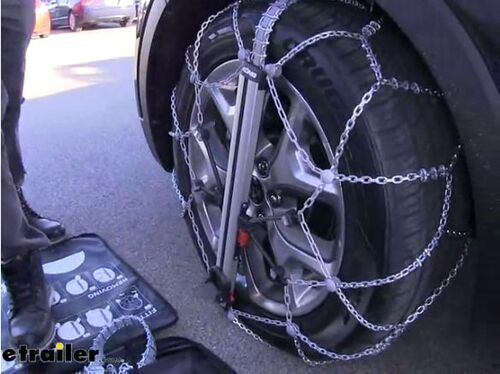
Konig K-Summit Automatic Tension Tire Chains
Featured: automatic tensioning chains. Drape the chains around the tire, then just push the pedal down to easily and automatically tigthen them. As seen on: Konig Low-Pro Tire Chains
Assisted Tension Tire Chains
Featured: assisted tensioning chains. Feed the silver draw chain through the red tensioner, then through the red rings to tighten. As seen on: Titan Chain Alloy Snow Tire Chains
Tire Chain Twist Cam Tension Adjusters
Featured: cam-style chains. Simply twist the cams to pull the chain taut around the tire. As seen on: Glacier Twist Link Snow Tire Chains
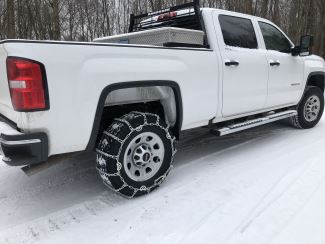
Tire Chain on Truck

Step 4: Drive Forward & Check Tire Chains

Drive a few car lengths forward to make sure your chains are centered to see if there's any slack that needs to be tightened.
Tips for Installing Tire Chains:
  • Practice installing your chains in your garage or driveway on a relatively warm day before you ever need them. You don't want your first time to be on the side of the road in a snow storm.
  • Keep a nice pair of gloves in your glove compartment — installing tire chains with stiff, frozen fingers won't make it any easier.
  • Invest in a tire chain safety installation kit that includes a waterproof kneeling pad and roadside emergency lights.
  • Once your chains are installed, stay off of bare, dry pavement and don't exceed speeds of 25mph.
Tire Chain Installation Graphic
Related ContentRelated Products

Dave E.

1/26/2024

Superb article! I've used chains for over 50 years but it's always good to review installation and see new styles available.

Etrailer Expert

Mike L.

1/26/2024

@DaveE We're happy you found it helpful. Let us know if you have any questions!

Wayne G.

11/23/2021

I am going to try using the draping method but I don t see how that is possible without driving on the chains first. We ll see


Les D.

11/26/2021

I know why you feel that way, it does not make as much sense until you do it once. I have attached a couple of videos. I also highly recommend putting these on during a nice day. You don't want to wait to be kneeling in snow and the wind blowing to try this the first time.

Wayne G.

12/7/2021

@LesD Thankyou for your videos. They were helpful and encouraging and now I can see its much easier draping over tire 1st. It also makes it easier centering the chain. Wayne

Jb

11/12/2021

A video would provide much better views of typical movements during installation than the few selected pics.


Departments

Towing

Sports and Recreation

Trailer Parts

Vehicle

What our customers are saying:

"very easy to shop"

Mike
Richmond, CA

Popular Vehicles