


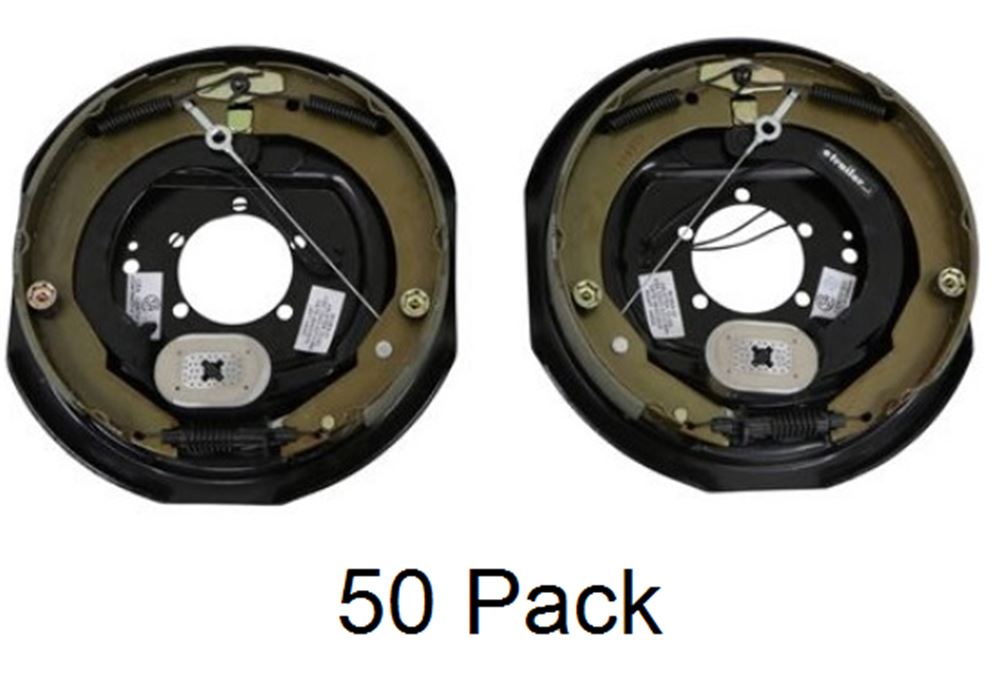
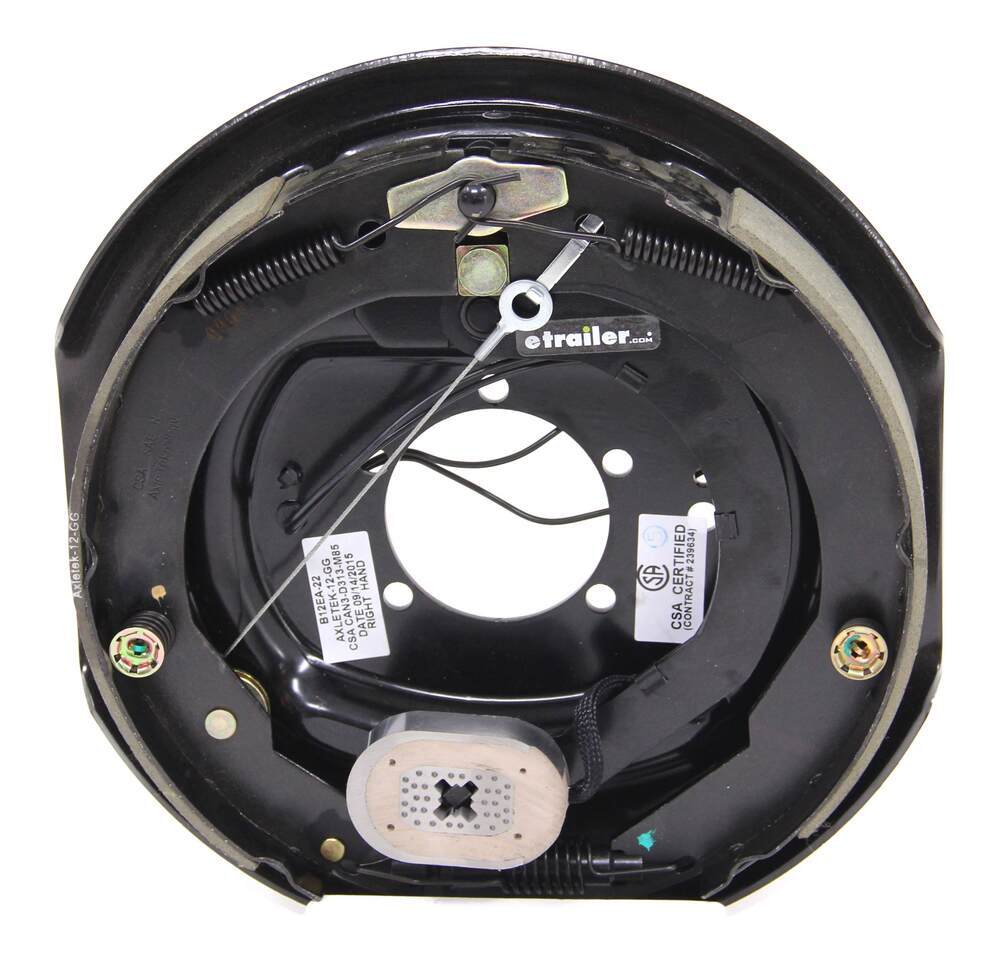
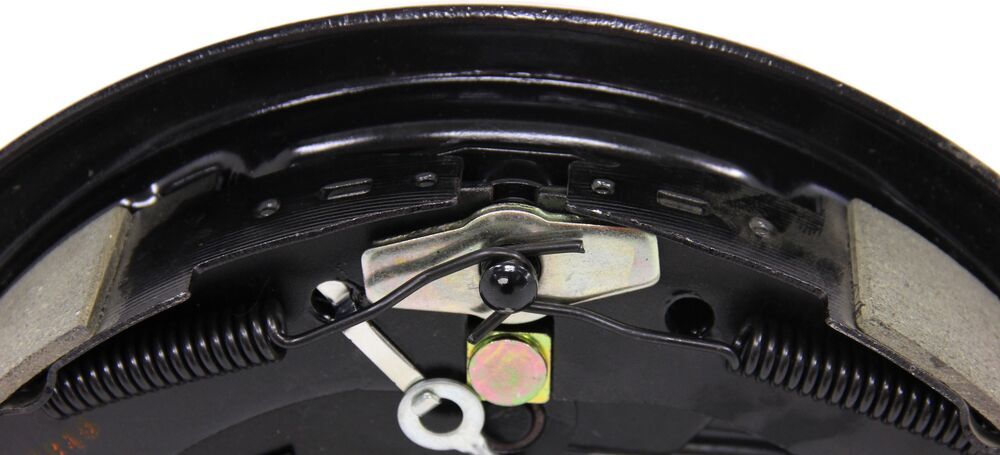

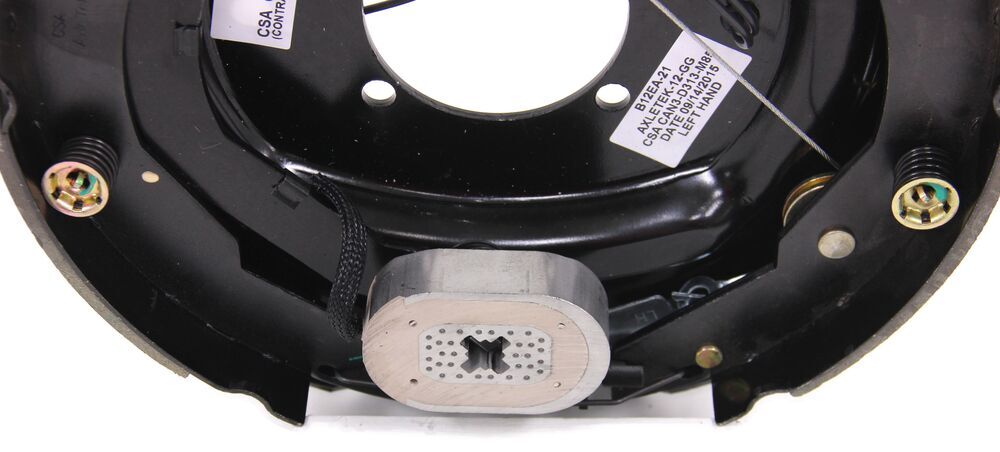
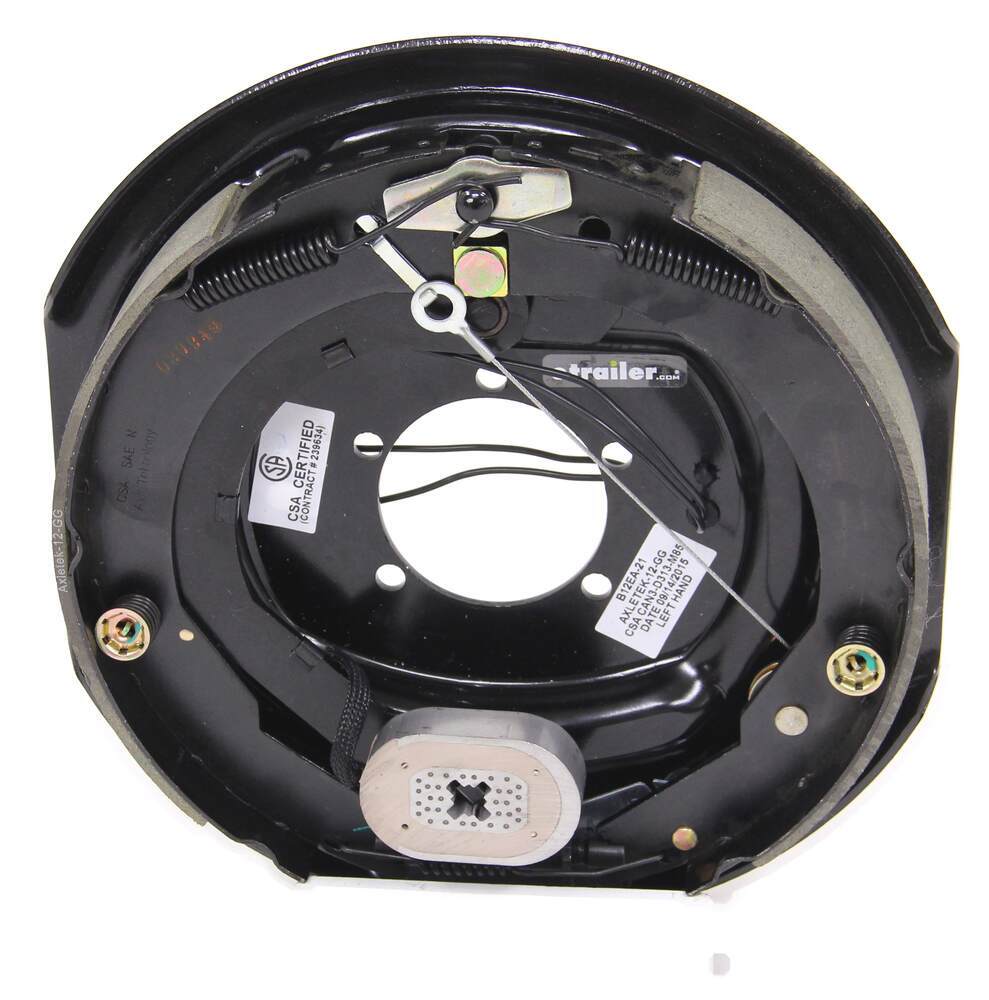


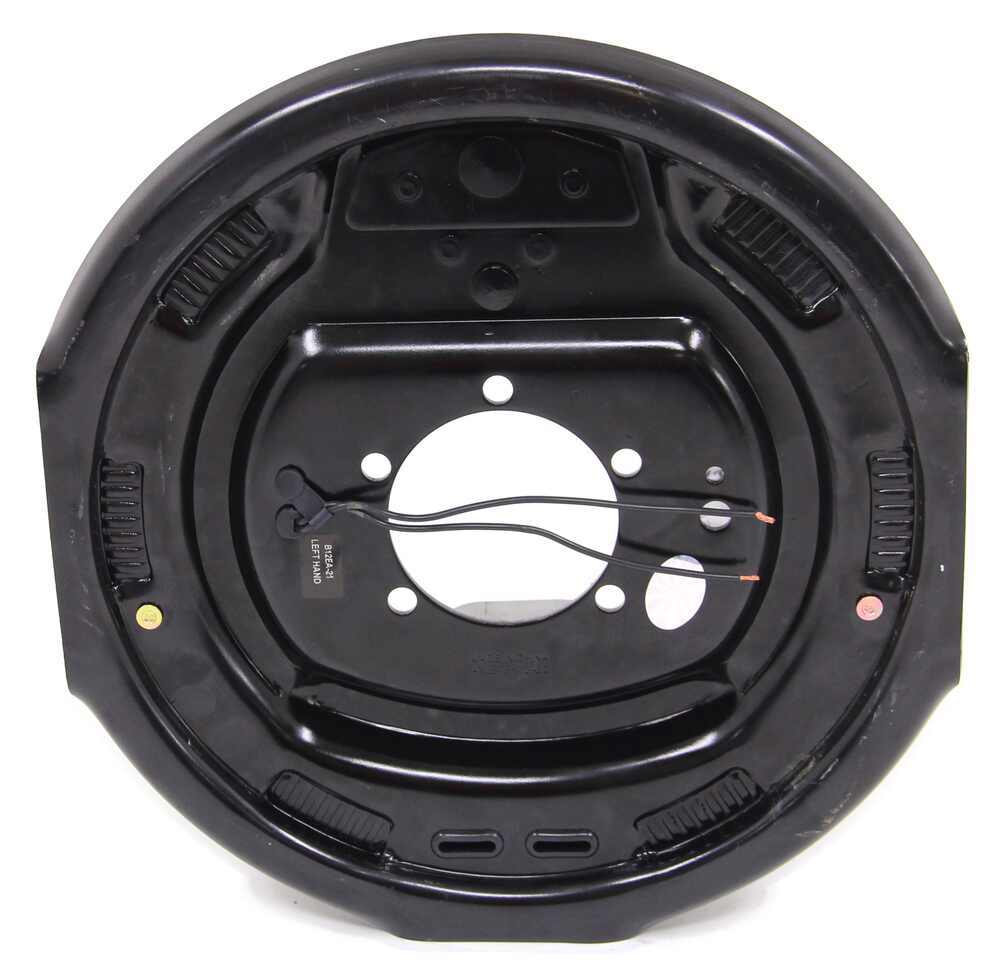

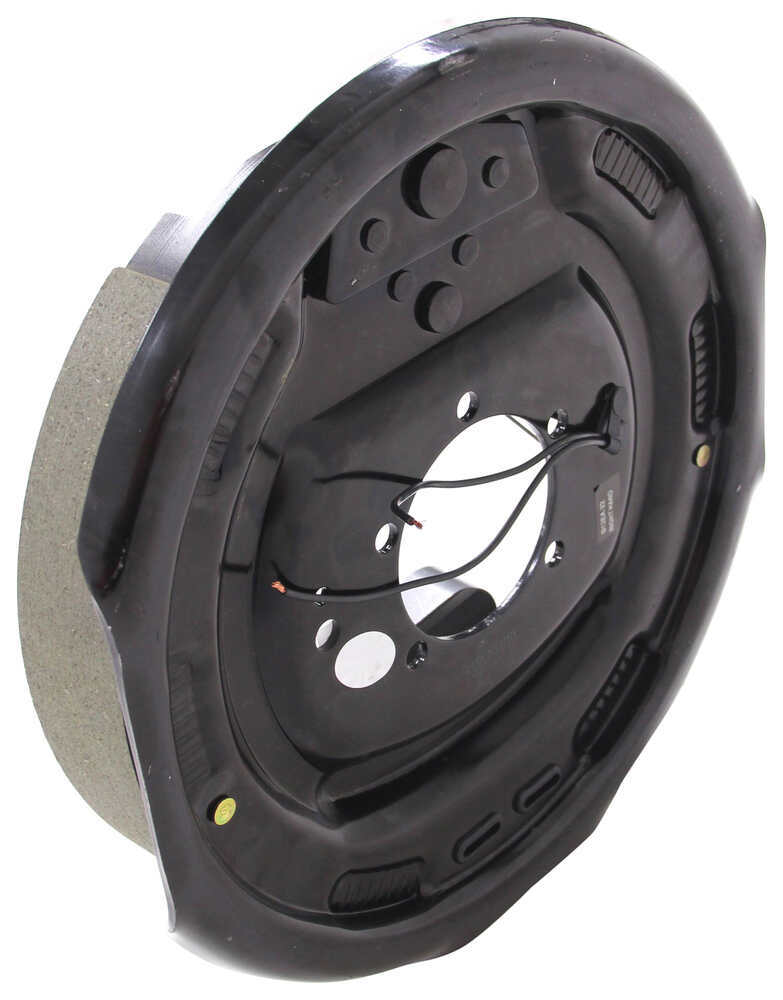
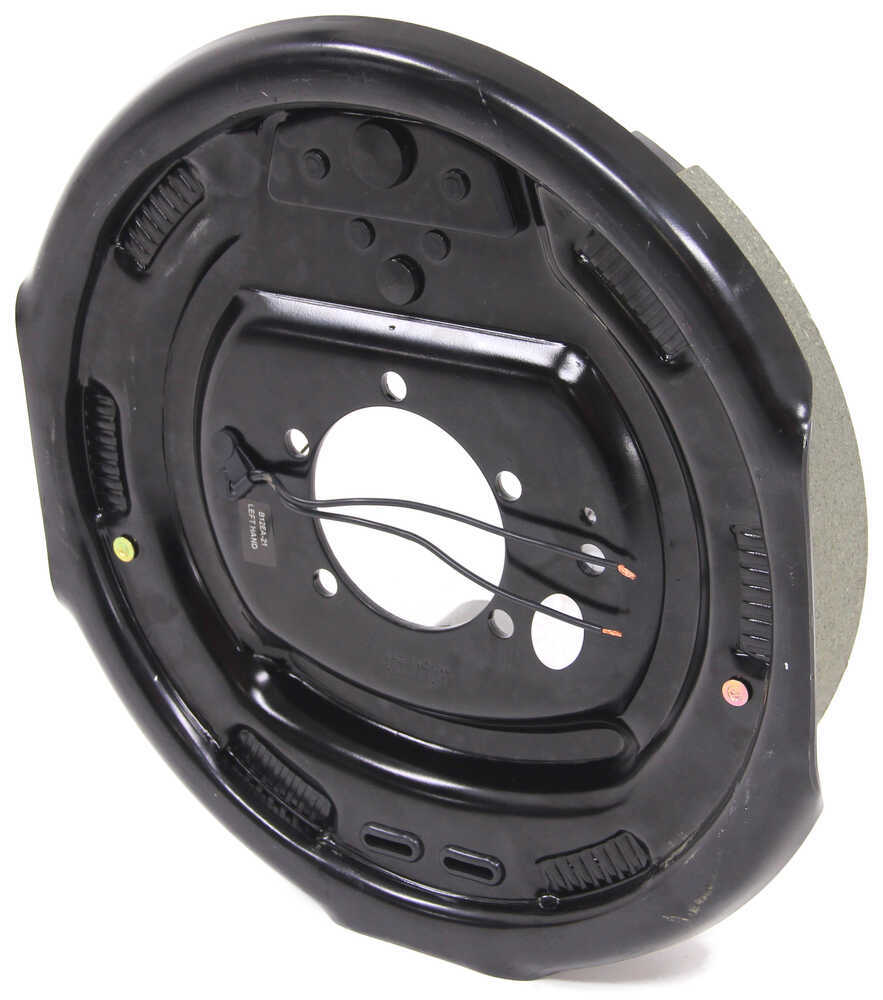
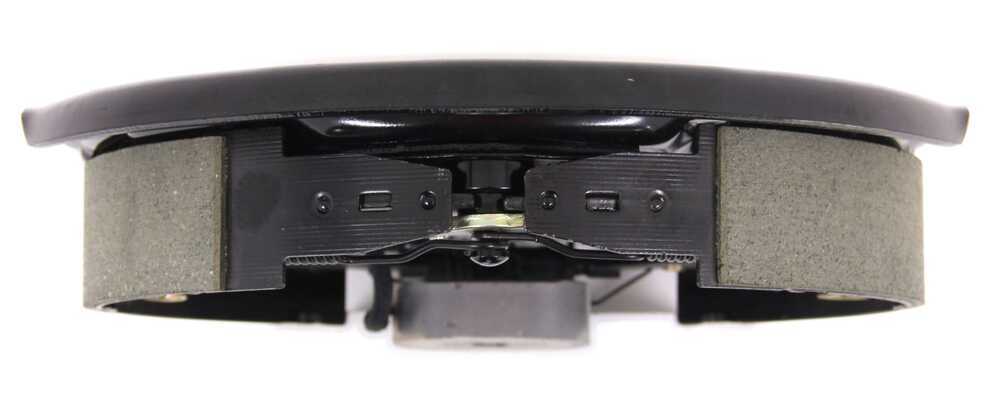



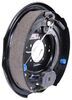
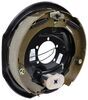
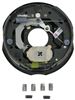
Standard brake assemblies need periodic manual adjustment to keep braking consistent. These self-adjusting 12" x 2" electric brakes automatically maintain the correct shoe alignment after the initial setup, so you don’t have to. They deliver steady braking performance on every trip and save time on maintenance.
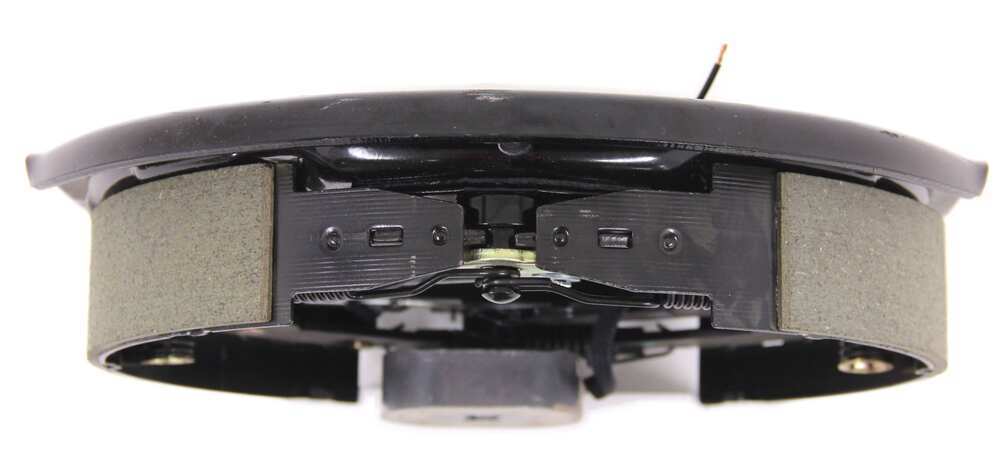
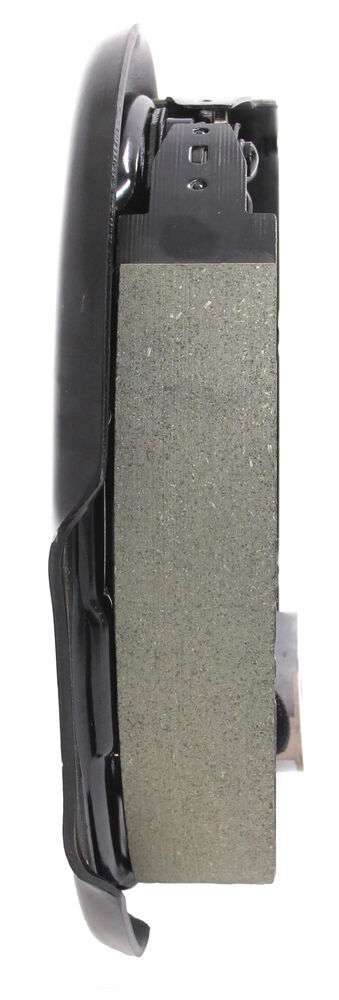
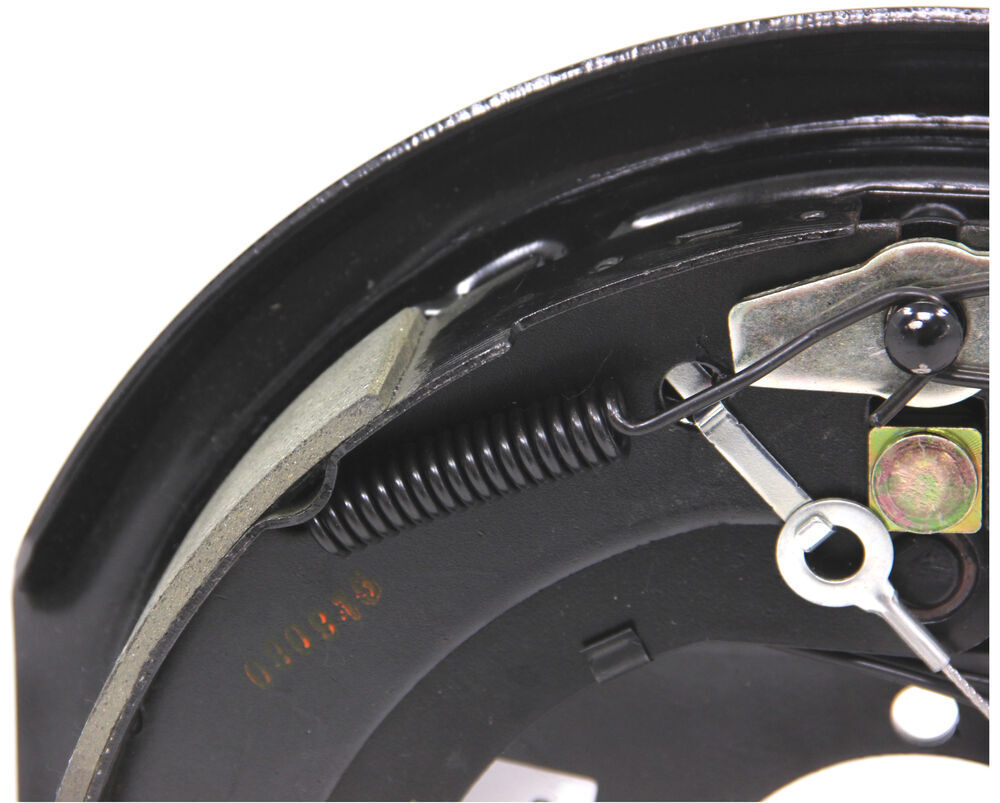
Each shoe uses automotive-grade friction material that’s fully bonded—not riveted—to the brake surface. This design gives more braking torque and reduces the chance of cracking or crumbling. The material is SAE-N certified, providing strong, environmentally safe performance that lasts through years of use.
Moisture, grime, and road salt can take a toll on metal parts over time. The e-coated backing plates on these brakes help resist corrosion and wear, keeping the assemblies in good shape longer. Adjuster plugs seal out dirt and debris so the shoes stay clean and work smoothly mile after mile.
Designed to handle serious weight, these assemblies fit most standard hub-and-drum setups rated at 5,200 lbs, 6,000 lbs, and 7,000 lbs per axle. Each set includes left-hand (driver’s-side) and right-hand (passenger’s-side) assemblies measuring 12" diameter x 2" wide with a 5-bolt mounting flange pattern for 14-1/2", 15", 16", and 16-1/2" wheels.
These brakes meet stringent Canadian Standards Association requirements and are QAI tested to ensure proper braking performance in real-world conditions. That means dependable stopping power backed by proven safety testing and a limited 1-year warranty.
Videos are provided as a guide only. Refer to manufacturer installation instructions and specs for complete information.
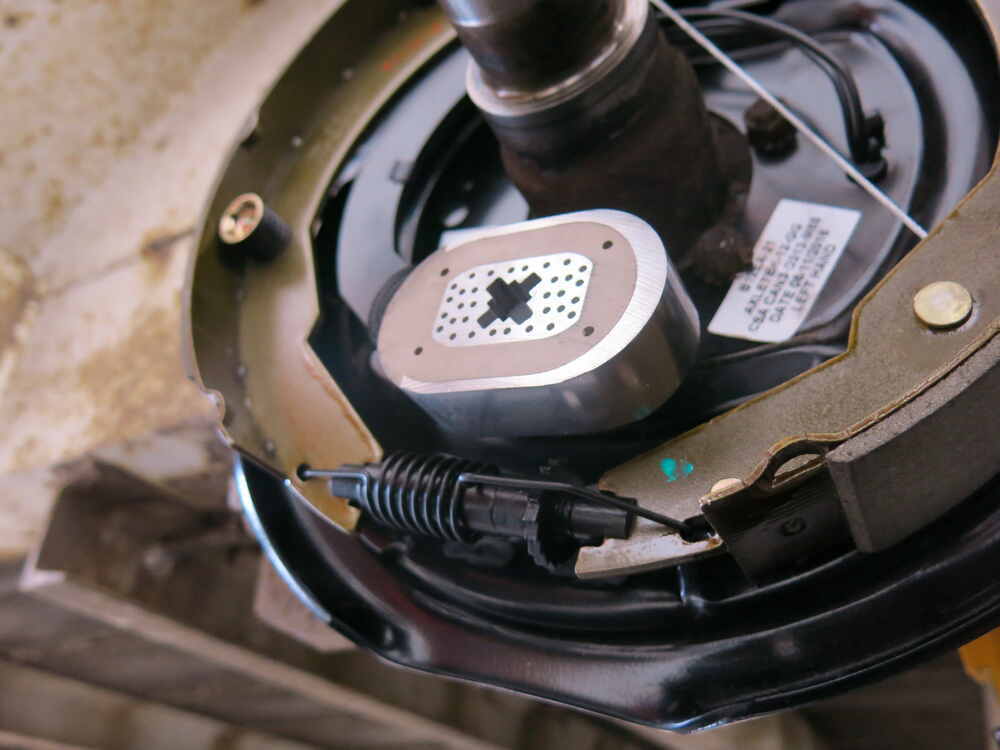
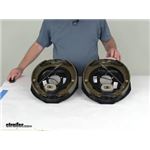
Hi there trailer owners, today on your 2017 Grand Design Reflection, we're going to be taking a look at and showing you how to install etrailer's Electric Trailer Brake Kit. This is what your brake assembly is going to look like once you've got installed.Some of the features on this assembly that really stand out to me that make it better than some of the competitors is the shoes that are located on each side. They're going to be fully bonded shoes, so there're no rivets. Some of the other shoe manufacturers out there we'll place rivets that hold the friction material on. And the problem with the rivets, it does hold the pads on very nicely. But when your shoes wear down, eventually the material is going to wear it down into the rivets, which can then dig into your drum assembly and destroy the entire drum assembly with the bonded pads here, the material will wear down and it'll have to get all the way down to the metal here before that would happen.
So you get more pad life with a bonded pad than you would with a riveted pad. Since the rivets are going to poke through, and there's still going to be friction material left that you're not going to be able to use, due to those rivets digging into your drum assembly.The backing plate that comes included with it is going to be powder-coated to prevent against rust and corrosion and these assemblies are also going to be self-adjusting. If we look here, this cable will go down to our adjuster mechanism here on the star wheel. And so whenever we go to back up, it will cause the mechanism here to move and adjust the brakes outward. Now this is not entirely the way you want to adjust it.
Once we've got our assemblies installed, you do want to do a first time adjustment where you adjust it just initially. And then from there on out, these self adjusters should take care of those adjustments.A lot of people will install these though, and think that it will adjust itself appropriately the first time, which eventually it will. But since it only adjusts, when you're backing up, you would have to do many, many backup and brake stops for this to adjust it appropriately. So it's much better to just adjust it that first time and know you got it right, rather than waiting for the self adjuster to bring it up to where it needs to be. But once you've got it set up that first time, the auto adjuster will take care of the rest and you won't have to adjust them again for the rest of the life of the pads.This replacement electric brake assembly is designed to work with 5,200, 6,000 or 7,000 pound axles with a 12 by two inch drum.
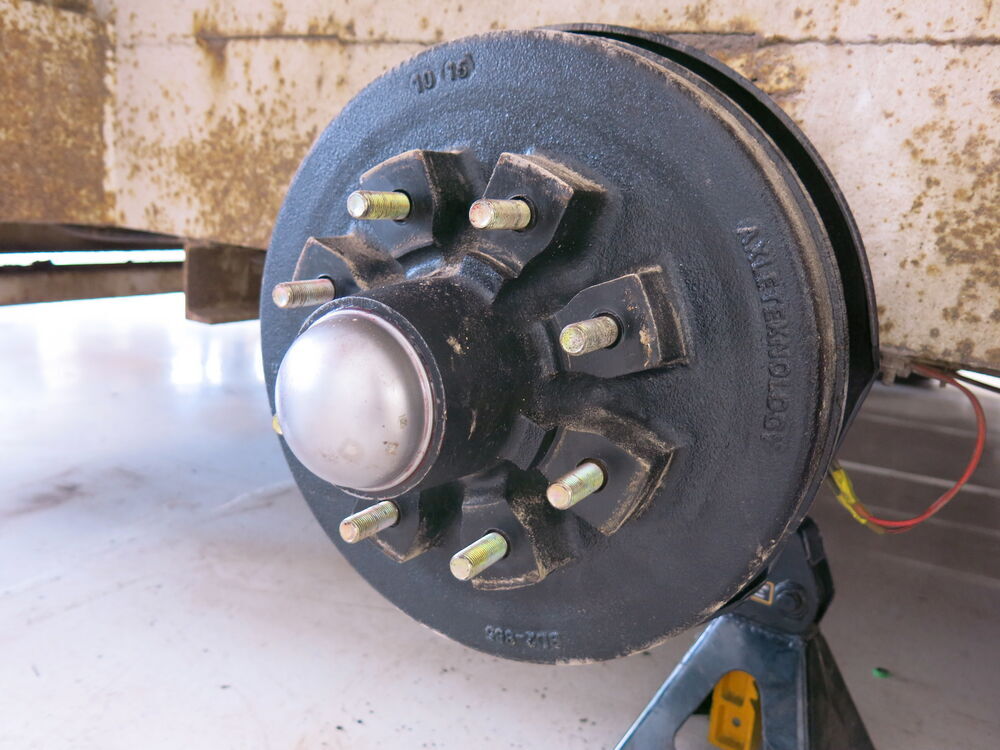
They use a five bolt pattern, which is commonly found on these axle & drum sizes. You also find commonly in the size that your wheels will be 14 and a half 15, 16, or 16 and a half inches.We'll begin our installation by lifting our trailer up and supporting it with jack stands and then taking the wheel off. You can lift it up with your floor jack and you can use your impact, if you've got one to take the wheels off. If you don't have an impact, you want to make sure you crack all of the nuts loose first before you lift it up. Now with our wheel out of the way, we can take a rubber mallet or a dead blow and gently tap on this.
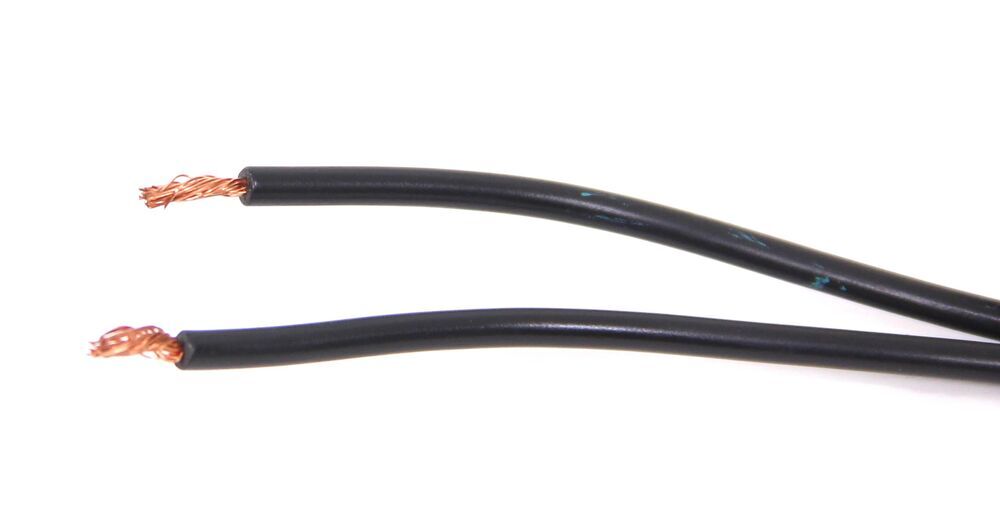
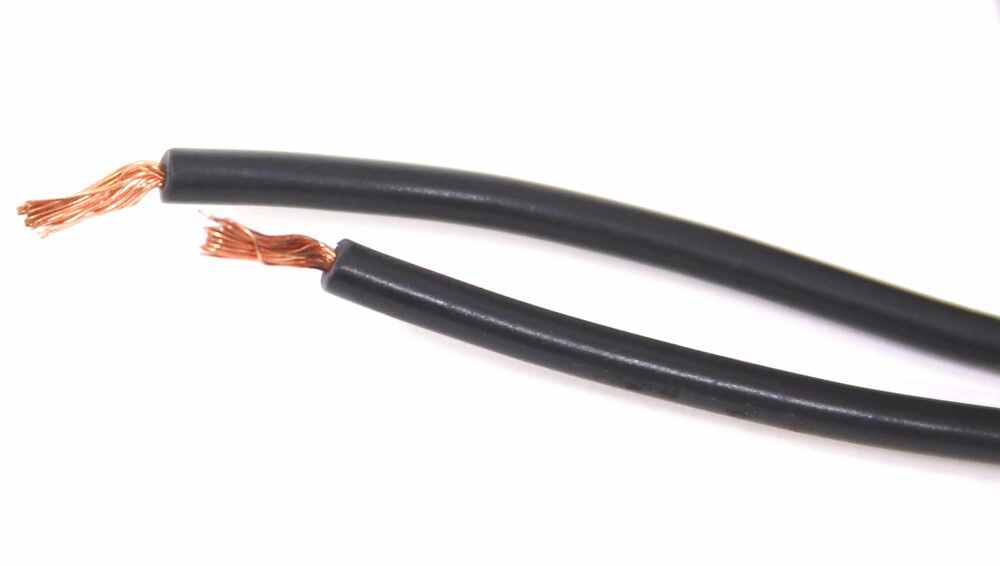
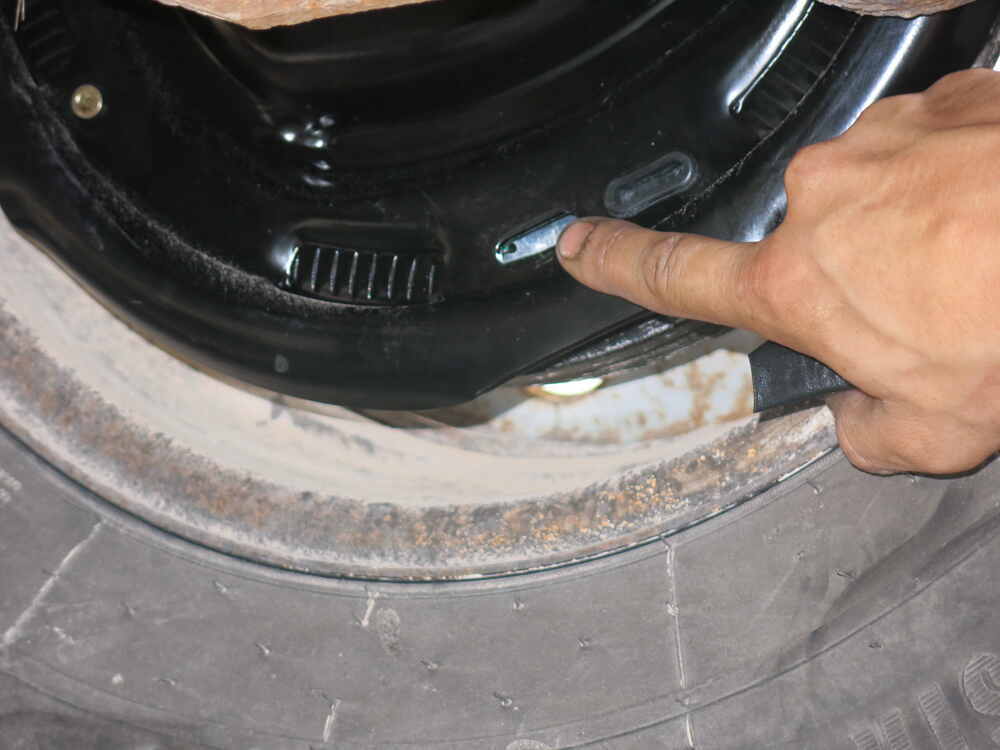
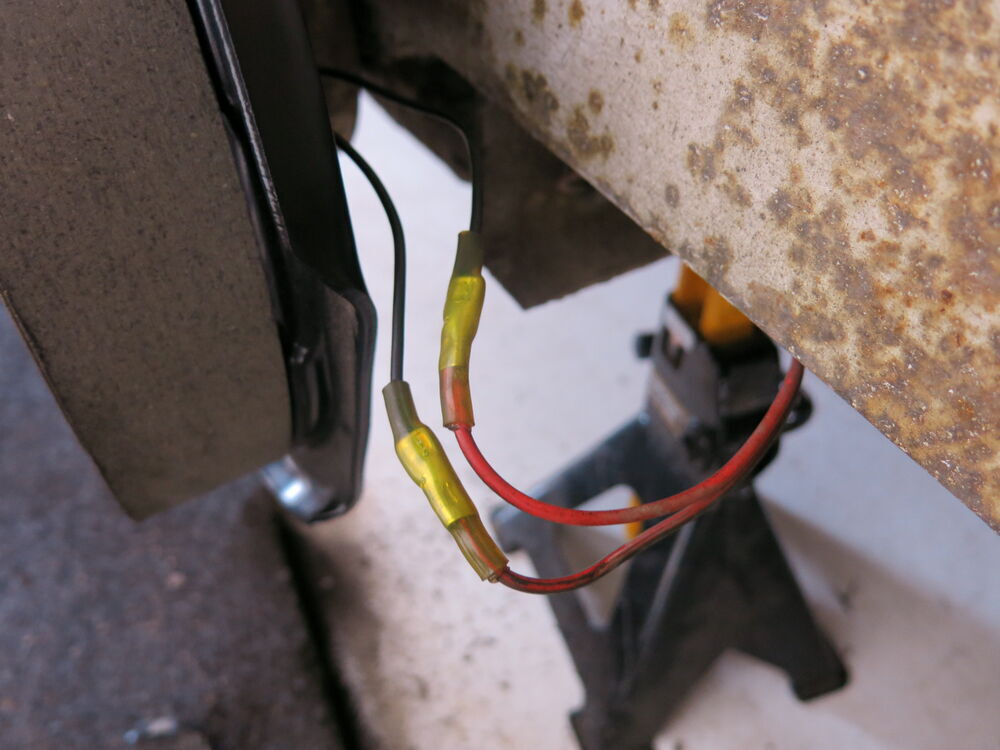
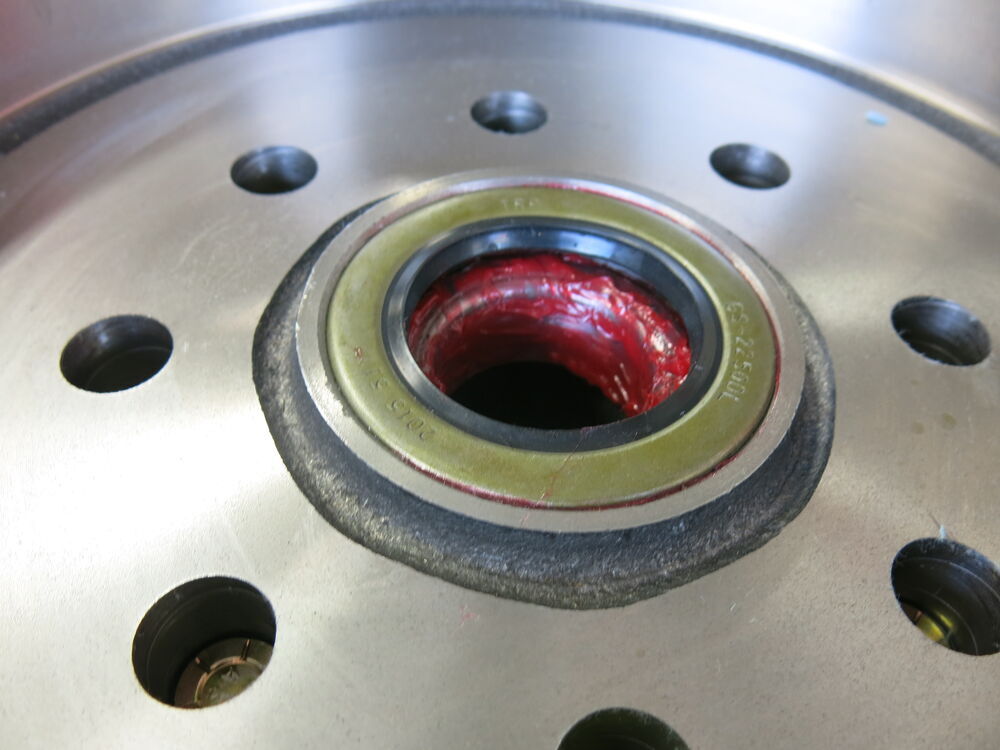
We're not trying to take it all the way off with the hammer just to get it to come out a little bit so we can get our screwdriver behind it.Here we go, we got it to pop just a little bit. And then our flat-bladed screwdriver now will fit down that little spot and we can go ahead and pry it out. I also recommend that you got a rag set up somewhere because all of these components are going to have a lot of grease on them and it'll just help minimize the mess. Once we get the cover off, we can remove the cotter pin beneath it. You'll want to bend the cotter pin straight again and then you can just push it out of there.It can be a little tricky to get out, but it's just working back and forth a little bit and it will come out of there. If you can get your screwdriver in there. Now, a lot of times you are going to deform the pin. So I do highly recommend replacement when you do this, you can get cotter pins here at etrailer.com with cotter pin out of the way, we can take our nut off. We're just going to use some channel locks to unthread it, surely not on there tight you could do it by hand, but to help minimize the mess, we're going to use our channel locks. Set that aside and we can then slide our hub assembly off. Now you want to check it first. See if you can, if it gets stuck just like this one did here, you'll have to go underneath and loosen up your brake pads in order for it to slide off. There're covers located on the back of your assemblies, you just want to pop those off with your screwdriver.And then we can look inside for a small star wheel. We'll adjust the star wheel to loosen our brake pads. You'll also see on the star wheel, there will be a piece of metal on there, and that's the auto adjuster that pushes down to turn the stars. So we want to go the opposite way. We're going to be turning the side facing up to go the other direction.Sometimes it does require two screwdrivers. One to hold that piece of metal, the auto adjuster out of your way, and then another to adjust it. You don't always have to hold it out of the way, but sometimes the auto adjuster will readjust as you're unadjusting so you're not really getting any progress. We're just turning this little star wheel in here and you'll get a better look at the star wheel once we get it off. Cause it is difficult to see inside here unless you're looking directly at it. And once you get your screwdrivers in there, you really can't see it either.So we're just going to keep rotating it. And then we'll check to see if we can get it off. Now, it's now we'll slide it in. You can see it's going to come off now, before we take it all the way off. So we're going to take our screwdriver and we're going to put it on there to catch the bearing and the washer. I'm going to set those aside and we're going to get us a different rag to set the hub assembly on. So we don't make a mess, slide that off and set it on there. We can then remove all the nuts surrounding it that holds our backing plate on. We're using a 9/16" socket to do so.Now, before we slide our assembly off, we do have to cut the wires that are connected to it. So we're just going to ring them out and snip those. Got both of those snipped. This is the wire we're going to hook it back to coming out of our axle. These are just going to stay there because we're going to throw this whole assembly away. We can then slide the whole assembly off and then discard it.We'll now take our new assembly. Make sure you get your wires pulled out of the center there a lot of times they're tucked in and we're just going to slide it right on. Line up the holes in the backing plate with that on the hub there. And then re-install the nuts you want to make sure that you slid on the appropriate side. Most of them are going to be labeled here on the inside, where it says right-hand, but the best way to really go about it rather than using a sticker is to just compare it to your old assembly. The cable on this side goes towards the rear, just like our old assembly did. It was towards the rear. If we look at our other side, it's going to angle off towards this way because it's supposed to be on the other side. So it will angle towards the rear when, on the other side. So we know we got the right side, go ahead and re-install your nuts. We can then go back and tighten them down. I like to do it in a cross pattern to ensure that it tightens evenly.Then we'll torque our hardware to the trailer manufacturer specifications. We can then reattach our wires now. We're going to be using heat shrink butt connectors to attach it. If you need some, you can get some at etrailer.com here. I'm going to start by just putting one on each of the wires coming off of our brake assembly. And it really doesn't matter which one you hook these up to. As long as it gets power and ground, the brake hub doesn't really care, which one is the power wire and which one is the ground wire. So we only have two wires that go to this. So we're just going to hook those up to either one of those. So we're going to strip each of our old wires back now And just crimp those right onto our new trailer brake wires. Then we can use our heat gun to shrink down the butt connector.Now, if you're just replacing your brake assembly here, then you can reinstall your hub in reverse order of how you removed it. But since you've already got everything apart, I highly recommend it this time that you inspect your bearings and repack them. And if you find any damage with those, you should also replace your bearings at this time. Now, if you do need bearings in a hub, I highly recommend purchasing one of our kits here at etrailer.com to supplement your electric brake install.When you're reinstalling the drum, everything's just in the reverse order of how we took it off. But once we get the nut on here, before we put our Cotter pin back in, we do have to adjust our bearing pressure. Now, what I usually do when doing this as I will put it all the way tight first, just to ensure that the bearing is fully seated.So I'm spinning the hub. I'm tightening it all the way down with my champ box. Now that I've got it all the way tightened down, I want to back it back off because that's going to be too tight. That just ensures that we are fully seated. So we're going to back it off until it feels loose. And then we're just going to come up until it's snugs up against it. And then we want to check our holes here. And if we need to make small adjustments to our nut, to allow our Cotter pin to go back into place. So it's a little bit too tight, but if we loosen it up right about there, we can get our Cotter pin back in.We are replacing those. Our pin will slide in the hole and again, we may have to make some subtle adjustments to the nut in order for it to slide through. Once we've got it slid through. We're going to do just like our old one was and just bend both of the legs up to ensure that it can't come back out. Then we can just finish reinstalling our cap when going back on, I just have it with the mallet a little bit, just gently all the way around working it into place.At this point, now we can adjust our brake assembly. We want it to feel for a drag. There is a very slight subtle drag there, which is kind of what we're looking for, but these assemblies are often adjusted too loose. So it is best to adjust it. If it feels like it's getting too tight, we can just loosen it back up again. We're going to take the covers off just like we did when we loosened the old assembly up. And just like we did on that one, the only difference this time is we're going to be going down instead of up. So we're just going to adjust the star down and then we'll spin our assembly after making a few turns and see how it feels.Now we've got adjusted. What you're looking for is a slight drag and it's not going to drag the entire rotation. It's typically just going to drag at certain spots so we can see when we rotate it. We don't even hear it. Then when it comes around and then we can hear it. So that's what we're looking for. Just a slight drag like that. You can check it again once you get your wheel on, because a lot of times when you get the wheel on, you've got more mass there, so you can rotate the whole thing. And they'll usually rotate one or two times and you'll hear it scrape the pads just a little bit on its rotation around. If it doesn't even make one full rotation, then you probably got it a little bit too tight and you'll want to loosen it back up.We've adjusted on this side, I put the caps back in on the back and we can repeat this exact same process on the other side to complete our installation.If you have multiple axles like we do here, you can purchase another kit to do the other axle, if you need that one down as well. And that completes our installation of etrailer's Electric Trailer Brake Kit on our 2017 Grand Design Reflection..
Ratings & Reviews

Shipping practice is atrocious. Set of 4 was just kind of thrown in a box with some seals I ordered as well. They mostly survived but will require a bit of time to straighten out. Whole point of buying these pre-assembled is to not have to mess around with disassembly and reassembly. Some minor gouging on the edge of the shoes and everything is askew. See pictures.
Brakes were a perfect fit and replaced all 6 on my Heartland Cyclone triple axle camper.
Fantastic Service! Order Shipped right away. UPS lost part of my order, so I emailed etrailer On Friday night and Saturday they tracked down the missing box and got me an update on the missing part. I then had a question on the install, and they got back to me the same day. These pre-assembled brakes were very easy to install. I will definently be using then next time.
Would be even better if nuts were included for installation
Great replacement parts, one spring had popped out from the retainer, but after some effort, we got it installed
1986 Terry Taurus 24' travel trailer. These fit great! Thank you for the parts. I also hooked a Curt #C52042 to them just in case. That required a bit more wiring but it charges when hooked to the truck and when disconnected works just like it should.
Parts were just as expected, clean, solid and good quality.
I have used etrailer many times before and have always been happy with the products.
Simply, you guys are the best. Your customer service is outstanding. Thanks for you attention to detail. I'm about to place another order with you.
Thanks
Excellent! Smooth breaking on my boat trailer since installing them. I just plugged the line for the hydraulic hitch brake and adjusted it tight. so no more bumping when straring and stopping while towing my boat! just rermber to unplug them when backing the trailere in the water. and reconnect after loading the boat and prerp to toe down the road. Thanks Etrailer!
Item recieved in good condition , shipping was good. Brakes fit as the should and worked fine. I also ordered a new breakaway battery and switch as old one was defective.
Thanks
Super easy installation, 4 nuts, a couple of wire connections and that's about it. They are self adjusting which is a nice change from the last time I did the breaks. I noticed right away how much smoother my camper was breaking so I'm very happy with these breaks. I just wish that they were made in the USA instead of China.
I need to mention how fast and responsive etrailer was with getting the parts here and letting me know what was happening with the order. You guys rock!
Hello Chrissy,
Arrived here in Mcneal on Monday installed on Tuesday had problem with lower spring was not property bent into a hook, Assembly partially fell apart during burnishing phase lost breaks, luckily only five miles from cabin,
Fixed problem, getting ready right now to finish burnishing little time loss but looking forward to hopefully a nice set of breaks. First time using y'all's service, Hopefully a great partner for my parts. Thanks for being there for us. Steve
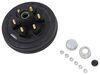
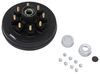
I felt the products were very high quality. (self adjusting trailer brakes) But I wasn’t paying attention when I ordered because the brakes came as a set of two and when I ordered the hub and drum assembly, I only ordered one thinking they were also a set. So, I have the passenger side of my trailer complete as I wait for the second hub and drum assembly.
So, I’d recommend them for sure. Note: the brake assemblies do not come with mounting hardware, so a trip to the hardware store is required: 7/16x20 nuts and washers are needed. Eight in all.
Installed both sides February 2025. The left brake constantly over tightened, to the point the wheel would barely turn when jacked up. I replaced the original manual adjustment brakes with these. Over the course of about 7k miles on various trips, had to loosen the left side at least 5 times.
Finally called etrailer support. There was really no help other than replace the brakes and unfortunately I was 2 months out of warranty. Not really happy. Decided to go back to manual brakes, which I ordered. Didn't want to possibly have to fight the self adjuster again after doing all the work to replace the brakes (again).
Would have been nice to get some consideration from etrailer since the brakes were barely out of warranty and just now being checked at the start of a new camping season, but wasn't offered anything, not even a small discount on the replacement brakes (and I'm a long time customer with many purchases). Oh well.
The product installation was smooth, and the new brakes matched the old brakes exactly. 3 stars because of shipping. All 4 brakes were packaged in 1 box with paper padding. During transit, 2 of the brakes had pieces knocked off, which were floating free in the bottom of the box. I was able to reassemble the 2 brakes and had to use a small retaining clip from one of the old brakes.
Arrived quick, brake shoes were a bit of a mess after opening the box due to lack of packaging inside box, like having all new parts to swap out except for the 4 nuts that hold the assembly to the axle. Would like to know why that is?
We had a catastrophic brake failure on one wheel on a recent trip. These were an exact fit on our Dexter axles. Ordering was easy and shipping was quick. Installation was very straightforward. I think these are better quality than the originals.
These are well made, everything is high quality. The fit was perfect and installation was easy. I watch the video to see if there was anything unexpected that needed to be done. The one thing mentioned is that there should hear/feel a slight drag after installation when spinning the drum by hand and that is exactly how all four were. Couldn’t have been finer. I’ve taken it for a 11 hour trip to the Black Hills and they work as they should.
The product itself is very good. The big issue I have is you do not include the 7/16-20 nuts required to bolt these to the Axle. This size thread is not easy to attain (I drove to 5 stores to get 8 nuts). It is a pretty simple thing to send the hardware needed to bolt up your component.
The hub came damage. We had to go to the local auto parts store to get new studs and bearings. They were not with the piece when it arrived.
Bolts up perfect to the Lippert 3.5K torsion axel on my Aluma trailer. You will need 8 7/16x20 lock nuts for the studs on backing plates.
Perfect fit for my Forest River Sandpiper 365 SRQ 5th wheel. Easy do it yourself task.6000 lb anxles. Order processing, shipping, part availability, pricing and customer service are all top notch, but the packaging department needs much improvement. Both my leaf springs and brake assemblies were only wrapped in thin paper and shipped in light weight boxes, both arrived damaged with parts missing.
My camper threw out the rear wheel bearings about 3.5 hours from home, and I was stuck. I called etrailer and Sara R walked me through the correct order from the sticker on my existing axle. I left the camper and returned home, and the order arrived in 3 days with 2 left brakes. Sara offered to ship out a right brake immediately. I sourced one locally since I was heading back to the camper that morning, and the team at etrailer refunded me the extra left brake and told me to keep it as a spare. When I have another axle need, etrailer will be my first call! Thank you, Sara R!
These brake assemblies installed easily and were a direct replacement for the manufacturer installed manual adjust brakes.
A very positive review. The ETRAILER Team provided excellent customer service. The entire team did a Great Job. The delivery was slowed down because of weather, but the ETRAILER Team kept me updated. One item on my order was incorrect, but they resolved the issue immediately. I have used ETRAILER for my trailer needs in the past and will continue to use them going forward.
My Thanks to the ENTIRE ETRAILER TEAM
Info for this part was:
At etrailer we provide the best information available about the products we sell. We take the quality of our information seriously so that you can get the right part the first time. Let us know if anything is missing or if you have any questions.












Thank you! Your comment has been submitted successfully. You should be able to view your question/comment here within a few days.
Error submitting comment. Please try again momentarily.