
To see if this custom-fit item will work for you please tell us what vehicle you'll use it with.
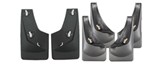
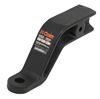
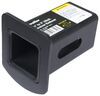
These premium mud flaps are easy to install and digitally designed for a perfect fit. Protect your vehicle and your trailer from road debris. Flaps are constructed of durable thermoplastic resin with stainless steel fasteners.
Features:
Precision fit, durable components and ease of installation make WeatherTech NoDrills your first choice in mud flaps. Installing mud flaps has never been this painless. Patent-pending QuickTurn stainless steel fasteners makes installation quick and easy - no drilling required.
 Alternate Instructions
Videos are provided as a guide only. Refer to manufacturer installation instructions and specs for complete information.
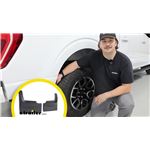
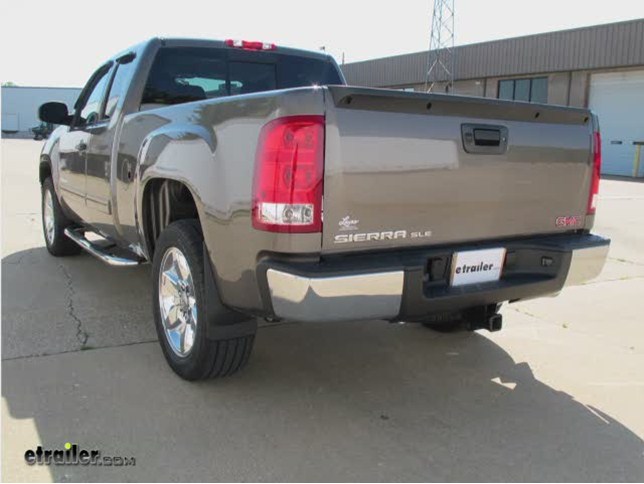
Alright, today on this 2013 GMC Sierra, we're going to install part number WT110011-120011. This is the front rear mudflaps from Weathertec. To start off our install, it's always a good idea to make sure the paint around the fender well is completely clean. That way, when we install the mud flaps, there won't be any dirt and debris caught inside to mess up the paint. Now, these mud flaps are very easy to install. We're going to start with the back of the truck, first. We'll work with the passenger side.
First off, know that the fastener should be in a vertical position before we install it. You can see there's a little catch that catches on the inside edge of the fender well, that helps hold it in place. We'll go ahead and install it onto the sheet metal, then we'll go ahead and push the rest of it up against the fender well. Then, we'll go ahead and turn the fasteners. Now, from the outside, you'll see a small metal piece underneath an icon of an unlocked lock.
When we tighten down the screw, we should see that move over to the other side, where it shows an icon of a lock. We'll snug up the top one, and then do the same thing for the one on the bottom. Once they're both snugged up, we'll give them a tug, make sure they're tight. Alright, to start on our front mud flaps, we'll go ahead and remove the two plastic rivets at the very bottom edge. We'll pull out the centers and then pull out the rest of the rivet. Alright, now there are two screws on the side we have to remove.
We use the 7 millimeter socket on these guys. We go ahead and remove them, and we'll set the hardware aside for now. Alright, now we'll take our new mud flap, and put it up into place. You can see how the holes in the mud flap match up to the holes in the mud flap match up to the existing holes in the fender well. Then, we'll basically re-install our screws.
We're going to leave these loose, so we can move around as needed. Then, we'll re-install one of the plastic rivets on the bottom. Then, on the inside edge, we'll get a new piece of hardware that comes with the kit. It looks like a stainless steel screw and a flanged nut. We'll go ahead and run the screw from the inside to the outside. Make sure it goes to the existing hole in the fender well, then we'll go ahead and tighten it down. Then, we'll go ahead and fasten down the remaining screws. Now, we're finished with our passenger side. Let's go ahead and repeat the same process over on the driver's side. Our installs already complete. With that, that will finish it for the Weathertec mud flaps, part number WT110011-120011, on our 2013 GMC Sierra. .
Ratings & Reviews

Great
Do you have a question about this Mud Flap?
Info for this part was:
At etrailer we provide the best information available about the products we sell. We take the quality of our information seriously so that you can get the right part the first time. Let us know if anything is missing or if you have any questions.


Thank you! Your comment has been submitted successfully. You should be able to view your question/comment here within a few days.
Error submitting comment. Please try again momentarily.