


To see if this custom-fit item will work for you please tell us what vehicle you'll use it with.


Thank you! Your comment has been submitted successfully. You should be able to view your question/comment here within a few days.
Error submitting comment. Please try again momentarily.

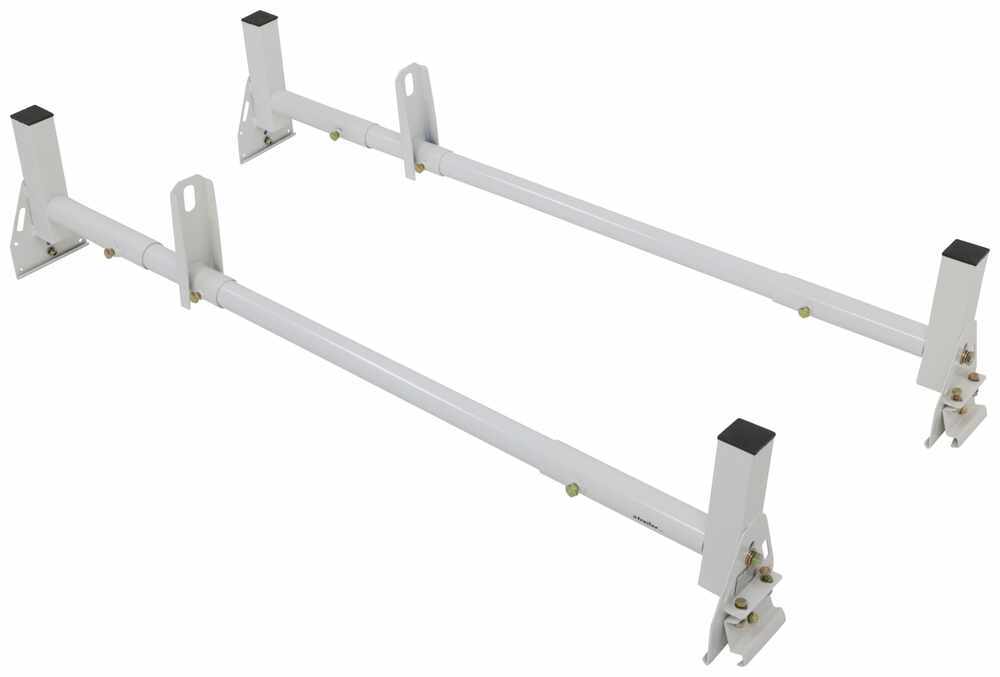
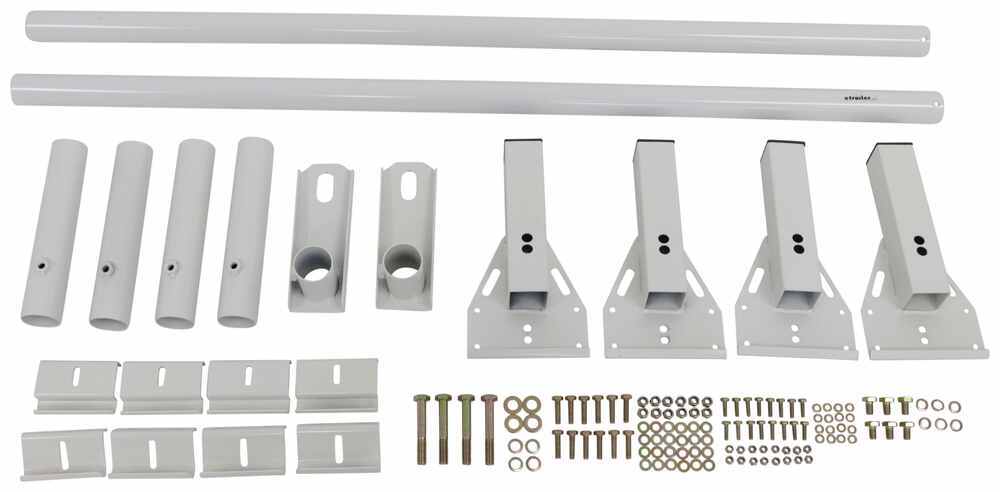
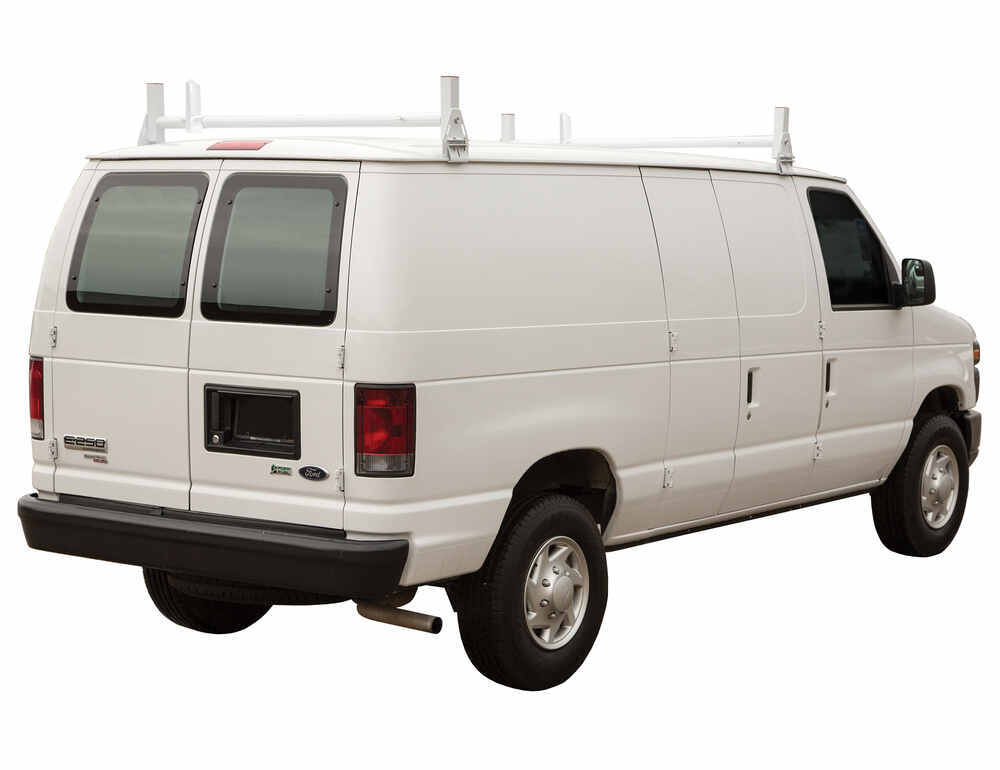
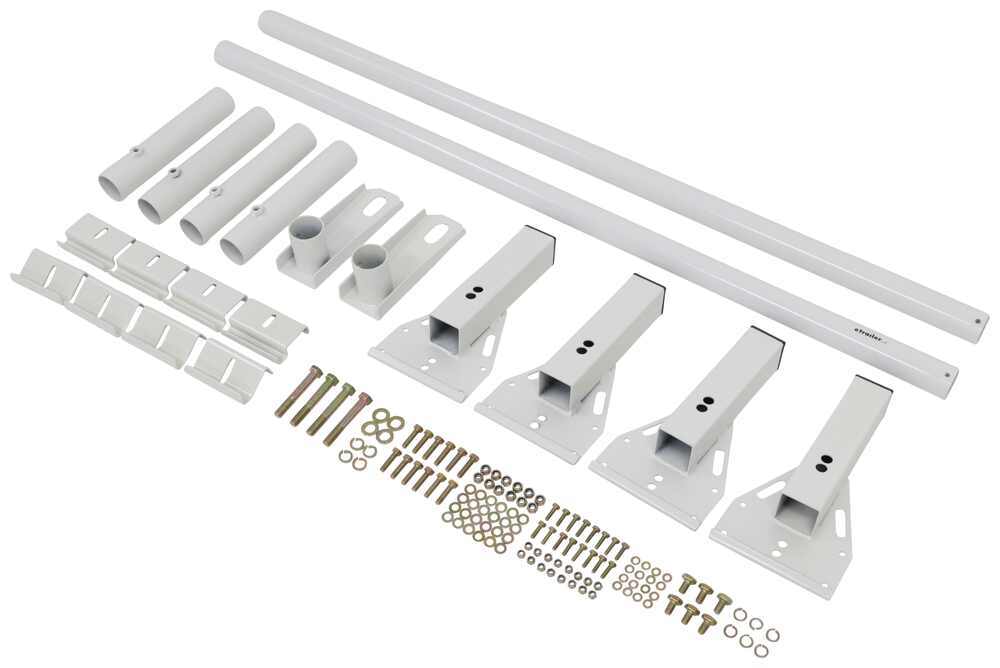
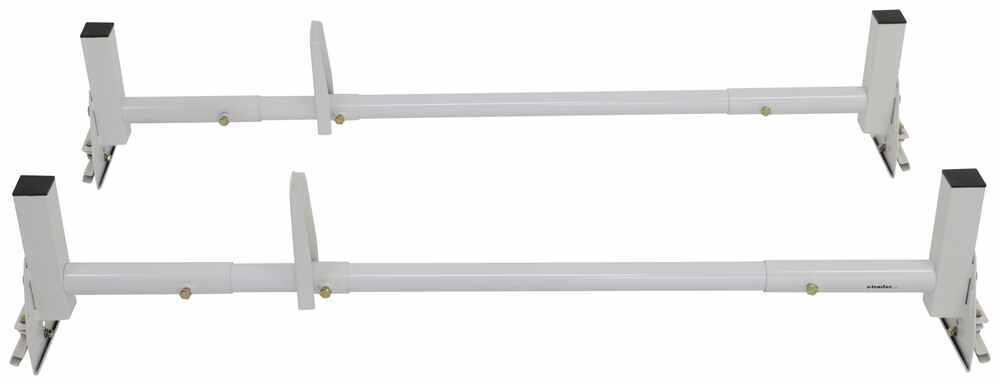
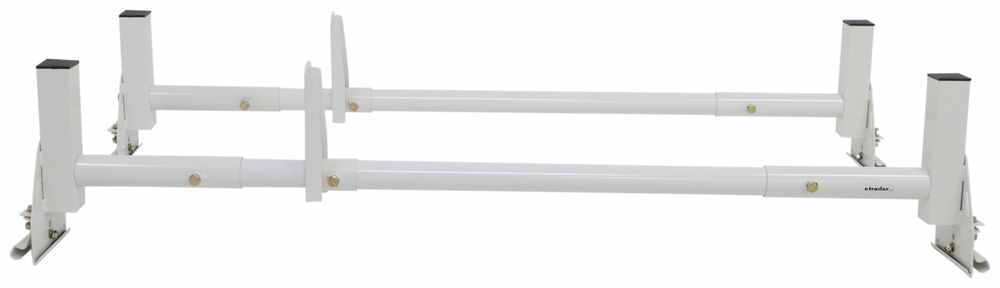
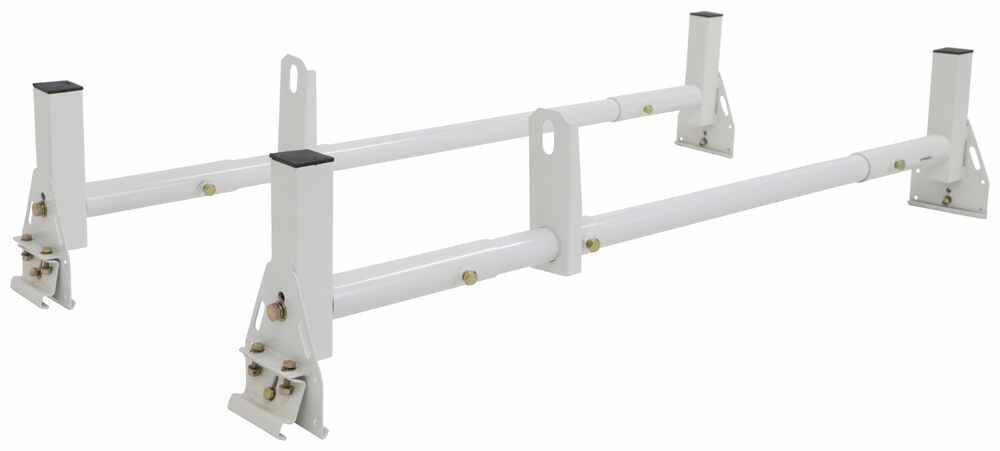
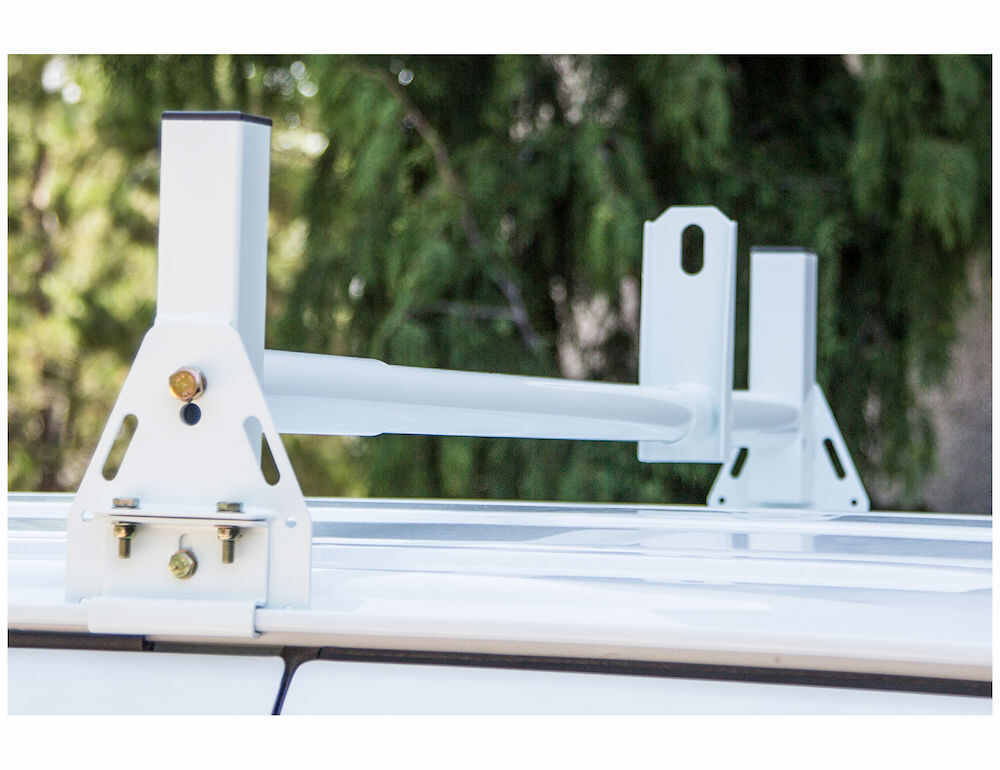
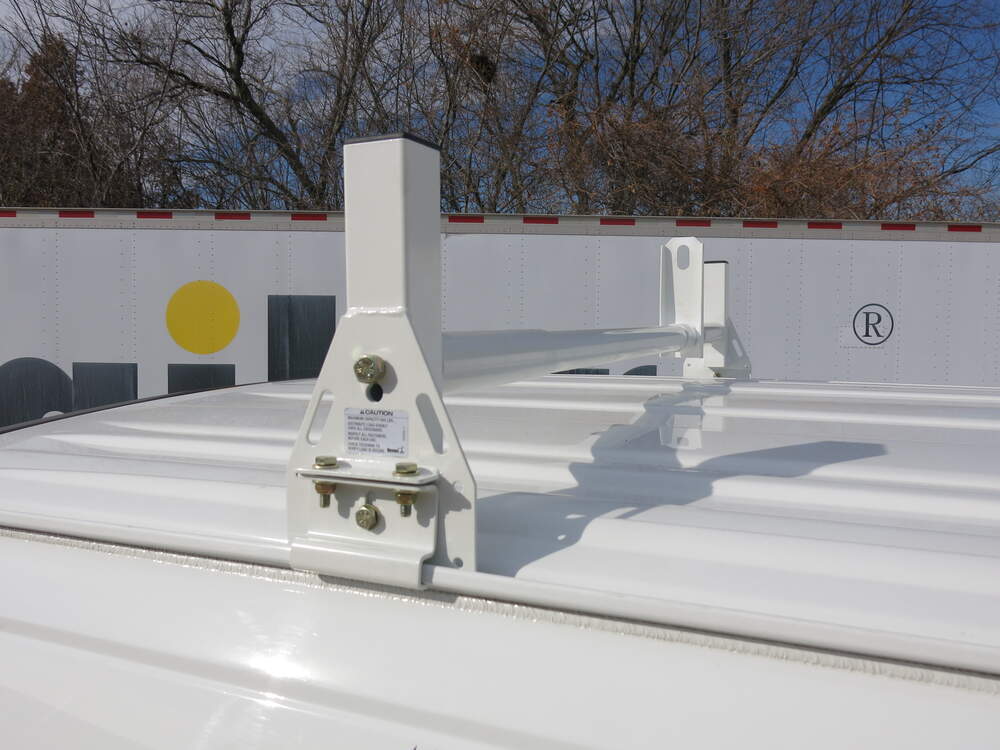

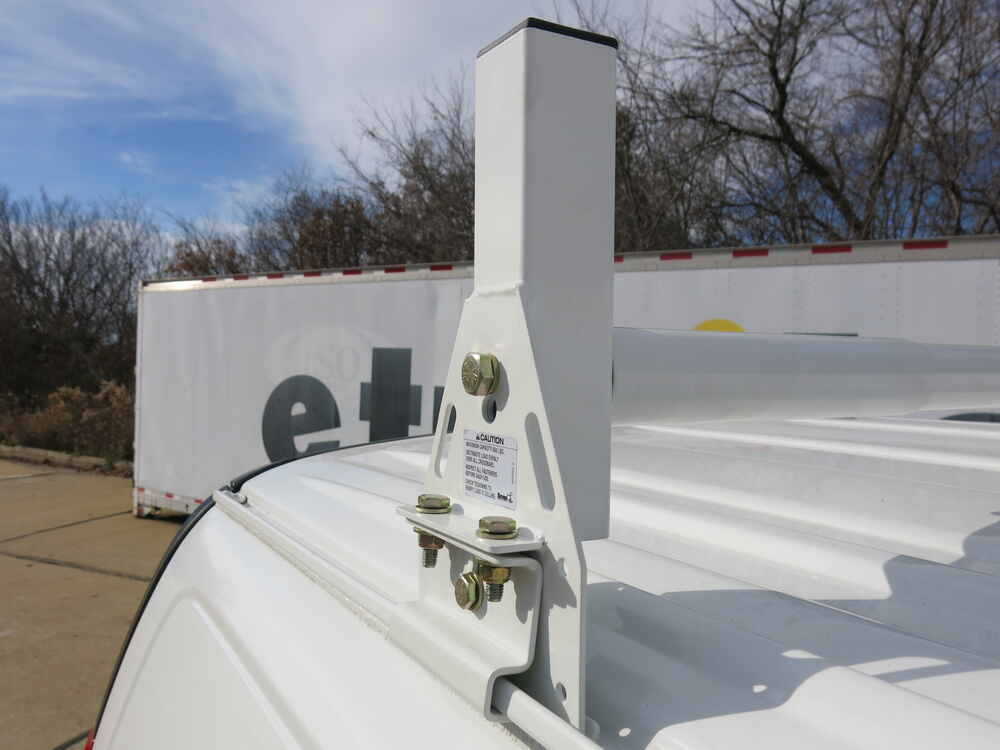
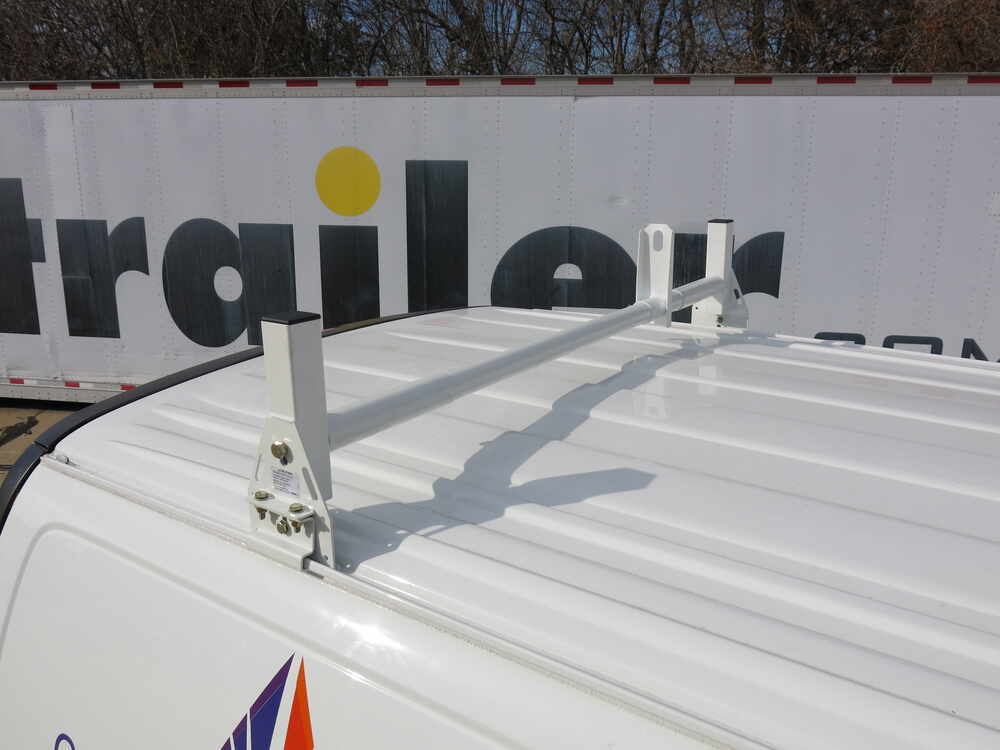
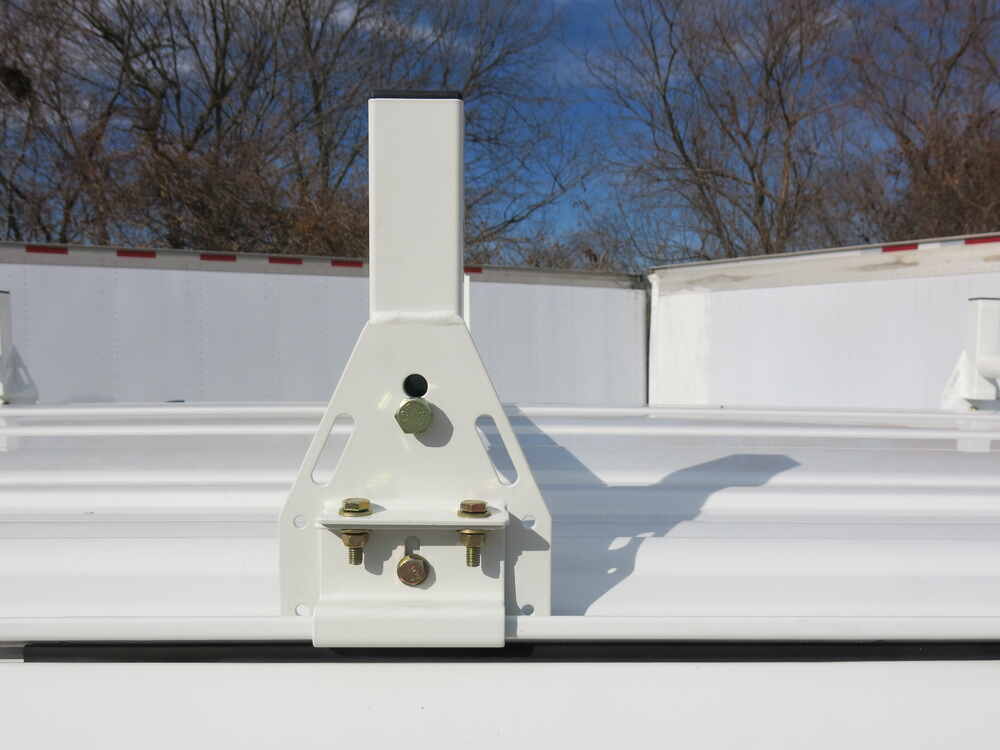

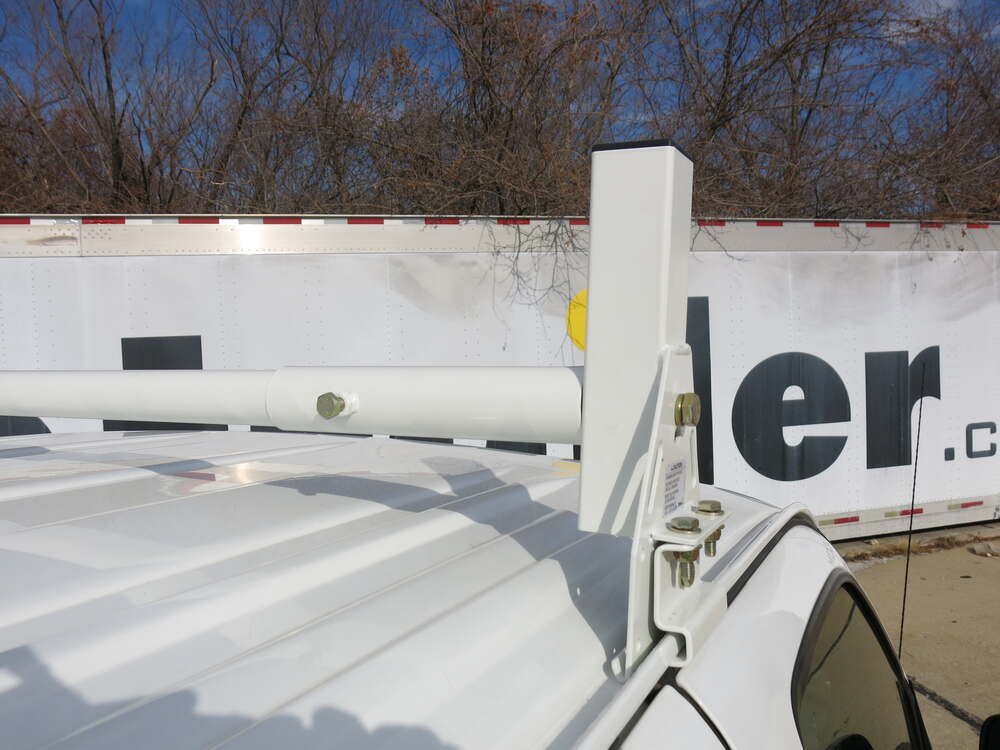
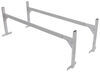
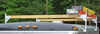
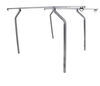
This steel ladder rack gives your van serious overhead carrying power with a 600 lb weight capacity. It’s built for daily work use—perfect for ladders, lumber, pipes, or even kayaks. The 14-gauge steel tubing keeps it strong yet manageable at 41.5 lbs, and the uprights extend above the crossbars to act as built-in load stops. With this setup, you can move big gear out of the van and free up space inside for tools or supplies.
The rack is made from carbon steel that’s finished with both e-coat and a white powder coat, giving it solid protection against corrosion and wear. That finish holds up through rough weather and jobsite conditions while keeping the rack looking clean. The extra-wide bases on the uprights add stability, so even when you’re hauling heavy or uneven loads, the rack stays steady.
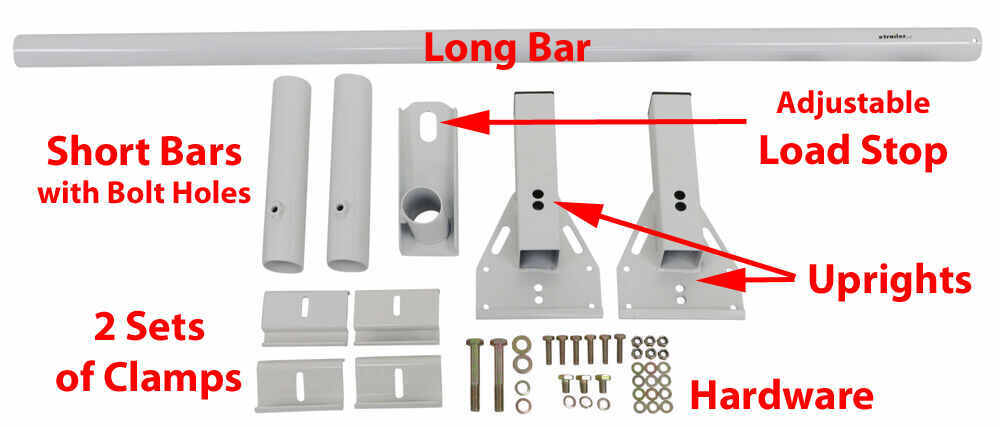
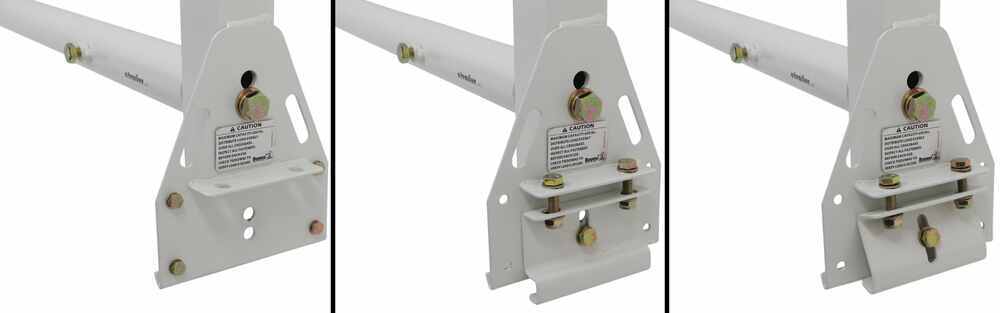
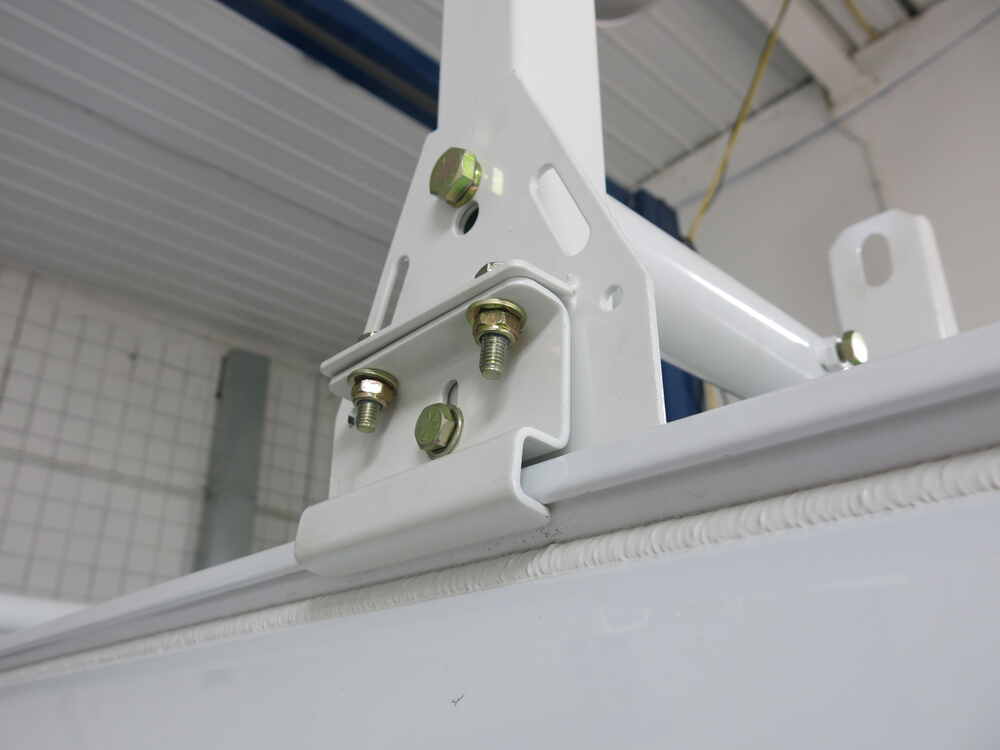
You can mount the rack right onto your van’s rain gutters without drilling. It comes with two sets of clamps to fit most gutter shapes. Just test-fit each clamp, bolt it to the uprights, and secure the rack—no holes, no permanent changes. The system locks down tight and can be removed later if needed.
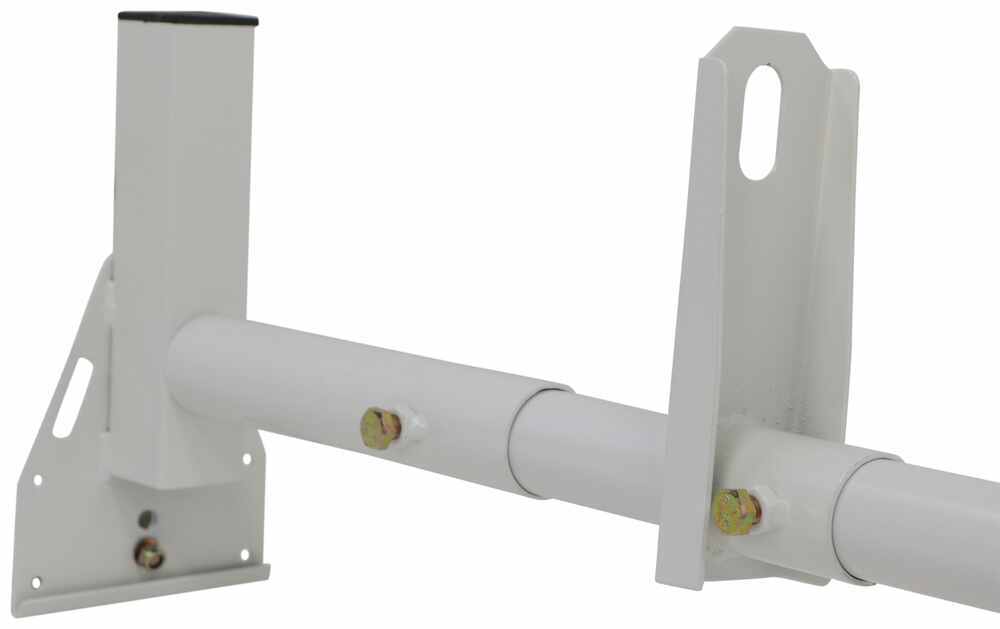
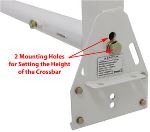
The telescoping crossbars adjust anywhere from 41" to 72", so you can dial in the exact width for your roof. Each upright also offers two height settings to clear crowned roofs or tall cargo. Loosen a side bolt, slide the bar where you want it, and tighten it back up—it’s quick to adjust and stays put once locked in place.

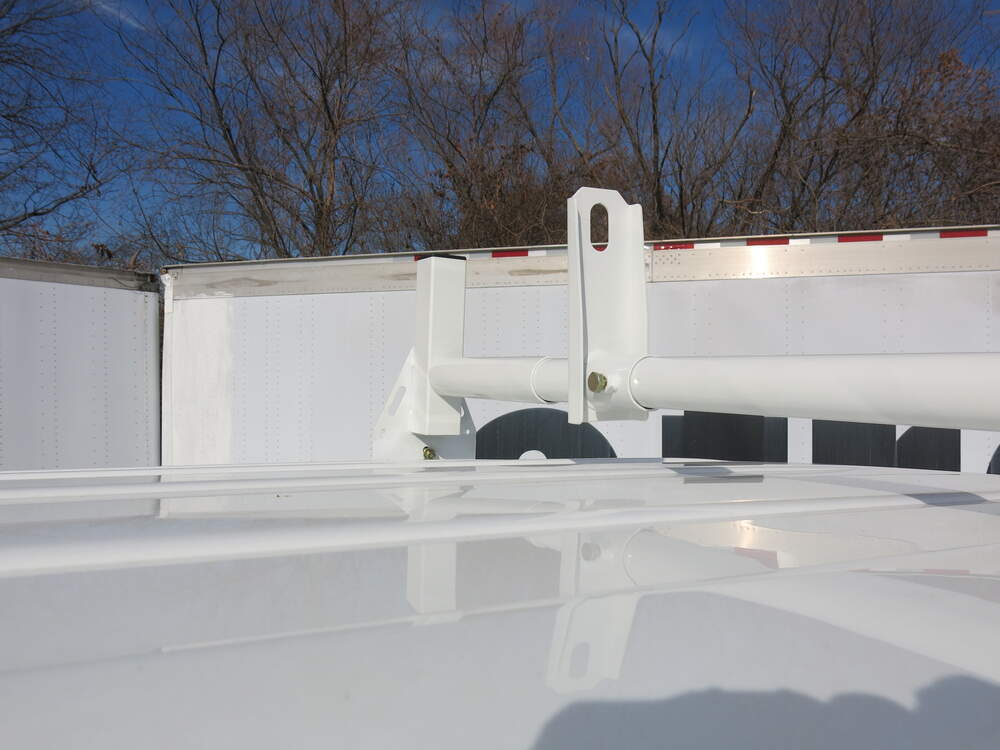
Sliding load stops help keep things from shifting in transit, and they move anywhere along the crossbars to fit different gear sizes. Each load stop has a tie-down hole at the top for ropes or straps, and even the upright bases have built-in cutouts you can use for extra tie-downs. For longer or heavier cargo, you can add an optional third bar (sold separately) for more support.


Videos are provided as a guide only. Refer to manufacturer installation instructions and specs for complete information.
Connor: Hey guys. Connor here at etrailer.com. Today, we're going to be taking a look at the Buyers Products van ladder rack for our 2015 Chevrolet Express van. The Buyer's products van ladder rack is going to be a great option for our express fan in particular. It's going to allow us to carry some longer items we have, such as lumber or ladders in particular and it's going to free up some space we have inside the van. So as you can see here, this ladder rack offers a complete bolt on installation.There's no drilling or cutting into the vehicle required whatsoever.
It's simply uses these clamp-on brackets of which there are two different sets included with this kit so it can accommodate different rain gutters, shapes. Now the crossbars are also going to be adjustable in length, so they're going to fit different with as well. Now another great couple of features I really like about this Buyers Products ladder rack is number one these taller uprights here are going to act as an additional load stop mechanism as well as the adjustable load stops we have here in the center, which can be secured with this little set screw.We also have some tie down points here on the side as well as the overall finish, which is a white powder coat, so it's very durable and it just looks really nice on a roof. Our ladder rack here is made a 14 gauge steel. This is going to give us a combined 600-pound weight capacity that we do need to make sure we're evenly distributing the weight across all of the crossbars.
This particular setup here, we're using the three-bar option. However, this is also available in only a two-bar as well.So as far as installation go, again, it's a no drill kit, there's not any cutting or any sort of special tools required. You should be able to put this up yourself in your driveway with just a ladder and some basic hand tools. And now that we've gone over some of the features, let's see how easy it is to install yourself. To start our installation today, we need to open up our kit and lay out all the contents.This first step is going to entail three separate pieces.
We have the gutter mount brackets, we have the side tubes, and then we have our M12 bolts with our lock washers. There's going to be six of each of these components and we're going to assemble this first before we move on to the next step. So if we take a look at our gutter mount bracket here, there's going to be an inward and an outward side. We have the side with the bracket on it is it going to be facing in over the roof and this side is actually going to be facing outside the vehicle. And there's also going to be two sides to our side metal brackets.If we see here one side is open and one side has a weld nut threaded in there.
The side with the weld nut is going to match up to our plate here and it's going to align with either one of these two bolt holes. Now, the front and rear crossbars are going to use this top bolt hole, whereas the middle cross is going to use the bottom bolt hole. So essentially we are going to have for these brackets with the two was mounted at the top and then two of these brackets with the tubes mounted at the bottom. And we are going to take our M12 bolt here with our lock nut.We're going to be doing the front and rear ones first, so we want to thread that bolt through the top hole there. And then what we can do is align that with the weld nut inside the tube and just simply thread it on. Now don't worry about getting it too tight. Now we'll make all our final adjustments when we have everything in place, but we do want to get the tube snug against the side plate there. And if you have handy a 19 millimeter socket and ratchet, we can go ahead and just snug this up a little bit, but we're not going to be collapsing your lock nut quite yet.And now that we have that one done, we can go ahead and repeat this process for the other five. Again, remember four of them will be using this top bolt hole. Two of them will be using this bottom bolt hole and we need to keep in mind when we're assembling our side brackets and our side tube here, we need to make sure that this little flat flange here is facing outside the vehicle.Now that we have all our gutter mount inside tubes assembled, making sure we've paid close attention to the outside flange here, we can go ahead and assemble the entire crossbar just loosely before we set it on the vehicle. In order to do this, we want to take our divider bracket here. We're just going to simply slip that over the cross tube like so. And then once we do that, we can then take our crossbar and slip it into the side tube here. Again, just loosely and we can go ahead and follow this up other the side as well.Now keep in mind here the next step is going to be to insert our 10 millimeter X screws. So we're going to insert these in here to the weld nuts so we can make sure our brackets aren't sliding around and we also need to pay attention to the direction of these weld nuts are going to be facing the rear of the vehicle, so basically we don't want any rain or wind getting in these when we're driving. We can just easily spin these around so we can get the correct orientation. We may need to here just so we have everything correct, move our divider bracket around there so the weld nut is on the outside.Then we can sort of just loosely piece this all together and sort of loosely thread those in a place to hold everything together. Now once we have that where we want it, we can go ahead and set this on the vehicle and mock it up. Now that wee have our crossbar in position, keep in mind we don't have anything tightened down right now. It's just all sort of loosely in place. We will go ahead and take our side clamps here.Now as we notice, there's actually going to be two different sides of side clamps that are included in our kit. As you can see here the profiles a little bit differently and basically we want to choose the one that matches the rain gutter best on our particular application. For this one we've seen the C-shaped clamp is actually going to fit best. We can just do a practice mock-up right here, we can see that lines up pretty nicely.It's pretty snug against there. Whereas if we use the Z-shaped one, it doesn't really fit the best, wouldn't really get a tight fit, so we're actually not going to use that one. We can just set those aside. So now that we've discovered we're going to be using this clamp, we can sort of generally go ahead and loosely place it into position.Now for this next part, in order to attach the clamps, we have two different links of bolts we need to use. These are both inmate fasteners. However, as we can see, one that's considerably longer than the other. The shorter bolt is going to go to the top of this flange here and it's going to face down and then the longer bolt is actually going to sandwich the bracket to our clamp, and then squeeze the gutter here.Now we need to make note that there is a lock nut on the end here, there's also two washers, so want to just make sure one of the washers is on the top here. Then once we get both of those in there, we can go ahead and take our clamp here and just sort of loosely try to align the bolts there. It's actually going the other way.And then once we get that general location, we want to take our washer, I'm going to place that up there and then we can take our lock nut here. And it's going to be a little difficult, but just need to get a couple threads started just to get everything in place. Like I said, we're not tightening anything up now. We can do that a little later. So now that we have one side in, just repeat that on the other side here. So, place our washer up there and then our lock nut. Maybe a little easier just to turn it from the top for this one.Now that we have those both loosely in place, we can go ahead and move on to our longer bolts here. So now we can take our longer bolts here and we could run these through the clamp and the side bracket here. Let's start with the bottom one. So we're just going to place that through there and then we can come around to the backside here, take our washer, slip that on the back and we can take our nylock nut and again just loosely thread it on.So as you can see here, this lager bolt is actually going to have a potential to come in contact with the vehicle's roof and we don't want that to wear any paint off over time. So we're actually going to replace this with one of the smaller bolts included with our kit. I've gone back and counted and it looks like we're going to have enough to use the smaller bolts on all three of these holes here. So we'll just go ahead and just take this one off.We can go ahead and replace it with our smaller bolt here, the smaller M8 bolt that comes with the kit and again we want to sandwich the washers on either side. Now once we have that loosely in place, we can go ahead and repeat that for the other sides. Please keep in mind we're not tightening anything down right now. Once we get the crossbars where we want and we've positioned the dividers where we want them, that's when we can go ahead and tighten everything down.Now I'm sure you're going to know this once you finish your installation, that we have some extra hardware here. However, my guess is that this is going to be used for these other clamps which we did not use and again the difference in the clamps is simply how they attach and form for the rain gutter on the vehicle. And now that we have the rear crossbar in position, we can go ahead and repeat the process on the front one in the middle one here, we're reinstalling our clamps on the outside.Now that we have all our hardware loosely installed, we have the crossbars in about the position we think we're going to want them. We want to make sure all our dividers are lined up evenly and now we can go ahead and torque everything down. So to start out, we're going to want to make sure that we have all of our dividers here aligned on the vehicle where we want them. And then we can tighten these down. Please keep in mind is your set screws so you don't really need to torque them real tight, just snug them up and then sort of give a wiggle back and forth on the buyer to make sure it doesn't move ,so long as it doesn't move to set screws tight enough and you're good there. Now that we have the divider secure, our next thing is going to be to secure the side tube inside the cross tube here. And so we're again going to tighten the set screws. Both of these set screws here, are going to require a 17 millimeter socket and ratchet. And again we don't need to go real tight on these because they're just set screws so once the bolt head is flush against the crossbar, give it a couple of turns here and then just sort of labeled across far back and forth as long as you don't have any play, they're tight.So now we have another bolt on the outside here. This is actually going to require a 19 millimeter socket and ratchet, and this is just simply securing the side tube to our outer bracket here. And again, none of this stuff needs to be real, super tight, just to hold everything in place. So now we're going to work our way down and we're going to tighten these two bolts here. In order to do this, we're going to need a 13 millimeter socket and ratchet as well as the 13 millimeter wrench. So we want to secure underneath here and then we can come up top, torque it down.Now keep in mind we do want to alternate back and forth. We don't want to tighten one side too far without going back and hitting the other side. Now to save a little time here, we're just going to go ahead and take out our impact and just zip down. Once those are tight, we have one more bolt here. So again, 13 millimeter socket and ratchet. You want to get our wrench on the back there and we can take our impact again.Now we want to go check everything on the other side and we can come back and then torque everything down a final time just so we know it's all in place, then we can repeat that for the other two crossbars. And now that we have all our crossbars in place, we have our items mounted on the roof. That's going to do it for the Buyers Products van ladder rack on our 2015 Chevy Express van.
Customer Satisfaction Score:
95% were satisfied with this product
5% of customers were not satisfied
Ratings & Reviews

GREAT PRICE EASY TO INSTALL
I cant rate the product yet, delivery was on time and arrived undamaged.It looks to br well made and as decribed.
works great
Work Great
Very noisy when going down the road.
great ladder rack for my van
I received my rack yesterday. Although I haven’t installed it yet I can tell that it is robust and well made. I don’t expect to have any problems with the install. I plan on cutting the uprights down to a point about 1/4” above the side brackets just for a more streamlined appearance. I also will not be using the intermediate supports. My rack was purchased for carrying a Yakima cargo box and supporting an awning. These racks are much stronger than the Yakima or Thule racks that I have used in the past and still use on my Jeep. Very happy with the purchase
etrailer is the only place I'll buy trailer parts
The Buyers ladder rack was a dream going together! Fit well on my 17’ Chevy Express. E trailer was awesome too! Keep me updated on my order and shipping was super quick and I was thrilled with the whole purchase!
Great product, great price
shipped fast and fit well. Very pleased so far
It is a nice product.
Very satisfied with it!
Total failure. Delivered late in a box that was ripped open and taped back with half the parts missing!
Very well made and good value for money. Extremely sturdy.
Quick ship - excellent product . Great doing business with e trailer , as always !
They look great,very heavy duty & easy to install. Very happy with the product & the time it took to get them
Easy install and durable. I have had mine for a year and pretty tough on it. Its holding up well.
Great product at a nice price. Serves well for mounting solar panels. Would definitely purchase again if I have another vehicle in need. Satisfied for sure.
Website was easy to navigate. Rec'd the rack within 2 days.
All parts were included. Easy to follow instructions.
My daughter and I had the rack installed in a little over an hour.
Very heavy duty construction. Overkill for what I need right now but
I won't have to worry about loads in the future. Thanks etrailer!
Easy install and appears to be a solid mount for ladder or material
Do you have a question about this Ladder Rack?
Info for this part was:
At etrailer we provide the best information available about the products we sell. We take the quality of our information seriously so that you can get the right part the first time. Let us know if anything is missing or if you have any questions.






















Brooke M.
5/23/2024
I am so sorry to hear that. Our customer service team will be reaching out to you shortly!