
Curt Trailer Hitch Receiver - Custom Fit - Class IV - 2"


To see if this custom-fit item will work for you please tell us what vehicle you'll use it with.


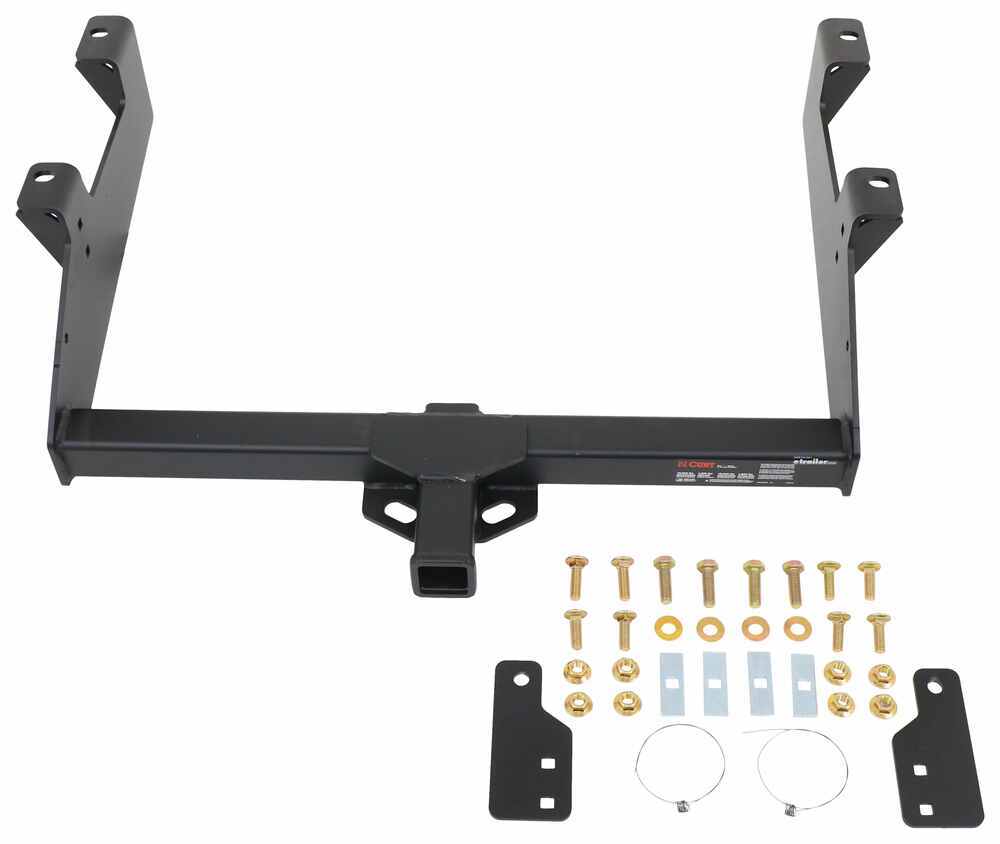
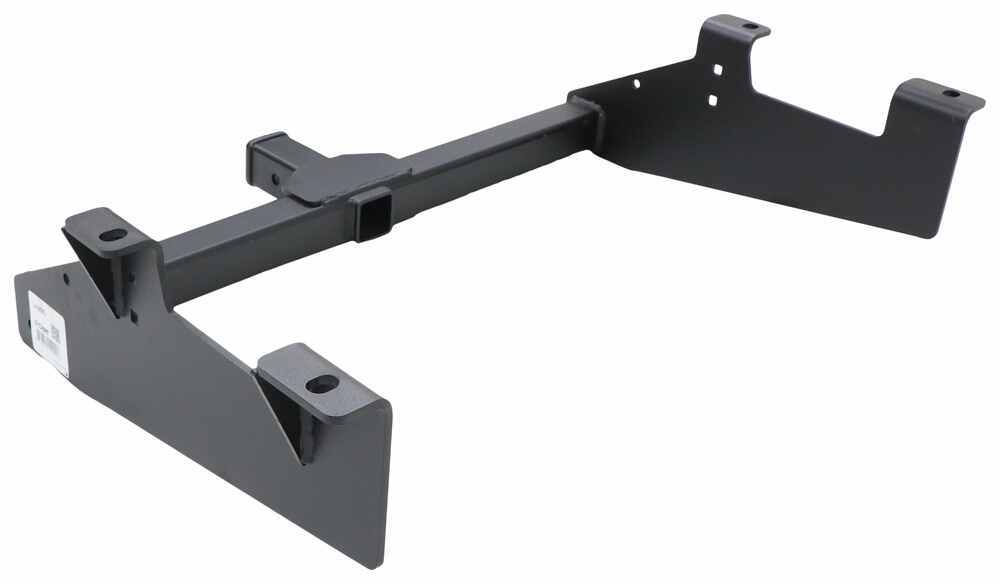
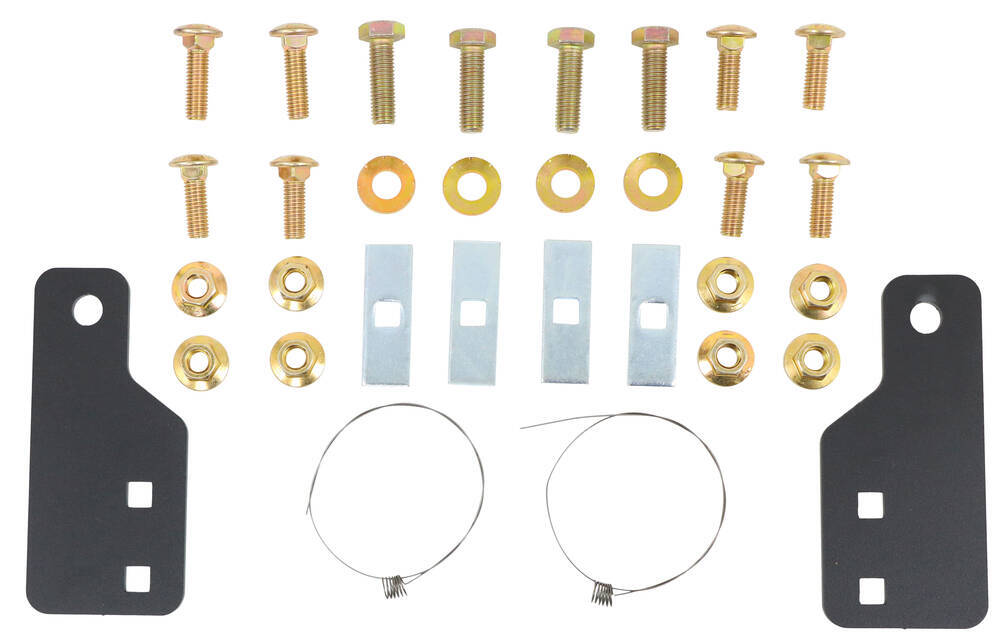
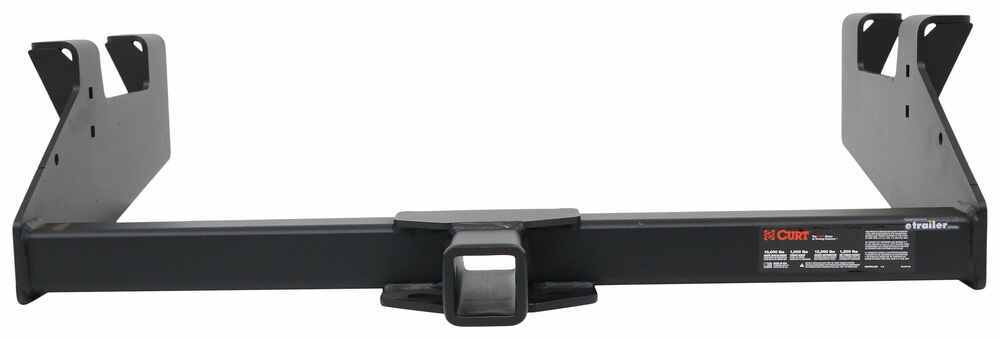
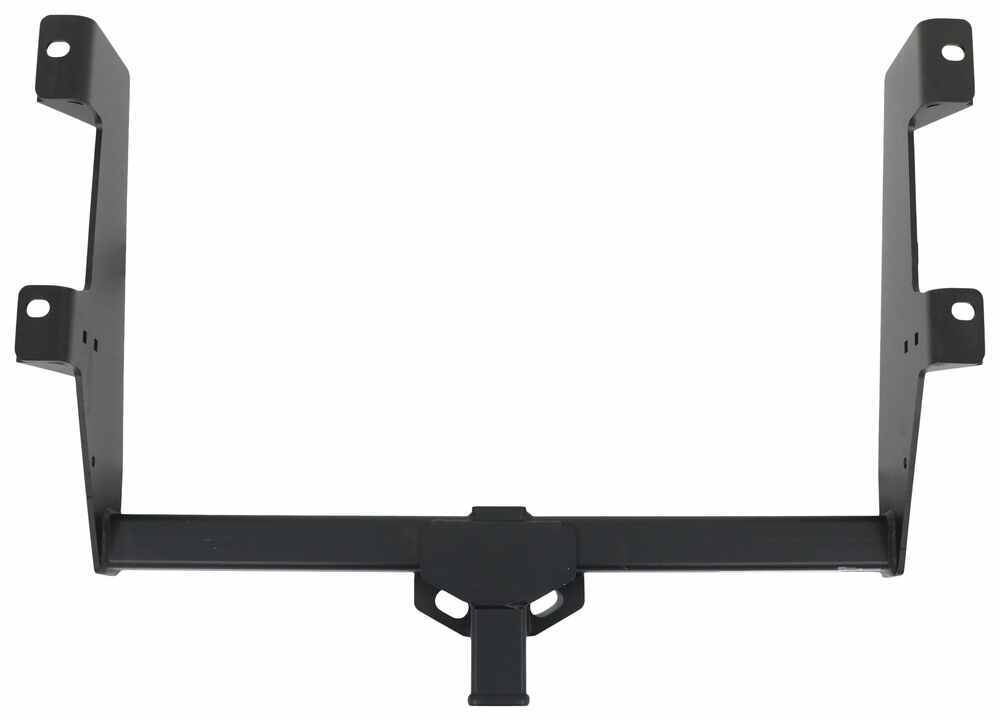
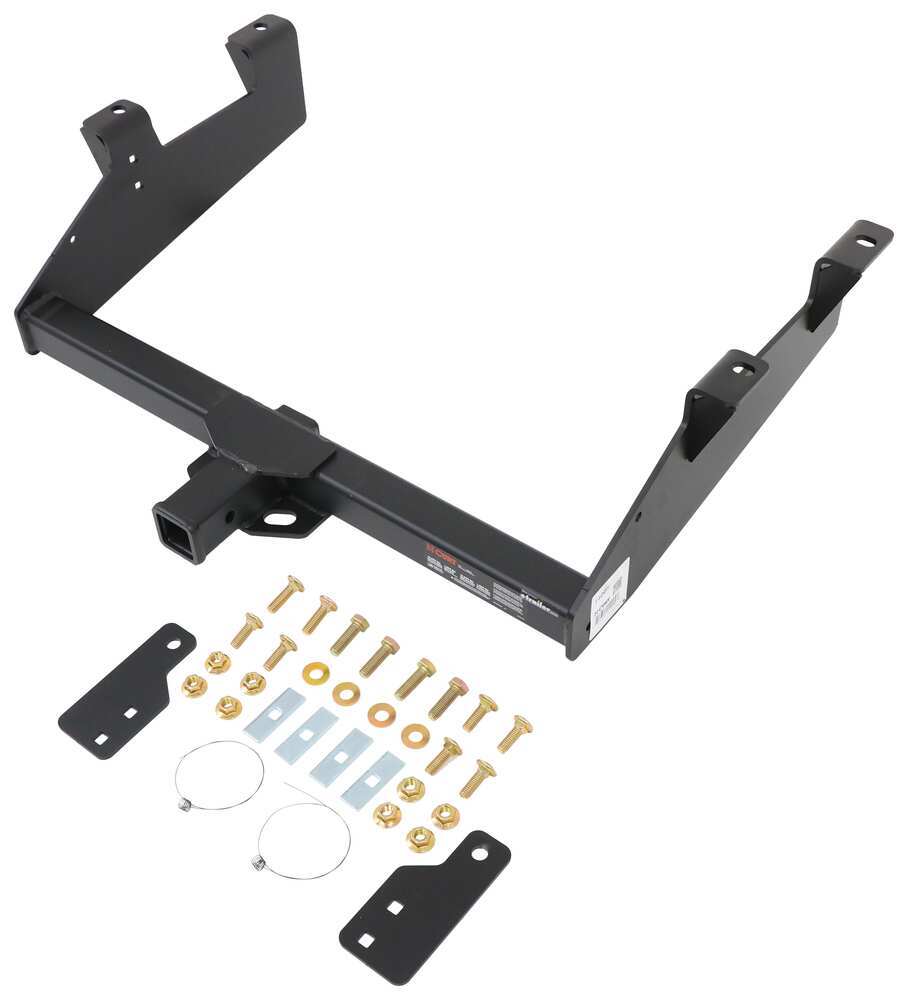
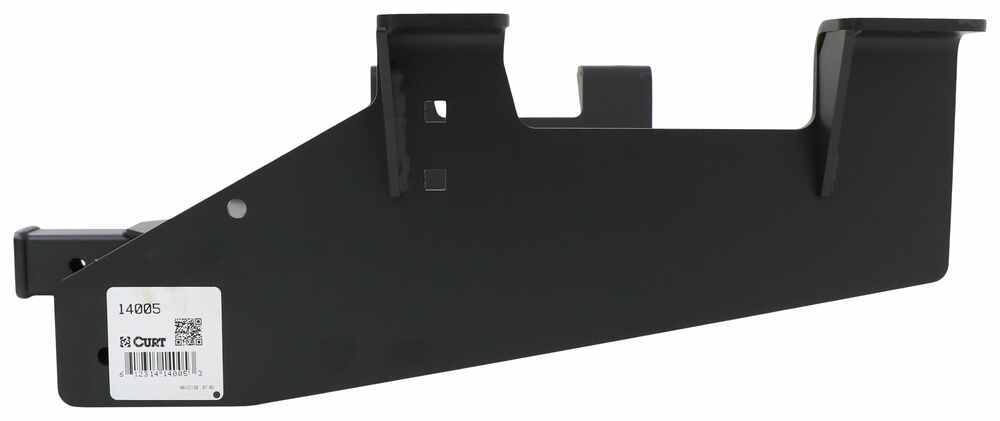
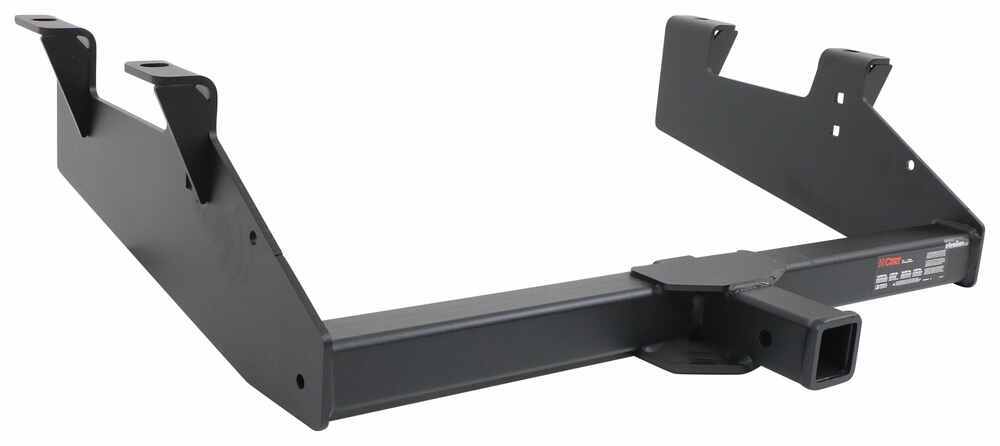
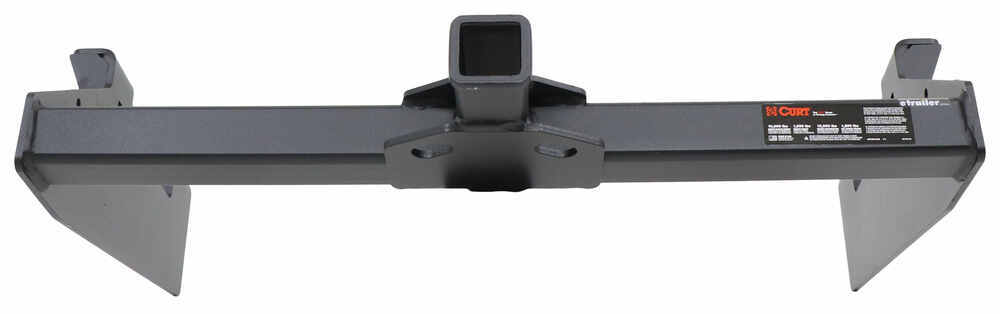
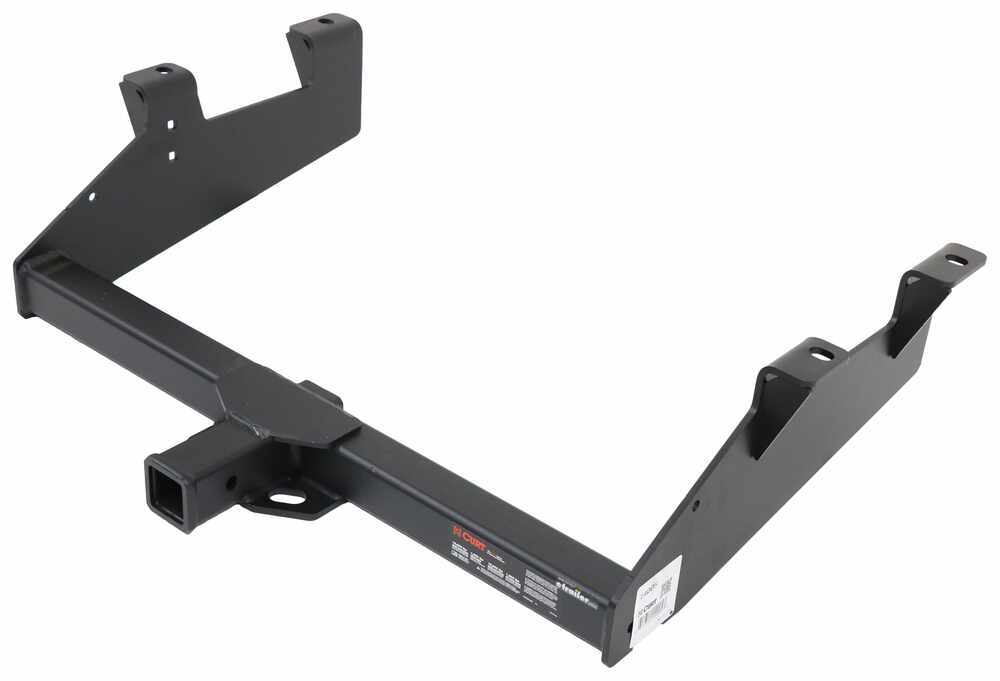

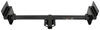
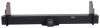
When you’re hauling a camper, boat, or utility trailer, you want a hitch that’s built for the weight. This Curt Class IV 2" receiver is rated for 10,000 lbs gross trailer weight and 1,000 lbs tongue weight. When used with a weight distribution setup, it handles up to 12,000 lbs GTW and 1,200 lbs tongue weight. The sturdy, square-tube design is precision welded for maximum strength and fit, tested in accordance with SAE J684 for safety, and finished with a high-gloss powder coat over a rust-resistant base layer to stand up to road grime and weather.
This hitch bolts directly to the frame — no welding needed. The mounting points are designed for a custom fit with included hardware and clear instructions. You can set it up in your own driveway with basic tools rather than handing it off to a shop. The open-back receiver design also makes cleaning out dirt and debris simple once it’s on.
You don’t have to trade looks for function. The gloss black powder coat finish gives the hitch a clean appearance that blends in under the bumper while adding a layer of protection against chipping and rust. With its co-cured liquid Bonderite coating underneath, this finish holds up through seasons of use whether you’re towing or carrying gear on the back.
The 2" x 2" receiver opening fits standard ball mounts, bike racks, cargo carriers, and other towing accessories. That means you can hook up almost any gear you already own without adapters. Whether it’s getting bikes to the trailhead or loading up a small trailer for a trip, this receiver is built to make your vehicle more versatile every day.

Videos are provided as a guide only. Refer to manufacturer installation instructions and specs for complete information.
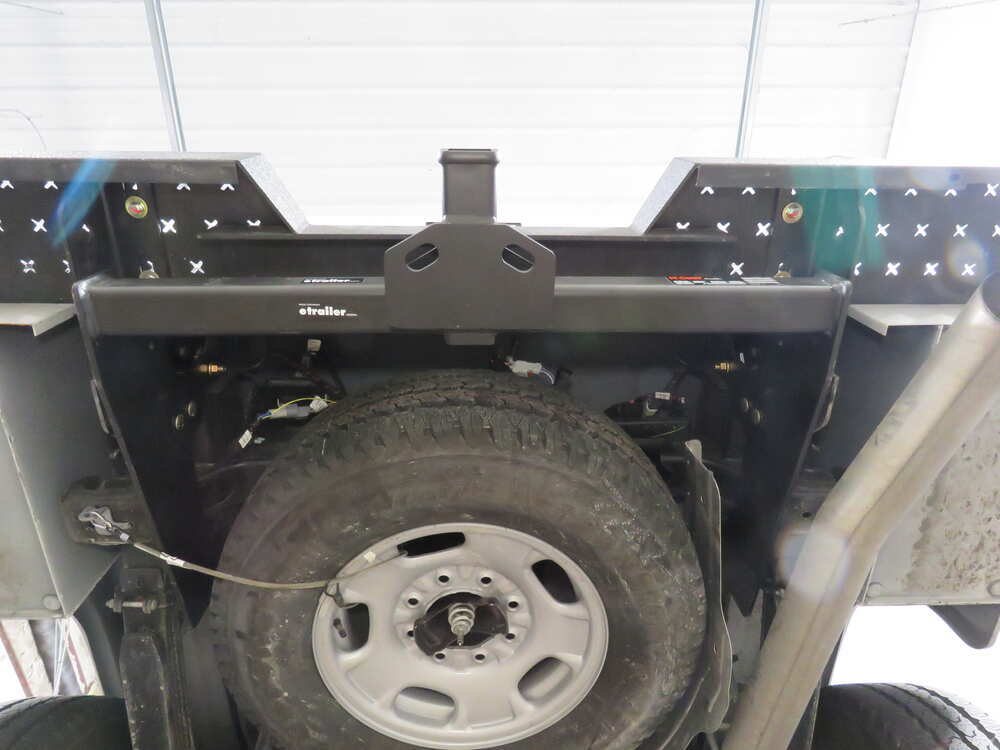
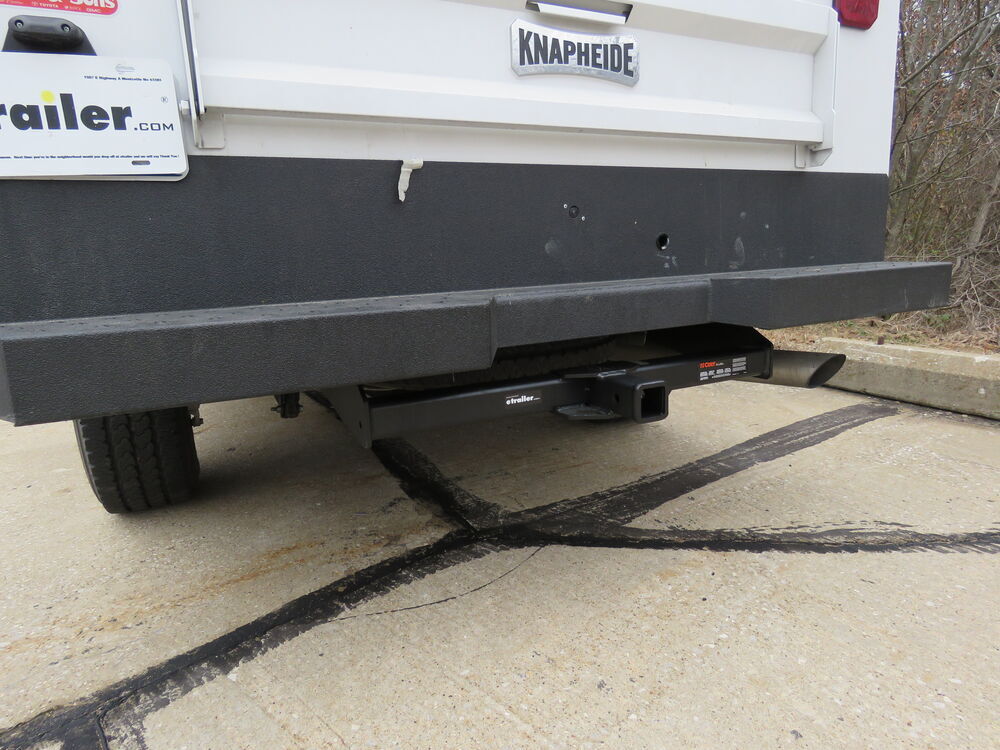
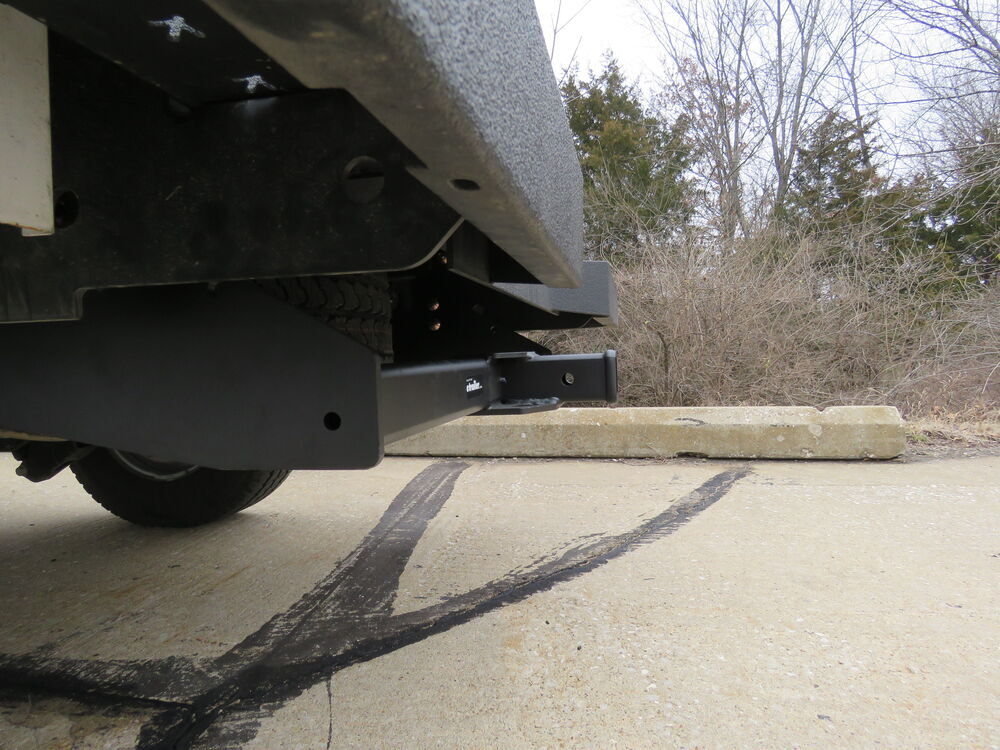
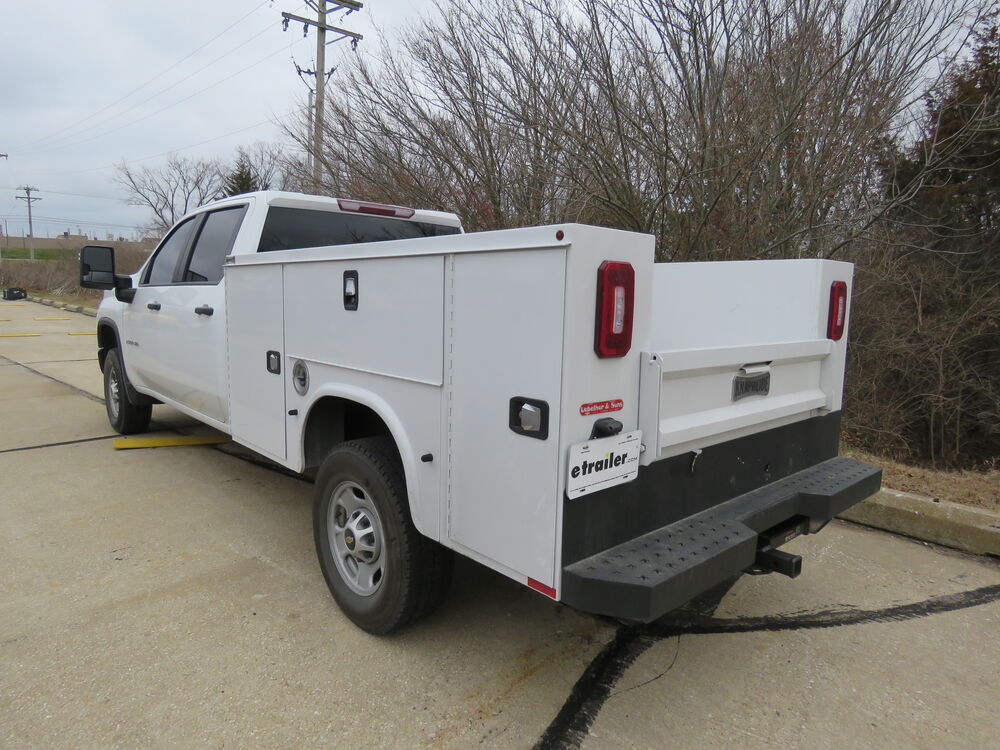
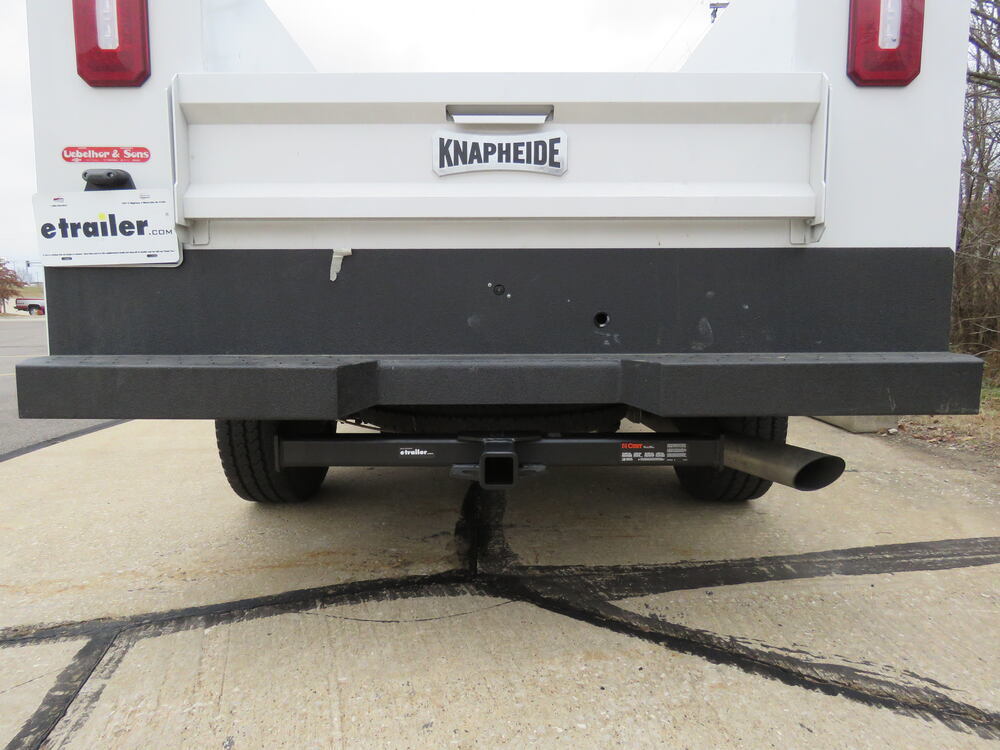
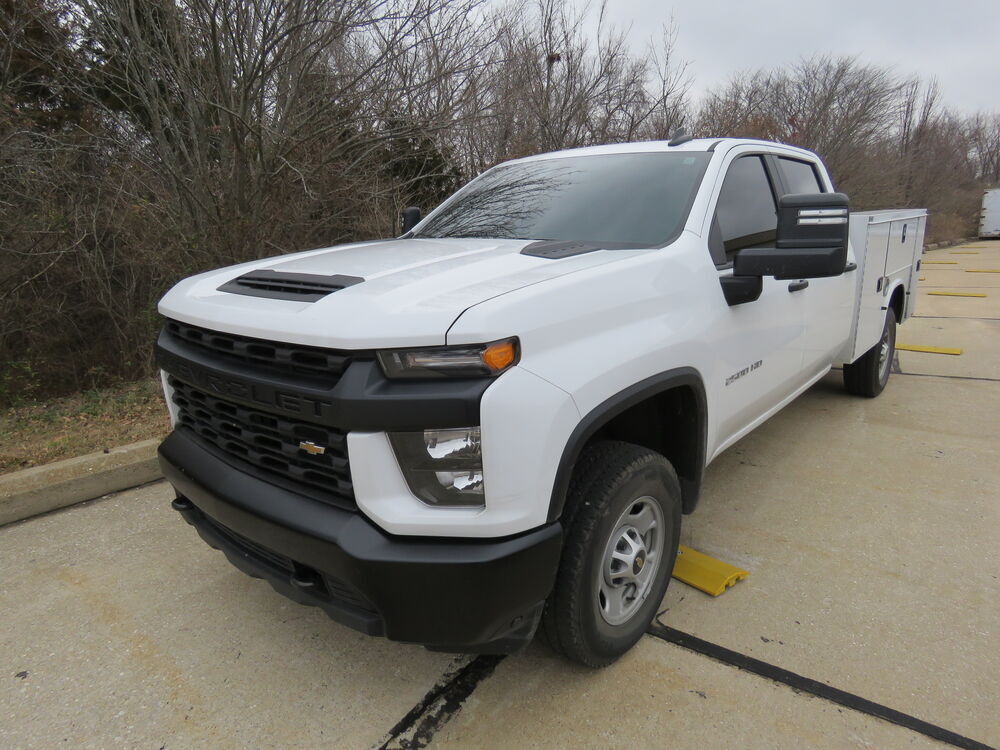
Hi there, Chevy owners. Today in your 2020 Chevrolet Silverado 2500, we're going to be taking a look at and showing you how to install CURT's Class 4 two inch trailer hitch receiver. This is what our hitch looks like when it's installed, our customer here does have an aftermarket truck bed installed, so the back end here is going to be a little bit different. But it does still attach to the same location on your truck, it's going to poke out underneath the bed. It's a Class 4, two inch by two inch receiver, so it's going to be great for all of your towing needs. Whether you're wanting to just use the accessories here at the back, maybe like a salt spreader, get some work done there, or if you have a utility trailer, or something else.
Maybe you need to haul some equipment for whatever work you're doing.You could hook up and bring that with you as well. This hitch uses a five-eighths inch hitch pinning clip. Now, one doesn't come included with the hitch, but we've got plenty different clips here at Etrailer, as well as locking ones, so you can protect your investments. On bottom, we have plate style safety chain loops with a moderate size opening that you can see will work with your larger chains, as well as your smaller chains. Now, I've got some measurements for you to help you when deciding on accessories.
Now, our aftermarket bumper here is going to change one of our measurements a little bit, but regardless of the aftermarket components we've got here from the ground to the top inside edge of our receiver tube, it's going to measure about 20 inches. That's important when determining if you need to drop, a rise, or a raised shank on any of your accessories.Then from the center of the hitch pin hole to the edge of the rear bumper on your factory truck, it is going to vary slightly from this, but on our aftermarket one here, it looks like it sticks in about two and a half inches from the back here. On your factory bumper, I would expect the hole to likely be slightly back from the bumper, but not very far. This hitch offers a 1000 pound tongue weight, which is the force going down on top of our receiver. That's more than enough for salt spreaders, and just about anything that you'd want to put in here.
It also offers a 10,000 pound gross towing capacity, which is how much that it can pull behind it. Again, if you had some heavy equipment stuff you need to bring with you, flatbed trailer, you should be able to bring plenty of high, larger equipment with you with this hitch here.Now, this hitch also is rated for use with the weight distribution system, and when using one, it does increase your weight ratings a little bit. Weight distribution systems can help level your vehicle back out by distributing the weight that's sagging on the back of your vehicle, and putting it onto the front axis, so you can restore that lost handling and braking performance, as well as lower your vehicle back out. When installing a weight distribution system, it increases your tongue weight to 1200 pounds, and it increases your gross towing capacity to 12,000 pounds. Now, as always, I recommend you verify in your owner's manual and ensure you don't exceed any of its towing capacities.
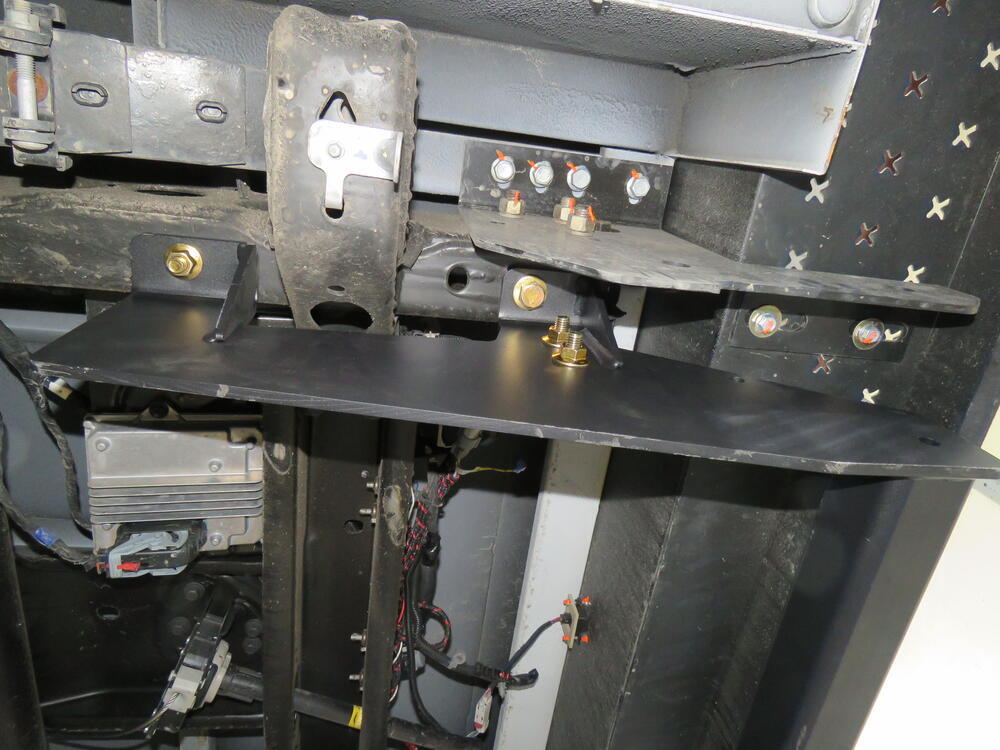
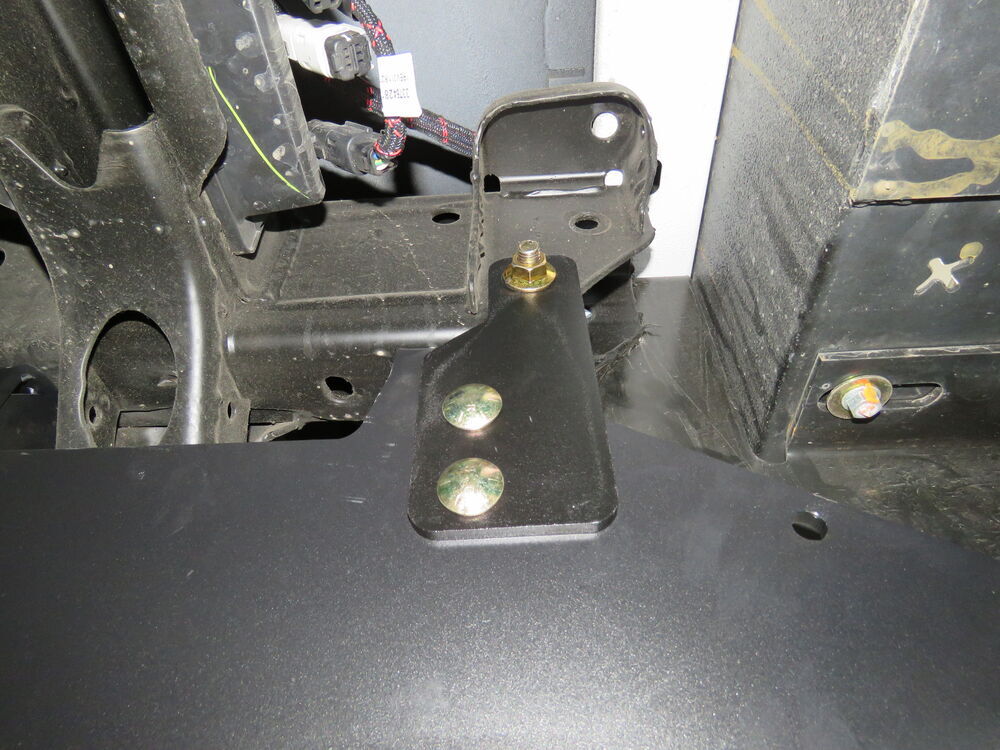
Now that we've covered some of the features of our hitch, why don't you follow along with me in the shop and we'll show you how to get it installed. I know our customer does have this aftermarket bed on here, but the attachment points where this goes underneath, they're all still accessible and it's going to be the same on your factory truck at home.We're going to cover a couple of weld nuts that may or may not be present on your truck. This one doesn't have them, but we'll point out where they are on your truck at home, if you may have those. We've gone ahead and lower down the spare tire, you can refer to your instructions for assistance with doing that. Our customer's here, it was a little bit different due to the backend here. We've already got that out of the way, now we need to get our heat shield here just a little bit out of our way. There's one bolt located right here, we're going to remove from the frame, and we're going to do that with a 13 millimeter socket. This will just help us get a little bit of clearance if we need it, you can just kind of pivot this just a little bit out of our way. We're now going to have to fish wire in some hardware, and this is only going to happen if you don't have weld nuts in this hole.You'll see there's a large opening in the side of the frame here, this is our forward most attachment. If you have that weld nut there, then you don't need to do this step. You'll be using a bolt loader to just thread into that weld nut. If you don't have a weld nut there, you'll be following along with us. We'll take our fish wire, we're going to go up through that hole, and then we'll come out the side here on the large hole. Then you do have multiple carriage bolts that come in your kit. You're going to have the shorter ones, and these ones are slightly longer. You can see it's only a little bit longer, so do you pay close attention to that. These forward attachment ones, if you're feeding carriage bolts in like we are, you're going to use the slightly longer one. We're going to grab a slightly longer carriage bolt, we're also going to grab a spacer, we're going to slide the spacer over the coiled end, thread our carriage bolt on, and then we can just drop those down into the frame there.Then you just pull them down through the hole. Sometimes your spacer, you got to orient in just the right way, so you might have to move it around a little bit until you can get that to drop down. Now that we've got this one dropped down, we're going to do the same thing over on the other side of the vehicle. We have another bolt that we're going to be fish wiring in, except for this one, you really don't need the fish wire. Your kit only comes with one for each side, so if you want, you can remove this one by unthreading it and using it back here at the back for your other one. But I don't really seem like it's too necessary, you can just reach it right here. We're going to take our spacer, this is one of the shorter carriage bolts, slide that through your spacer. Then just poke that through the hole right there, and we're going to post one on the other side as well.Now, with an extra set of hands, this is a pretty big, heavy hitch, and it's pretty wide, we're going to lift our hitch into position. You want to grab your fish wire and poke it down through that hole towards the forward attachment. We'll then just raise it up, and then while holding it up here, make sure that your carriage bolt is fed down through the hole, pull your fish wire off, and then thread on a flange nut. Once you get one started on each side, the hitch will hold itself up, making it easier to install the rest of your hardware. Now, we had attached ours using the carriage bolts, because we didn't have weld nuts. If you did have weld nuts, what you would use would be the hex head bolts that come in your kit. You take a conical tooth washer, slide it down with the teeth facing away from the head of the bolt, and thread it into those weld nuts. Now, here at our rear attachment, we're going to be using the hex head bolts regardless if you have weld nuts in the frame or not.If you do have weld nuts, they'll just thread directly right into that weld nut. If you don't have weld nuts though, just slide your bolt up through the frame, and then thread it into the nut that comes with your kit. We can now take those carriage bolts that we had fed in, we're going to take our side brackets here, and we're going to have the little angle here go towards the front of the vehicle. It's going to slide over, and it should line up your square holes with the holes in your hitch. Then we'll take a flange nut and thread it on to our carriage bolt. Once we've got those attached, you'll have two more carriage bolts. Now, we're going to install on this side. We're going to grab those, the square holes is the direction we're going to be putting the bolt through, so that way it'll hold our carriage bolt with the square head there.Just going to line these up, you have to probably push up a little bit on the hitch to get it to line up, go ahead and slide the bolt through. Then on the opposite side, we'll secure those with flange nuts. We're going to attach the side bracket on the other side, and in the same way, using the same hardware. We can now go back and tighten down our hardware, we're going to start with the bolts on the bottom, attach it to the frame. We're going to use a 19 millimeter socket for these. If you we're threading in the hex head bolts, you would use a 22 instead. Then if you did need to use the hex head bolts with the nuts, we're going to make sure we take our wrench here and we're going to slide it in the frame, so hold that nut while we tighten it down. Then we can attach our side plates.The carriage bolts are going to use a 19 millimeter socket to tighten down the nuts. Then we can go back and torque all of our hardware to the specifications found in our instructions. Now that we've got our hitch completely torqued down, we can reinstall our spare tire. The single bolt that we took out of our heat shield here, we're not going to be reinstalling. Our hitch does cover that up, so you can just kind of push it over towards your hitch to make sure you've got plenty of clearance to get your spare tire back up. That completes our installation of CURT's Class 4 two inch trailer hitch receiver on our 2020 Chevrolet Silverado 2500.
Customer Satisfaction Score:
84% were satisfied with this product
16% of customers were not satisfied
Ratings & Reviews

JUST DID BOTH TOGETHER
Fits perfectly and great product.
Do you have a question about this Trailer Hitch?
Info for this part was:
At etrailer we provide the best information available about the products we sell. We take the quality of our information seriously so that you can get the right part the first time. Let us know if anything is missing or if you have any questions.


















Thank you! Your comment has been submitted successfully. You should be able to view your question/comment here within a few days.
Error submitting comment. Please try again momentarily.