


To see if this custom-fit item will work for you please tell us what vehicle you'll use it with.


Thank you! Your comment has been submitted successfully. You should be able to view your question/comment here within a few days.
Error submitting comment. Please try again momentarily.

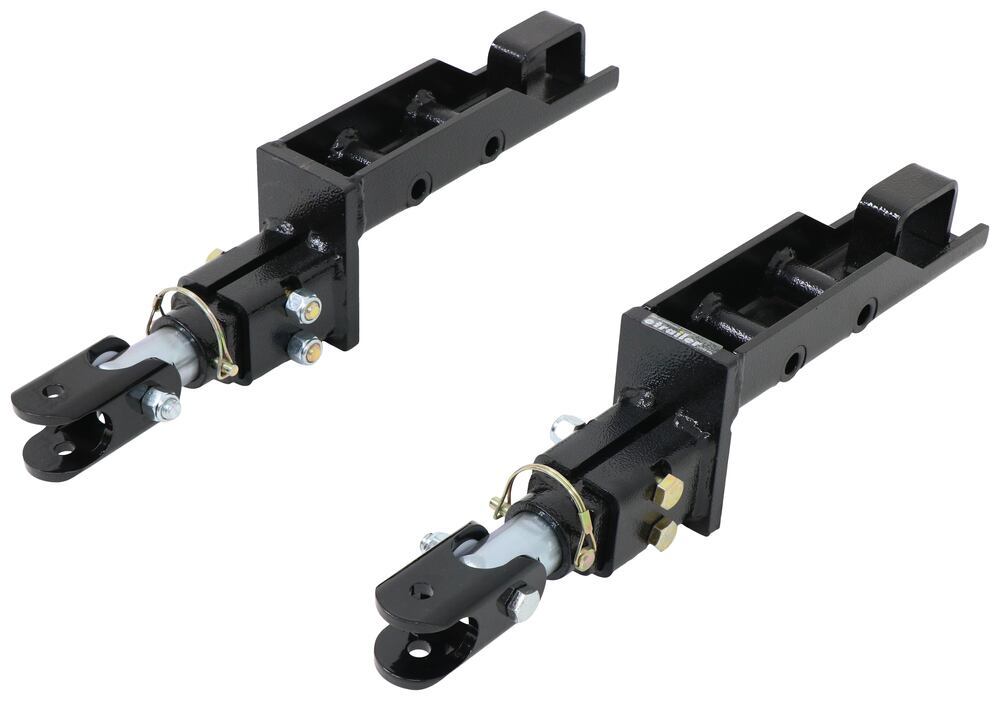
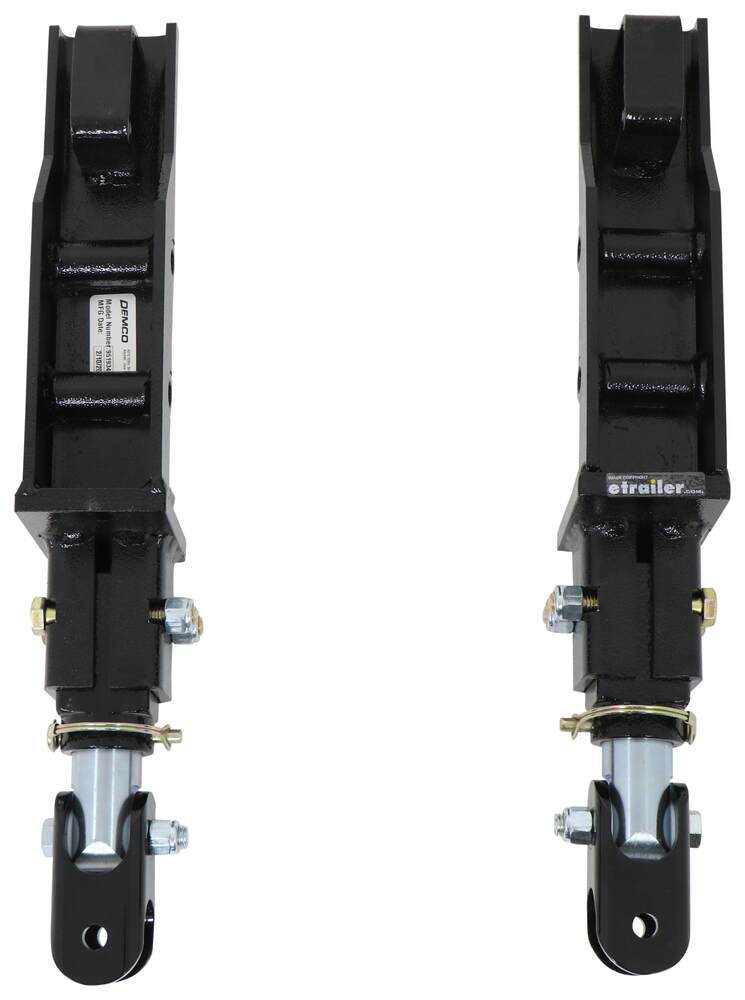
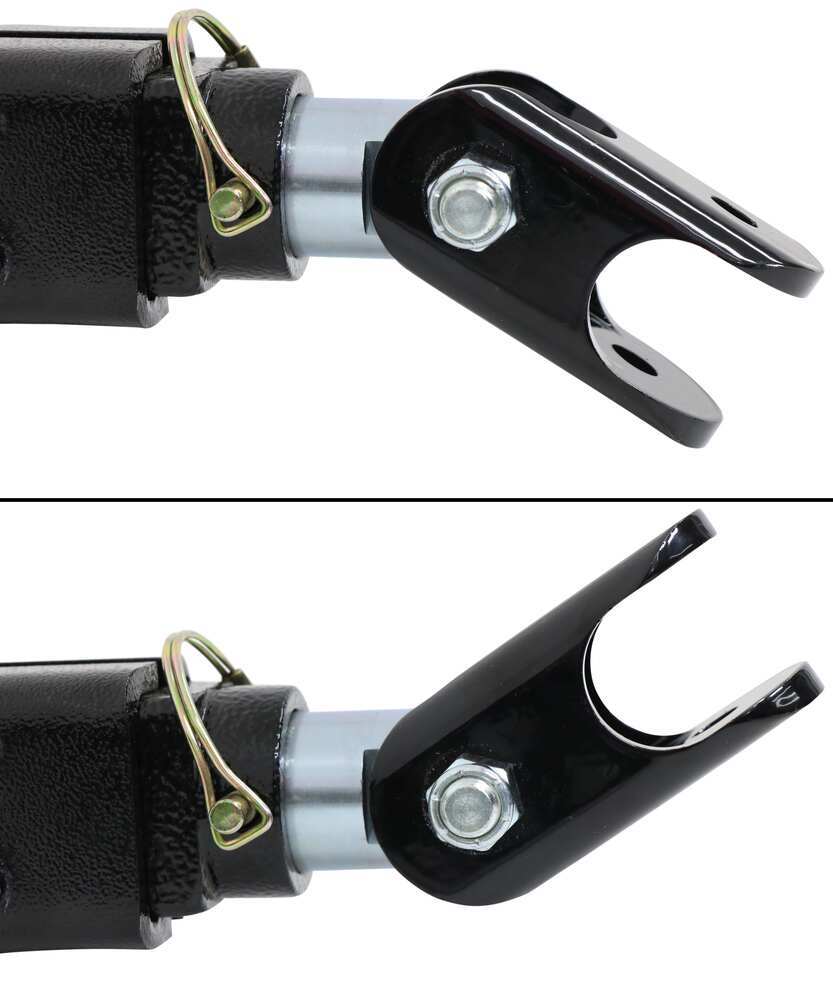
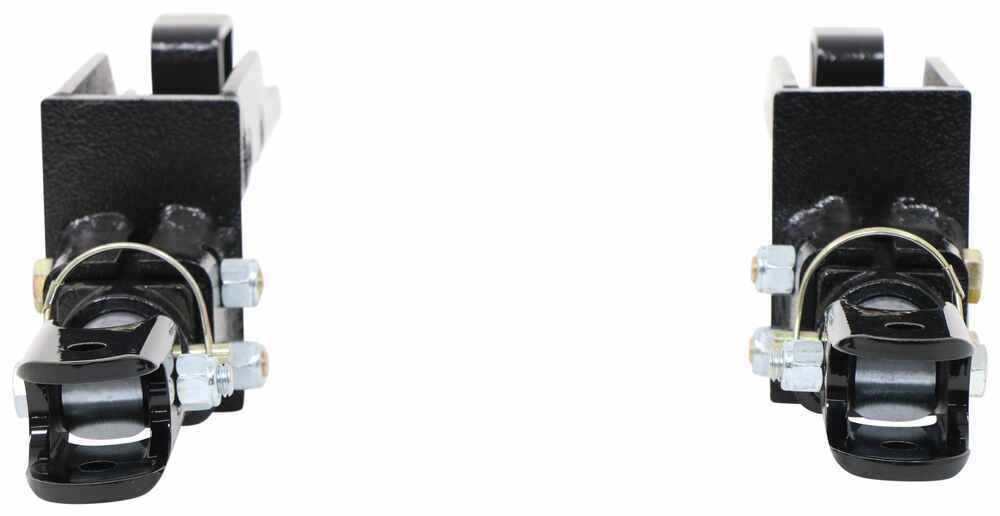
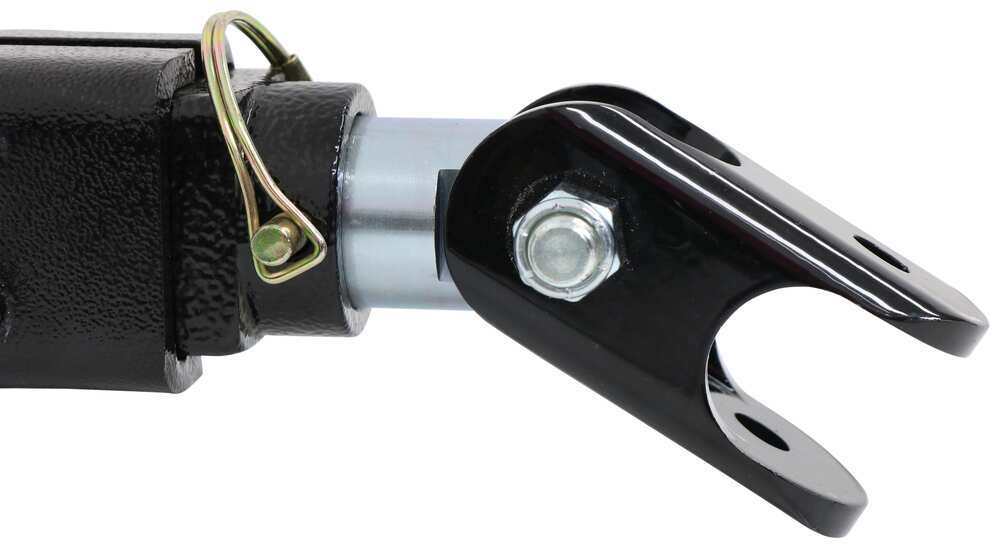

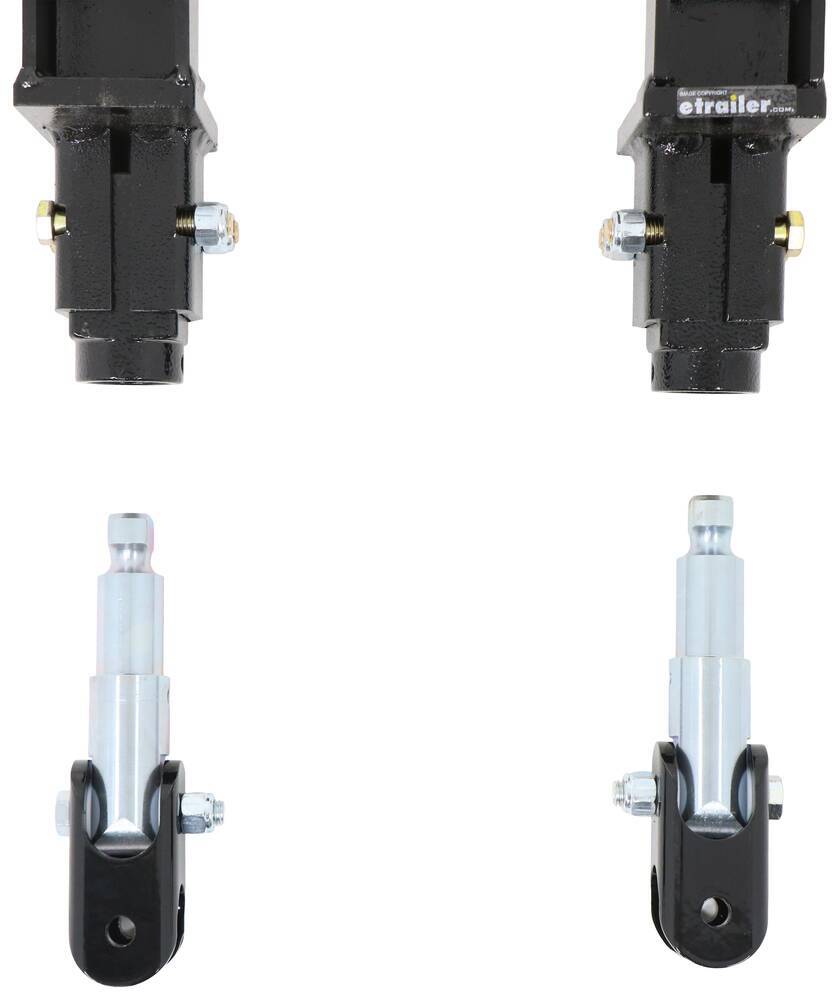
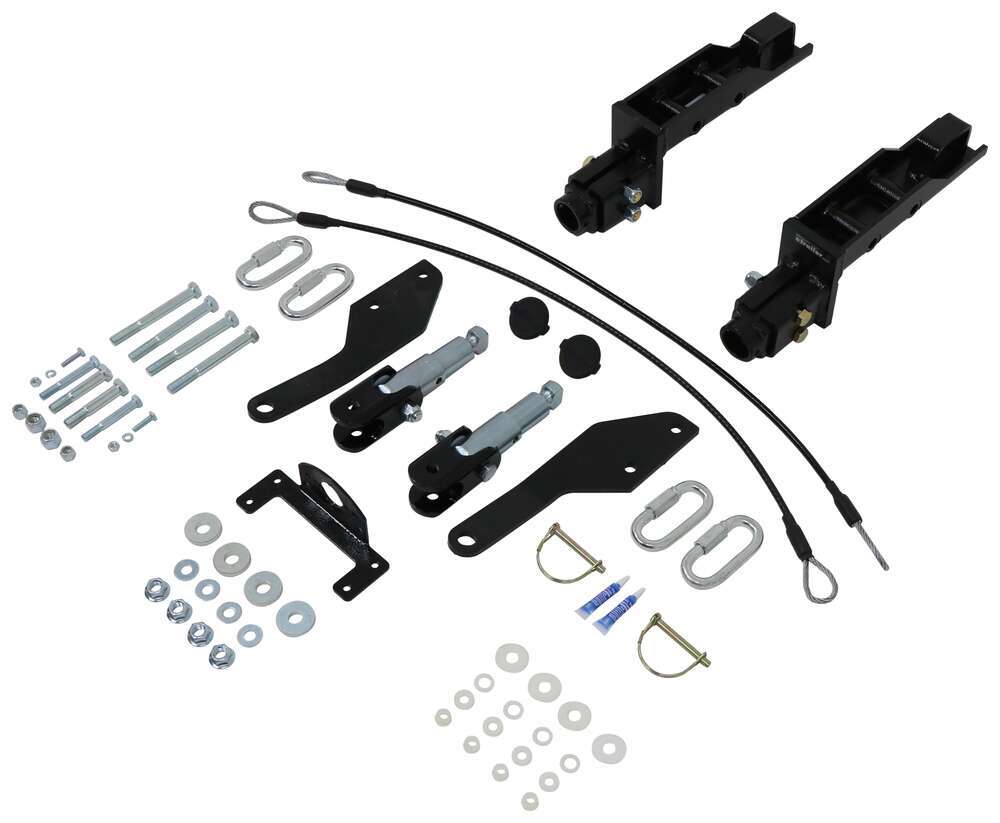

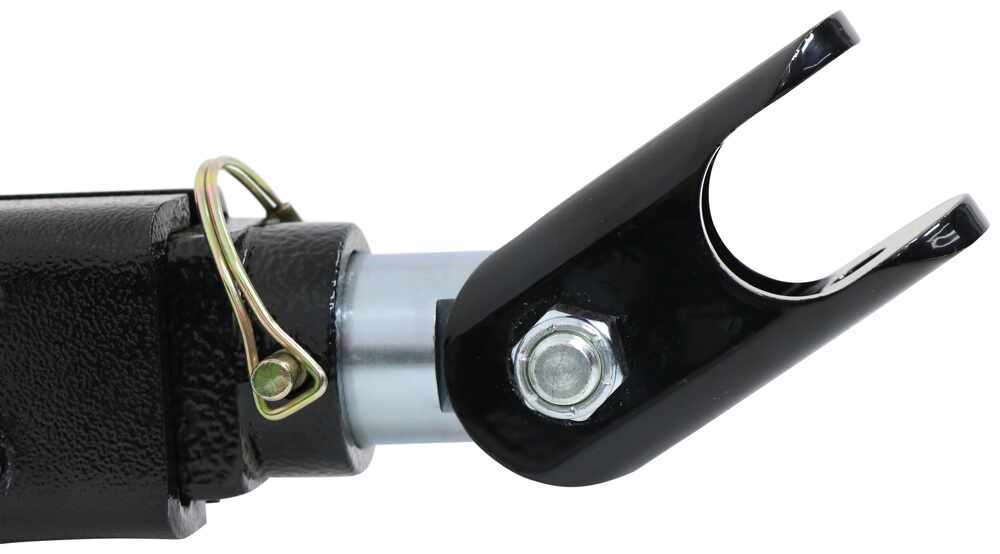
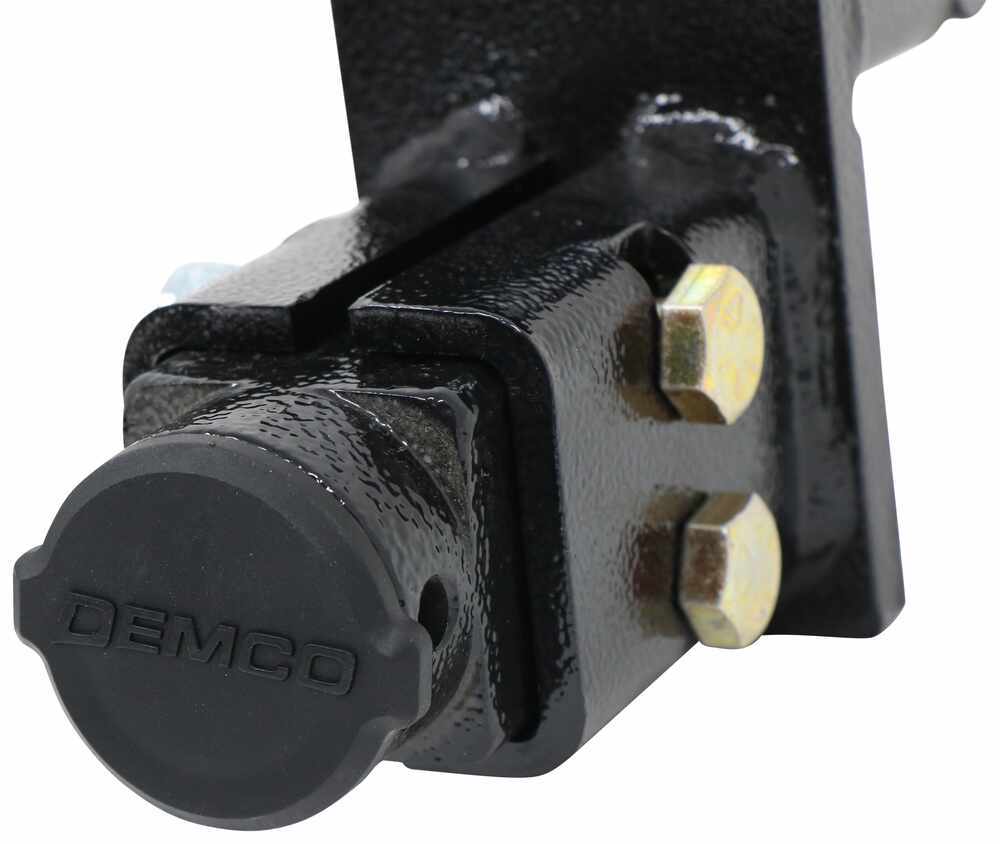

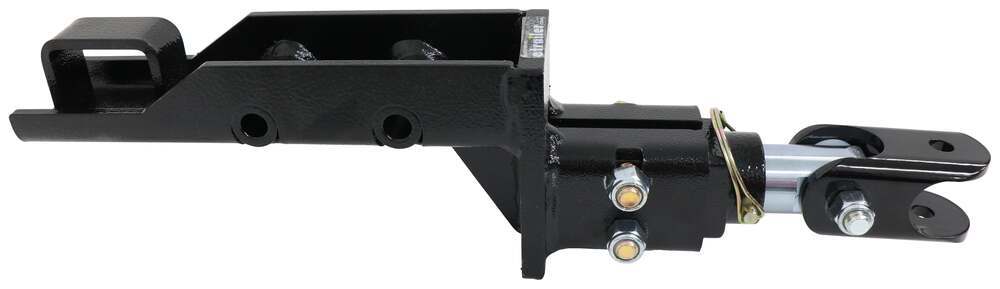
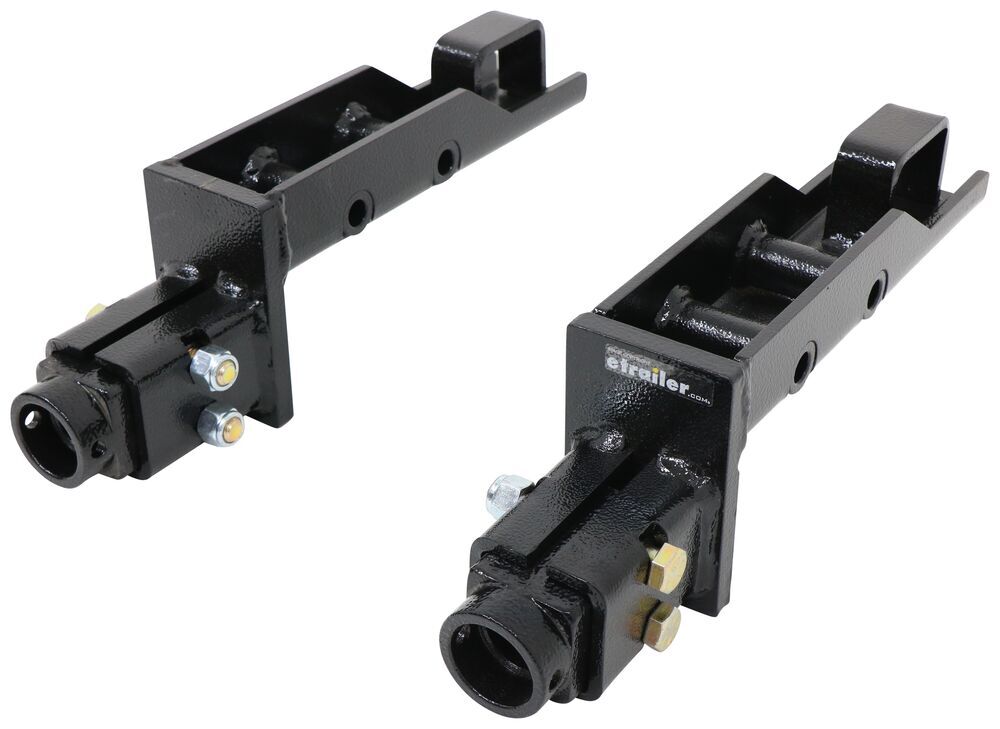



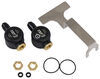
If you prefer a clean, factory look when you’re not towing, this design keeps it that way. The invisible base plates have no obtrusive crossbar or protruding brackets, so the front end stays smooth and uncluttered. The removable arms stay attached to your tow bar instead of the bumper, leaving nothing in sight once disconnected. Snap-in polyethylene receiver covers keep dirt and debris out, helping prevent corrosion and keeping the tabs sliding in and out easily every time you hook up.
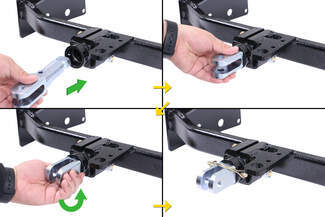
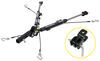
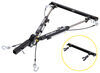
Connecting the tow bar is quick and solid thanks to the twist-lock design. Each arm inserts into the receiver, locks in place with a twist, and secures using the included pull pin for an extra layer of safety. Removing them is just as simple—tug the pin, twist, and slide the arm out. With a bracket distance of 30-1/4" and bracket height of 18", it’s easy to plan your setup around a consistent, reliable connection point that stays aligned trip after trip.
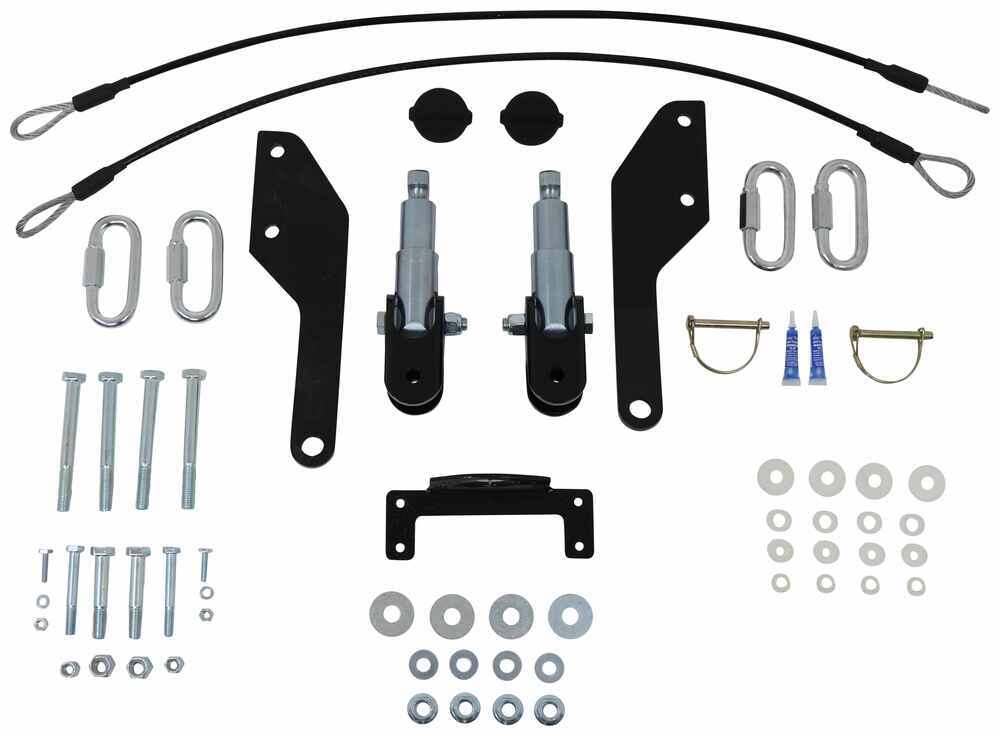
This base plate kit spreads towing forces evenly across the chassis to reduce stress on the suspension during long hauls. The steel construction is sturdy and dependable for consistent use over thousands of miles. It bolts directly to the vehicle’s frame with included hardware—no welding required—so you get a strong connection without extra fabrication work.
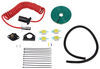
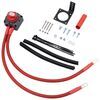
Already have a tow bar you like? This setup works directly with all Demco, etrailer, and Blue Ox tow bars without an adapter. Running a Roadmaster setup? Just add the correct adapter (e98983, e98984, e98979, or e98981, sold separately). It even includes an electrical bracket so you can mount a round connector plug up front for clean, organized wiring that stays ready to connect on every trip.
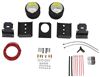
For anyone tackling this at home, installation is straightforward with basic tools. The kit includes all necessary hardware and instructions for a bolt-on install—no welding needed. It’s designed for practical installation that fits right into a weekend project, giving you confidence that your setup will be ready for towing without any complicated steps.

Videos are provided as a guide only. Refer to manufacturer installation instructions and specs for complete information.
Hi, this is Scott with etrailer. Today we're taking a look at and installing our etrailer Base Plate Kit for 2026 GMC Sierra 1500. We get asked a lot of questions on what we're gonna need to get started on flat towing. There's gonna have five main components that you're definitely going to need. You're going to need a base plate. You're gonna need some type of a tow bar.
You're gonna need some type of tow bar wiring. And you're also gonna need safety cables and some type of a supplementary braking system. Another thing that's always a good thing to take a look at is some type of a charge line to charge your battery while you're flat towing down the road. And in some cases, depending on your model, you may need a battery disconnect switch. And this is what your truck's gonna look like when you don't have any of your flat towing accessories installed.
I think it's a really nice look and everything's hidden really well on this. A lot of times you'll have things that stick out really far when you have your accessories on, but with this one, everything's tucked in really well. There isn't a whole lot of trimming that was involved with this one. So everything fit really well and actually blends into the front end really nice. Another nice thing about this base place set up is how easy it is to get set up to start flat towing.
You're gonna have your attachments. I'm just gonna put those in, give that a quarter turn. And you're gonna have your pin. Just run your pin through your holes and get that set on there. Now you're all set up to get your tow bar installed.
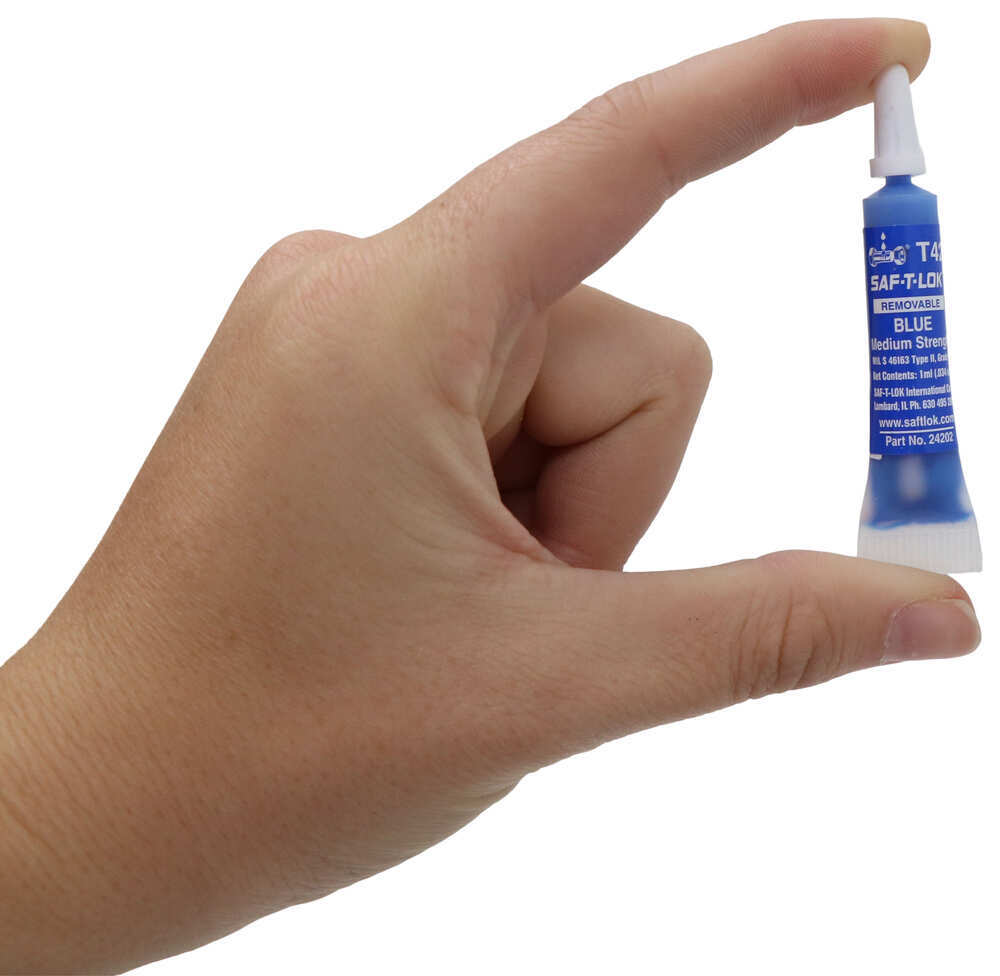
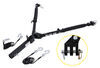
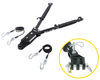
Now we'll grab our tow bar and get that hooked up. Just wanna remove our pin. And sometimes, when these are new, they get a little bit tight, so just take your time and you'll end up getting it hooked up. Get your pin holes lined up. Run that through. Now you're gonna have your pin that's gonna go through. Just make sure that clicks down, nice and solid. And do that on the other side and you're all set. Now with our tow bar that we have on here today, it does have some really heavy duty cables on this one, so we did have to use a quick link in order to get those attached, because the heavy duty hooks wouldn't fit all the way into this hole. But with that, those mount up nice and easy that way, and it also gets our cable down and out of the way a little bit. Now here's what it's gonna look like when you have everything all set up on this one. They have a really heavy duty tow bar on this one. And as far apart as your attachment points are, this is a really good option to go with for your tow bar because it's wider, it's a little bit longer, and it's gonna come back, after it locks in place it's gonna lock in a little bit further back so it's gonna help with cornering and overall handling in general. Now if you have any questions or comments about this base plate for your GMC Sierra, you can always leave any questions or comments down below in the comment section, or you can get ahold of one of experts here at etrailer. They'd be glad to help you out. Now as far as installation goes, this one really isn't too bad. It's definitely something you could do yourself, but if you're getting a whole setup done and you just don't have the time or the tools or the place to do this, you can always take a look at our installer locator and get something done for you locally. If it's something you feel like tackling yourself, stick around, watch our video, and we'll help you get it installed. To start our installation, we have our hood of our Sierra open. And underneath here we're gonna have our hood catch, and we're gonna need to get this out of the way. We're gonna have two T15 screws we're gonna need to remove. After we have those out, we'll just slide our catch forward and set that aside. Now underneath of our hood, after we have our latch out of the way, we're gonna have this panel we're gonna need to remove. We're gonna have multiple push pins around here we're gonna need to remove, and all of 'em are the same. All we're gonna do is get underneath of that with a screwdriver and just pop those out, and we'll work our way around, getting all of those out. And the easiest way to get these is you're gonna have a little slot on one side of 'em. And if you have issues getting to that, you can turn these, that way you can access it. But just get under that with a screwdriver and work all of those out. With all of our clips out, we'll just lift up to pull out our panel and we'll set that aside. After our panel's removed, we're gonna have four 10 millimeter screws, and I'm just gonna get those removed with a 10 millimeter socket. (drill whirls) Inside of our fender well, we're gonna have some more T15 screws we're gonna need to remove. We're gonna have one inside here and then we're gonna have a couple more up this way. We're just gonna remove these. That way, it's gonna allow us to pull back this inner fender well and give us a little bit of room. (drill whirls) With those all out, we can pull back our inner fender well. With that pulled back, now we're gonna start working on removing this side trim because we're gonna need to remove this panel here. So what I want to do is just start pulling back on that. Just slowly start working my way up. And there's gonna be some little clips that hold this in place. And sometimes they can get jammed up, so what you can do is down inside there you can see this tab for this little blue clip. Sometimes if you push down on that tab and then pull out, it helps you remove that fender flare. Now we'll just work our way up, and we want to bring it back about up to where it starts coming out of this bend that way. And behind here we're gonna have another screw we're gonna need to get to. After we get up to this point, we can see these are our little blue clips. The clip type is gonna change once we get up here. What I wanna do is pop these out, and that's gonna give me a little bit more room. As you can see right here, we need to be able to get at this fastener. With a few of these pulled back, what I'll do is I'll just wad up a shop towel and put that behind there, and that's gonna help hold this out so we can get at our T15 screw. With our T15 bit, we'll remove that fastener that's holding on our panel. Now working from the side where we removed our fastener, we're gonna work our way up. And with an extra set of hands, we're gonna start working our way across. We're gonna pop out our bumper filler panel, being very careful with it. Just work our way up. After we get our sides off, we'll just work our way across the middle. Sometimes that can actually be the tricky part. So just take your time with this. You may need to get a clip tool and just work across. And you'll have these little tabs that you can push down. With those popped off, we'll just set this aside. Along the bottom of our grill, kind of tucked back in these little pockets, we're gonna have three 10 millimeter fasteners. With our hardware removed, we just wanna pop out on the lower section of our grill. And that's gonna pop loose. You're gonna have these little alignment pins under here that you're gonna need to lift up on. Just lift up on those all the way across. Then we can pull our grill back. On our driver's side, we're gonna have this little washer fluid line that we need to remove. And to remove that, you're gonna have this little fastener that these just click together. And to get this apart, you're gonna have to squeeze this really hard, and basically turn that from an oval to round and that will disconnect that. But again, you're gonna have to squeeze that pretty hard to get that to open up so you can get that apart. On our passenger side, we're gonna have this electrical connection, and this is gonna be for our camera in the front. And to get that undone, we're gonna have to push down this little red tab and then pull these apart. You're probably gonna need to have somebody hold the grill while you do this part, 'cause these are very difficult to get separated. Now these, again, are very difficult to get apart. You're gonna have to push this down and then pull these apart. But just try and be as carefully as you can because these are wiring for your camera, so they're basically like an optical wire. After we have both of those disconnected, we'll take our grill and we'll go set it aside. For our next step, we need to remove our shutter assembly. And we're gonna have quite a few ten millimeter fasteners. We're just gonna go all the way around and get all those removed. (drill whirls) After we have our hardware out, we're able to pull this back. We are gonna have a couple plugs we're gonna need to remove. And to do that on these, I'm gonna push down, pull back on our red clip. And we're gonna have a black tab right behind that. So we'll just push that down, pull this red tab back, push that down, and it'll disconnect for us. We're gonna have another one right down here. And what we're gonna do is it's gonna be a little bit different to pull back on that tab. Push down on the black one just in front of that. Then we can unplug it. Now we can set our shutter panel aside. To start removing our bumper underneath, we're gonna have four 10 millimeter fasteners. We're gonna have them right here in the front. We'll just go ahead and get all those removed. Underneath our bumper on each side we're gonna have this bracket that comes down from our frame, we're gonna have two bolts above up here and then one down here. We're gonna remove our lower 15 millimeter bolt and we're gonna do that on both sides. (drill whirls) Before we could remove our bumper, we're gonna have a couple electrical connections we're gonna need to remove. And it's just easier to get at these before we start popping this off and removing our last bolts. So we're gonna have a connector here on our passenger side. Just wanna pull back on that tab, push down on the black tab behind that. We can disconnect that. We're gonna have this little keeper. We're gonna wanna pop that up. Pop that up. So that's gonna come off with our bumper. On our driver's side, we're gonna have another one. Just push down on our tab, and push down pretty hard on that. Then we can disconnect that as well. With our electrical connections undone, we're gonna have four 18 millimeter bolts up top. We're gonna have one here. We're gonna have one tuck down in the little pocket here and the same thing on the other side. With an 18 millimeter socket, I'll go ahead and get those removed. Now I do recommend having somebody help you hold this bumper at this point because these are gonna be our only attachments that are gonna be holding it in place. (drill whirls) Now we're gonna need to remove our bumper. We are gonna have it sitting in these little rubber holders around our hooks, so we'll have to work that back off of that. Just being careful. Now we can set our bumper aside. For our next step, we're gonna need to get our hooks out of the way, and we're gonna have our rubber cover. And underneath of that there's gonna be a little push pin. So we need to get underneath of that, and we'll just pry that down, get that popped out. Now we can just pull that straight out and out of the way. For our hardware, we're gonna have 18 millimeter bolts, and then we're gonna have an 18 millimeter nut on the inside of our frame here. But what I'm gonna do is just get these broke loose. Take a wrench, break that one loose. And I'll just take my tool to speed that up. Just back that off. This side, we'll just break that loose. (drill whirls) Remove our nut, pull out our bolt. Now we can remove our hook and set everything aside. Upon taking out our hook on our driver's side, we noticed that after we pulled the nut off and the other little bolt that goes through it. As you can see, our bolt comes in and stops right here and we can't get that all the way out. So what I ended up having to do is underneath of here we have our metal tab, and there was a 10 millimeter bolt there and then one on the other side. Now here in the front, we have our air inlet, and we have two seven millimeter screws on this side and then on the other side as well. Now to get our bolt out. This is gonna be sitting in a little tab. Now we can lift that up and pull that down. That's gonna give us enough room to get our bolt out and remove our hook. So what I'm gonna do for now is leave all this stuff out, so that way if I need to get behind here to get my hardware in for my base plate, I can move this around and get this out of the way. So get our base plates put in place, in our kit, we're gonna have our hardware, we're gonna have our bolts, and we're gonna have Loctite that comes with that. We want make sure we're using Loctite on all of our hardware when we're getting this installed. So for now, what we're gonna do is we're gonna have our base plate, and we're gonna have our cable bracket that's gonna go here on the side, and they're gonna be labeled "passenger" and "driver." So make sure you're orientating them correctly. So what we'll do, we're gonna go ahead and slide that into the frame and we're gonna line up our bolts. We're gonna take our plate for our cable, run that through our base plate all the way through. We'll take our nut, get that installed. Run that down as far as you can by hand. At this point we want to take both of these and we're gonna get these leveled out. We're gonna snug down our hardware. It helps to snug it down a little bit. It's gonna kind of keep things in place and make it a little bit easier for you to level this out. But what I'm gonna do is I'm going to just make sure my base plate is sitting on the back of the frame. And then I'll level this with my base plate, make sure everything looks lined up. We're gonna use a half inch drill bit, and we're gonna drill through this back hole. And we're gonna run all the way through here and then go through to the other side. And again, just wanna snug down our hardware to keep everything in place. With everything lined up where we want it, now we'll start drilling our hole through our frame. (drill whirls) With our whole drilled all the way through, we'll take our bolt with our Loctite on it. Run that through. Start our nut. With all of our hardware in place, we'll come back through and snug everything down. After we have all of our hardware snug down, we'll come back through with our torque wrench and torque down all of our hardware. Now if you don't have a torque wrench, you can pick one up here at etrailer. We do have some options available, or you can take a look at your local auto parts store. You should be able to rent one there. For our safety cables, we ran 'em through this hole in our frame. And in our base plate there's gonna be a loop on the back of it. We ran our cable through that, and then through the hole on the other side, where we came around our frame with our cable. Ended up coming up over here. And basically what we want to do is make sure we're routing this to where it's not gonna interfere with anything. So I just kind of ran it up here on top of our frame, and I hooked that together with our quick link and then tightened that down with an 11 16ths wrench. And I'll end up tying this up with a cable tie just to keep this from rattling around, and basically followed that same procedure on the other side. With our safety cables on, now what we'll do is come back through and add some more of our components that we need to get set up while we have everything off. It'll make everything a whole lot easier to get wires run. So with that, we'll go ahead and move on to that, and we're gonna come back and show you the rest of it after we get everything set up. Now in order to get our bumper to go back on, we're gonna need to trim right behind here a little bit. And we held it up in place to see how it fits, and we are able to get the main part of our base plate to go through, but we need to make some room for cable loops to come out. So I just kind of held it up there and marked out an area where we're gonna need to cut. You may need to do the same thing, and after you get it cut, you may need to pull it back off and trim it up a little bit more. So it's kind of just however your situation is. So I'm just gonna use my multi-tool and start getting this cut out. And I'm gonna do that on both sides. (drill whirls) Now after you get that cut done, you can always come back through with a file or utility knife and get your edges cleaned up and make it look a little bit better. But I kind of wait to clean it up as a final, as I hold them up there and make sure it's all gonna work correctly before I get it cleaned up for my final install. Our trimming turned out really well. We have our bumper loosely set in place. So now that we have everything all set up, what I'll do is I'll go ahead and get a bunch of our stuff put back on, and we'll come back through and let you know if we have any issues. Now getting everything put back together, everything went back together really nice and easy, and turned out really clean looking. With that, that'll do it for our look at and our installation of our etrailer Base Plate Kit on our 2026 GMC Sierra 1500. I'm Scott with etrailer, and thanks for watching.
Customer Satisfaction Score:
91% were satisfied with this product
9% of customers were not satisfied
Ratings & Reviews



Lazer S.
4/21/2026
Glad we could help, David! Looks good on there! ^___^ What's the next trip you have planned?

Gwendolyn Y.
4/9/2026
Looks great on your Jeep! Where are you headed to first, Franz?


Jerry B.
8/17/2026
That's great, I'm glad it's taken care of you! Any big trips coming up?
Chris
10/10/2026
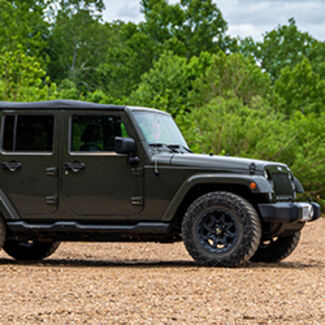
Still working perfectly. Towed the jeep about 2000 miles from WA State down to Disneyland and then to Las Vegas and back. Plus dozens of camping trips.


Claire H.
6/2/2026
Hi Shawn, the etrailer Invisible Base Plates part # e66GV are not a fit for the 2026 Jeep Grand Cherokee, which is why the shutters had to be removed, and the instructions didn't cover it. These base plates fit the previous 2025 Jeep Grand Cherokee model, but due to changes in the fascia and bumper they're not a fit for the 2026 model due to those modifications. However, the actual frame of the 2026 Grand Cherokee is still the same as the 2025 model, so the base plates are safe to tow with.

Victoria H.
4/3/2025
Looks sleek Wayne! Any adventures planned to test it out?
Do you have a question about this Tow Bar Base Plate?
Info for this part was:
At etrailer we provide the best information available about the products we sell. We take the quality of our information seriously so that you can get the right part the first time. Let us know if anything is missing or if you have any questions.





















Brooke M.
5/6/2025
Wow thanks for sharing these photos- they are fantastic! You killed it on the install. They really are invisible when you want them to be :)