


To see if this custom-fit item will work for you please tell us what vehicle you'll use it with.


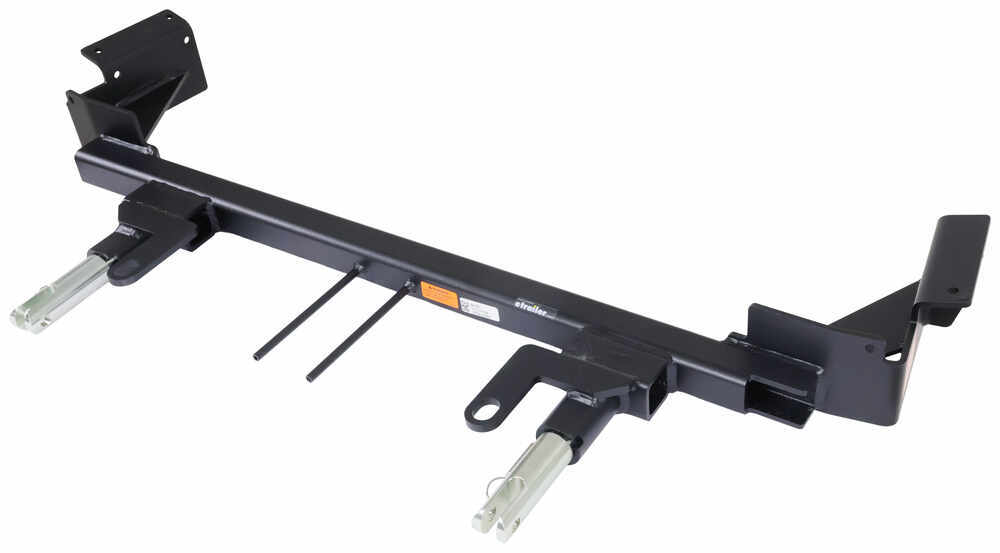

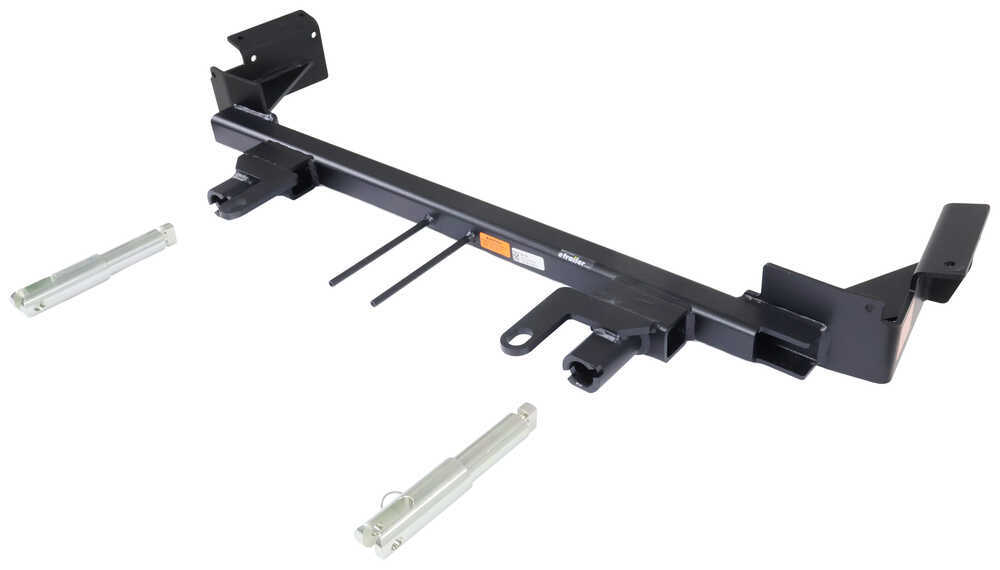
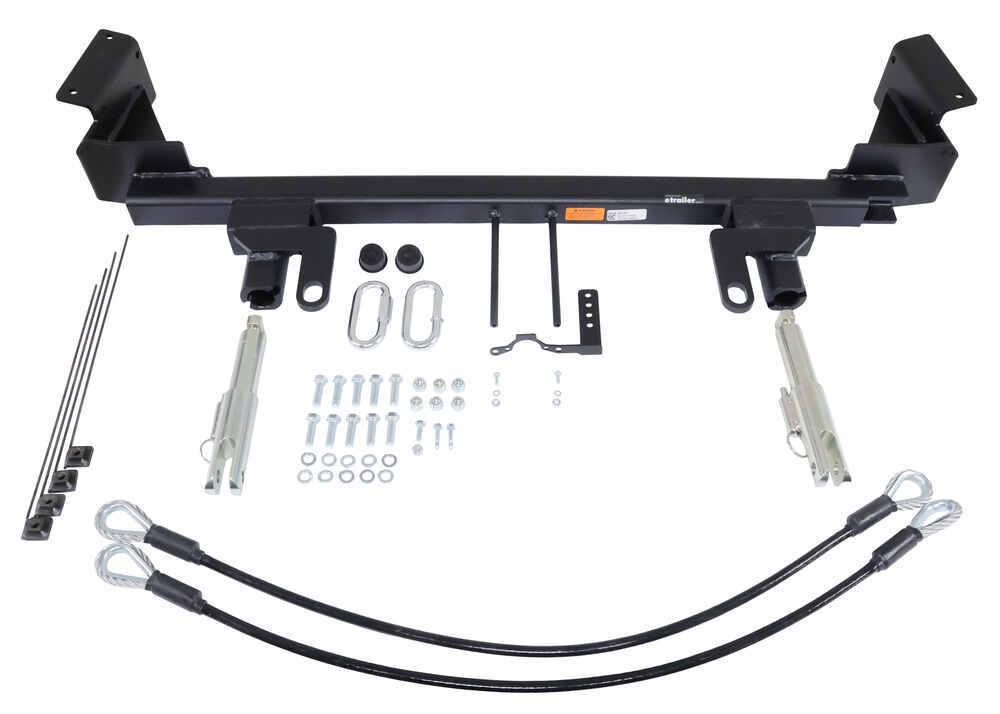
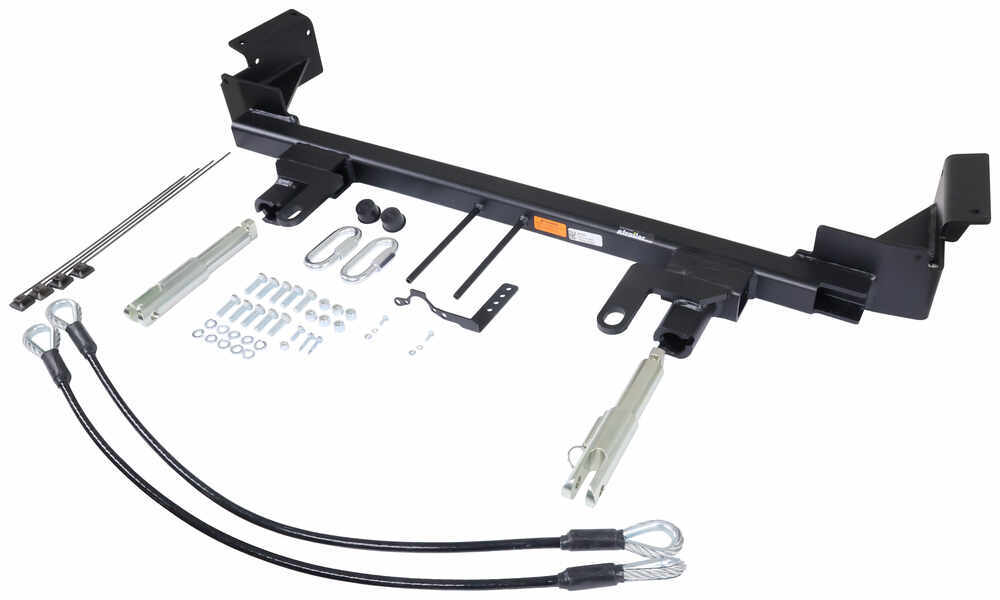
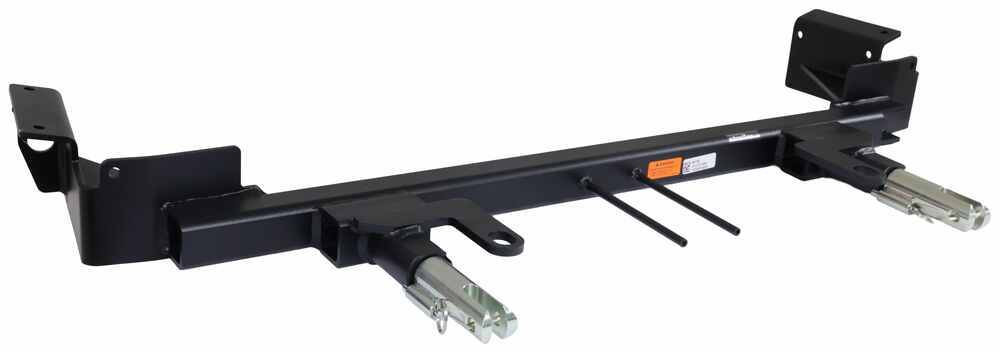
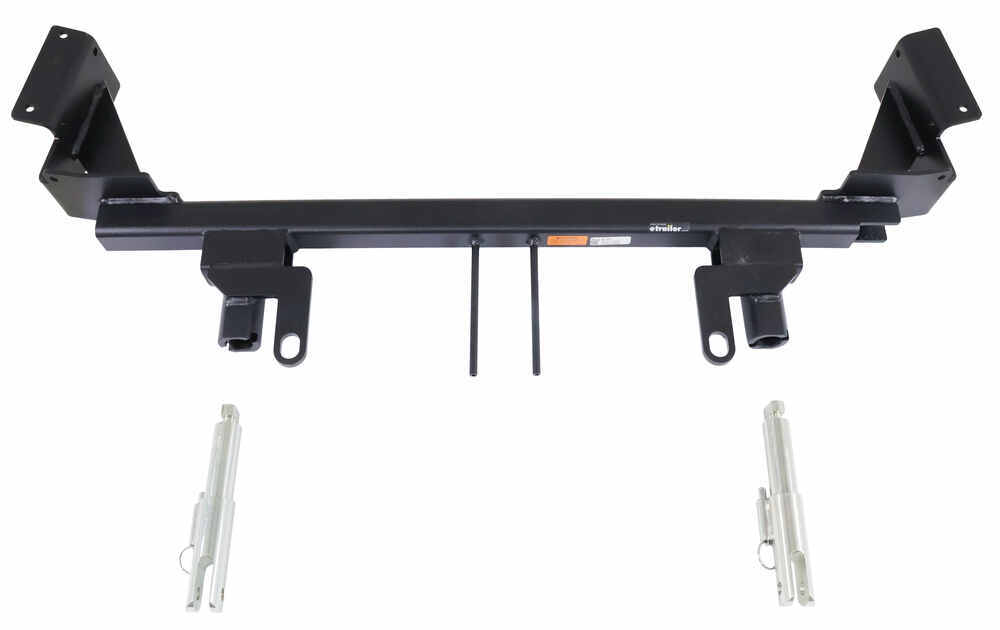
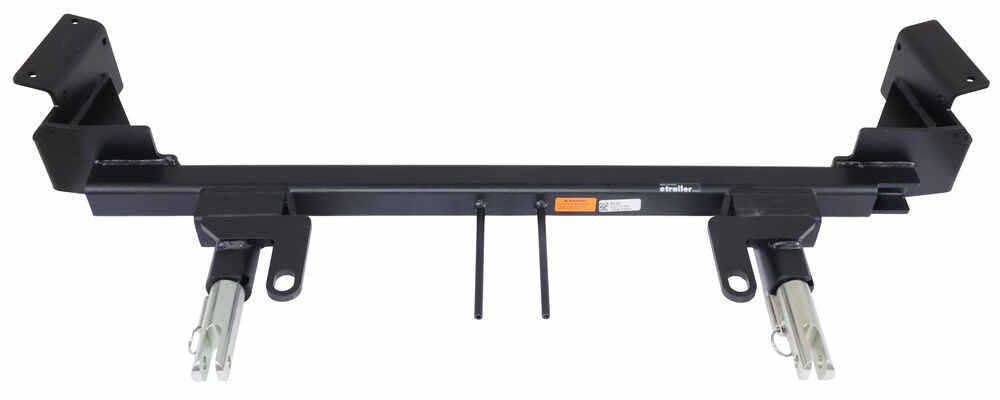
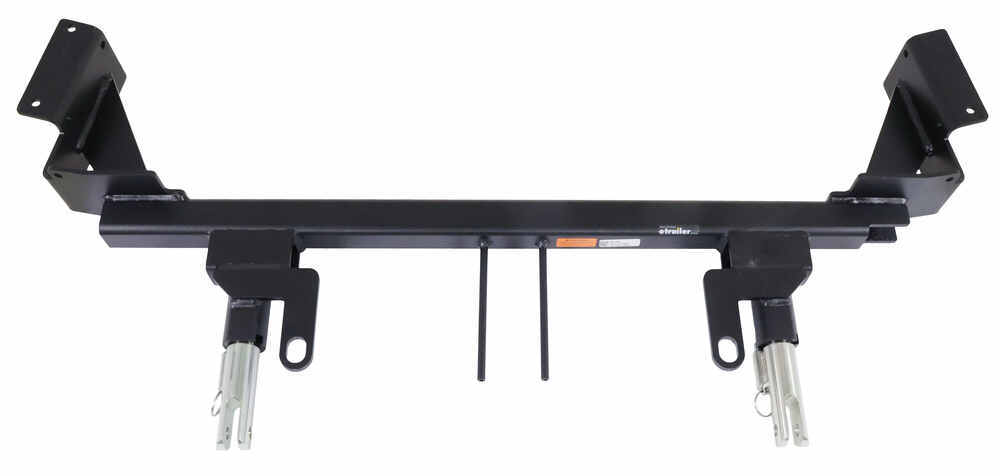


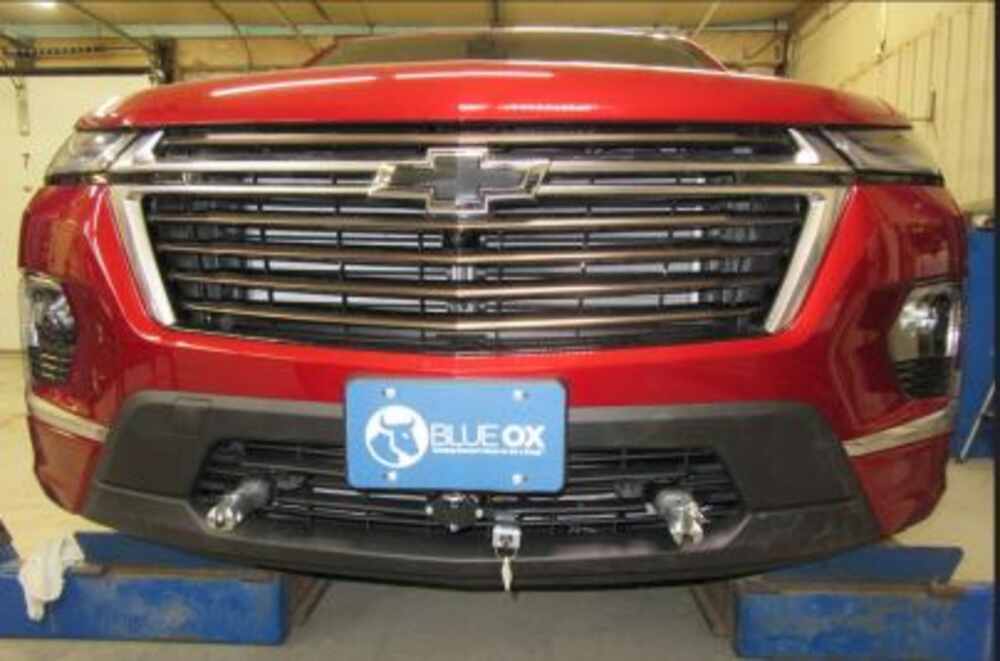
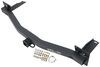
Custom designed to fit your vehicle so it can be safely towed behind your RV, this base plate has easily removable arms that offer a seamless look when you're not flat towing. Base plate bolts directly to your chassis, so no welding is required.
Features:
Specs:
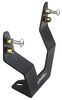
This base plate's hidden design creates a clean and seamless look. The bracket arms are easily removable, creating a slick appearance when you're not flat towing. Because the arms can be removed, you also won't have to worry about banging your leg into any protruding arms when you walk by.
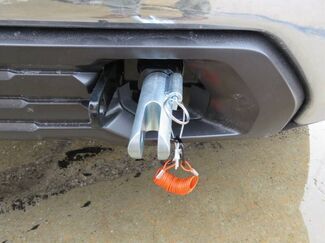
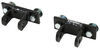
Attaching and removing the bracket arms is a breeze. To attach the arms to the base plate, simply insert them into the receivers and rotate them until they lock into place. Once you're finished towing and want to remove the arms, pull the pin to disengage the lock, rotate the arms, and remove them from the receivers. Finally, plug up the now empty receivers with the included receiver covers to help keep dirt and debris out of the base plate and provide a finished look.
Flat towing your vehicle is much more convenient than using a trailer or a tow dolly. These other options take up much more storage space, leaving you less room both at home and at the campsite. In addition, securing your vehicle to a trailer or tow dolly can be a hassle and more time consuming than hooking up with a tow bar.
There are 5 basic components needed when flat towing a vehicle: a tow bar, a base plate kit, a safety cable set, tow bar wiring, and a supplemental braking system.
The tow bar links your towed car to your motorhome. It attaches to the custom-fit base plates that install on the frame of your towed car. Safety cables ensure that your towed car does not separate from your motorhome in the event that your tow bar becomes detached. Tow bar wiring allows your towed vehicle's signal lights to sync up with your motorhome's tail lights, which is required by law in most states. Finally, the supplemental braking system - also required in most states - brakes your towed car when the brakes in your motorhome are activated, preventing wear on the motorhome and decreasing braking distance for your entire setup.

California residents: click here
Videos are provided as a guide only. Refer to manufacturer installation instructions and specs for complete information.
Hi, this is Scott with etrailer. Today we're taking a look at and installing our Blue Ox baseplate for our 2023 Chevrolet Traverse. Our Blue Ox baseplate is really heavy duty set up. It hides really nice on our Chevy Traverse we have on it here today. Everything's built really well on this and I was really surprised at actually how heavy the metal is on this one. Another nice thing with this one, it's gonna have your provisions for your wiring that comes out the front and it also has a setup where it has a bracket that mounts to where our wiring hooks up for our breakaway switch.
Now when you're installing these, that is a really big plus because sometimes it takes away a lot of the guesswork or where you're gonna put these things. For me, it's really hard to figure out on these newer cars where you wanna put your wiring, where you want to put your breakaway switch. Sometimes you even have to make a bracket yourself for it to work. So with this included in it and already set up for that, really takes away a lot of the headache. To set up our Traverse for a flat tow, we installed five major components for this.
We installed our baseplate, we installed our diodes, we installed our braking system and we installed our tow bars and our safety cables. So more components you're gonna need are going to be your battery disconnect, you're gonna need a brake light switch, and you're also gonna need a charge line kit. As far as installation goes for your baseplate, it is gonna be pretty tricky and it is gonna take some time. It took me a full day to get this one installed. It's something you really don't have time to mess with.
You can always take a look at our dealer locator and get it installed locally for you. Or if you feel like installing it yourself, stick around and watch our video and we'll help you get it installed. To start our installation, we're gonna have 12 plastic pop clips in the top of our plastic panel underneath of our hood. You can use either a flat head screwdriver or you can use a clip tool. I'm going to use both.
What you want to do is find the little opening and you'll see it right there. Just want to get under there and pop that up with your screwdriver. It can be a little tricky and they can be a little tight. Once you get it to that point, pop it up the rest of the way. Get your clip tool under it and pop 'em out. We'll do that all the way around. Once we get all those out, now we can lift our panel out of the way. Along the front of our fascia, we're gonna have six seven millimeter bolts. We're just gonna get those backed out. (multi-tool humming) Now on the inside of our fender well, on each side we're gonna have five T-15 torque bits. We're gonna have to pop those out. (multi-tool humming) I'm just using my angle bit driver. Makes it a little bit easier. (multi-tool humming) Now behind here we have this trim. We need to pull back our inner fender well. Get that pulled back. And right up here where we have this seam, we're gonna have a seven millimeter nut that holds these two seams together. We need to get at that and get that backed out. Now this part can be a little tricky. The angle's kind of weird of where it's at. So what I usually try and do is at least get it broke loose with the tool. Now you can use a small ratchet or something like that. Sometimes that works out okay. Usually once I get it broke loose, I'll just take my socket off of my tool and then I'll just back it off with my fingers. On our model we have here today, we are gonna have to pop this trim back too. So just carefully pull that back to a point and just let that hang there for a second. Now we did end up using a short stubby ratchet and a small seven millimeter socket to get that broke loose. Now that I have it broke loose, we are just gonna get that backed off and out. Pretty much gonna have to do this all by feel 'cause it is kind of up in there and hard to see and hard to get at. Now we have our bolt out of there and you can see it is kind of a long one, so you will have to take your time and just get it all backed all the way out. Now right behind our fender well, we're gonna have three 10 millimeter bolts that go through this portion back here of this metal plate. We need to get those removed. Once you get 'em so far, it's easier to just undo 'em by hand. Now on the underneath of our fascia, we're gonna have 15 T-15 torque screws we're gonna have to remove. So we're just gonna start getting those taken out. We're just gonna work from one side all the way over and crossed. (multi-tool humming) Now in the front you're gonna see a bunch of torques fits across the front. You don't want to take these out. We're gonna take the two behind them out. You have one here and you have one here. Those are the only two we're gonna be taking out. (multi-tool humming) Now we're at the point we can start popping off our fascia. You're gonna wanna start from this backside. You're gonna have to pull on it pretty hard to get it to pop out of here. This pops in here really tight. Once we get past this point, it does get a little bit easier. This kind of gets your fingers behind it. Let's start popping off there. Now do keep in mind we do have wiring connections back here that we need to keep an eye on. On our driver's side, we're gonna have this one is gonna have a little red tab. You wanna pull that little red tab. And behind the red tab, you're gonna have that little black clip. You just wanna push in on that and pull it out. Now on your passenger side you're gonna have another one of these connections that you had on your driver's side and here you're gonna have your connect. You wanna push down on this real hard and this tube part of this is gonna come out. You wanna be really careful with this. Anytime you take these apart, this is basically a connection for your camera, so you gotta be real careful with that. They can get fragile through corrosion. Now this big gray one here, you're gonna have to push down on this red button to get this to go back in place. You push this down and pull this back over this. That's how you get that to work. Now we can move our fascia out of the way. Now on the driver's side we're gonna look for a washer fluid bottle and follow it down right here. You're gonna have a 10 millimeter at kind of a weird angle. So I have mine on a swivel. I'm just gonna get it on there. And we're gonna go ahead and back that off. (multi-tool humming) Be careful not to drop it. I like to back it off so far so I don't spin it off and lose it 'cause it could fall down into the frame and that leads to a bad day. Now we'll just get that pulled off of there. Now you're gonna have a little bit of wiring harness. The idea is we do need to get this pulled off and out of the way. Before I start taking anything else, I want to get these little clips off, so I'm gonna take my clip tool and get behind them and just pop these out and out of the way. That way when I do pull the bottle, I'm not gonna have those in the way. Now we're gonna have a clip here. Pull back on your red clip. And in front of that push in, pop that out. Now on our blue plug here, you're gonna have this little blue part here. Pull up on that. You'll hear it click. Now you can pop that right out. That's gonna give us a little more room to work. Next step is we're gonna need to remove our rubber lines. Now we did pull our lines out and we did have a little bit of leaking coming out of these. So what we did, just to put some bolts in there. Once you get some that fit, just kind of get 'em snug down a little bit and you keep the leaking to a minimum. Now we're gonna come back through, remove our two other 10 millimeter bolts and we can get our washer fluid bottle out of the way. (multi-tool humming) On each side we're gonna have this little piece of flap. We're gonna go ahead and remove the seven millimeter on both of those on each side. Now with it unbolted, we can just take a utility knife and we're just gonna cut right along here to get this moved outta the way. Now, we have these rods. Over in the front, we're gonna remove those. (multi-tool humming) Now, we have our cruise control box. We'll go ahead and use our seven millimeter socket and we'll get these three bolts removed as well. (multi-tool humming) Now, we'll just leave that there. Now, we're just gonna take a clip tool and get our pop clips out of the way. Now on each side we're gonna have these little brackets. One of 'em is gonna look a little bit different and we'll show you here in a second. But this one we're just gonna cut right across here. And then the other one we'll show you where we're gonna get that cut. I'm just gonna take my reciprocating saw. I did mark it white to show you where we are cutting it. (saw buzzing) Now you can see where I put the white lines here on the edge of this bracket. We're gonna need to cut that part off as well. (saw buzzing) Now what we want to do is get our baseplate put in place and we're essentially gonna get it set where we want it and it's going to be used as our template for our holes. Now our holes in the front are the ones we're gonna start with. We're gonna drill these out through our baseplate and we're gonna run those out to 3/8s with our drill bit. Now once we get our bolt through our one side, it does take a while to drill through this stuff. You're gonna want to step up in your drill bits. You wanna want to start small and then kind of work your way up 'cause this steel on these is really hard to get through. That's why we didn't show you a whole lot of the drilling process through this because it does take a while, especially in this front part because it is rather thick and double layered. Now once we got our bolt through, it seemed like it wanted to fit a little tight back here along this edge, so what we did is we used this tab to get our floor jack right under here. After we had our bolt in here, we got our floor jack here and we got this to come up where we want it to go. Now it is going to be squeezing against the little pinch weld under here, so that's why it's kind of fitting uptight, but that's what we want. We want it to be a tight fit. Now we'll move over to the other side and we'll get our front bolt in and then we'll get everything all adjusted and start drilling our holes in the sides. (drill humming) Now for your hardware that goes into the front, you're gonna want to have Loctite on your bolt. You're gonna wanna take your split washer, go through. And then follow that up with your nyloc nut. Now after we have the front holes bolted up, what I like to do is I'll get the back ones up here done on both sides before I do any of these other holes. That way what I'll do is I'll get everything to butt up and since it'll kind of hinge back. So we'll get these back ones done and then we'll come back through and drill the rest of our holes on both sides after we get these back ones bolted up and at least snugged up tight enough where everything sits flush. (drill humming) Now in your kit you're gonna have what is called a handle nut. It's gonna have a little rod welded onto the square portion. We need to bend it just right to get it to come all the way back here to the back. And then we're gonna thread our Loctited bolt up through our handle nut. So the tricky part is you're gonna want to have some kind of light so you can see up into the hole. So this satellite here, so you can see when you're moving this into place, it may take several tries to get this bent just right to where it's gonna land right over that hole from the inside. Now we're going in from the front. There's an access hole here in the front, and that's where we are going to with our handle nut. Now after we get our bolt with red Loctite on it into our handle nut, then we can just get it snug down. As you can see, we got it to flush up, so now we can continue on to the rest of our holes. Now everything's lined up where we want it to be. Now that we have the last of our holes drilled on the bottom, we're gonna take our red Loctited bolts and we're gonna have our washer, it's gonna be against our baseplate. We're gonna go through our hole and follow that up with our nyloc nut. And we're gonna do that to the four remaining holes. After we have all of our hardware in place, we can come back through and torque down our hardware to the specifications listed in our instruction manual. Now after we have everything torqued down, we can just get rid of our handle nuts. There's a couple different ways you could do this. You can either wiggle 'em around until they break loose and pop off, or you can just pull 'em out a little bit here and then cut 'em off. I usually try and break them off 'cause that way they're not in there rattling around at all. (metal clanking) So now after we got everything torqued down, we did get our safety cables installed. They basically go around the main portion of our frame and one comes from underneath and one comes over and we go through our shackle and through the hole that we have in our baseplate. Now that we've got our baseplate, at this point you could actually go ahead and put your fascia back on, but we have more components that we're going to be installing, so we're gonna go ahead and get that going now. Now with all of our components in place, we have our fascia reinstalled, we have our cuts all placed in the front of our fascia where everything comes through. So we have everything all set up. And that was a look at our Blue Ox baseplate for our 2023 Chevy Traverse. I'm Scott with etrailer, and thanks for watching.


Prompt service!
Great service
Fast shipping, good price, good product, easy install.
Do you have a question about this Tow Bar Base Plate?
Info for this part was:
At etrailer we provide the best information available about the products we sell. We take the quality of our information seriously so that you can get the right part the first time. Let us know if anything is missing or if you have any questions.





















Thank you! Your comment has been submitted successfully. You should be able to view your question/comment here within a few days.
Error submitting comment. Please try again momentarily.