


To see if this custom-fit item will work for you please tell us what vehicle you'll use it with.


Thank you! Your comment has been submitted successfully. You should be able to view your question/comment here within a few days.
Error submitting comment. Please try again momentarily.
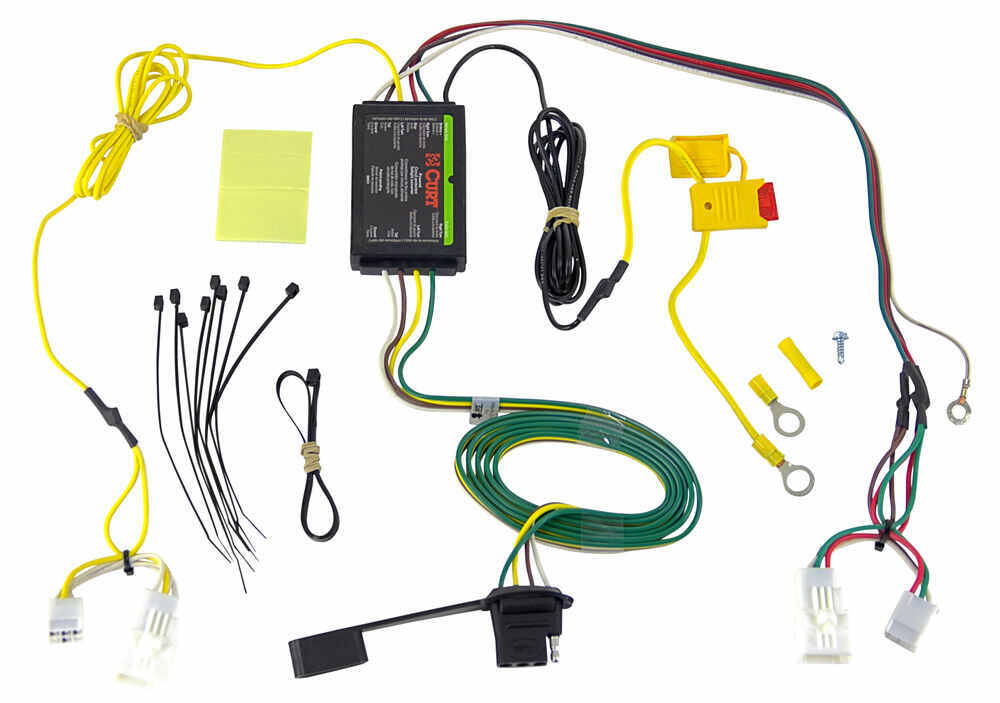
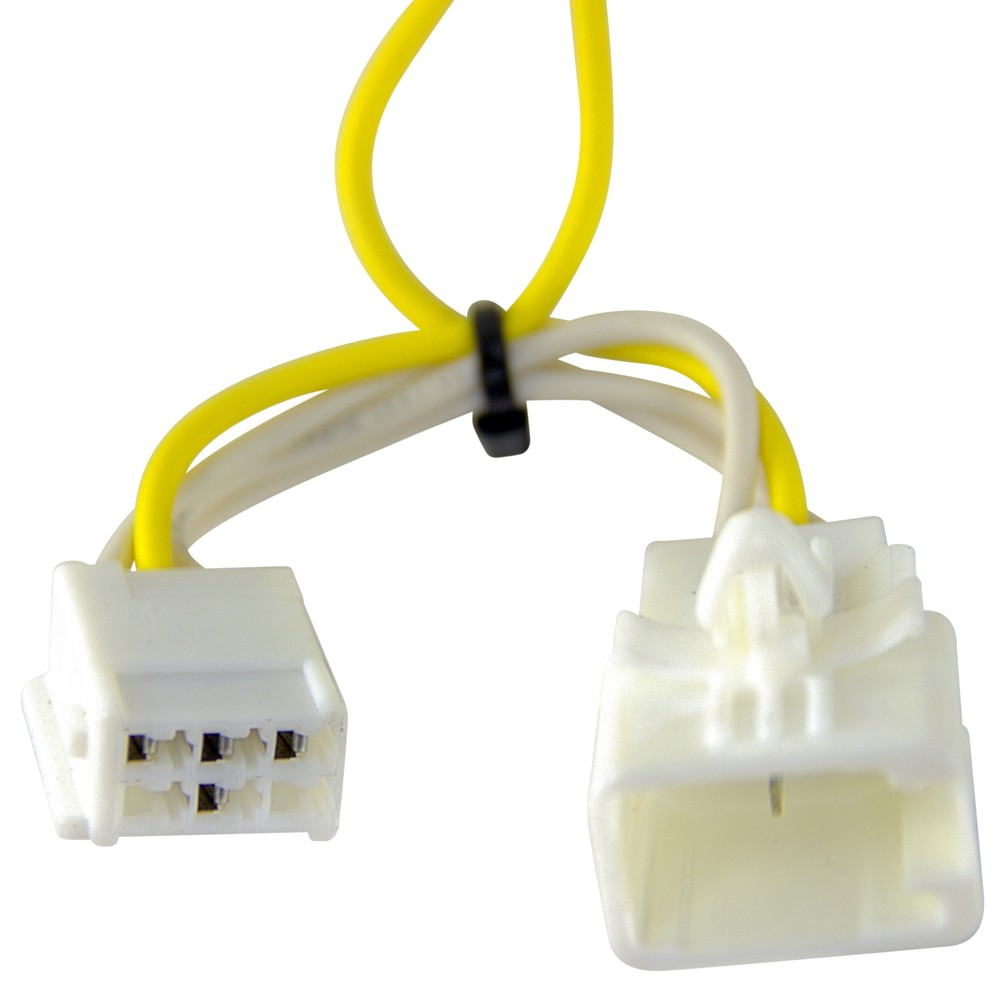




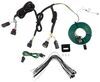
Wiring a trailer can be a pain if you have to cut or tap into vehicle wires, but this Curt T-Connector harness solves that. It plugs right into the factory connectors to give you a 4-pole flat trailer plug. No wire tracing, no splicing—just a clean, direct fit that’s ready to go once you click the connectors in place.
Vehicles with sensitive electrical systems or hybrid setups need wiring that won’t overload circuits. This harness includes a powered converter that connects directly to the positive terminal of the battery. It isolates the trailer load from the vehicle wiring, keeping your lights working right while protecting onboard electronics from shorts or power spikes.
Once installed, the 4-flat connector gives you everything you need for basic trailer lighting—running lights, brake lights, and turn signals. It’s the standard setup for small utility trailers, campers, and boat haulers, and it’s easy to plug in and disconnect when you’re done towing.
Even if you’ve never wired a trailer before, you can get it done quickly with video guidance that shows every step of the install. The harness routes through existing openings and connects behind trim panels, keeping things tucked away for a neat, factory-style finish.

Videos are provided as a guide only. Refer to manufacturer installation instructions and specs for complete information.
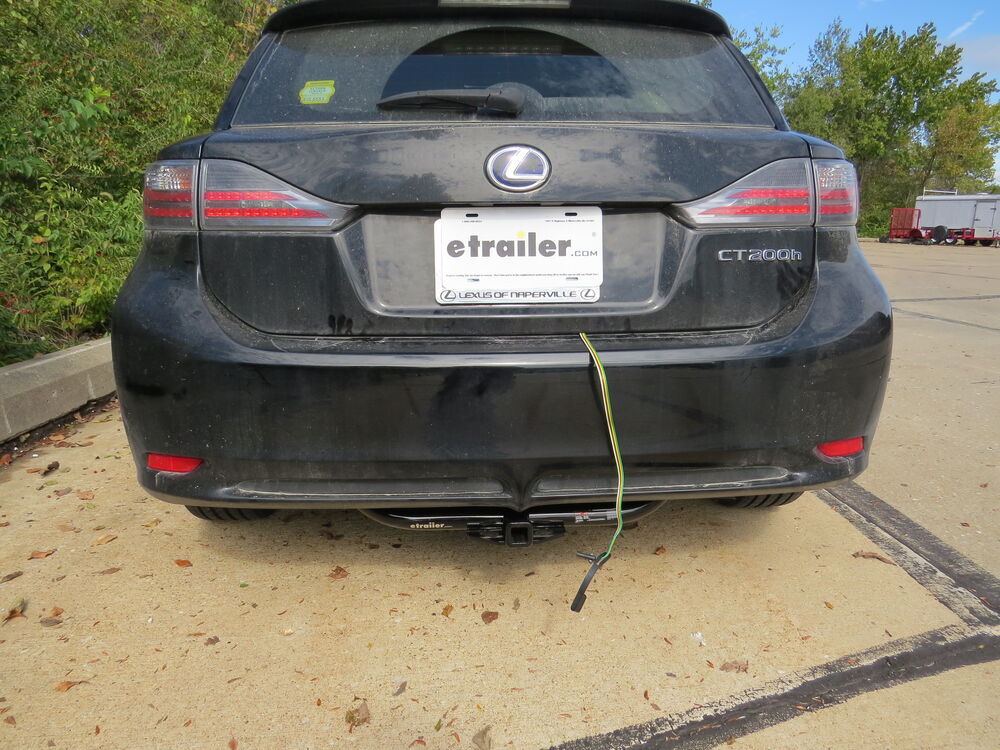
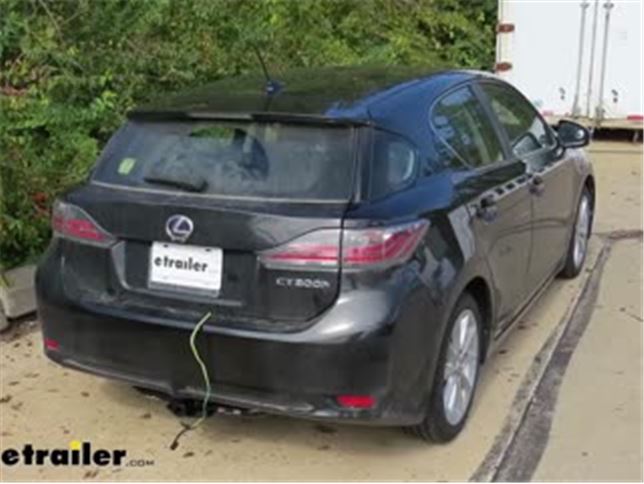
Today on our 2013 Lexus CT 200H, we're going to be installing CURT's T-connector 4-pole vehicle wiring harness, part number 56099. This vehicle wiring harness is going to provide your trailer with all the necessary lighting signals, so you'll be DOT compliant in all states. What's great about this harness is that it has its own power connector with fuse, so if there's any faults on your trailer it won't affect any of your vehicle wiring. You just open the fuse, it'll allow you to make those repairs, reinsert a new fuse for your harness, and you're ready to get back on the road. Also, included with your harness you receive a dust cap, so when it's located outside of the vehicle you can keep out any dirt and debris, insuring a long-lasting connection.Additionally, while outside of the vehicle, if you're not using it, you can use the dust cap to connect it to your safety chain loop, and this will hold it up off the ground, insuring it stays nice and safe. When you're not using your harness it stays inside the vehicle.
You can simply wrap it up, and store it in your compartment at the back of the vehicle.We'll begin our installation here at the back of the vehicle. We're going to need to remove our cargo net if it's there, and our trunk floor covering. Just going to flip all that back out of the way until we've got access to our lower compartment here. This'll just pull up, and we can set that out of the way as well. You will then want to take off your side covers, set those aside.We're going to remove these panels here.
There a plastic nut located down in this compartment. We're going to remove that with a 16 millimeter socket. Then you pull up, and we'll set that aside. We'll do the same thing on the opposite side. Next, we'll pull up our trim piece located here at the back.
You'll just want to simply pull upwards to release the tabs, and we'll set it aside.Now, on our passenger side we're going to remove this panel here. There's two clips here at the top. You just want to pull down on those. inaudible 00:02:02. To make it easier to access the connector, we're going to remove the one bolt located here for our anchor.
We're using a 10 millimeter socket. Set that aside, then we can peel our paneling back, and get to our connector located up here. Your tail light connector is going to be located right here. Going to use a panel remover tool to pop that connector out of its mounting location. We can also use a screwdriver to do this.Now, we can flip it over to the side, and you'll push in on the release tab here, and separate the connector. We'll then take our new harness, we're going to plug that in-line with the original, and then we'll reinstall our harness into its bracket.We'll then hook up our ground wire, and that's the white wire with the ring terminal on it. Were going to hook that straight to the negative post on our battery here. We'll loosen that with a 10 millimeter socket. Slide your ring terminal on, and then reinstall the nut, and we'll tighten it back down.Next, we'll remove our battery positive post cover, and we will connect our battery positive terminal onto that post. Underneath the cover you'll find a stud facing upright. We're going to remove the nut on top of that stud with a 12 millimeter socket, take our battery positive terminal, we're going to slide that over the stud, and then reinstall the nut, and then we'll tighten it back down.We'll then use some alcohol to clean off the location we'll be sticking our module. This'll just insure that we have a good, clean surface area. We're going to peel off one side, stick that to our module. We'll peel off the other side, and then we'll stick our module in the location that we cleaned off. You'll just want to hold that there for about 20 seconds to insure that it has good adhesion.We'll now run our yellow wire across to the other side. We'll need to take the anchor out on this side using our 10 millimeter socket, so we can pull this back, so you can get access to the connector on this side. We'll just connect it like we did on the other side, plug our yellow harness in-line with it, and then we can zip tie everything up.We can now install the fuse into our fuse harness. We're now going to plug in our tester, and verify it's working properly. You can pick up testers like this at etrailer.com. If you don't have one, you can just plug your trailer in. You want to make sure you have your left turn signal, right turn signal, tail lamps, and brake lamps.And, with all of our panels back in place, we're ready to hook up our trailer, and hit the road. And, that completes our installation of CURT's T-connector 4-pole wiring harness on our 2013 Lexus CT 200 H.
Customer Satisfaction Score:
97% were satisfied with this product
3% of customers were not satisfied
Ratings & Reviews

Came quick and had everything I needed and more
Product as expected. Install instructions were simple to follow.
Still working great on our 2012 CT. Install was easy, but most of the rear interior panels had to be removed first to gain access to the wiring.
This harness was extremely easy to install. Snapped into existing harness points no splicing at all. 40 minutes total including interior panel removals and reinstallation
really easy installation, good video online also. Works Great!
After a year I finally got the wiring done on my Lexus. I’ve towed a couple times and the lights are working fantastic.
Fast shipping, easy installation
Scott

4/28/2022
A year later and it’s sill working great, very happy with my purchase.
This wiring harness was a perfect fit for my 2013 Lexus Ct200h. The installation video on YouTube was extremely helpful! I'd award 5 extra stars for the video if possible.

Wesley
11/2/2021
Still working perfectly after 1 year.
Website was very easy to navigate, helped me to dial in my specific car to find the correct products. Communication was superb through the ordering to the delivery, very well automated.
Do you have a question about this Custom Fit Vehicle Wiring?
Info for this part was:
At etrailer we provide the best information available about the products we sell. We take the quality of our information seriously so that you can get the right part the first time. Let us know if anything is missing or if you have any questions.



















Carlos
9/3/2023
Awsome, still like new