
Roadmaster Crossbar-Style Base Plate Kit - Removable Arms


To see if this custom-fit item will work for you please tell us what vehicle you'll use it with.


Thank you! Your comment has been submitted successfully. You should be able to view your question/comment here within a few days.
Error submitting comment. Please try again momentarily.


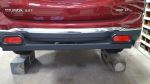
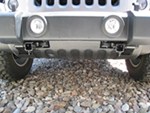
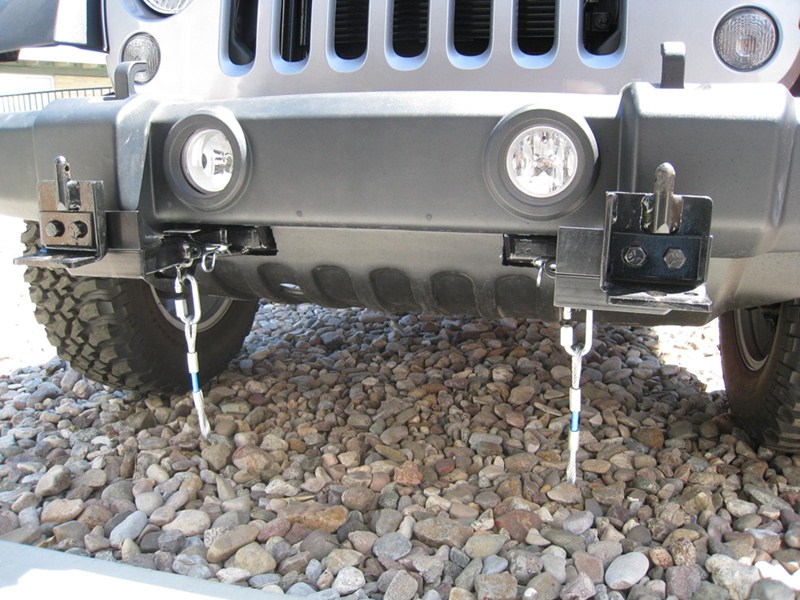
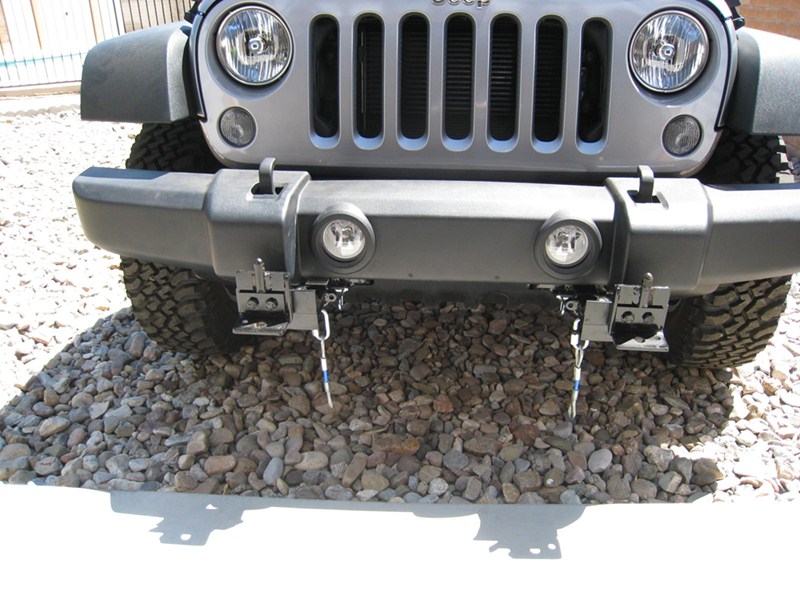
If you like a clean, factory look when you’re not towing, this kit makes it happen. The hidden bracket design keeps everything tucked out of sight behind the grille, and the square drawbars come off easily by pulling two hitch pins. Once removed, the remaining brackets are virtually invisible and protected from scrapes or scuffs.
The base plate is made from computer-cut, all-steel construction for exceptional strength. A black powder coat finish adds durability and corrosion resistance, so the brackets hold up well through years of towing and road exposure without welding or structural fatigue.
Switching between towing and daily driving is simple thanks to the hitch pin connection. The removable drawbars secure quickly with two pins, letting you hook up or disconnect the tow bar without tools. It’s a straightforward setup that makes life easier on travel days.
Each kit is custom-made to bolt directly to the vehicle frame with no welding required. The precision fit helps align everything properly during installation and ensures that once mounted, the brackets integrate smoothly with your existing tow bar system using the Roadmaster quick-disconnect crossbar (910021-00 – sold separately).
Everything you need to mount the kit comes in the box—clear instructions, mounting hardware, and details on optional accessories like fishwires (C58400 – sold separately). It’s designed for a simple bolt-on process that most enthusiasts can handle confidently in their own garage.
Fishwires (C58400 - sold separately) are required for complete installation.

Videos are provided as a guide only. Refer to manufacturer installation instructions and specs for complete information.
Speaker 1: Today in our 2009 Pontiac G6, we're going to be installing Roadmaster's XL baseplate kit, part number 3132-1. This is what your baseplate's going to look like when it's installed. As you can see, you really only can see the adapters that come out that hook to your tow bars. The rest of the system's going to be hidden behind your bumper. It's compatible with all Roadmaster tow bars and quick disconnect systems. It comes with eight inch safety chain cable extensions to give you that optimum length.
You don't have to worry about turning, especially if you have a high low adapter or extension on your RV, and it's held in place by a five eighths inch hitch pin and clip.There's ears located on the outside of the tow bar connection, and this will allow you to lock in the quick disconnect to prevent any theft. You can get one here at etrailer.com with part number RM-302 from Roadmaster. Now that we've gone over some of the features, let's show you how to get it installed. We'll begin our installation here at the front of the vehicle with the hood open by removing the six plastic push pins here at the top of our front fascia. You can use a flat plated screwdriver to go underneath the center tab, pop it up, and you can pull the whole thing out.
Repeat that for the remaining five tabs.Next, we need to remove the five bolts located at the front, and then there's one more on each side for a total of seven. You remove those with a seven millimeter socket. This is at the bottom of the front fascia. Next, we're going to remove the two small push pins located in the lower panel on the corner of the fascia. Can use a trim panel remover tool or a screwdriver to pop those out.
After you remove these two push pins, there'll be two more push pins on the opposite side that will have to be removed.Now, we can pull our fender liner back. We're going to remove the three push pins located here with our trim panel remover tool, flat plated screwdriver, or a pair of needle-nose pliers. We're now on the fender well on our passenger side. We're going to remove the small bolt located here with a seven millimeter socket. Then we'll remove the bolt at the top here, where our fender meets our fascia, with a 10 millimeter socket.
Then remove the three pushpins located between that bolt and the bottom of the inner fender liner. Then you repeat that same process on the other side.Now you want to pull your fender back, get your fingers behind it there. Once you've got that pulled back, there'll be a bolt located along this upper edge here. Remove that bolt with a 10 millimeter socket. Now, repeat that on the other side, and that'll make your whole fascia become loose so you can pull it off. If your vehicle's equipped with fog lights, you may need to disconnect those. Can remove the fog light by pulling the clip back on each side and pulling outward. Do that for both fog lights, and set your fender liner aside.Now we'll need to trim out our air deflector to make room for our baseplate. Gone ahead and marked the locations where we'll be cutting. We're removing these sections here. You can use a cutoff wheel, or a pair of tin snips to remove it. We're just going to be using some tin snips. And just pull it out of there, and repeat the same process on the other side.Now underneath the vehicle, just in front of the tire, we're going to need to trim some additional parts out of our air deflector. This will give us access to our subframe bolt, where we'll be connecting our baseplate. Now we've got our holes cut out. If you didn't use a cutting wheel, you may want to take the razor knife just to go in there and clean up some of those rough edges. You repeat this same process on the other side.Now we'll need to take out the 221 millimeter bolts from our subframe, but before you do that, you want to make sure that you support your subframe. If you're doing this on the ground, you can use a regular jack stand, put that underneath the front of your subframe. We have a lift here, so we're using a steeple jack. The part that we cut away earlier is going to expose the inaudible 00:04:26 of the bolt on our subframe that we need to remove. You can remove this with a 21 millimeter socket. You repeat that same process on the other side.To make it easier to install your baseplate, remove this pin on your bumper that connects your air deflector on your passenger side as well as this pin here. This will allow you to maneuver it out of the way, making it easier to get the baseplate in. And then you repeat this on the other side. Apply red Loctite to each pole. We're now going to lift our baseplate into place. You're going to want to slide it through the openings that we had cut out previously, and then we're going to install the longest bolts with a lock washer on it, and the red Loctite that we applied with the spreads. Make sure that the large washer that was on the original bolt is between your baseplate and your rubber bushing.Once you get your bolt started, snug it up just a little bit with a 22 millimeter socket. Get your other side started, and then snug them both back up. Now torque your bolt to the specifications in your instructions. Next, we're going to be drilling out the holes located here in the front using a 17 32nds drill bit. Once you've drilled through the first layer, you're going to want to drill through the second layer as well. You'll repeat the same process on your other hole.Now, take the large spacers provided in your kit and slide them down the side of your bumper frame. We're going to line them up with the holes that we just drilled. Once you get them lined up, take the smaller bolts in your kit, put on a lock washer, and apply some red Loctite. Slide it up through the hole in the spacer and making sure that it goes all the way through. Once you've got it all the way through, take the nut plate provided in your kit, go behind the bumper, and place it on top, in between the two rails. We're going to place the nut plate on the other side, thread our bolt into it, sandwiching the spacer inside of our bracket, holding our baseplate in place.Now tighten and torque your hardware to the specifications in your instructions. Now, using your 17 32nds drill bit again, we're going to drill out the holes located on the flange here, just behind the corner of our bumper support beam. You repeat that same process on the other side. Now we'll use some fish wire to feed the spacers and bolts up into the frame and down through the hole we just drilled. Fish wire doesn't come with the kit, but you can pick some up here at etrailer.com with part number 80101-1. That's for the correct size, which is half inch. That'll get you good to go to complete this job.Start by feeding the coiled end up through the hole that you just drilled. We're going to work it back to a square hole located on the bottom of the frame. We'll come out there. First, slide your spacer over your fish wire and push it up into the frame. Then, thread on your carriage bolt, feed it up into the frame as well, and pull it back through with your fish wire. You repeat that same process on the other side. Apply some red Loctite onto your nut, put a lock washer over the carriage bolt that we just fed down, and thread the nut on. Repeat that same thing on the other side.Now, tighten and torque your hardware to the specifications in your instructions. You'll likely need a 19 millimeter crow's foot in order to torque these. We can now reinstall the components we removed. We're going to start by putting our push pins back in our side panels for our air deflectors. These are going to be the only ones with the smaller intersection. Repeat that on the other side.Next, we need to make modifications to our fascia. We'll need to cut out the area here to allow room for our baseplate. You can see we've got it cut out here. We're going to do the same thing in the same location on the other side. And lastly, we'll need to trim off the top fin here on our grill, starting on the outside to the first pillar here on the inside. And now I'll do the same modification on the other side. Now we can put our bumper back into place. We'll hold it up, get it near position, plug our fog lights back in, and then put our bumper back into place.Underneath, you want to make sure you put the five small screws in in the front, all the push pins that we had removed, the screws on the sides, and then make sure you do that on both sides. Additionally, you also want to make sure you put your fender bolts in. After you've got your bumper reinstalled, you can install your safety chains. Unscrew the C bolt, slide it in, slide your chain around it, and then tighten it back down. Do the same thing on the other side.Take your tow wire adapters, slide them in, push your pin through, and then insert your clip. We'll do the same thing on the other. Now that everything's installed, you can hook it up to your RV and hit the road. That completes our installation of Roadmaster's XL baseplate kit on our 2009 Pontiac G6.
Ratings & Reviews




Kate F.
5/14/2026
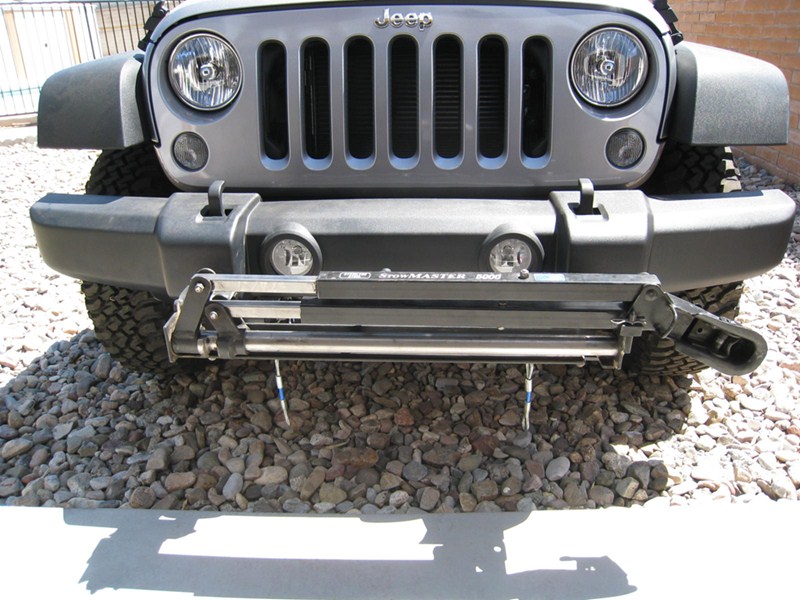
Thanks for the review and for sharing your installation experience Christian. Your tip about leaving the bumper on during install is really helpful, especially since fitting the ends through the louvers can take a little extra maneuvering. It’s also great to hear the setup works well with your Stowmaster 5000. The install looks great, and we appreciate you sharing the picture! Where did you go for the first trip?
Robert

1/7/2026
Everything related to my Mini towing system is working great after a year of use.i do wish I had bought a cover for the tow bar though. Keeping it clean would be easier with the cover. Great products and service from etrailet
Robin
11/25/2025
Working great these are durable tow bars Have no problems with them easy to hook up and tows vehicle without no problems .
James
7/3/2026
New system working fine. As with previous system it requires towed vehicle to be nearly perfectly aligned straight behind motorhome to disconnect without considerable tension.

David
5/24/2026
It continues to work flawlessly

Christopher H.
8/4/2026
Thanks for you feedback Thomas! Sounds like the install went smooth. Hope you have a great summer!

Claire H.
5/7/2026
Thank you so much for the kind words and being a repeat customer with us! We look forward to helping you out with all your future adventures!
Rob
1/21/2020
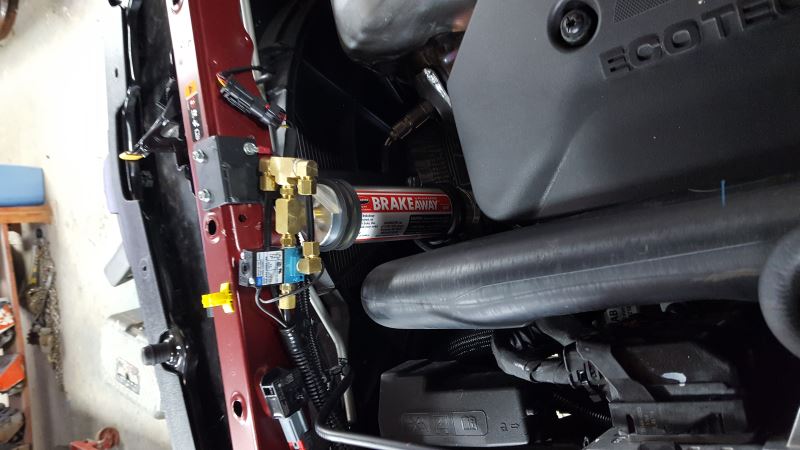
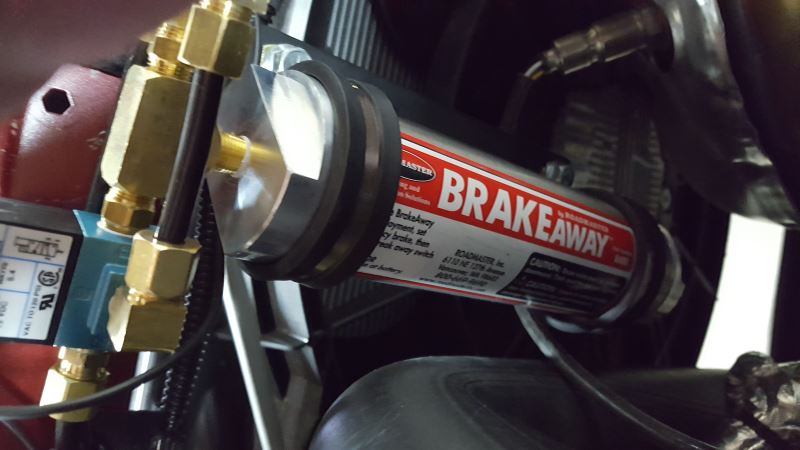
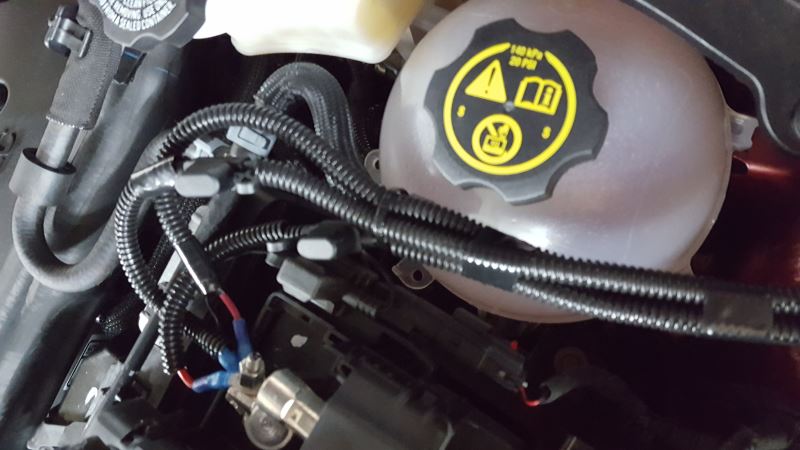
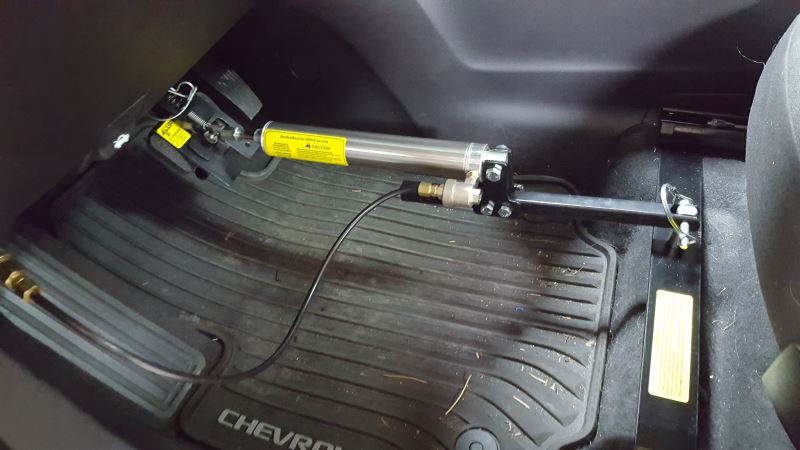
Everything is working great, I installed a base plate kit, battery charging kit, stop light switch kit, second vehicle air brake kit w brakeaway and seat adapter on our 2019 Chevy Equinox and towed it about 14000 miles behind our motor home this past year and everything worked perfect not a problem with any product. These are great products, everything fit perfectly and performed perfectly. Thank you for great service and great products. Rob
Chris
3/16/2020
It’s been a year now and probably 7,000 miles later and everything has held up perfectly despite some darn rough roads between MD and Albuquerque, NM and back.
Bill F.
10/15/2016
Hate that every 3,000 miles towing have to re-torque bolts of base plate. Good product otherwise.

Bob T.
4/20/2015
This item works great. Have towed about 4500 miles using it. I couldnt be happier with the results.
J.c. R.
7/24/2019
Other than the clearance of the mounting bracket I noted in my original review, the base plate worked out fine on the Kia. I ended up replacing the Kia with a new Subaru. I was able to buy a Blue Ox base plate for it and all mounting hardware is up and out of the way of obstacles.
Sanfordturbo
8/23/2021
Over the past year, i have towed the Fiat behind the motor home for 15000 miles or so. Rock Solid. Highly recommend. Ive had 2 blow outs on the motor home and the tread bounces off the Road Master Guardian without damaging the Fiat. The Guardian is scuffed and scratched and handling it well.
Jeffrey
10/29/2018
Base plate has been working out great. Easy putting on and taking off.
Ronald V.
12/17/2019
Still going strong. This last summer towed the vehicle behind our motor home for over 3500 miles. Not a bit of problem!
Do you have a question about this Tow Bar Base Plate?
Info for this part was:
At etrailer we provide the best information available about the products we sell. We take the quality of our information seriously so that you can get the right part the first time. Let us know if anything is missing or if you have any questions.




















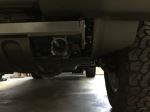
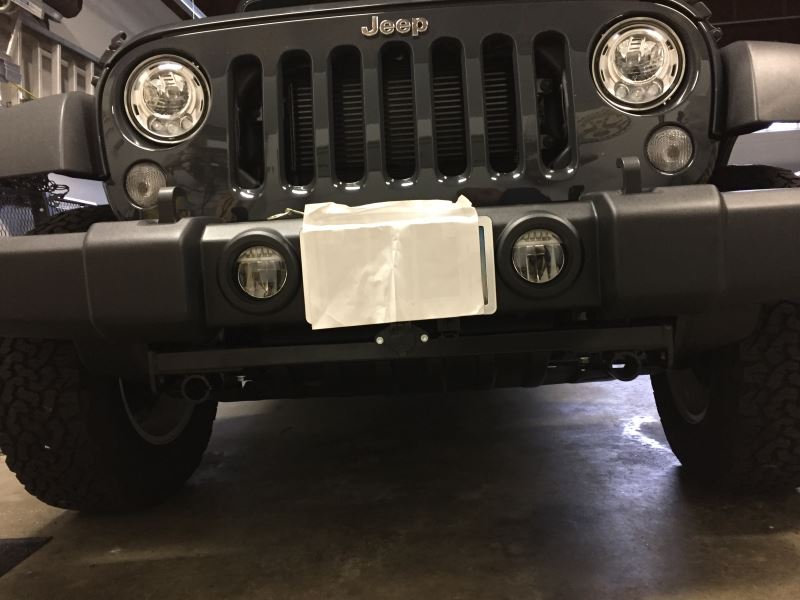












Claire H.
7/6/2026
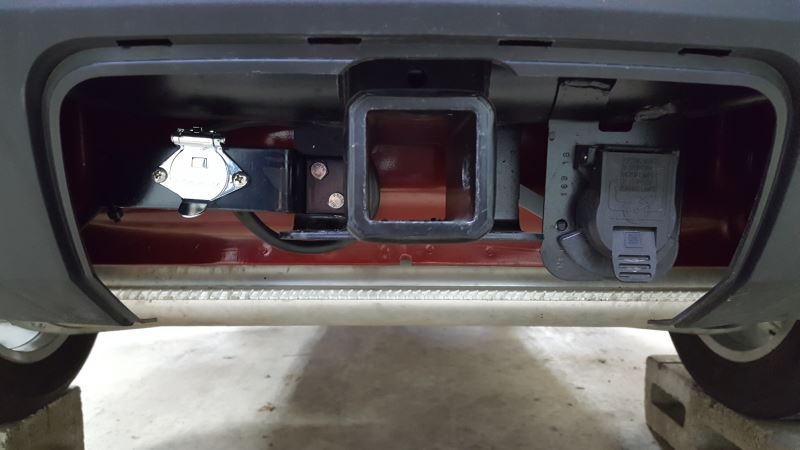
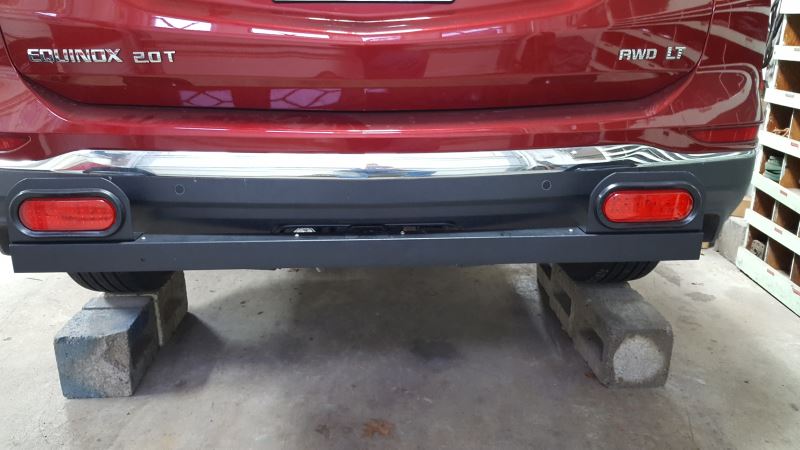
It really is invisible! It took me a second to even find the base plates in your photo!