


To see if this custom-fit item will work for you please tell us what vehicle you'll use it with.


Thank you! Your comment has been submitted successfully. You should be able to view your question/comment here within a few days.
Error submitting comment. Please try again momentarily.

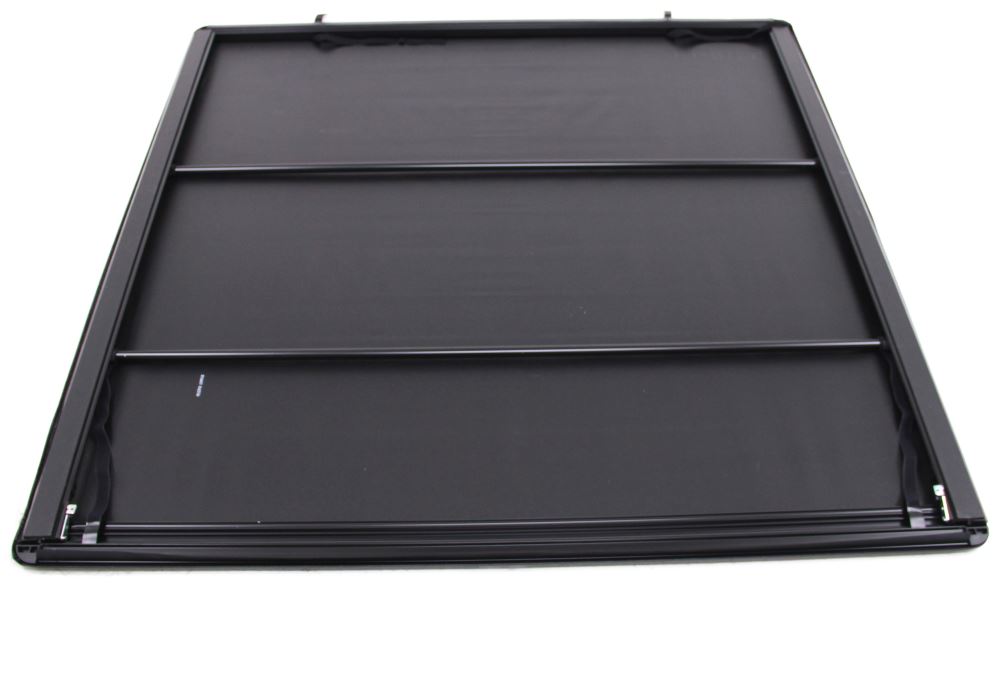


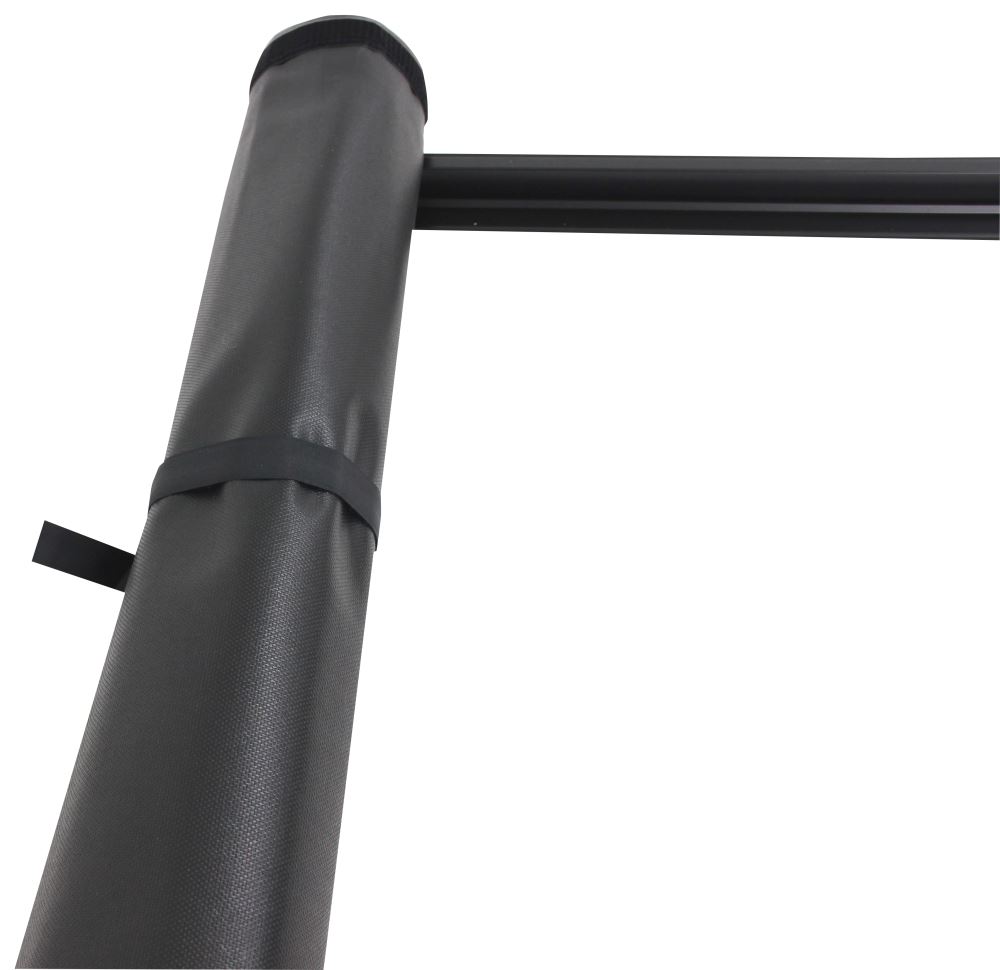


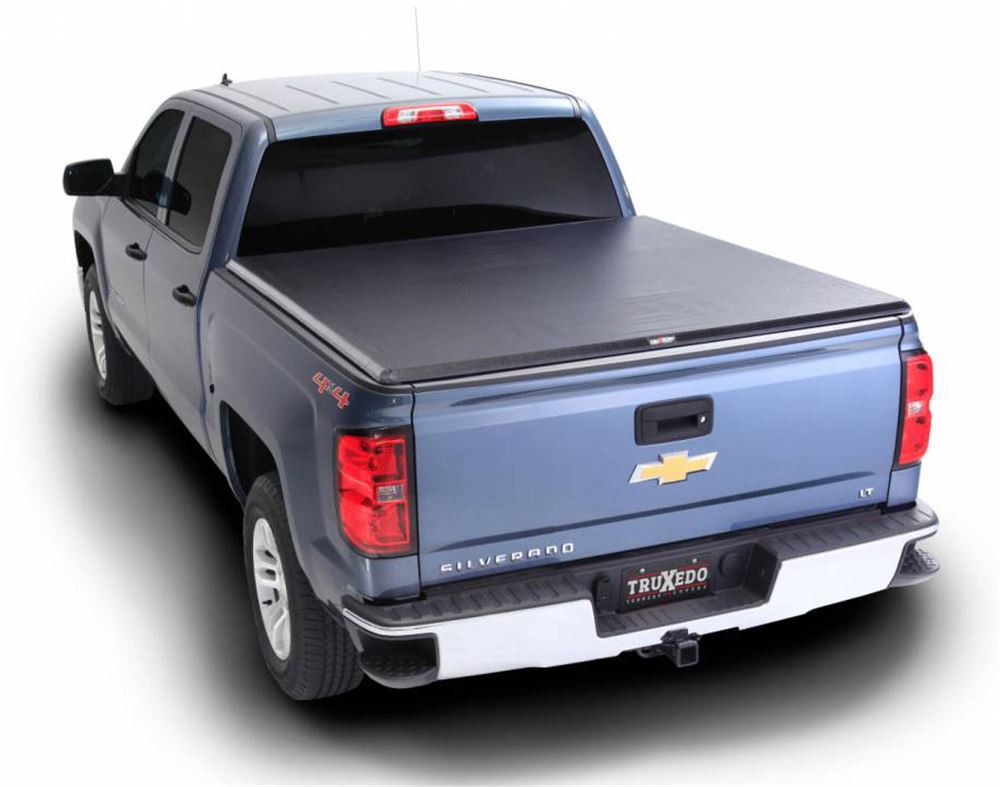

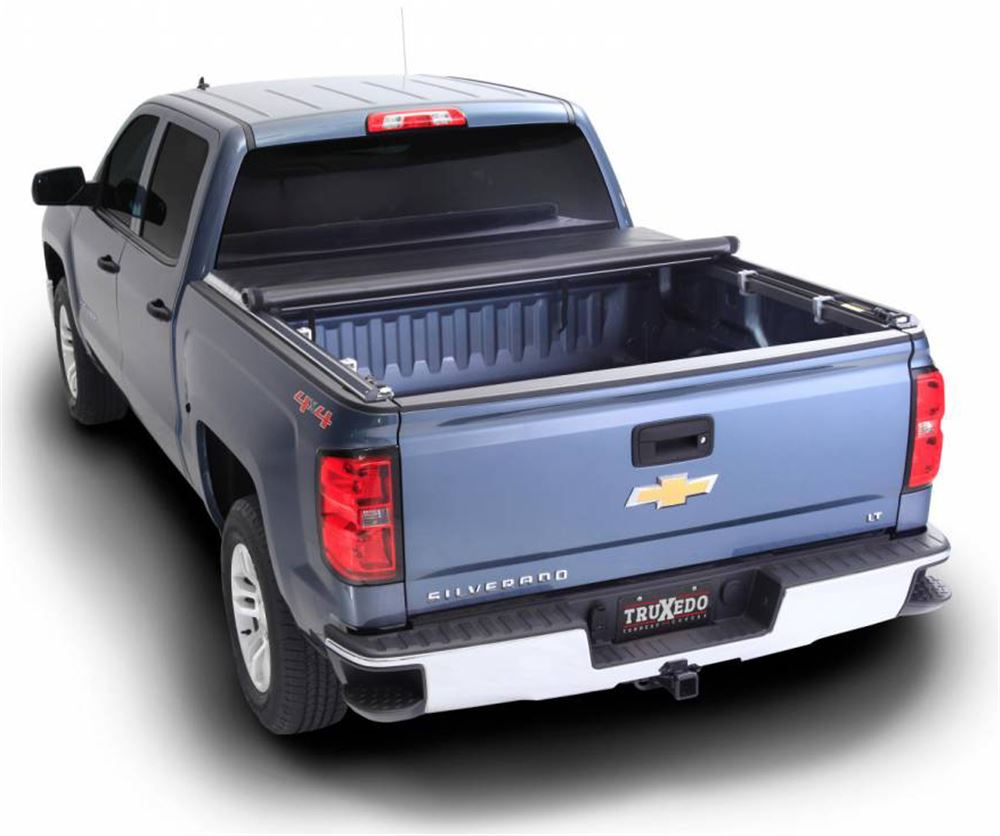
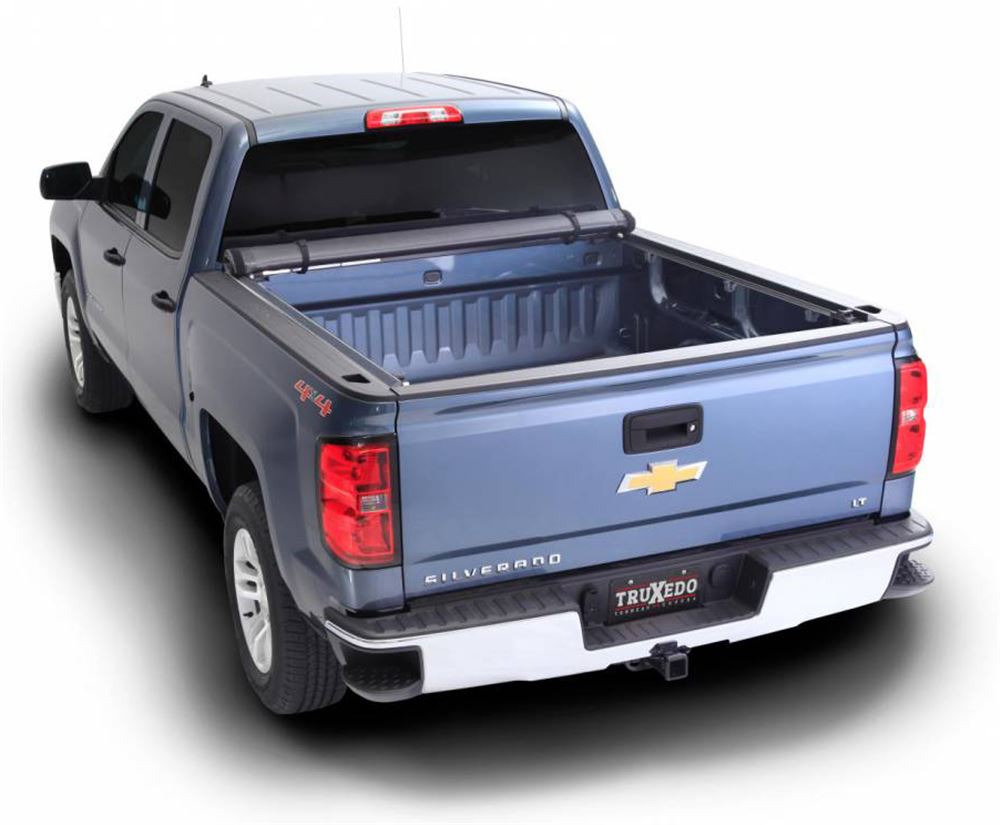


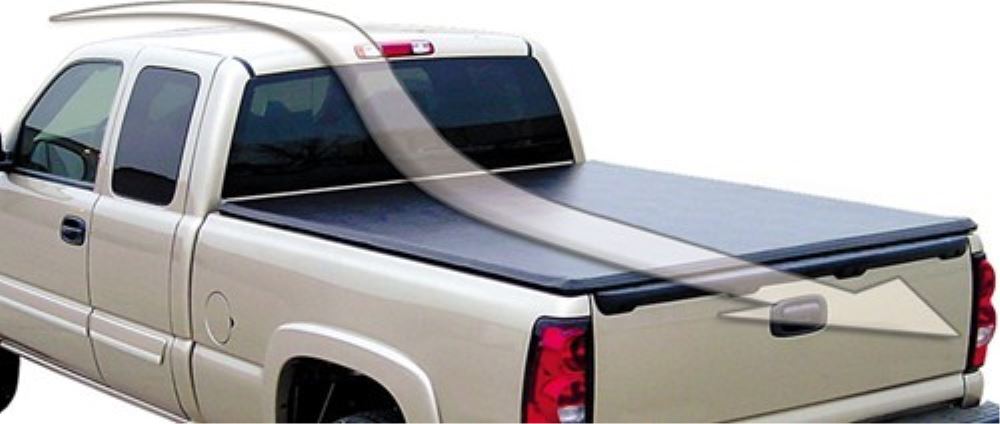

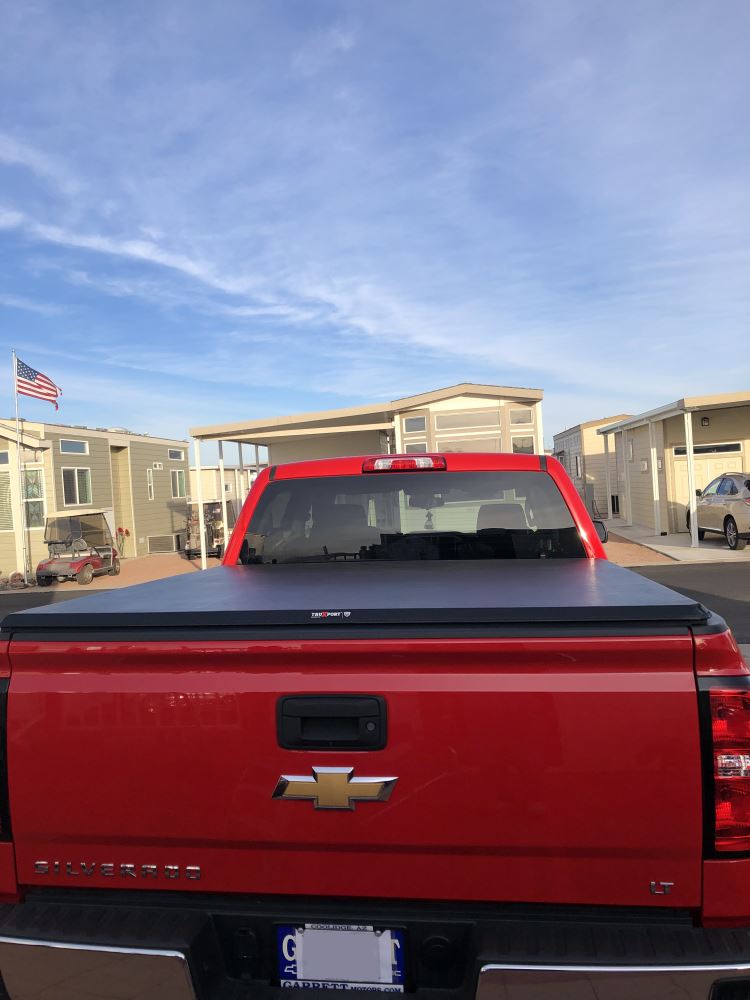
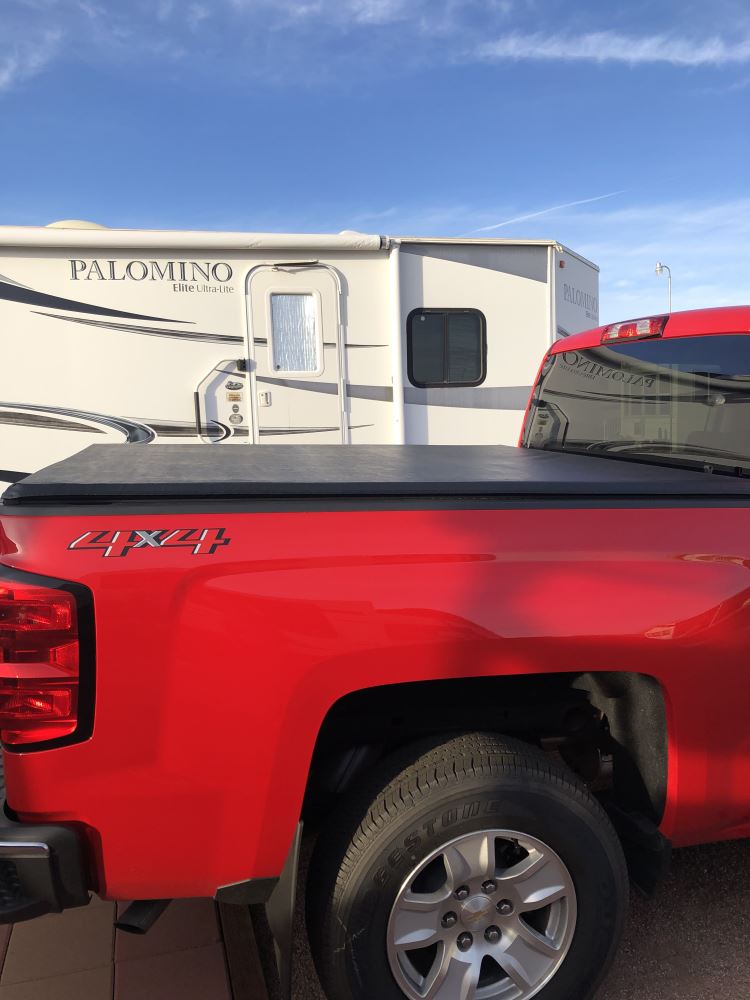

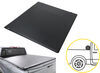
When you need the whole bed for gear or larger loads, the TruXedo TruXport makes it easy. The soft vinyl cover rolls up quickly and secures behind the cab with built-in straps, so you get full use of the bed without removing the cover. The rear header and crossmembers roll up right along with it, forming a compact roll that stays out of the way until you’re ready to close it again.

No more sagging or flapping in the wind. The TruXport’s dual-latching mechanism automatically sets and maintains proper cover tension each time the rear header is snapped into place. The latches can be released one at a time for easy operation, and when closed, the system keeps the cover tight and secure in any climate.

You can have this cover on in minutes without drilling or cutting into the bed. The TruXport installs using three clamps per side, holding the rails firmly on top of the bed walls. A front and rear header keep the assembly solid, while Velcro side seals keep the edges snug and aligned. It’s a simple system that’s strong, clean, and straightforward to set up.

The TruXport’s black vinyl grain surface gives a smooth, finished appearance while helping protect your cargo from dust, rain, and snow. Weather seals on all four sides keep most moisture out, and because the cover sits just about 1-1/2" above the bed rails, it keeps its low, even profile without any arched bows showing through.


By smoothing airflow over the bed, the TruXport’s aerodynamic shape can improve gas mileage by up to 10 percent. The flush, straightforward design not only looks clean but also cuts down on drag. Combined with the simple roll-up access and secure tailgate locking setup, it’s a practical way to protect your cargo and keep your truck efficient day in and day out.


Videos are provided as a guide only. Refer to manufacturer installation instructions and specs for complete information.
This is Curt with etrailer. Today we're taking a look at the TruXedo TruXport Soft Roll-Up Tonneau Cover on our 2022 GMC Sierra 1500. Now it is important to double check the fit guide on our website because we have a 5-3/4 foot bed today. However, there is a 6-1/2 foot and an eight foot bed version for the same truck. So double check that you've got the correct vehicle in the fit guide before choosing. Tonneau cover is an excellent way to keep the items in your truck bed relatively dry and dust free.
So while no ton of cover is completely waterproof, these are gonna do a really good job of keeping everything kind of clean back there without making too much of a mess and a soft tonneau of cover like this while it's not the best protection against thieves necessarily because technically a thief can kind of cut right through this vinyl top, a hard tonneau cover is better protection against that. A soft tonneau cover like this though is gonna protect against those elements that I mentioned earlier and just keep everything nice and tidy back here. The TruXport does sit above your bed rails by about an 1-1/2, so it does come up off of there a little bit and as we come around to the back, this cannot be unlatched or opened up unless the tailgate itself is open. So there is gonna be a lot of security in that. No one's gonna be able to get in here as long as your tailgate is locked.
And while we're speaking of tailgates, if you have the MultiPro tailgate from GMC, this tonneau cover is gonna work with that just fine. So if we go ahead and open up the tailgate here, what we'll find is there is going to be a release cord underneath here that we'll be able to pull back and unlatch it pop up just like this. And the tailgate crossmember and other crossmembers in here are gonna keep this guided really, really well as it goes along our rails. So here we come upon our first crossmember here, but this rolls up really tight and really straight because of those guides and also because of these you're not really gonna need two people to roll this up even. It's really easy to get it guided all the way up to the bulkhead by itself.
And then once we get it all the way up here, we do have a hook and loop that we're able to just put it in and get it securely fit so that it could stay up in case we have items in the truck bed that are too tall to drive around with the tonneau cover on. When it's ready to deploy it again, we'll go ahead and unhook either side and we'll just guide it on down just like so. And again, these crossmembers really do help just make sure everything is nice and tight and straight and again it allows us to do this single handed instead of having somebody on the other side to help kind of guide it into position. Then once we get all the way to the end here, it's gonna latch in right here on either side. We'll be able to close it and latch it down just like so.
Once that's done, what you're gonna want to do though is go around the sides. The sides have a hook and loop system around it, that's just gonna keep this really tight across the entire tonneau cover and help us to keep it sealed because that's another great thing about this tonneau cover, all four sides of the tonneau cover have a seal underneath it to keep out as much water as possible. And once we get everything down on all the sides with this latch down, we can go ahead and close our tailgate and we're ready to hit the road. Now installation of this tonneau cover is fairly simple, so follow along and we'll show you exactly how we got this on our GMC Sierra 1500. To start our installation it's always a good idea to lay out our parts and make sure that we have everything we need. So going from left to right, we're gonna have our driver's side rail, our cover, our passenger rail, our bulkhead seal, and our corner seals and six clamps. And what we'll need to provide is a half inch socket and a pair of scissors or some other kind of cutting tool. First part of installation is going to be to put down our bulkhead seal. Now we've already taken some alcohol and wiped this down really good and let it dry. That's really important. It is an adhesive so we wanna make sure it sticks and stays. So what we'll end up doing is placing this. We're going from the inside of our bed rail to the inside of our driver bed rail. And where we want it to place is completely on the flat part. So line up your inside edge as close to where it starts to curve over as possible. On our bulkhead here, we have this little nook in the liner and that actually lines up pretty well with it, so we're gonna use that as our guide, but we're just going to stick it down and just kind of slowly work our way all the way over to the driver's side, just making sure we're keeping it in place as we go. Once we got everything across, you are gonna have some excess here. So go ahead, take your utility knife or your scissor, get it lined up so that it's right up against our bed rail here and we're just gonna cut that excess right off. Okay, and once we've got that done we can go ahead and peel back our sticker here on the top and we're just gonna give this a couple of minutes to kind of dry out, stick down, get settled before bringing our cover up. Go ahead and grab your cover and on your cover at the bulkhead end here, we're gonna have a rubber strip really similar to what we've got the seal that we just put down. But we're gonna go ahead and take our cover and we're gonna lay it close to where it's gonna need to be in place here before grabbing and attaching our rails. For the next step, there's another seal that we're gonna need to apply and it's gonna be the corner seals on our rails here up at the bulkhead. What you're gonna end up doing is just turn your rail over the end we're looking at is the end that has this little plug here and we're gonna find this kind of crescent space right here. With that, we're gonna take that little seal pad here and the ones that are at the center of it, that cut out there in the center, those are the ones that we're looking for here. So I'm gonna go ahead and peel that off and I'm gonna put that in place right over that spot and give it a good press, make sure it sticks well. Then I'm gonna give it a couple of minutes to dry and adhere. I'm gonna go ahead and do our passenger side as well. We're gonna grab our passenger side rail. We're gonna put this kind of plug end right here. We're gonna be inserting it into the end of the bulkhead portion of our cover right here. So we're gonna go ahead and slide that through. So when you're putting it in, don't expect it to like click and lock in. It's not really going to do that. What you want to do is make sure you guided it in there so that it is there and in place. And once you have that done here on the passenger side, just repeat this process on the driver's side. After both of your rails are inserted, come back up here under the cover and that seal that's underneath the cover, we want to get that lined up with the seal that we put down at the beginning of installation. So once that's lined up, we also want to come over and we wanna make sure that our rails are lined up to be flush with our bed rails. Grab our clamps and first we'll talk about where we need to place them. We've already installed on our passenger side, so the idea is we wanna get one of our clamps as close rather to the tailgate as possible. One as close to the bulkhead as possible. And then as evenly as we can in the middle, get a clamp in the middle. Now this one's slightly off center 'cause there are some like tabs and things like that that are holding on our bed rail that we really can't work around with the clamp. So we're a little bit off center in the middle, but for the most part we've got it pretty evenly distributed. So we're just gonna loosen our bracket up. I'm just gonna get it as loose as I can. It's gonna open up just like this. I'm gonna go ahead and twist this around a little bit to help it clear. If you feel around under here, you're gonna have one of those tabs under the bed rail right about here. So I'm gonna place the clamp behind it, but before it starts to slant over. So there is space for it right in here. So with this longer edge with the teeth that's gonna go on the bottom, so I'm gonna slip that under and then the top end, I'm just gonna slide over and this tab here on the front of it is gonna go under this little lip that we find here and I'm gonna move it toward the back until it bumps up against that slanted portion. And then I'm just gonna hand tighten these down for the moment. I want 'em in a position to where they're not gonna move on me, but I don't want 'em completely tightened down yet. And I'm just gonna continue this process with the other two clamps in those placements that we discussed on the passenger side. So we're getting toward the end of our installation and while the instructions did mention a half inch socket as a tool that would be required for installation, what they failed to mention is that what you'll actually need is a torque wrench. There is a torque spec in the instructions for these bolts. So go ahead, take your torque wrench with your half inch socket and adjust it to the foot pounds recommended in the instructions. There we go. So once all six of our clamps are torqued down, we're gonna go ahead and unlatch our cover so that we could roll it down our rails. So we've done the passenger side already, we're gonna go ahead and unhook right here behind it. Let that fall. And we're just gonna guide this on down the rail here as we go. We've got those support arms, we're just gonna make sure that as those come through, they're sitting on the rails. As we get it unrolled to the tailgate, we're gonna have these little kind of pie shaped spaces right here. This is where we're going to apply our tailgate seal. So we're just gonna peel those off and put them in place just like so. Now the rounded part is gonna overhang. We're lining up these straight line parts to be flushed with it. We're gonna just get that stuck on there like so. Give it a good press, make sure it stays where it needs to be. We're just gonna give a couple of minutes for that to set too before we finish up by closing our tailgate. So we did the passenger side. I'm gonna go get the driver's side done, then we'll give it a few minutes. Directions do mention as you're putting the rails on that you may need to make some adjustments after you try to latch it close. And that did just happen to us. When we tried to latch down the end of our tailgate or the end of tonneau cover at the tailgate end here, what we found out was that our rails were just slightly far apart on both sides. So we loosened our clamps and tightened them down again once we figured out the best placement for 'em. So the best placement form really is this inside edge here. If you line that up with the liner of your truck bed, it is gonna overlap on the end here. You can see the seal at the bottom of our rail overlaps a little bit, but if we line that bed liner up with the inside of this part right here, it's gonna latch shut perfectly fine. In fact, it just kind of falls right into place where it should just like that and latches shut perfectly. We can pop our cord, open it up and roll it back up again. So it's gonna cradle in just like this. This lip here is gonna go into this little nook on either side, just like so, gonna fold down. You're gonna get some resistance at this point, but you're just gonna clamp it shut. And then there's going to be a pull string or a cord underneath. You'd have one on either side so that you could open it from either end. If you just pop that, it'll delatch it and you can lift it up and roll it up from there. I really like the overall look of this on here. I like the vinyl grain top. I like the more matte finish to it. I think it compliments the bed rails really, really well. And overall, I think this is a great look. So if you're really looking for a solution for your truck bed, that is economic easy to install. And if anti-theft isn't your number one priority, your priority is more, just keep everything back here dry and clean. I think the TruXport from TruXedo is an excellent option for you as far as a tonneau cover. And if after watching this video you decide this is the tonneau cover for you and you get it and you get it installed, please share with us what you think about it in the comments below. We would love to share that experience with other neighbors so they can make the best decision for themselves. Once again, this is Curt with etrailer. Thanks for stopping by.
Ratings & Reviews




Nick S.
11/17/2025
I am sorry to hear that is your initial experience with this cover. What seems to be going on with it?

Kate F.
6/17/2026
Thanks for the great review, Pete! We really appreciate you sharing the photos, and the install looks fantastic on your new 2026 F-150. It's great to hear the cover fit exactly as expected and that installation was quick and easy. That was awfully nice of you to let your son have the cover as part of the purchase =)

Mike L.
6/30/2026
Thanks for the awesome pic's Lane, looks great!
Mike L.
4/29/2026
Glad to hear you're happy with your tonneau cover, Matthew. Thanks for the awesome photo!
Kate F.
11/19/2025
Glad we could help assist you in picking out the right tonneau cover Rob! Install looks great, I would say you are the real expert =)
Mike L.
1/28/2026
We're glad to hear that! Truxedo is based in South Dakota, so you can bet their tonneau covers are designed to handle a snow load!!

Gwendolyn Y.
4/24/2025
I'm sure you get this a lot but I love your truck, Tyler! How long have you had it for?
Scott
5/29/2026
Product has been wonderful. No issues operating the top. After one year there is very minimal stretching and no fading or cracking. Still looks new.
Rory
5/25/2026
Works great. I am very satisfied with it. It remained closed all winter and is still tight and looks good even after having up to a foot of snow sit on it.
Info for this part was:
At etrailer we provide the best information available about the products we sell. We take the quality of our information seriously so that you can get the right part the first time. Let us know if anything is missing or if you have any questions.





















Merle S.
2/15/2020
Great. Still looks like it’s brand new. Works great.