


To see if this custom-fit item will work for you please tell us what vehicle you'll use it with.


Thank you! Your comment has been submitted successfully. You should be able to view your question/comment here within a few days.
Error submitting comment. Please try again momentarily.


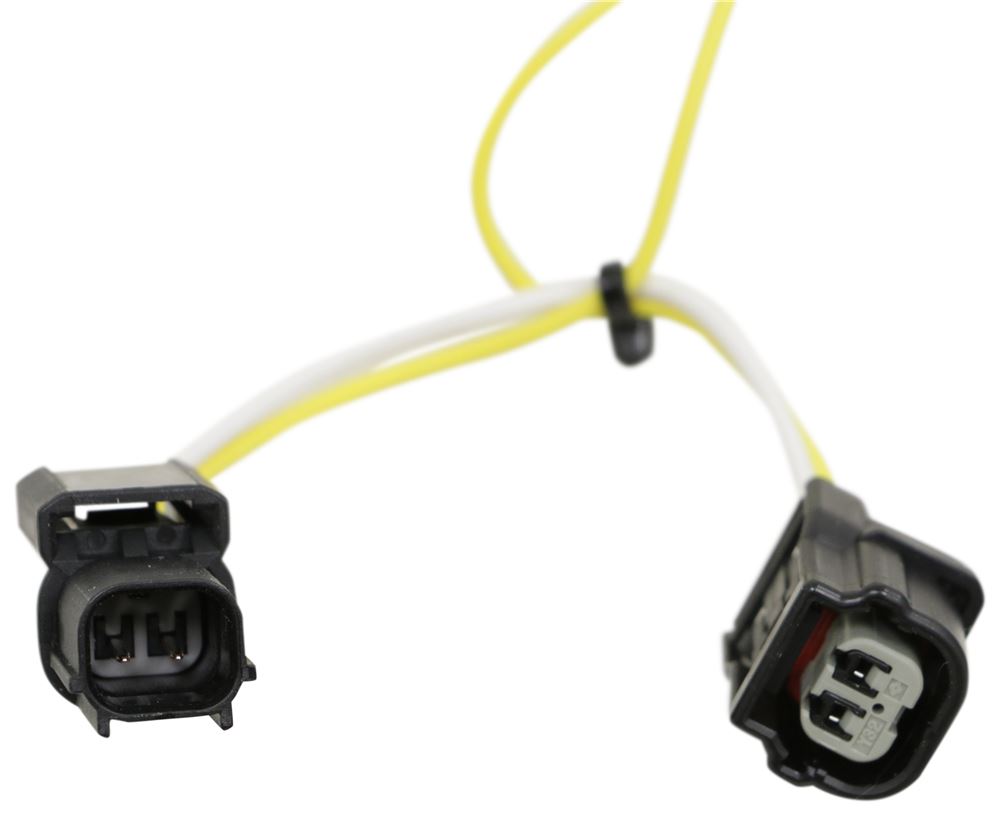
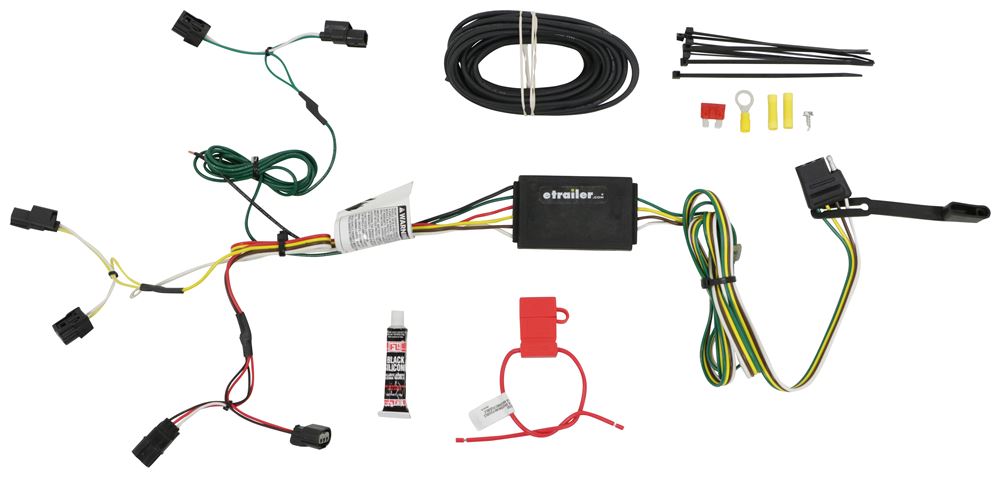
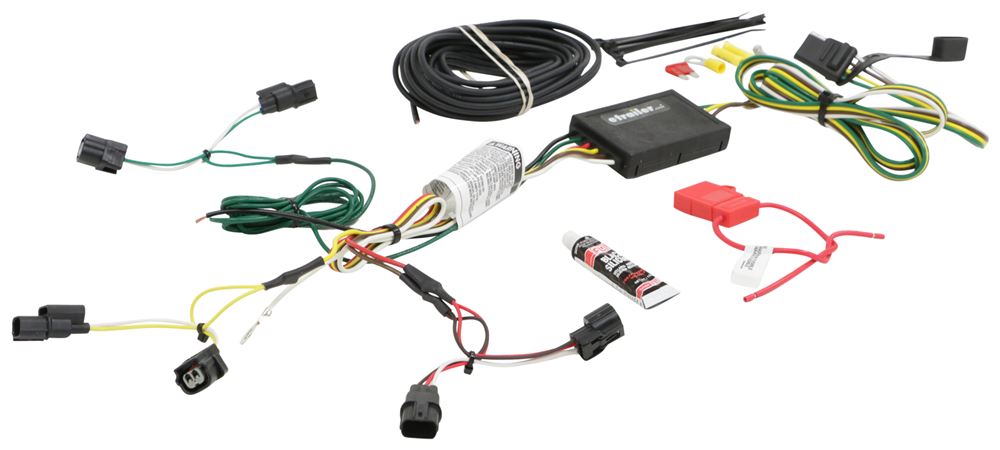
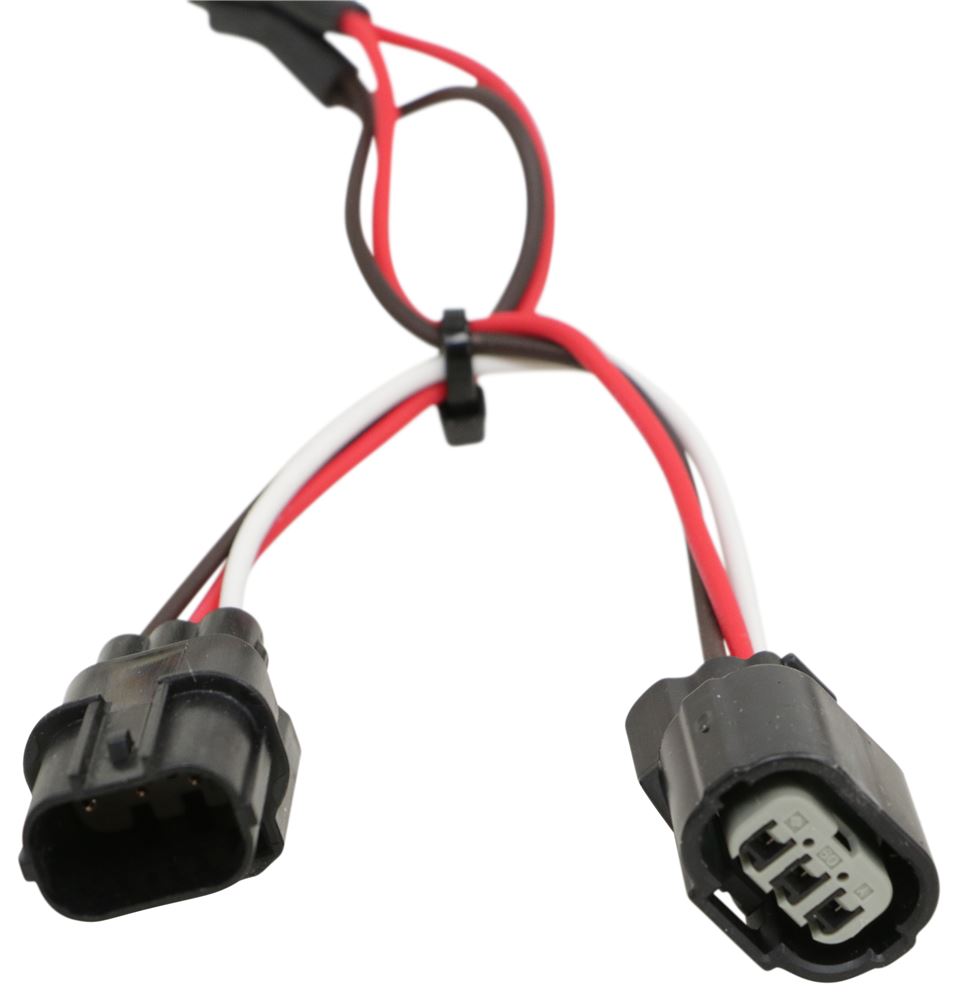
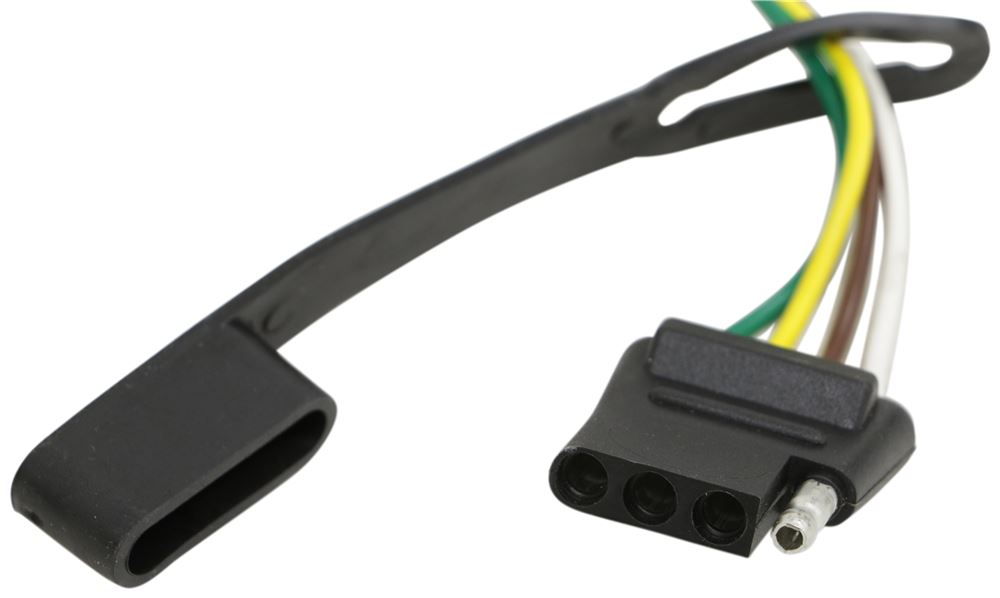

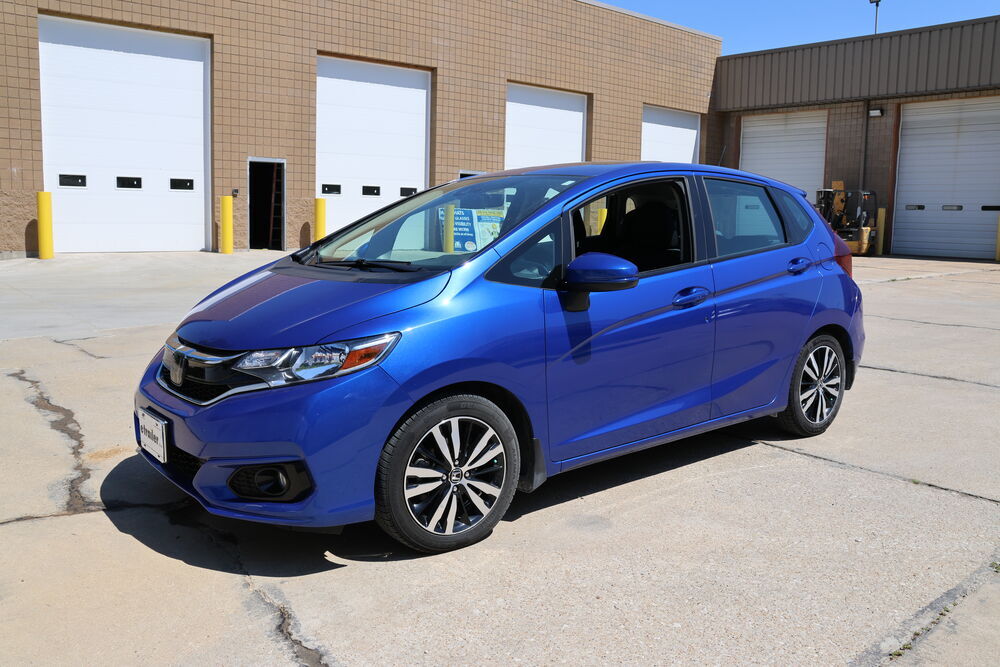
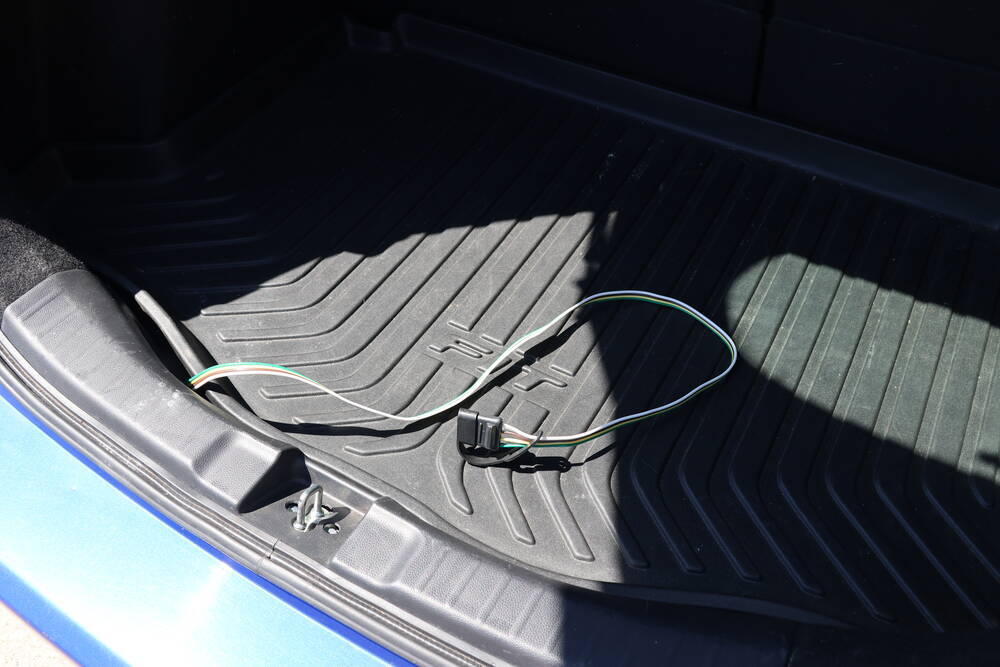
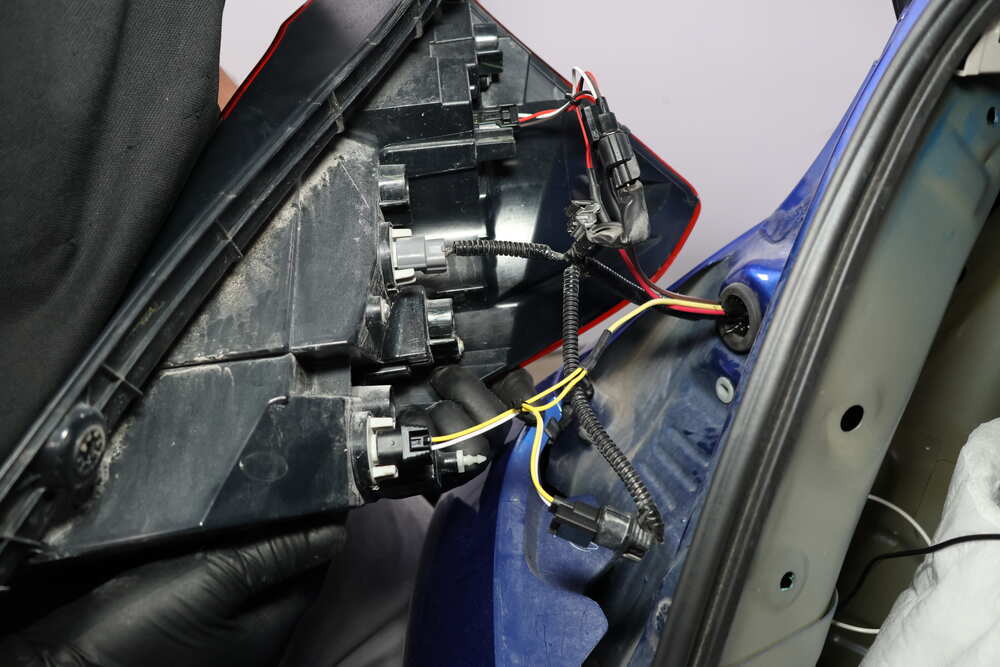
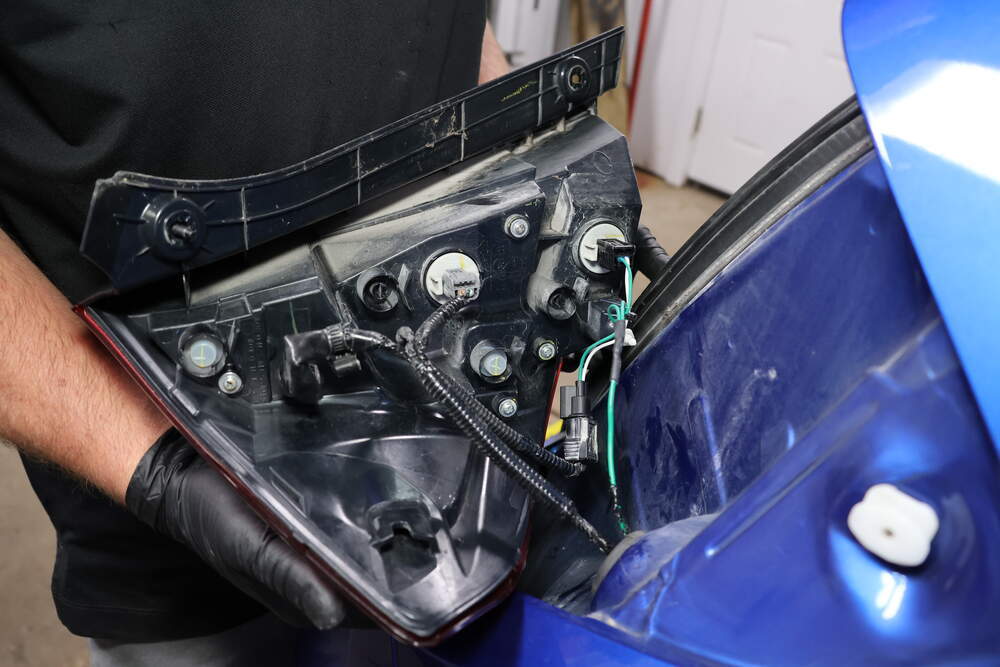
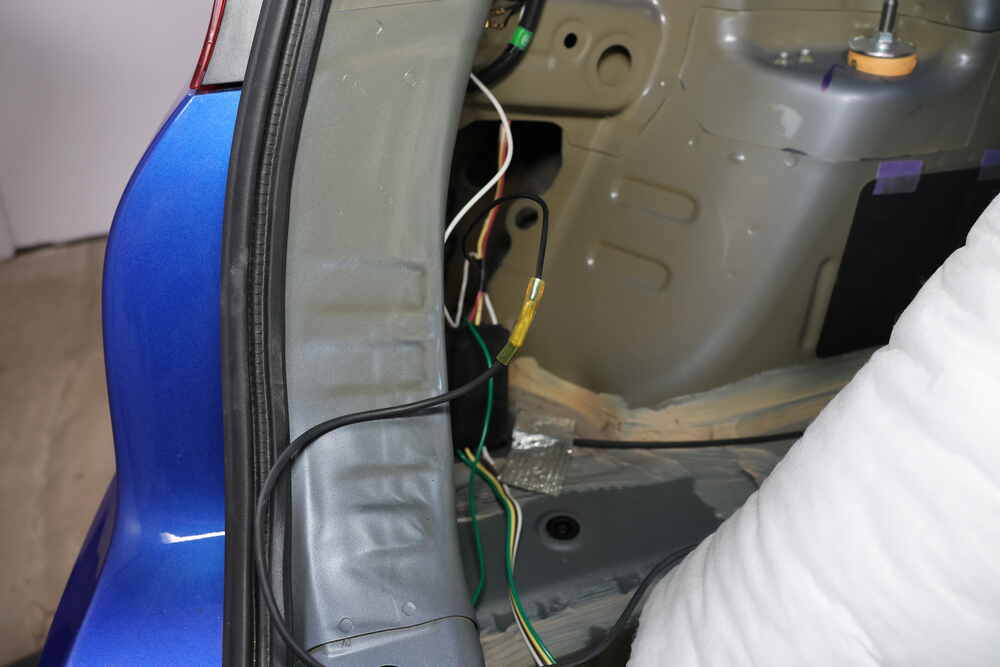
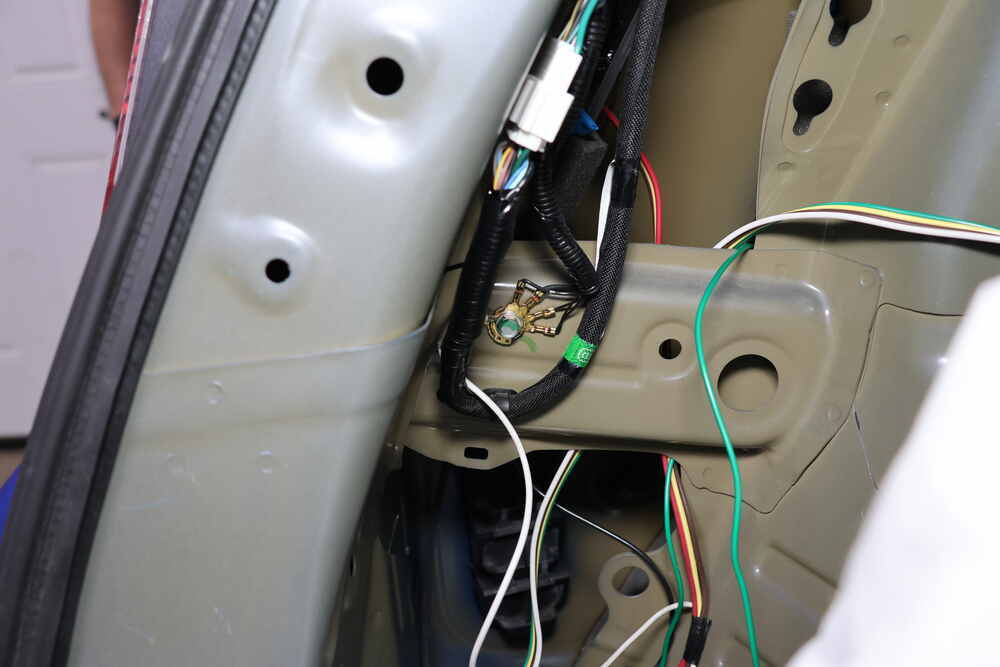
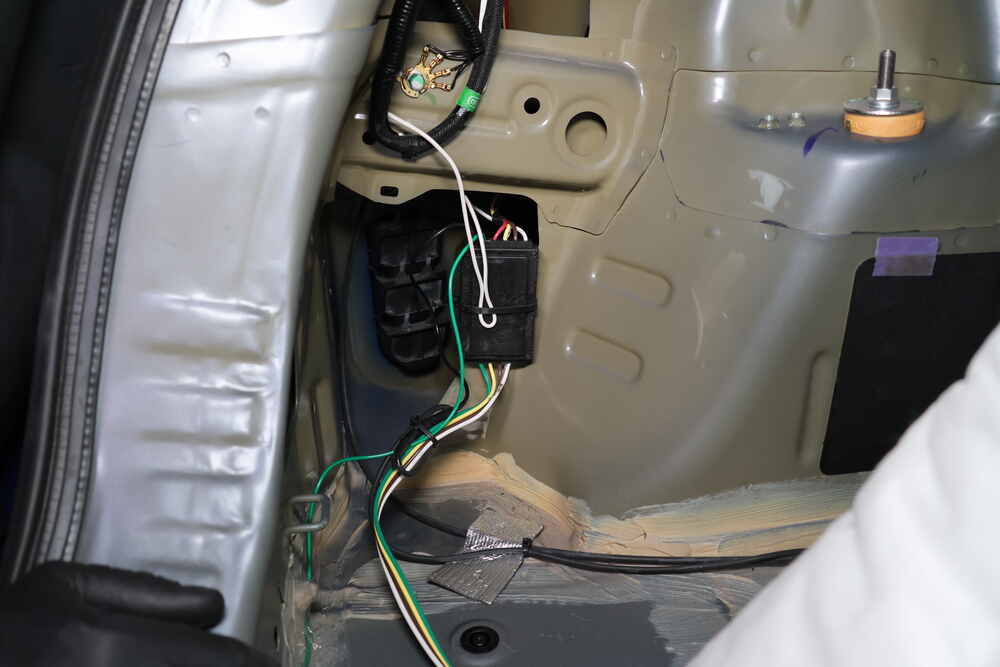
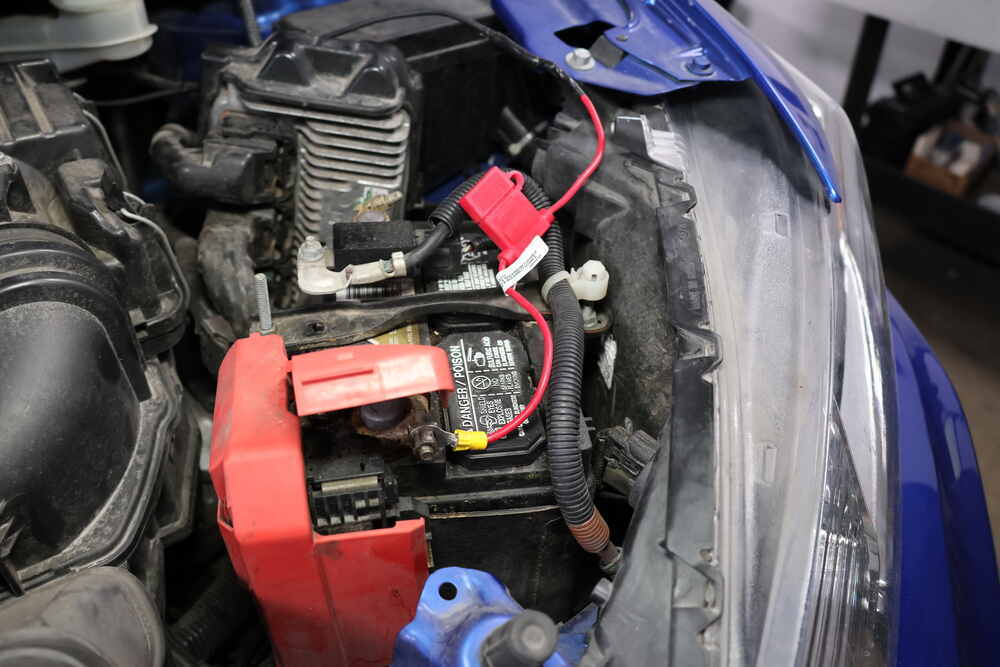
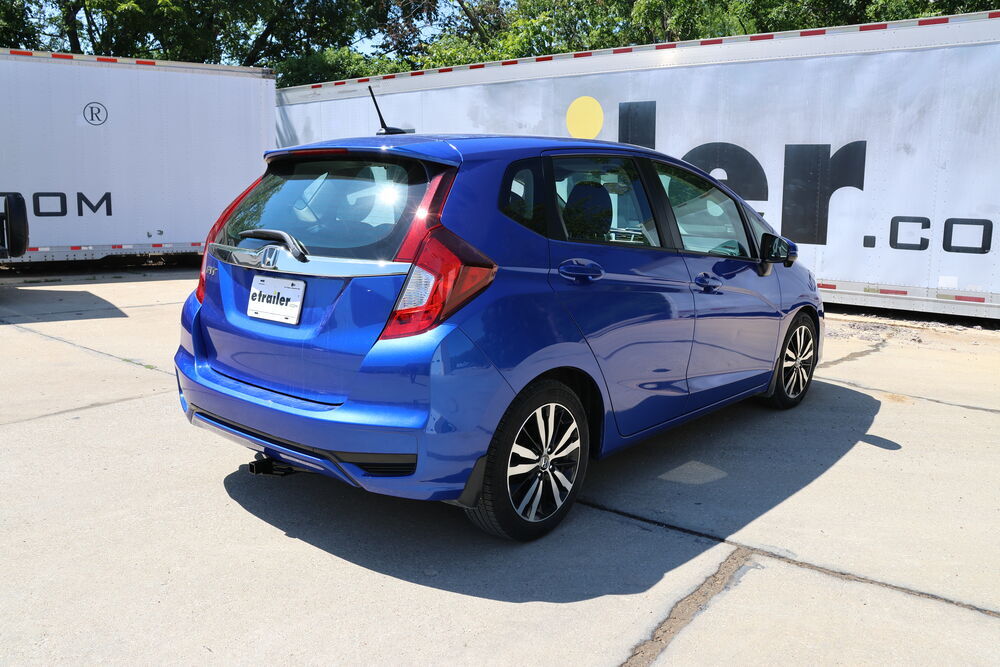
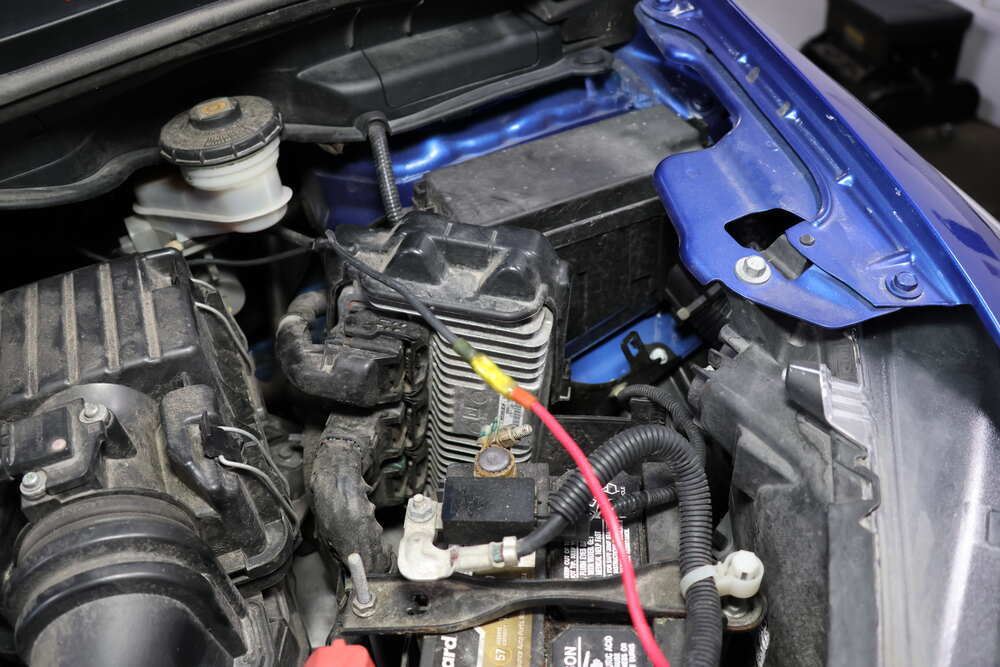
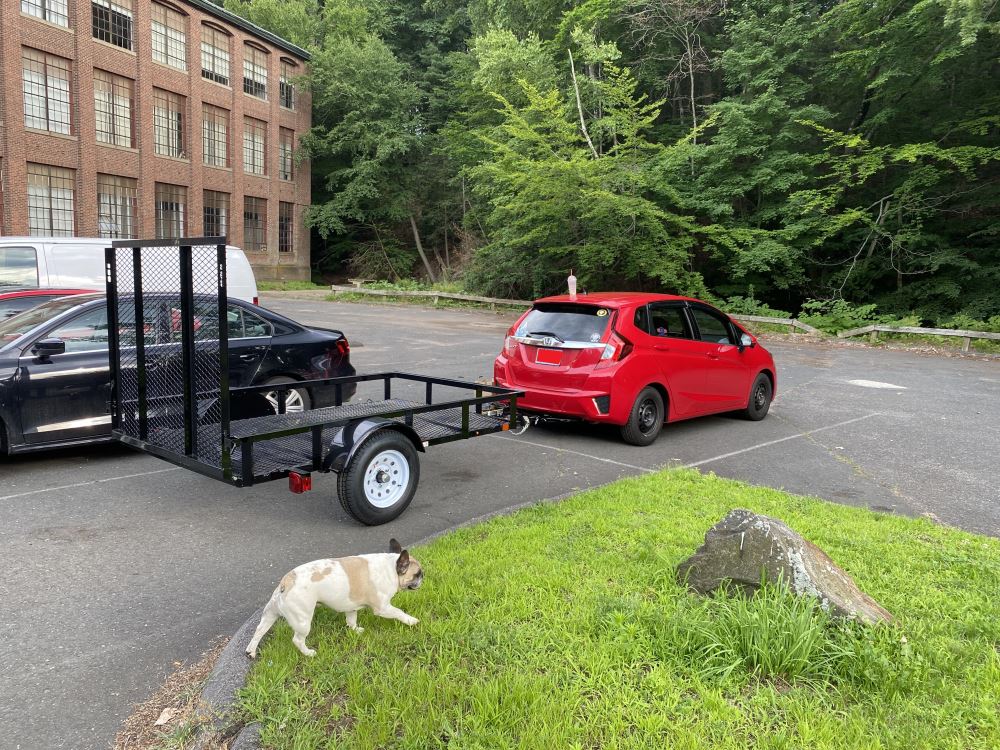
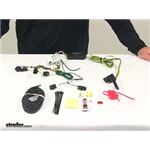
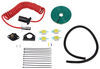
Wiring a trailer can be intimidating, but this Curt T-Connector takes all the guesswork out. It plugs directly into the existing vehicle wiring to create a 4-pole flat trailer connector. There’s no need to cut or splice wires, and everything connects cleanly behind the trim for a tidy setup.
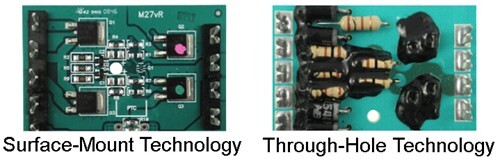
The built-in powered converter keeps the vehicle’s sensitive wiring safe by drawing power directly from the battery instead of the lighting circuits. It helps reduce strain on your system so trailer lights work reliably and evenly. The converter is made using surface-mount technology (SMT), which improves durability and performance while keeping everything compact.
Running the power wire can sometimes be tricky, but this harness gives you flexibility. The 12-volt lead can be routed through an existing grommet in the firewall or underneath the vehicle for a straightforward connection to the battery. That means fewer modifications and a cleaner install overall.
Once installed, the harness provides a standard 4-flat output for running lights, turn signals, and brake lights. It’s the connection most small and mid-size trailers use, so you’re ready to tow safely with fully functioning lights as soon as it’s plugged in.

Customer Satisfaction Score:
96% were satisfied with this product
4% of customers were not satisfied
Ratings & Reviews

Great fit. Easy to install. Love it
a model specific part for ANY car!!!
Took a little while to install, but works great!
Easy to install. Saved a lot of money by doing it myself.
I would highly recommend trying to do it yourself. Not that hard.
Took a bit to figure out how to take it up the length of the car to the battery. Pretty darn easy once you got that part finished.
Yes this wiring kit was included in package also
Have not put on yet but if it fits and work's as well as the last one l will be very happy put one on a 2015 Honda fit used it a lot and it done the job. thanks guys
Super quick install. I'll be purchasing this kit for every other car I ever own!!!
I had to make many searches on the net looking for videos that showed how others figured out how to run the power line to the battery. All showed different ways on different Honda models and years then my 2015 fit. This took a lot of time to figure how to get out of the back and run the wire under the car. If I was thinking about, I should have video how I did it and sent it to you. I would make one suggestion, on the control unit housing add a mounting tab were a self-tapping bolt could be used to mount it to the wall. The tape just done get it, it come off the wall.
The wiring harness for our Honda FIT - fit!
Was work to hook everything up in my Honda Fit but very happy with how it turned out and ready to pull my kayak trailer!
Was easy to install and it works great with my Honda and small trailer.
Wiring harness worked great! It had enough slack for me to run it properly. Make sure you check what fuses you are going to T off of and get the proper connectors beforehand.
The product works as intended. The most time consuming part of the installation is planning and routing the power wire. Online videos will help better visualize what must be done. In my case, I found that the power wire will fit through the firewall grommet without having to cut it. Besides the power wire the rest of the installation was a breeze.
*Sidenote: Be careful what lug/bolt you attach the power wire to. I had to find out the hard way that the car's computer doesn't appreciate current being drawn from its battery lug. My car threw codes and I was upset, I thought the product was defective. After a little troubleshooting I found the only issue was user error.
About 11/2 hours to have hitch and wiring done as I am 87 years old and beyond the years of doing it myself self but it was an easy install for the young man that did the install, the hitch more so than the wiring.
Well planned fitting. The box is good for lying on. One hour from UPS delivery to fitted without lifting the car.I think the trickiest part is removing the wires before threading the nuts on.
Bruce W.

5/18/2022
Fine,tricky to route the power wire to the back but all worked fine.
Great service support from etrailer! Easy install with power wire under car. Ran mine through door jams under driver seat and through center counsel and firewall. Again great support. Repeat customer second complete kit. Highly recommend.
The Curt kit works as advertised. All the parts you need are in the package. My lights are now working, so if success is your criterion, then this kit will satisfy your need.
I had four issues. First, the instructions don’t provide any guidance on where to route the power wire that goes to the battery.
Second, they omitted the step where you plug in the brake lights. I figured it out easy enough, but it should have been there.
Third, the 45-minute estimate should have been more like three hours. It really takes a long time to find a suitable route from the battery to the trunk on a Honda Fit. I ended up fishing the wire through various little holes in the vehicle belly panel, up over the rear axle, etc. Some pieces of 5/16-inch clear plastic “aquarium” tubing makes a perfect protective sleeve for running #12 AWG wires through places where they might get chafed.
Four, there’s no COMPLETE circuit diagram showing all the connections and where they’re made. Providing that one big picture would add more value than all the written steps.
Finally, you do have to disconnect the battery before making final power connections. Be careful not to break something while removing the battery terminal connections, because Honda put a lot of torque on those. Lifting the battery connections will make your clock lose the correct time and will make the radio lose all its presets. I don’t connect a phone to my car, but I suspect it would also make it lose that info as well.
I never installed it because the instructions were to vague.


Brooke M.
1/23/2025
Hery Robert! Just sent you an email with a list of local installers who can do the job for you if youd rather go that route. :)
Loved the website, easy to find exactly what I needed and ordering/shipping were simple.
That said:
The good:
1. The harness is well made, and uses quality wire and connectors.
2. It is small, and all the wires are long enough to reach everywhere they need to go.
3. The included power wire, to run to the front of the car and connect to the positive battery terminal is more than long enough and has thick, very high quality insulation (Silicone?). Similar to the wire on high-quality multimeter leads. It should stand up to harsh environments very well.
The not-so-good:
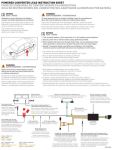
1. There are 2 sets of wires/connectors that come off of the module. One is Green, and plugs in to the tail light assemblies on both sides of the car. The other is Red/Yellow/Brown. No where in the "Installation Instruction Sheet" does it mention what to do with this part of the harness. The additional included "Powered Converter Lead Instruction Sheet" does mention this about the Red/Yellow/Brown part of the harness. "If using the converter as a powered module for a 2-wire system, the Red brake wire must be grounded." This could lead to confusion among DIY installers with limited electronics/wiring experience. Luckily, I have been an Electronics Technician for well over 30 years in many segments of that industry and I quickly realized that this "mystery harness segment" needed to be connected to the driver's side tail light connectors. Once that was done, the harness worked perfectly.
2. The included double-sided adhesive foam tape was essentially worthless. Despite scuffing the metal mounting surface in the car with a Scotch-brite pad, and cleaning/degreasing that surface with Automotive pre-paint solution, the adhesive simply would not stick for any length of time. Instead I fabricated a simple strap-type metal bracket out of some scrap aluminum sheet and secured it to the car body with some self-tapping sheet metal screws.
Overall I am quite satisfied with this unit. I just think Curt needs to edit the instruction sheet including that Red/Yellow/Brown harness connection information.
It would also be helpful if the instructions included some vehicle-specific recommendations/instructions for routing the black power wire to the front of the car. I routed mine across the inner fender, down the firewall, then loosened the driver's side of the large plastic cover that protects the underside of the passenger cabin between the front and rear wheel-wells, then behind the rear inner-fender liner and through the rear of the inner fender. I drilled a small hole and protected the wire with a small rubber grommet that I had in my "Wiring hardware" organizer. I secured the wire along that route with wire ties and sheet metal screws.
In addition to the included hardware from the kit, the following might be useful. I used all these in my installation.
1. A quality ratcheting crimp tool with the proper jaws for the insulated open-barrel connectors and in the kit.
2. A small grommet for passing the power wire from the outside to the inside of the car body.
3. Wire ties with a screw mounting hole to secure the wires to the car body. Self-drilling sheet metal screws for mounting the above wire-ties.
5. A larger tube of black silicone sealant, the small tube included was adequate, but not ideal.
6. An automotive trim removal tool. An assortment of plastic body and trim panel fasteners, as breaking one, even when using the proper tool, is not unlikely.
Victoria B.
8/5/2020
I have linked the online installation instruction to this comment for you. In these instructions, it does walk through the steps needed for the drivers side installation, including connecting the yellow end of the harness. Then through installing the passenger side with the green-side connectors. I hope this helps clear up any confusion.
Helpful Links
Routing the Hot wire for the wiring is best done on a lift
I bought a trailer hitch and the wiring harness from etrailer on line. I watched several videos on the installation procedures but changed my mind about doing it myself. I searched google for Seattle area companies that install hitches and because of the great reviews I called [local company] and set an appointment.
After the installation one of the Technicians took me out to the shop and went over the install and hooked up the harness to the lights up on the shop wall. Brakes, turn signals, brake and turn signals together and the emergency flashers worked flawlessly. He showed me the fuse on the battery and went over the tongue weight and tow capacity limits. Back into the office, Rob went over the awesome warranty.
This was a super clean install! Great service and price. 4 Stars is not enough for this company.
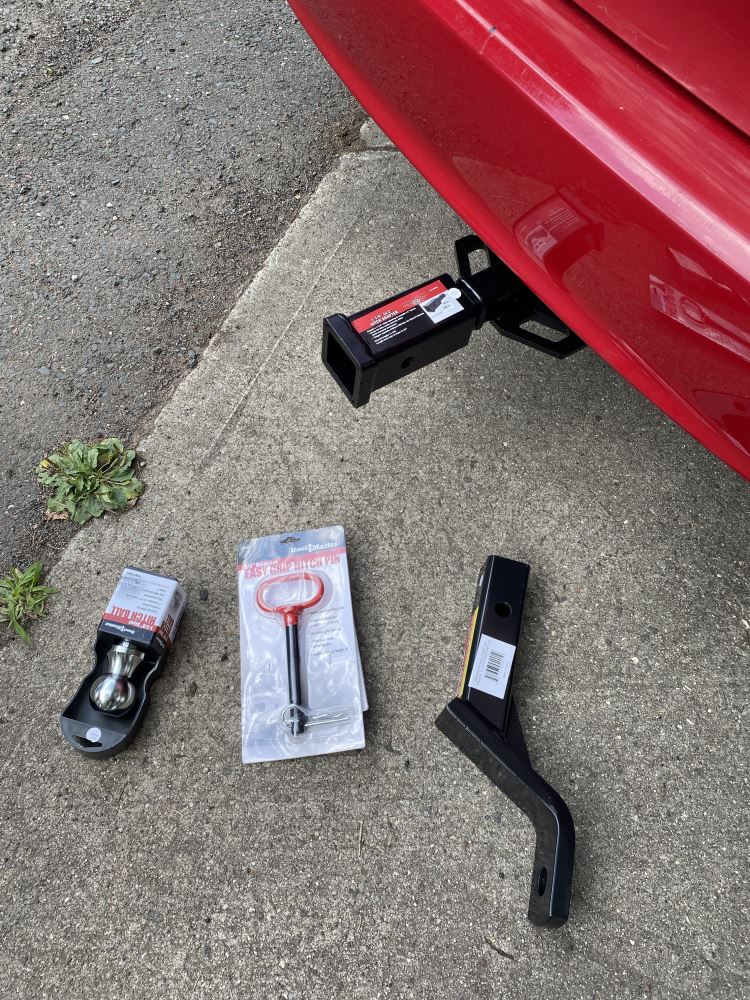
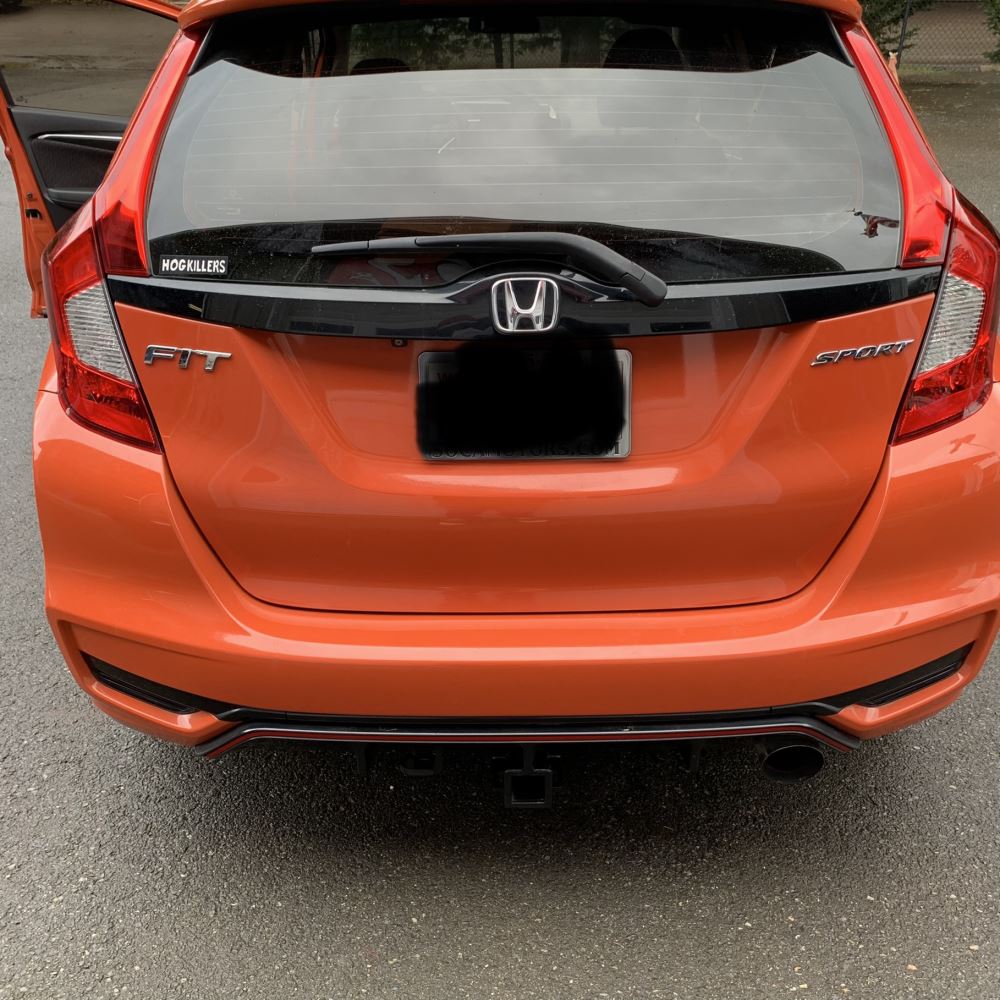
As for the Hitch itself, the 2” receiver is the way to go. No need for an adapter to bring it up for 1 1/2” receiver that most all companies offer for my Honda Fit.
Thank you eTrailer.
Great product with great customer service. Have bought multiple things from e-trailer with nothing but good results. Firmest of my hitch was spot on
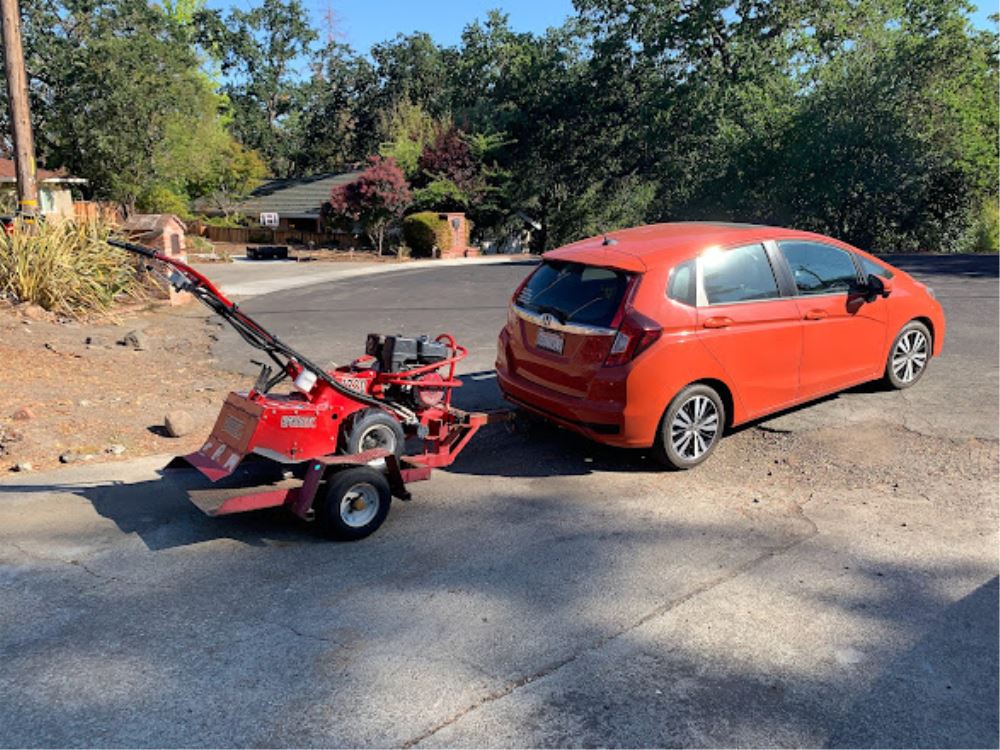
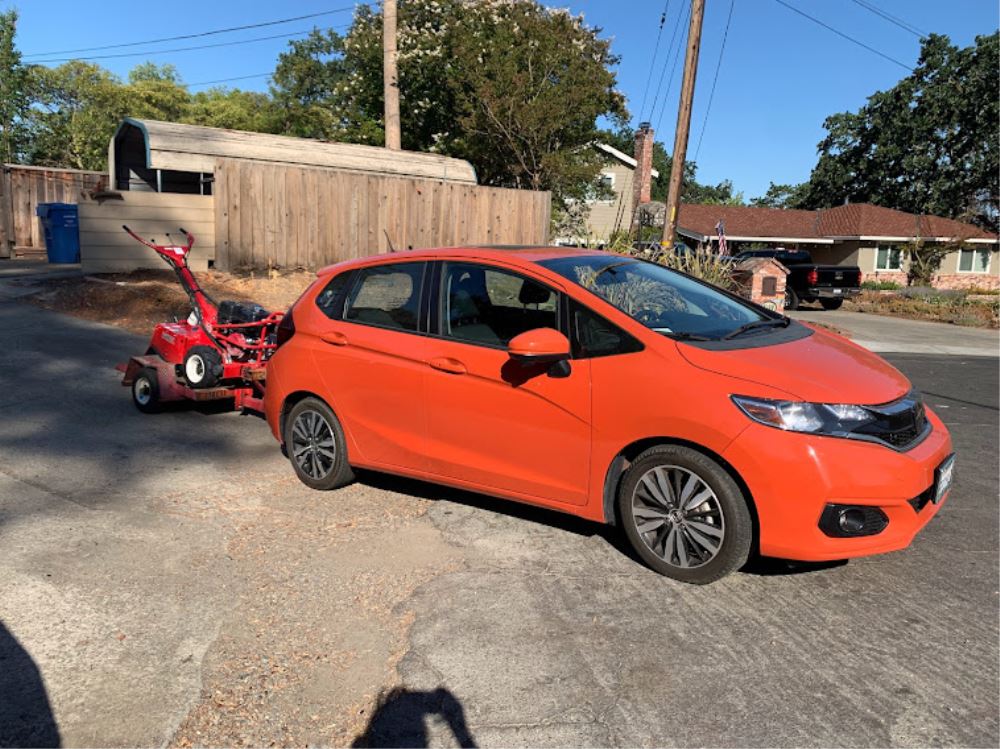
Easy install. Watch the Videos on [online] and get a plastic tool kit. Used to tow a sod cutter with my 2018 Fit. Just bought & installed a Curt from etrailer for our CRV because of the great products
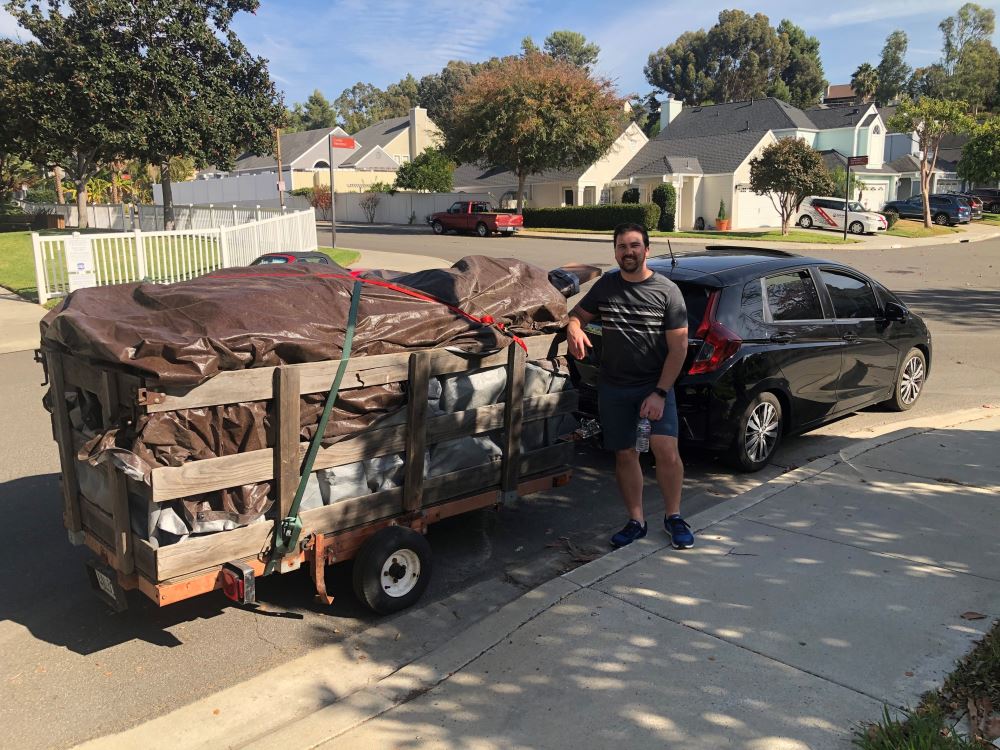
Everything was perfect! Hooked up easily and worked flawlessly with the trailer I used to haul away junk from my backyard following a renovation. I have a 2015 Honda Fit EX and stuck the controller box to the rear-left wheel well/frame behind the black fuzzy shielding and ran the harness underneath to the spare tire well, so it is out of the way when I don't need it!
Do you have a question about this Custom Fit Vehicle Wiring?
Info for this part was:
At etrailer we provide the best information available about the products we sell. We take the quality of our information seriously so that you can get the right part the first time. Let us know if anything is missing or if you have any questions.
























Jenny N.
1/25/2022
We do have a good FAQ that assists in helping run the power wire to the battery. Please see the link below. If the adhesive tape does not hold you can use double sided tape with the module to hold it in place.
Helpful Links
faq-Routing-a-Power-Wire.aspx