


Thank you! Your comment has been submitted successfully. You should be able to view your question/comment here within a few days.
Error submitting comment. Please try again momentarily.
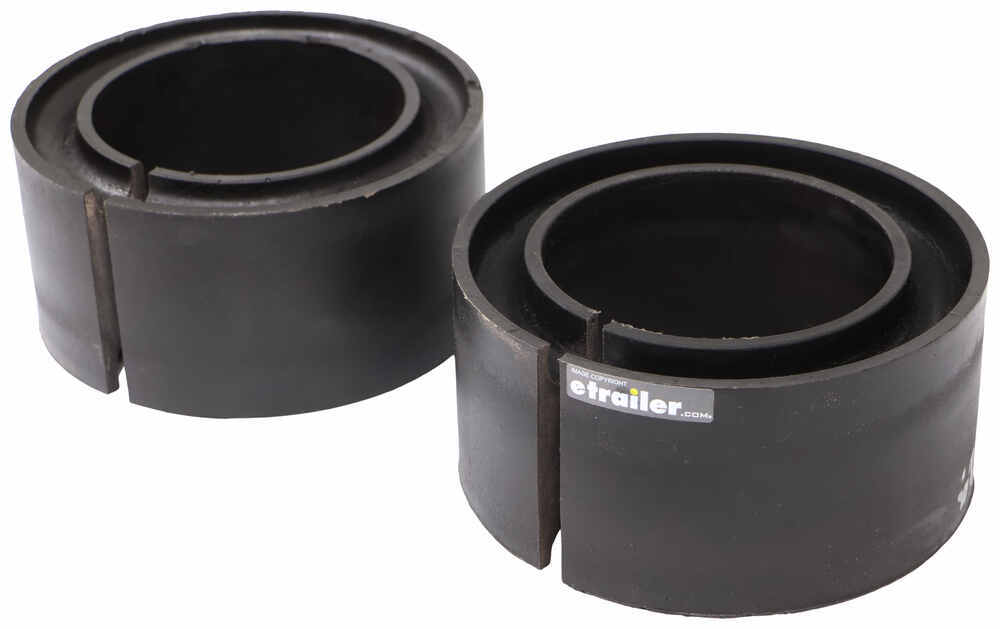
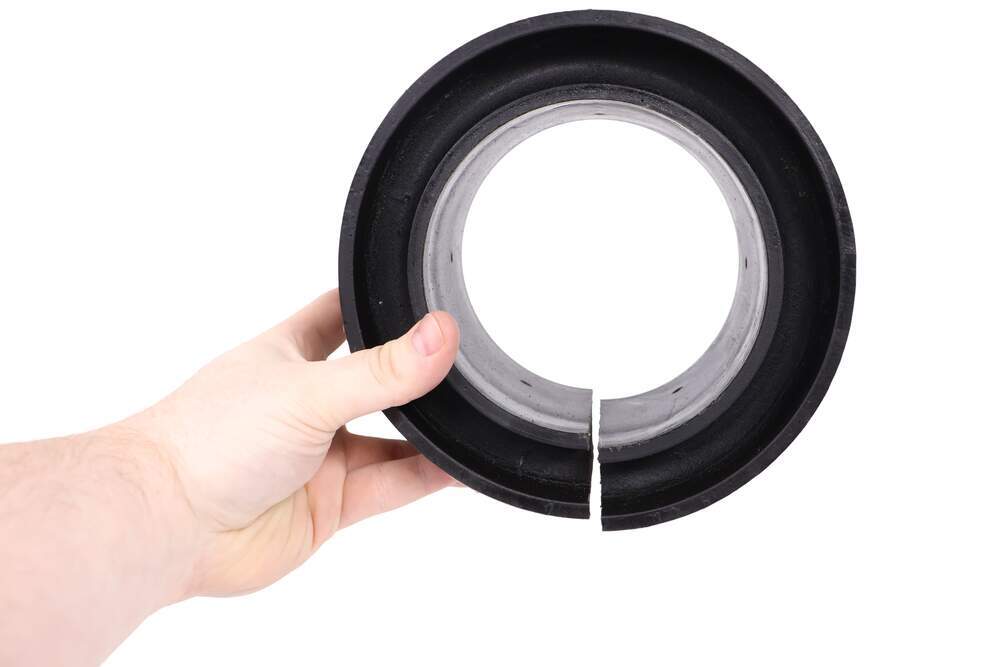
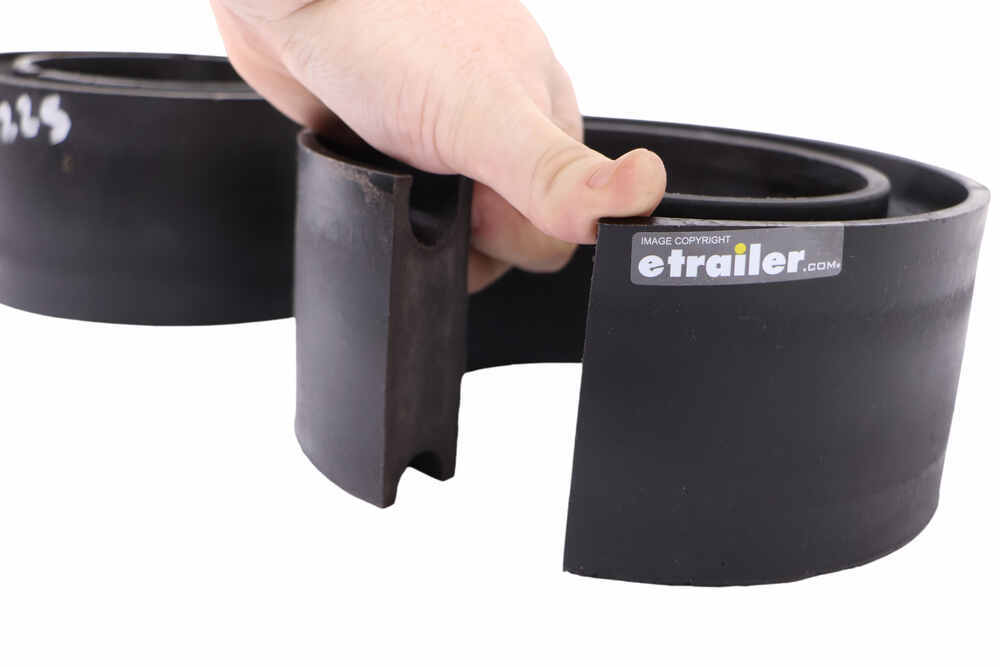
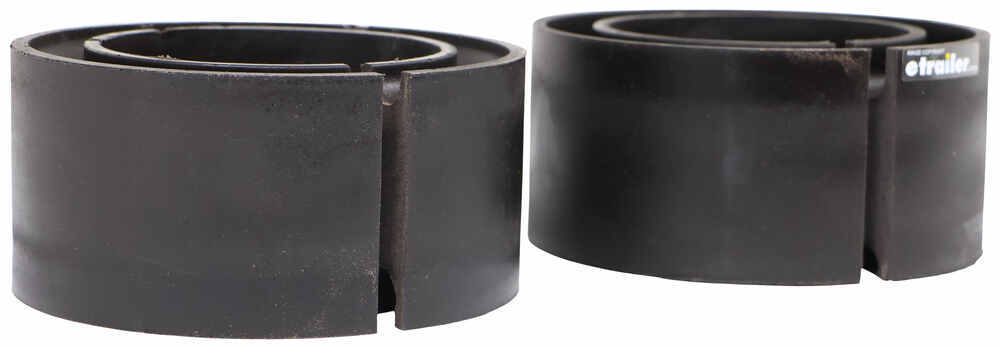
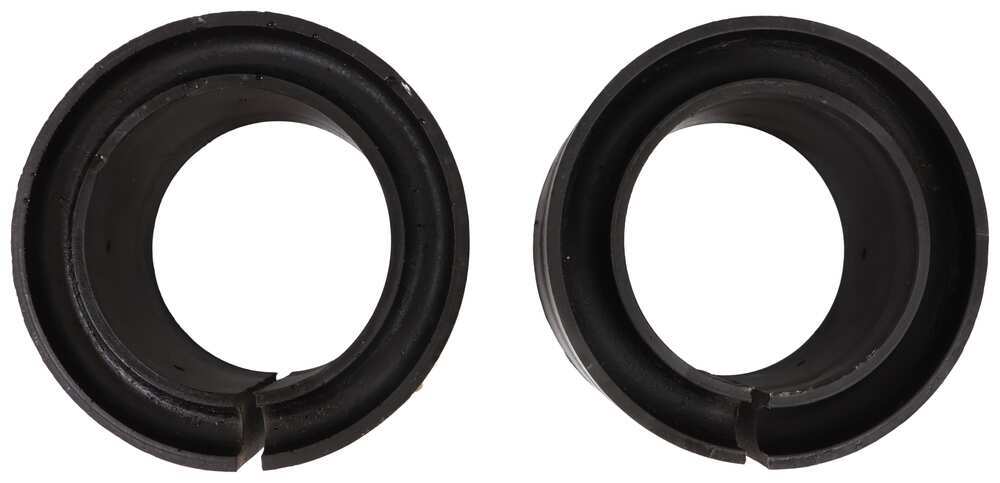
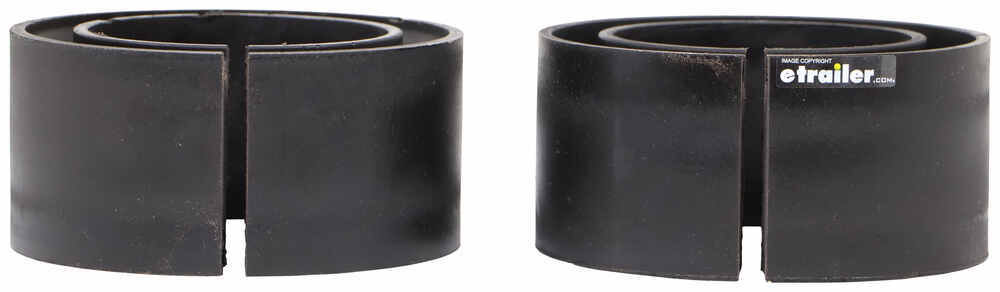

When extra weight pushes down on your coil springs, these Coil SumoSprings helper inserts step in to keep things level and comfortable. Each spring has an inner core made from microcellular polyurethane foam that cushions your ride while supporting the load. The material adjusts progressively—the more weight you add, the stiffer it becomes—so your truck stays steady whether you’re carrying tools, towing a trailer, or hauling gear.
Heavy loads can cause your coils to compress completely, leaving no cushion between you and the road. These wedge-shaped helpers fit between each coil to restore shock absorption and prevent bottoming out. The progressive foam design absorbs impact and keeps your suspension working as it should, reducing driver fatigue on long drives or workdays.
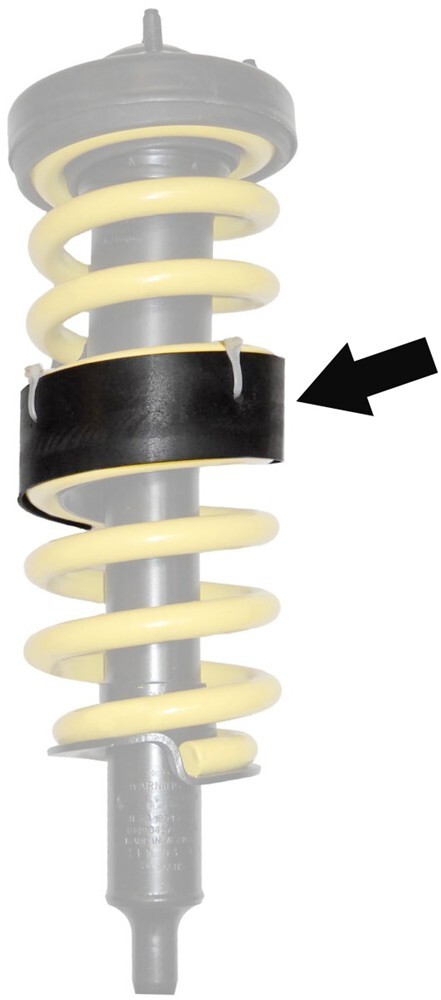
When towing or carrying uneven loads, body roll can make highway driving and cornering stressful. The added support from these helper springs helps level the vehicle and cut down on sway so your steering stays responsive and controlled. You’ll notice a more planted feel when braking, turning, or dealing with crosswinds.
Unlike air systems with lines and valves to monitor, these helper springs need no air pressure or adjustments once installed. They simply insert between your existing coil loops and get to work. Built to handle extreme temperatures and resist abrasion, oil, road salt, and UV damage, they deliver lasting support with zero maintenance required.

Videos are provided as a guide only. Refer to manufacturer installation instructions and specs for complete information.
Hi there Heavy Haulers! Today we will be taking a look at SUPERSPRINGS's line of Coil Sumo Springs. Now, before we install our Sumo Springs on our vehicle here, we want to make sure and see how our stock suspension rides. So we can get a good comparison of the improvements that we've made with the Sumo Springs. So the first thing we want to see is our factory ride height with it, unloaded. Then we're going to see, when it is loaded. And then we'll perform the same tests on our test course with it loaded up, without the Sumo Springs, and then we'll do it again after we've got them installed to see how they compare.
So first off, we need to see our ride height. We're currently unloaded. And here at the back, we're sitting right at about 33 inches. And today we're going to be putting these on a Subaru Ascent. And here at the front of the vehicle, we're right at about 32 and three quarters of an inch.
So we'll go ahead and load it down now, and see how our ride height changes. So we've gone ahead and loaded it up with a couple hundred pounds of sand, and we're going to recheck our ride height. And now with it loaded up, our ride height here in the back's dropped down about a half an inch. So we're at 32 and a half inches. And here in the front, it's raised our suspension up by about a quarter inch.
So we're right at about 33 inches here. So we're going to go ahead and get those Sumo Springs installed now. And we'll recheck our ride height. We're also going to hit to test course before we get those on. So let's get that to test course and then get in the garage.
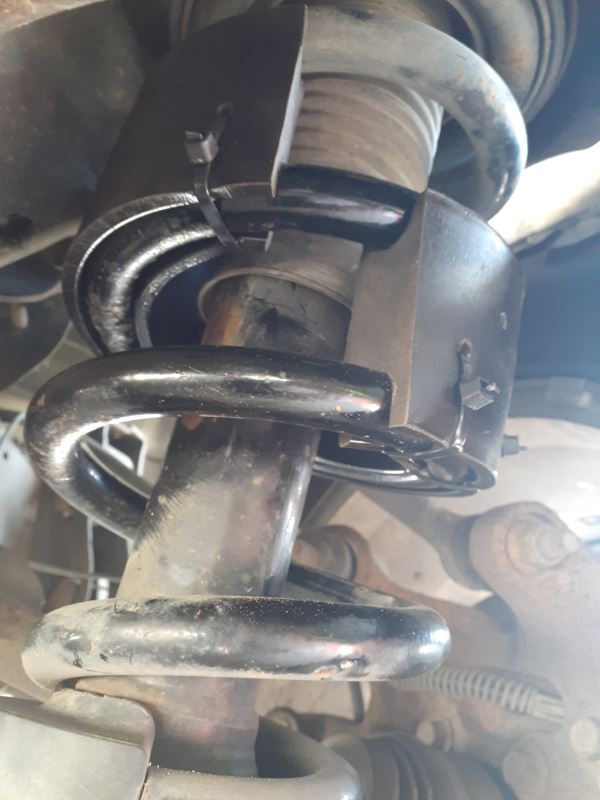
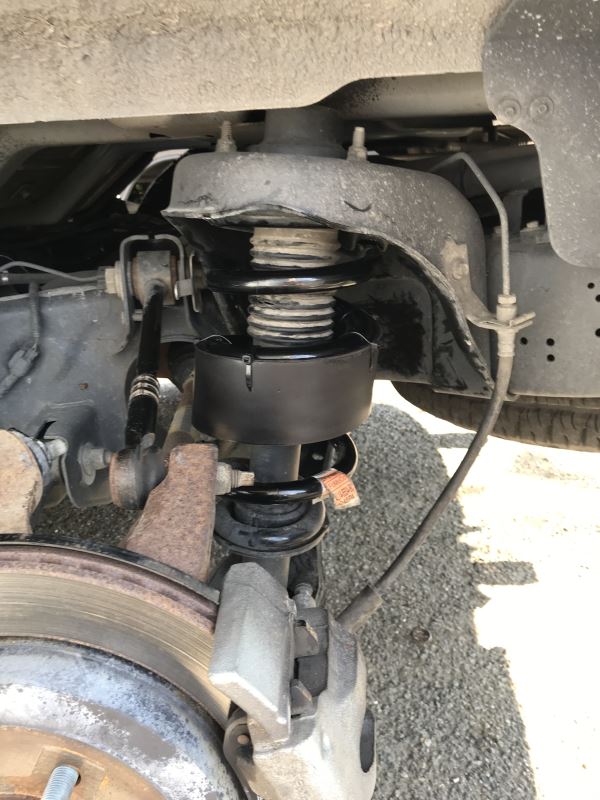
So here we are in our vehicle now. We're in our test course. And what I did notice, just lining it up in the test course versus loaded and unloaded, is that we've got a bit of, the hood's raised up a little bit. We see more hood than we used to, so we lost a little bit of visibility there. We're going to start with the uneven bumps section. This is going to simulate like hitting a pothole. And as we hit these here, the suspension in this vehicle is very smooth. So we don't really have a lot of rocking and stuff like that going on. In the biggest thing so far I noticed is that we can see more hood. You can definitely feel that we're leaning back. Next we're going to go into the even bump section, and this is going to simulate a speed bump or like pulling in and out of your driveway. And here, when we go over it, our suspension again, does seem to be taking it pretty well. We don't have a bunch of up and down motion. It's not excessively stiff. So it does feel fairly well. So let's go ahead and get to our slalom section now. And this is where we're going to mimic an evasive maneuver. We're in our section now, so we're going to start giving it a little bit of that. And I mean, it handles fantastic. The suspension on this car is really good. You can hear the things moving around a little bit, but it's, it doesn't feel like we've got excessive sway or anything like that. So this vehicle does have a pretty solid suspension system. So we're going to head back to the shop now. We're going to get these Sumo Springs installed and we'll hit the test course and see how it differs. I feel like this is mainly going to be for people that maybe have like a pop-up camper or something that they're wanting to bring on the back. And they've got maybe like 300 or 400 pounds or even greater in the back there. So we are here in the shop and see what happens. So we've got our Sumo Springs installed now. We've got our vehicle loaded up the same weight that we had before. Let's recheck our ride height. And we're right at about 32 and a half inches. So it didn't really raise our vehicle up any, having these installed. And now here in the front, when we check our suspension, we're right at about 32 and a half inches. So it has lowered our vehicle down about a half inch from where we were, when we we're fully loaded up. So what it seems like is that the suspension enhancement in the back, rather than lifting up on the back of our suspension to kind of, raise it back upto where it was unloaded, it just kind of repositioned it a little bit. So we're still down a little bit in the back, but we we're also down in the front now more level, kind of closer to where we we're before. So let's hit the test course and see if we can feel a difference. All right, so we're hitting the test course once again with our Sumo Springs installed. And I do notice right away that the sitting in the vehicle, the hood's a little bit back down. It feels more like we're sitting in it unloaded since we're not seeing quite as much as the hood. So we're gonna hit that uneven bumps section first here, and it feels a little bit stiffer in the back. It doesn't really feel too much different. It feels pretty natural here on the inside. I would say it is definitely a little bit stiffer. As we hit these front bumps here, I can tell its a little bit softer on the factory suspension versus the back. The Sumo spring is just a little bit stiffer than where we we're before. But I wouldn't say it's at all uncomfortable. It feels for the most part, fairly natural. Same thing when we hit the even bumps. Really nothing stood out there, just a little bit stiffer. So now we're gonna go ahead and hit the slalom section and see if we can see a difference here. And this is usually where I noticed a huge difference, but the suspension on this is already pretty darn good. So we'll see if we notice much of a difference. And there's nothing really right away, that stands out at me. It does feel like there's a little bit less way and roll than before, but there's not a huge difference here either. This Subaru does have some pretty darn good suspension. I'd say the biggest notice out of anything. is just the way the vehicles more level, when riding now, I'm not seeing quite as much hood. I know it's going to make a huge difference at night. During the daytime here, it makes a little bit of difference because we've got a little better visibility at the front. But at night when you have the front end aiming up, your headlights are pointed towards the sky a little bit, you're not really getting proper reflection on the road and it does drastically reduce your visibility at night. And this is what our Super Springs look like when they're installed. These go in between the coils of your suspension system. And there are rear and front's available here at etrailer. We're showing off the rear set today. These are designed to fit a whole bunch of different vehicles and can be trimmed to fit. So that way you can ensure that it's going to be a proper fit for years. But as always, I recommend that you use our fit guide to ensure that these are going to be a proper fit for your particular vehicle. The main purpose of Sumo Springs is to provide additional suspension support for your factory suspension system. Now, the support that it provides, doesn't increase the load carrying capacity of your vehicle. It just provides assistance to help support the weight that your vehicle can already carry and just carry that weight better, so your suspension isn't sagged down so much here in the back. It's going to overall improve your ride quality when loaded down and just give you a little bit better handle on your vehicle when you're hauling a bunch of weight. This works using the Sumo Spring technology here. It's made of a micro cellular polyurethane that is compressible, but it's got a neat property to it. It's actually quite dynamic in its compressibility properties because when we're at our normal resting state, like we are now, we've got our suspension hanging. We're really not getting any support from our spring right now. But as we go to load this down and it goes to squish the spring, it starts off squishing really easily. And then it gets progressively stiffer as you squish it more. And that's going to make it nice and dynamic. So the more you load down your vehicle, the more support and stiffness you're going to get out of this spring to help carry that weight. So it really does help out a lot with roll, helps out with your ride height. Really overall, these are a great option for just restoring a loaded down vehicle's performance back to where it would be when it wasn't loaded up so heavily. I like these over air bags because they're completely maintenance free. With air bags, you have to check the air pressure. When you go from between different seasons, like summer to fall to winter. As temperatures go down, pressures go down and you got to keep up checking these to make sure that it has proper air in it. Whenever you load your vehicle down, you need to adjust the air pressure to match your load as well, which just can be kind of bothersome. With these, you just load it up and they're dynamic and progressive the way they work. So you just load it up, you just forget about it and drive off. With air bags you might have five, six pounds in it. when you're unloaded, you get to the place where you're picking something up. Maybe you're picking up a load of bricks or something, to bring back and build a little fire pit. Well, now you get your vehicles all loaded up, you got all this weight in the back, that five pounds on your airbags, isn't really doing a lot for you. So you're going to have to stop at a filling station and put some air in it, or spend a lot of money on an onboard compressor system and be able to do that on demand. So airbags, they do have their place, but I really like these for just kind of your, more general purpose applications. If you're going to be looking at something really heavy duty, those airbags might be a good consideration, because you can get more stiffness out of them, you got more adjustability in the pressure. But for the average user, I think these are going to be probably one of the best setups. We'll begin our installation underneath the vehicle. The first thing you'll want to do is lift the back of your vehicle up. So that way, your suspension is hanging. I would recommend if you're doing this at home in your driveway, just do it one side at a time. That way you can lift just this back tire up, so it's off the ground. That'll give you more distance between your coil spring, making it easier to install our suspension enhancement system here. So once you've got your side lifted up, we're using a lift here. So we've got ours up, differently. Make sure you chuck your wheels as well, if you're doing this at home on the ground. We're going to clean our coil spring off first. You can see it's kind of got some dirt and debris on it there. So we're going to get all that out of there just to make it slide in a little easier. We're just using some soapy water and just a rag here just to clean these off. We're just going to wipe down all these coils just to get that dirt and debris off of there. All that dirt really makes it a lot harder to slide your suspension enhancement system in place. Nice clean, smooth coils will make things a whole lot easier. So we're just going to give those a good wipe down here real quick. And now that we've got them wiped down, we're going to reapply the soap to our coil spring. And I'm also going to apply the soap to the Sumo Springs. And now we're ready to insert it. And first you're going to identify, which is the top side, and this can be done by checking the grooves. So this group here, you can see how deep it is. You see a little bit of my fingernail sticking out the top there. If we flip it over to the other side, I stick my finger in, you can't see my fingernail at all. The deeper groove is your bottom. So now that we know the correct orientation we're just going to take our spring here, and we're just going to start feeding it into place. I'm going to take one section here and I'm just pushing it in between the two coil Springs. And that's really all that there is to this, is just pushing it into place. I'm getting one side started, and after I get it started, I'm just going to kind of work the coil spring around, into place. And it's just kind of rotating around. There we go. We got to all fall into position. After this, we'll need to just set the adjustment for the height and it's best to install these between the second and third coil from the top. So we're just kind of rotating ours to about that position there. That looks pretty close. So that's good. The next thing we'll want to check, is our overlap. So here you can see the overlap at the back, where our lower spring here sitting underneath the top part of that suspension enhancement system. We want our overlap here to be between about a half an inch and an inch. And we're sitting at close to a, probably two, maybe two and a half to three inches. So we'll trim this down. You can use really whatever you've got available to trim it. Probably a little bit of a saw or something would probably work well. It's pretty thick, so you might be able to use some cutters to cut it, but it is pretty thick. The hardest part is, it spreads. Now we're not going to be trimming ours today for demonstration purposes. We're just going to, deal with the overlap that it's got there. But also did want to point out the holes that you see there at the back as well. You see those little dimples that are located there and you have one of them, a dimple on the top one as well. That will allow you to slide a zip tie through. So you can zip tie these to your coils because on some vehicles, they might be a little bit loose and sloppy, and this is probably a good candidate for it because it is fairly loose inside this coil. And if it's got a lot of play like that, and it's not a real tight fit, it is possible that it could pop out of there when going down the road. So it's why it's got those little holes there. You can run a zip tie to zip tie it right to the coil spring. So that way there's no way it can come out of there when you're traveling down the road, make sure it stays in place. So now we have our passenger side fully installed. We're going to repeat the same process over here on the driver's side to get this one installed as well. And that completes our look at SUPERSPRINGS's line of Coiled Sumo Springs..
Ratings & Reviews


Carl
11/7/2022
My experience with these are still good. I did notice that one side had rolled off the coil despite having the zipties still in place, but they still work as well as I could have expected. I still experience some sag while towing a trailer, but it is not as bad as if I did not have these installed. This vehicle seems to be very sensitive to tongue weight even when the trailer is empty


Lazer S.
3/24/2026
Sorry to hear about the install difficulties, Robert. I do have to say that this kind of suspension supplementation will never lift the vehicle they are installed on though. They will really only "tighten" up the compression of the coil springs to offer more support. Have you tried towing anything with your Promaster yet to see if there is any difference? They do have a 30-Day satisfaction guarantee in case they don't perform to your liking.
Info for this part was:
At etrailer we provide the best information available about the products we sell. We take the quality of our information seriously so that you can get the right part the first time. Let us know if anything is missing or if you have any questions.































Bruno F.
1/28/2020
So far so good it eliminates sag while towing or having heavier objects in the vehicle.