
Inno Aero Flush Roof Rack for Fixed Mounting Points - Aluminum - Black - Qty 2


To see if this custom-fit item will work for you please tell us what vehicle you'll use it with.


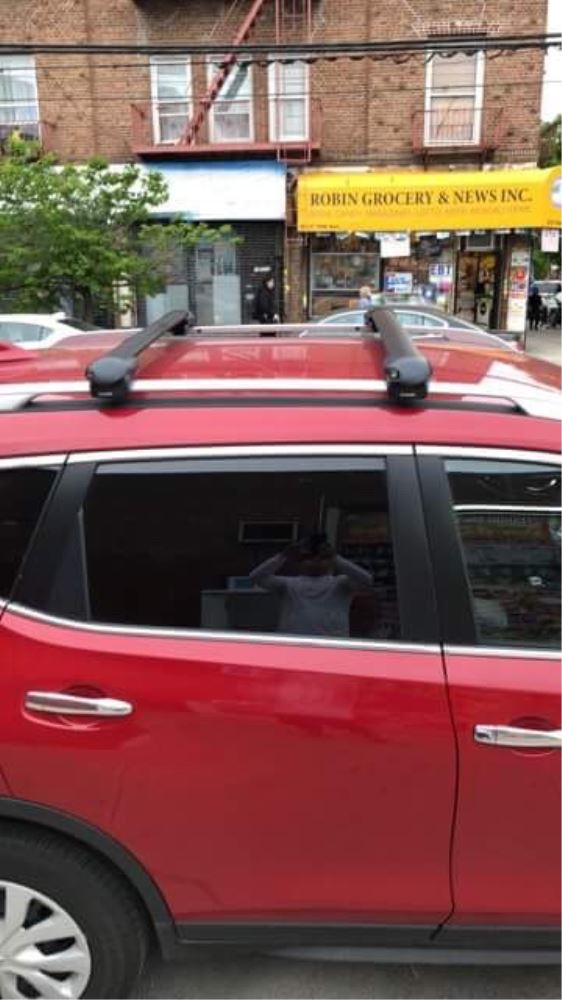
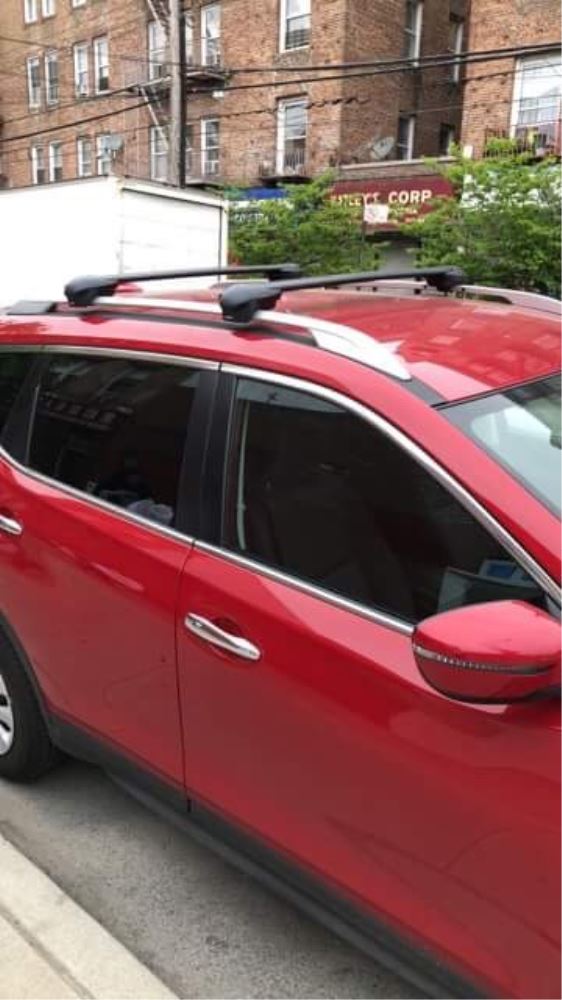
The flush design keeps the Inno Aero Flush Roof Rack tight to the roofline for a clean, from-the-factory style. The crossbars don’t extend past the feet, so the rack looks like it belongs there instead of sticking out awkwardly. It’s a simple setup that delivers a low-profile look and blends in nicely with your vehicle’s lines.
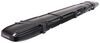
When you’re carrying gear, nothing’s worse than constant wind noise. These aero-style crossbars are built to minimize that. Their aerodynamic shape helps air flow smoothly over them, while the push-down rubber strips in the top channels fill in the gaps to cut down on whistling and vibration. The strips also close back up around your accessory hardware, keeping things quiet and sealed against the elements.
This rack makes it easy to bring along whatever you need for the weekend. The crossbars work with both channel-mount and clamp-on accessories, so you can use your favorite kayak carriers, cargo boxes, or bike racks without worry. Whether it’s water gear in summer or snow gear in winter, it’s ready for all kinds of outdoor trips.
The aluminum bars are tough enough to handle a 165-lb weight capacity while staying light and resistant to corrosion. Lockable leg covers deter theft of both the rack and channel-mount accessories, giving you extra peace of mind when parked at a trailhead or campsite. It’s the kind of solid construction that holds up trip after trip.
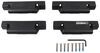
This is a complete roof rack system with 2 aero crossbars, 4 flush feet, and a custom fit kit designed to install on fixed mounting points. Once in place, you get a stable base that feels sturdy under load and delivers dependable performance for all your hauling needs.

Videos are provided as a guide only. Refer to manufacturer installation instructions and specs for complete information.
Hello, neighbor. This is Curt with etrailer. And today, we're taking a look at the Inno Aero Flush Roof Rack and we're gonna see how it fits and how it installs on our 2023 Nissan Rogue. Now, when you're heading out on a trip with a full compliment of passengers, despite the fact that there's a decent amount of cargo space in the Rogue, with all those passengers, all the luggage, any other gear that you're taking with you, you can run out of room really, really fast. And one of the best ways to carry that extra gear that you either can't fit in the Rogue with you or you just don't want riding in the Rogue with you, a roof rack is a really good way to get that to and from your destination. So, a roof rack can hold all sorts of accessories, cargo baskets, platform racks, cargo boxes, ski and snowboard carriers, bike racks, kayak carriers, all these different things that we could put up there and carry safely.
Now, this is a flush roof rack and what that means is that it does have a bit more of an OEM Look to it. The crossbars don't hang out past the towers. And while it does tend to have a better look for a lot of people, the utility of it is a little bit less than an overhang. And that's just because you don't have as much bar space to work with. Not only that, you don't have the opportunity to put two accessories side by side and everything you put up here is going to be kind of toward the middle rather than out toward the end where it's really easy to reach.
There are fixed mounting points on the flush rails of the rope, so we can't move these crossbar forward or back, but with the location they're in, they're perfectly situated in the second row door threshold in order to get access to that cargo that we're carrying up here. The bars are an aero style bar, which means they're gonna be a lot more aerodynamic than your traditional round or square bar. And what that ends up meaning for you is less vibration and less road noise. One of the things that I really like about Inno is that it comes with metal lock cores and keys right out of the box. For a lot of roof racks, that is something that you end up having to purchase extra down the line but not so within 'em.
So, if you go ahead and unlock the tower cover just like this, we'll see that aerodynamic shape in the bar. This is gonna take your clamp-mounted accessories and it's got a push down weather strip so you can mount your T-slot accessories. And I'm just gonna go ahead and get this locked back up. And we're gonna grab a tape measure and get up on the roof of the Rogue and see how it fits. So, with these being fixed mounting points, you can expect a crossbar spread of 29, just a hair over 29 inches.
And the reason that that measurement is so important is because every rooftop accessory has a minimum and a maximum crossbar spread that you're gonna be allowed to use in order to use that accessory. So, always know what your crossbar spread is. 29 inches is actually a really good spot. That's kind of right in between the window of the majority of those accessories. So, I don't feel like it's gonna be too much trouble for you to find accessories that are gonna fit this setup. When it comes to space underneath the bar, we've got about two and three quarter inches under the bar. That is more than enough room for your clamp-mounted accessories to grab around to it and be secured from the bottom. To the top of our bar, we're looking at about three and three quarter inches. So, if you're trying to figure out your vehicle clearance, like from a height standpoint, these bars aren't gonna make it difficult to get in and out of a garage that I can tell. But if you're trying to figure out that height for clearance, if you know your overall vehicle height, add that number there, and then the height of your accessory so that you know whether or not you're gonna be able to go through a low clearance area. The other reason that that measurement is important is because we have that shark fin antenna toward the back. And that shark fin antenna is actually low enough that it would be under the bar. So, I'm not too concerned with any accessories on top of the bar that might be a little longer like a roof box or a kayak interfering with that antenna. One of the other really, really great things about Inno, something that I really like, is the fact that they're actually one of the easier roof racks to get installed. So, follow along and I'll show you exactly how to get these on the roof of your Rogue. The first thing that we want to do is go up to the roof and find our mounting locations. They're gonna have these kind of covers on 'em just like this. There's a little slot. If you got a really small flathead screwdriver, go ahead and get that down in there kind of deep and just lift it right out. There's a little tab catch here on the end that keeps it in. It's pretty easy to come out. And then, what we'll find in here are two bolts. Now, these bolts from the factory are locked, tighted in, they're in pretty tight. You're gonna need a T27 Torx bit in order to get those undone. And again, just a warning, they're gonna be in there a bit tight, so be patient with them, and go ahead and work those out of there. (Torx bit clinks) Now, in your fit kit, you're gonna find bolts like this. There's gonna be a flat washer and a lock washer, as well as this spacer here. You're also going to have a metal plate just like this. This is going to fit on to our rail, just like so. The bolt holes are at a slant, (metal plate clinks) just like the bolts that we took out. And we just wanna make sure it goes in like this with these two-bolt holes facing upward, which is where our brackets are going to go. Now, the spacer on this actually needs to go underneath the plate. (bolt clinks) So, if we put our bolt through right there, the spacer is gonna go on the back end of it like this. And get everything lined up. Now, I'm gonna, by hand, start threading it just to make sure that I'm keeping everything in place. And once I'm done with that, inside of your tower kit, you're gonna find a hex tool that's gonna fit these bolts and you can get 'em tightened down. With your bolts both in place, you're gonna have this plastic cover that's gonna go over the top. You wanna line it up so that these empty bolt holes are gonna go through these two openings here. And we'll go on just like that. So, you'll have right side and left side. You'll be able to distinguish the opposites by where the key is at. But for the purposes of this particular part, we don't have to worry about which is which. We're gonna go ahead and unlock our tower cover and remove it. Once we do that, we're just gonna loosen this knob right here and that's gonna release the bracket off of the bottom of the tower. So, now, with one of the brackets, each of these is going to take two of these shorter bolts with a flat washer and a lock washer. These are gonna be found in your tower kit. This bracket is going to get placed right on top of this plastic piece so that the holes in there line up with these holes right here. So, I'm just gonna get that on there. I'm gonna drop in our bolts and these are gonna use the same hex key that we found in our tower kit. Just make sure when you put this in, again, that opening is toward the outside, this protruding tab is on the inside. And before I tighten this down, it is a slotted bolt hole. It's not perfectly round, which means it leaves me a little room to maneuver. I always like to put these so that they're as far out from the vehicle as possible and as far forward. In the case of our rear bar, I made sure it was as far out as possible and further back. Even though it's very, very minute difference, I just like to create as much crossbar spread as I can. That usually allows for more accessories to be compatible with my roof rack. But once I got those set and I'm holding it in place kind of toward the passenger headlight, I'm gonna go ahead and get this tightened down. (hex tool clinks) Now, in a moment, we'll show you just how easy it is for your crossbars with the towers to clamp on to this and release from it, so they're very easy to take on and off when you need to, like if you wanted to take it through a car wash. When you do that, you can cover up these exposed bolts in this bracket. Your fit kit does come with these covers that can snap on just like so. Just keep a nice kind of a more complete look up here on your rails when you're not driving around with your roof rack installed. Get our towers mounted onto our crossbar. Now, you are gonna have to pay attention to what you're doing at this point. There are two different bar sizes that are gonna come in your kit. The rails on the Rogue start wide at the front and they taper to being narrower toward the back of the vehicle. So, you're gonna get a bar that says XB93, that's gonna be shorter, and a bar that says XB100, which is longer. The shorter one, which we've already got installed is going toward the back of the vehicle. The longer one, because it needs to cover that wider rail spread, is going to go on the front. So, we've got our longer bar here and I'm orienting my towers to their correct configuration. So, in the towers, when you take the cover off, you're gonna see it stamped with an L or an R, L being driver's side, R being passenger side. You're also gonna have a little diagram in there of the shape of the bar from the side. So, the idea being that this end of it is gonna go onto the narrower end right here. So, it does give you a visual guide of what to put where. So, but what I'm gonna do at this point is I'm gonna go ahead and turn over my bar. (tower cover thuds) And in the back here, we're gonna find this tray that kind of slides back and forth like this. What you need to do is depress this tab, slide this under like that, so it exposes this whole cavity right here. (tower lightly rattles) These latches right here are gonna drop right into that cavity, making sure that this knob is facing out. It also helps if you lift up on this lever a bit. It just creates a little bit of clearance here under those tabs, but I'm just gonna drop it right in, just like that. We're gonna slide it over and work it toward the edge before it locks in. (tower slides and thuds) We're gonna do the same thing over on our passenger side. Now, we're ready to go ahead and get our crossbar up on the roof. So, what you need to make sure of when you're putting it up there is that the wider end of the bar is facing the front of the vehicle and the narrower end, the back of the vehicle. Underneath here, we're gonna have this kind of blade front and this hook tab in the back. When we're putting this up, what we're gonna make sure of is that blade front drops right in front of this tab and behind these. So, it's gonna just kind of be slotted right in there. So, it'll drop right into place in that slot. And then, as we bring it around back, we see that our tab in the back is gonna be going into the appropriate place. Now, I'm gonna go over on the passenger side and make sure that that's put in the same exact way. Once that's in place on both sides, go ahead and start turning this knob and tightening it down. Now, I like to go until I start to feel just a little bit of resistance and then go over on the other side and go ahead and start twisting that down too. I'm gonna work my way back and forth, driver to passenger side, and incrementally tighten 'em down. Because I've seen what happens when you overtighten one side and leave the other side loose, a lot of times, it'll knock it out place. You just end up having to loosen everything up and start over. So, just work your way back and forth getting it tightened down. And I like to reach up, give it a good shake test, and make sure nothing is shifting on the bracket, the bar isn't shifting back and forth, and everything is feeling really solid. Now, the final step of the install is gonna be to replace your tower cover. Just pop that right on into place, (key clinks) lock it up, and your roof rack is secure to your roof. Now, we're ready to load it up and head out on our next adventure. And if after watching this video, you decide that maybe this is still a little bit more of an installation that you want to take on on your own with your Nissan Rogue, let us help you find a local installer near you to help you get this done so you can load up and head right out. Once again, this is Curt with etrailer. Thanks for stopping by.
Ratings & Reviews

Installation went pretty smoothly. The trick is to fully understand each step before moving to the next. There are a lot of small parts which at first was a little intimidating, but soon I was able to "get with it". I love the finished product and think you helped me get a good deal. Thank you for that
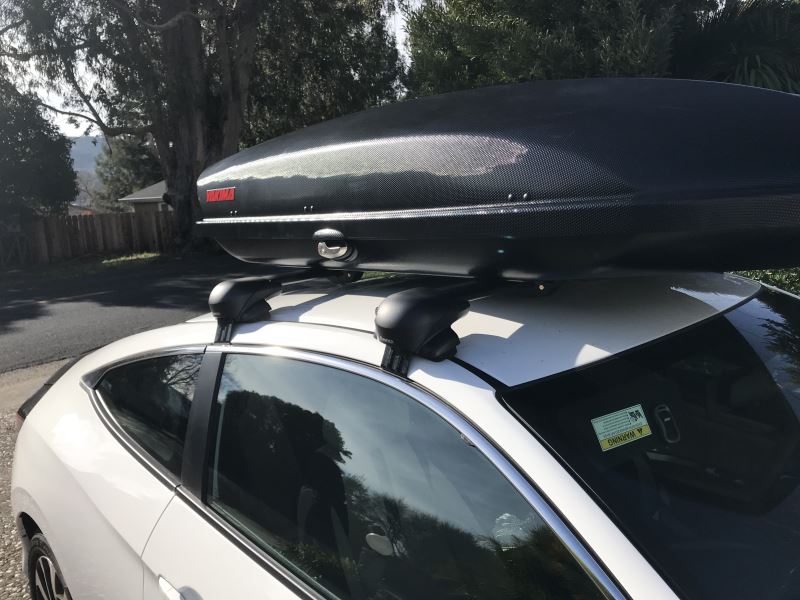
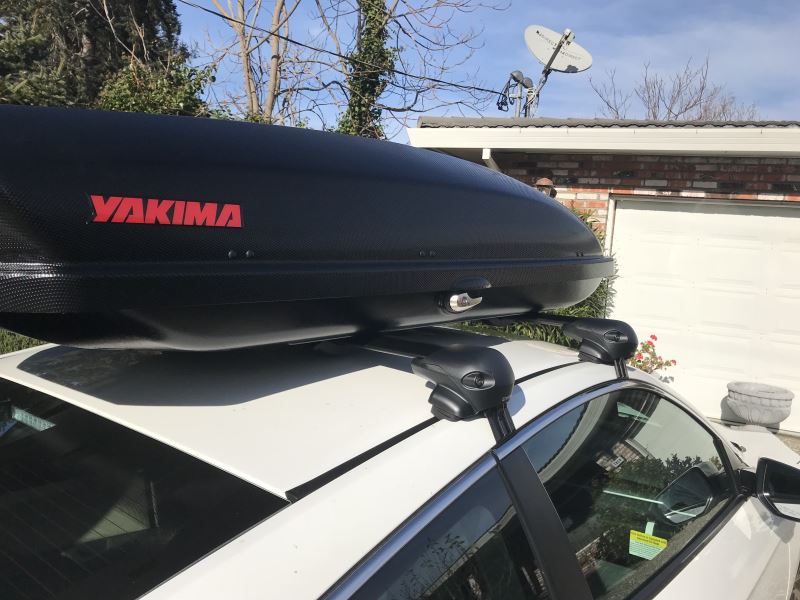
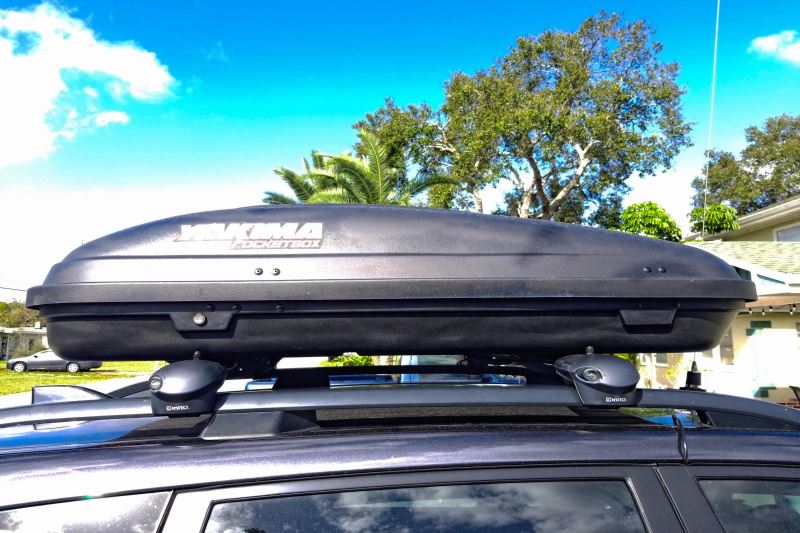
This inno rack fits well with my car. I installed a cargo box with it. The roof rack is well built and sturdy.
Great product and figment, the service was great as well, the only suggestion I have is if there is a product that cannot be shipped to Canada it should be told when you try to order it, however the follow up call was appreciated .
Shipping and packaging was very good and delivered on time!
Glad I went with the Aero cross bars for the less wind noise!
This rack fit my 2024 Ford Maverick perfectly, although etrailer said it wouldn’t fit. I checked the fit guide on the Inno website, this was confirmed as an option for my truck. Installation went well, fit is perfect, really like the Inno products. Highly recommended. Unable to download photos, bummer.
I recently drove round trip in terrible weather to Boston from Orlando a trip of over 1500 miles...My Inno Elliptical Roof Bars Roof Rack held up perfectly.
I especially like the "keyed" function. I highly recommend them to anyone needing a strong, weatherproof, and secure roof rack.
By far the best service I have received in a very long time. I recieved my inno flush feet areo crossbars, sooner than expected and the assembly was just as specified. I especially liked having the video with the tutorial.
I like the look of the low profile and the quality is outstanding. I have used this for my kayak and the low profile helps with the loading and unloading.
I would highly recommend this product and Company.
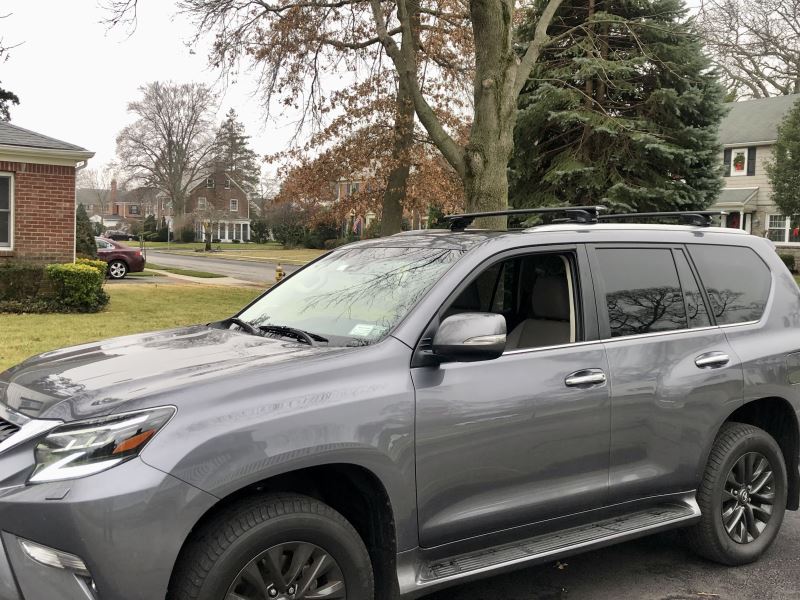
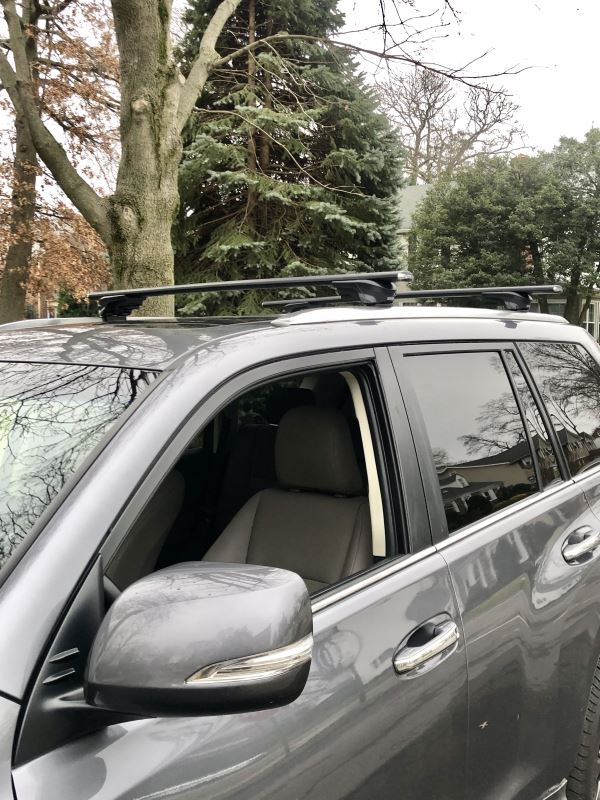
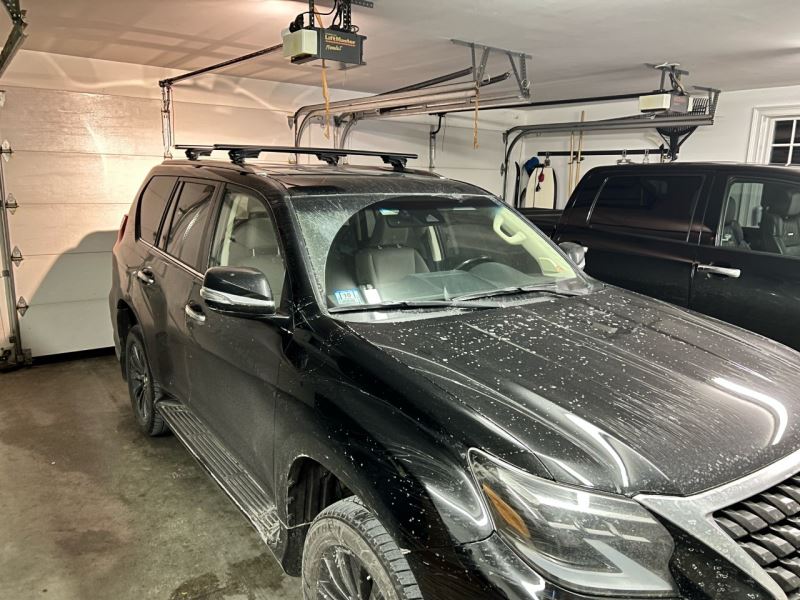
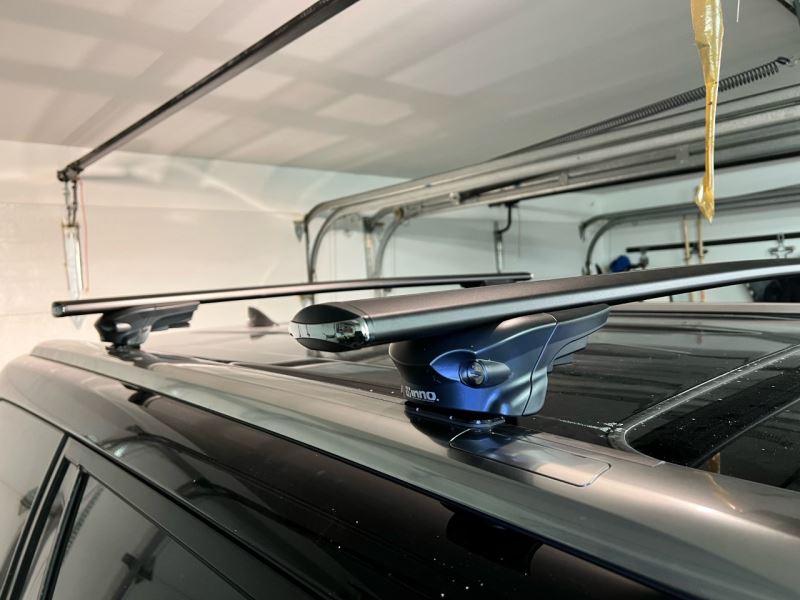
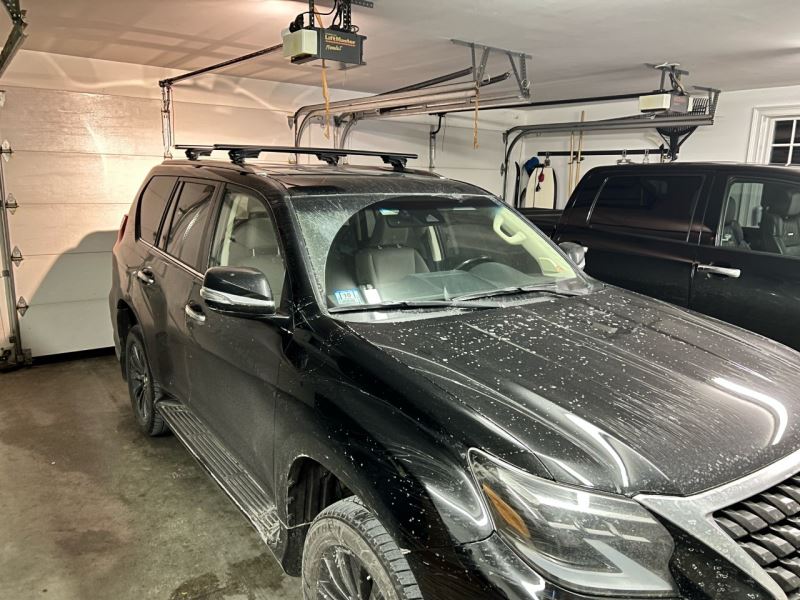
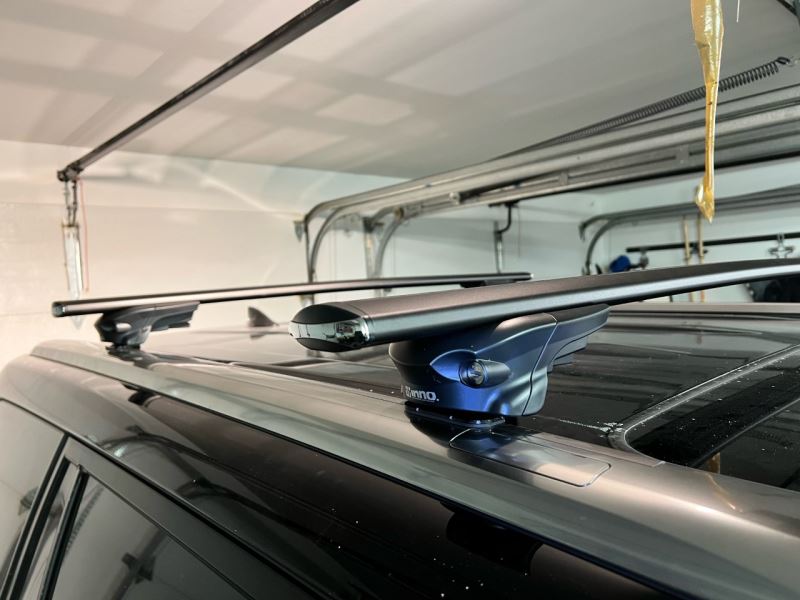
Originally, I was waiting for the Yakima crossbars to be restocked for my GX460 but decided I couldn’t wait it out any longer and went with the Inno’s aero set. Overall, they look great, fit great and seem to be very good quality. I was able to assemble the rack myself, it took me about an hour and half, I wish the installation was a bit easier but after watching the video from etrailer it all came together perfectly !
Aero roof rack is very stylish and gives my car a good look. It’s low profile look is what I really enjoy about it. The bars are pretty wide so any bars you do add to them, you’ll have to do IN-DEPTH research to make sure they do fit. I’ve had some run in with some issues with bike racks
I've been a happy etrailer customer for years. Sales staff helped me pick out the right roof rack setup for my new 2023 Escape that worked with my low-profile rails. 3 separate boxes of pieces but they all came together perfectly. Very happy with my purchase and etrailer customer support! Rack is solid, low wind noise and will work with the accessories I need, kayak carrier and cargo basket.
Once again etrailer.com delivers. Finding a crossbar solution for my 2021 Lexus GX 460 was far more challenging than expected until I visited the site and found exactly what I needed. The fit kit worked great and the quality of the feet and crossbars on par or better than other brands (who dropped the ball on having a product available for this vehicle). The rack is on, secure and now carrying my Thule cargo box. Very happy.
The e trailer box didn’t come with the the flush feet. There are the 4 metal grab pieces and also nice rubber pieces to go against the car but the flush feet pieces that are used to attach didn’t come with it. Idk if that has to be ordered separately. I’ll probably return the whole lot if so because I thought it was the entire kit when I ordered it.
I bought a new car but kept my favorite roof box to keep my skis happy and let me keep parking in my garage.
Very nice quality, made in Japan. Easy to install using the Inno XS150 base stays. The 51" was a nice size for my 2015 Touareg. Many of the manufacturers recomment wider (53-54"), but I like the narrower profile. Unfortunately, the Aero design still creates a slight bit of wind noise at highway speeds, and it gets worse if the sunroof is raised (vent). I like the soft rubber T-channel material which allows the accessories to mount without cutting the material. I also like the slightly arched shape.
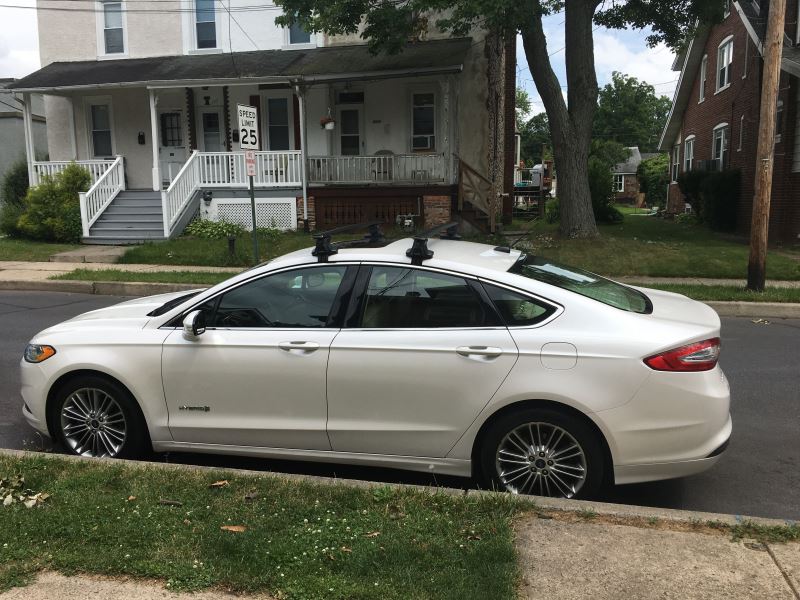
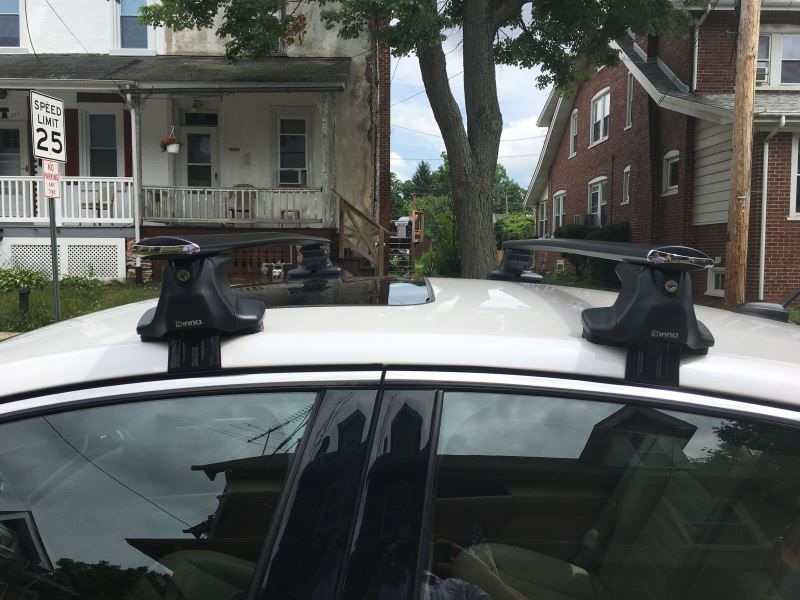
Got these with the custom fit kit (INK860) and the through feet/stays (INXS250) for my 2014 Ford Fusion Hybrid. Assembly's not difficult, though you do have to work with three different instructions: 1 for the stays/feet (the main install instructions), one for the Crossbars (minimal to do there), and one for the custom fit kit (again, minimal, though this one is crucial as it contains the measurements for the setup).
Things went pretty smoothly. However, when I put it on my roof at the measured distances from the center line, the feet didn't both occupy the rain gutter as they are supposed to. I checked the measurements, and both the front stays were at 21.5" and both back stays were at 21 3/8 " . Since those were the called for measurements, I'm not sure why I didn't fit perfectly. However, they're great and I can't wait to put them to use with my kayak and snowboard and bike. Thanks E-Trailer.
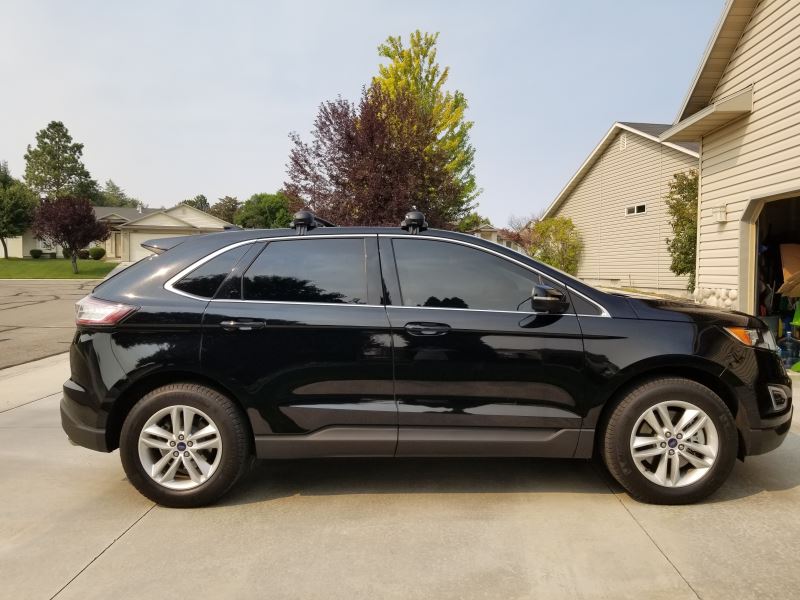
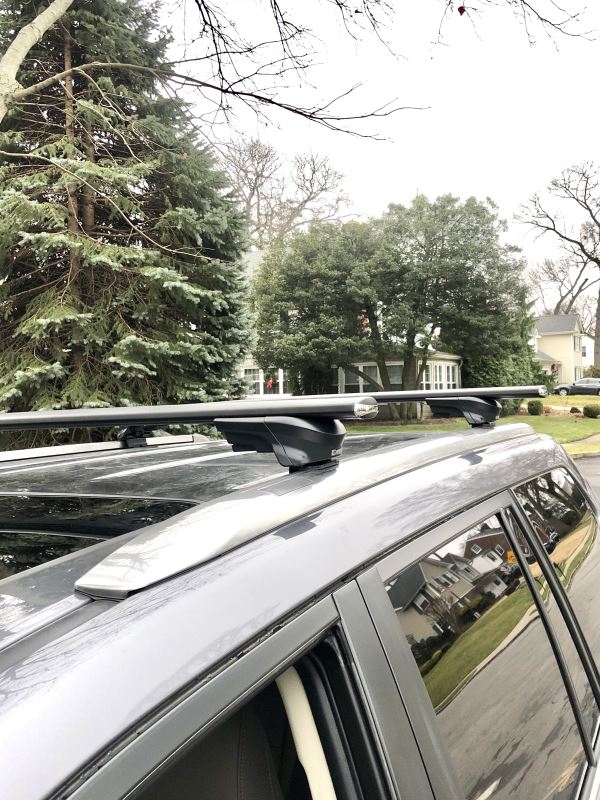
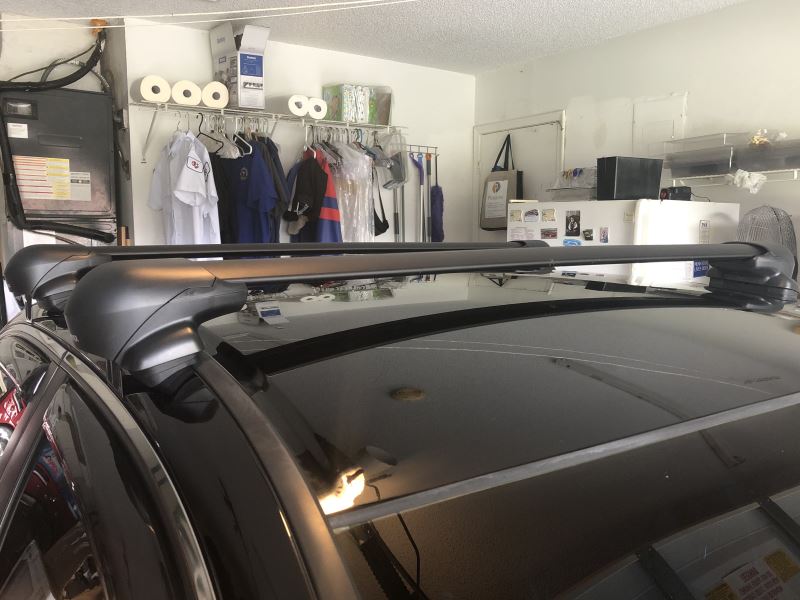
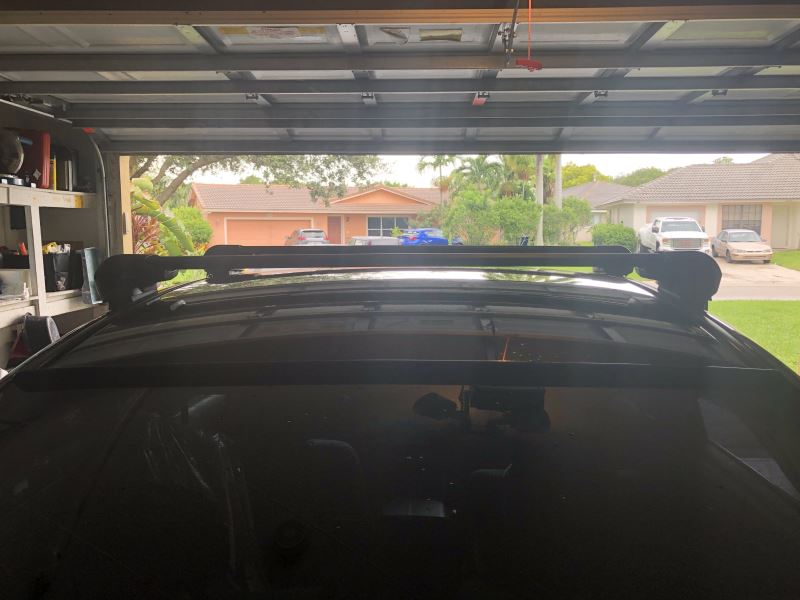
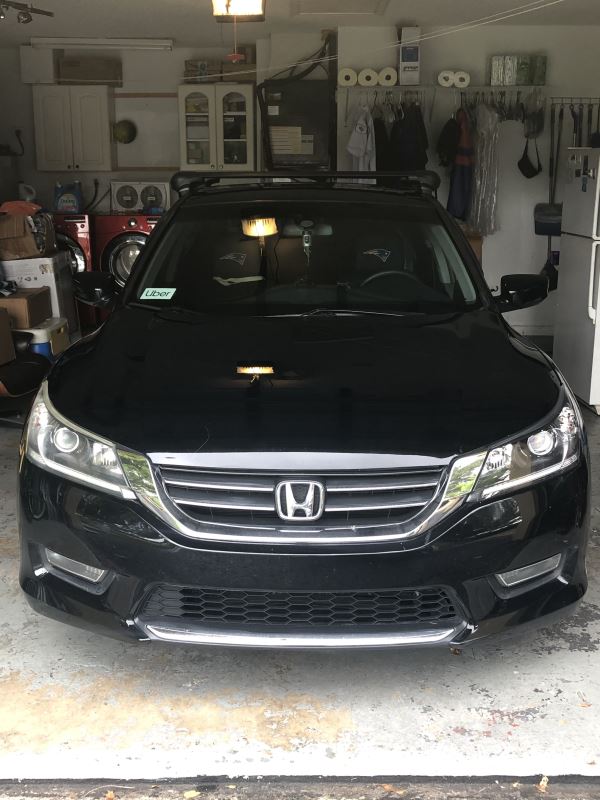
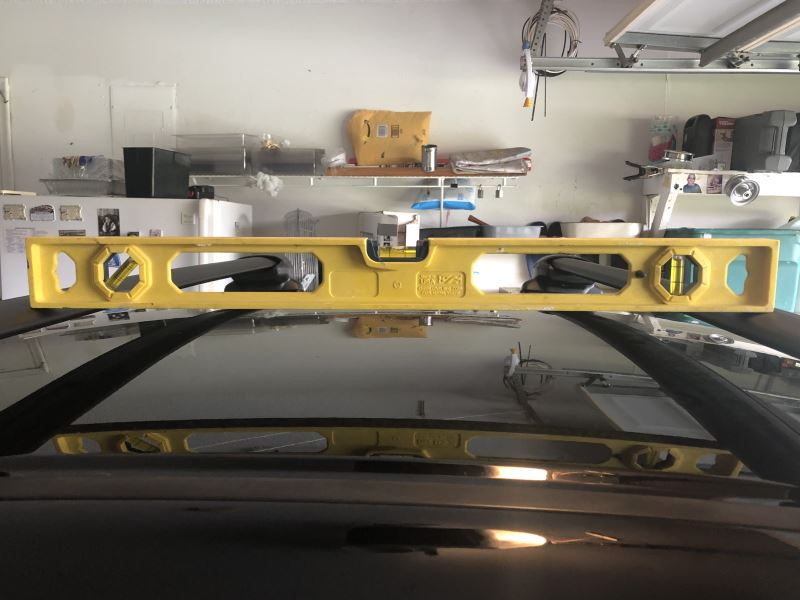
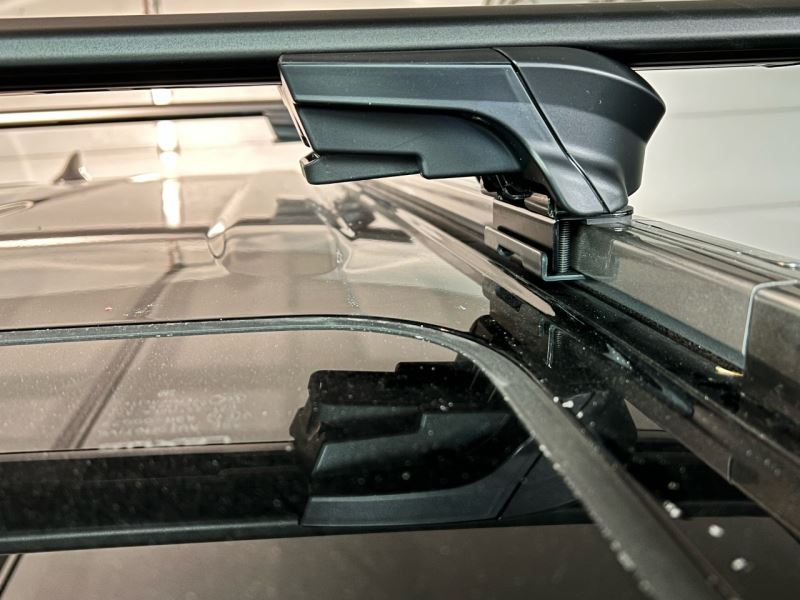
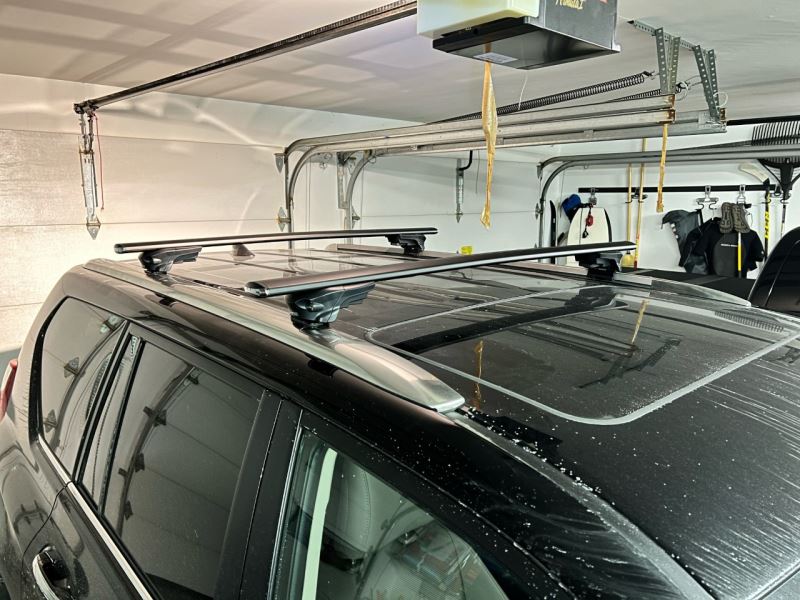
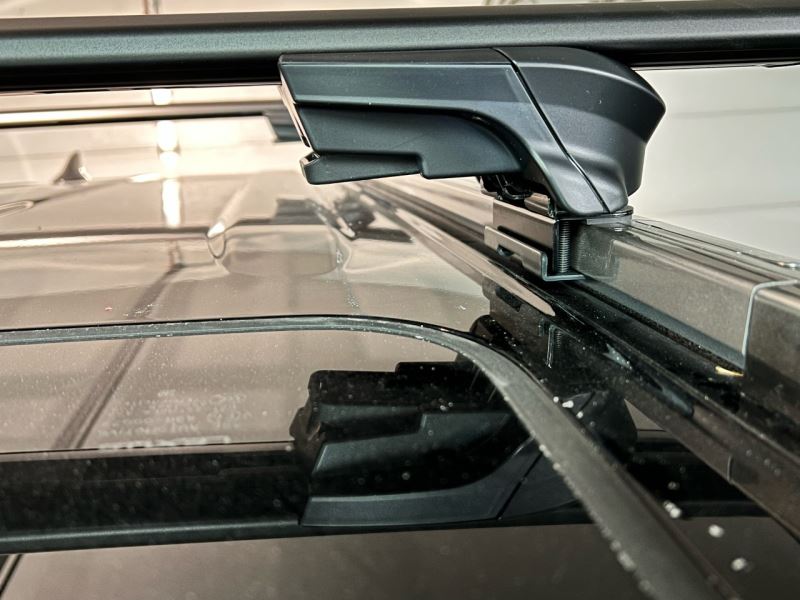
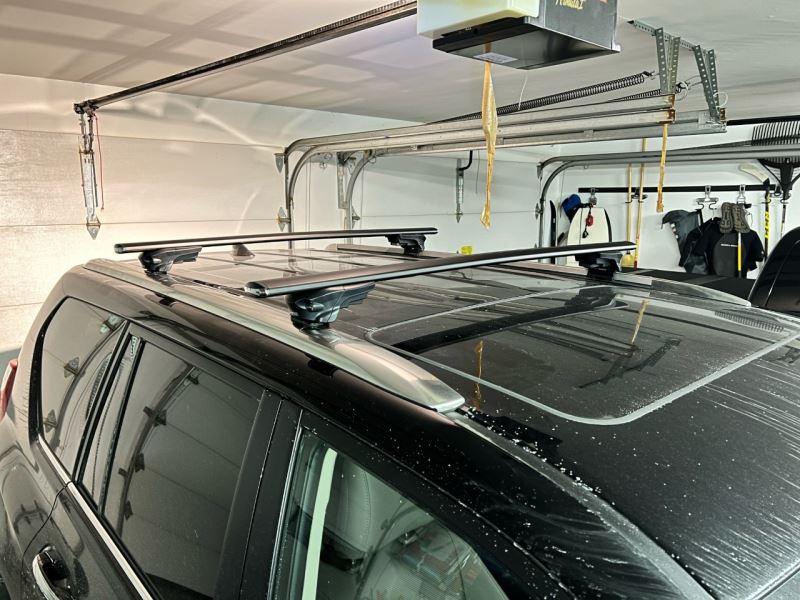
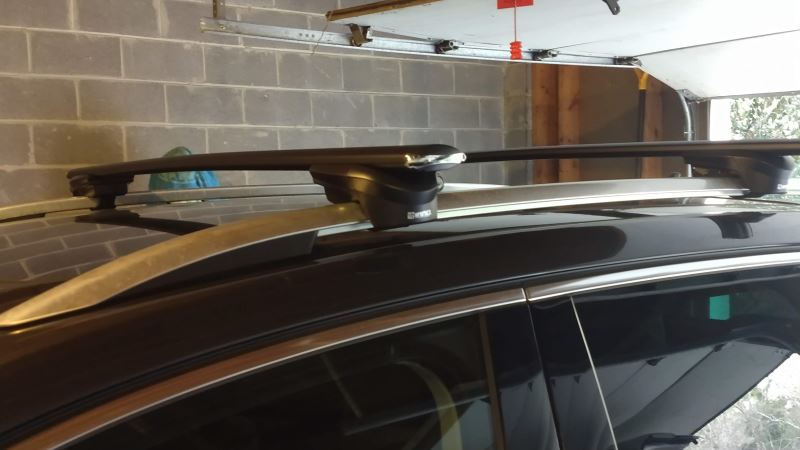
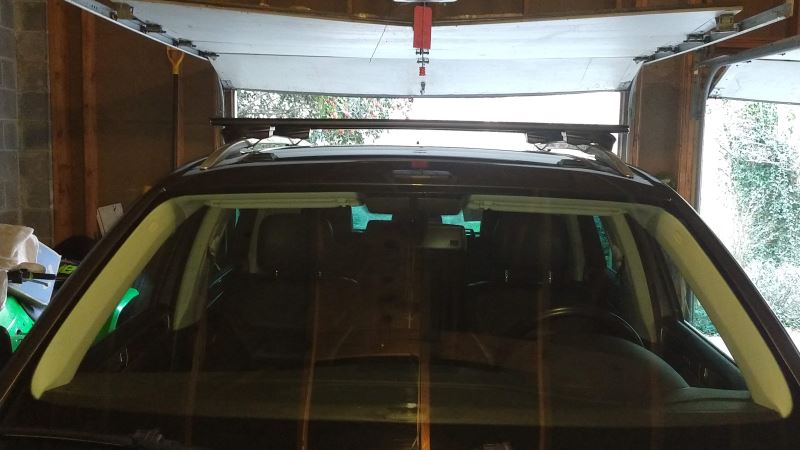
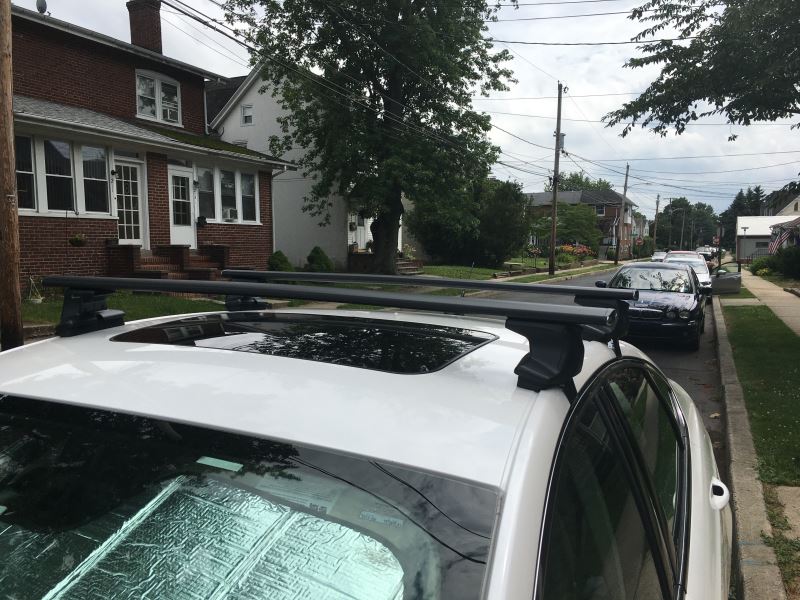
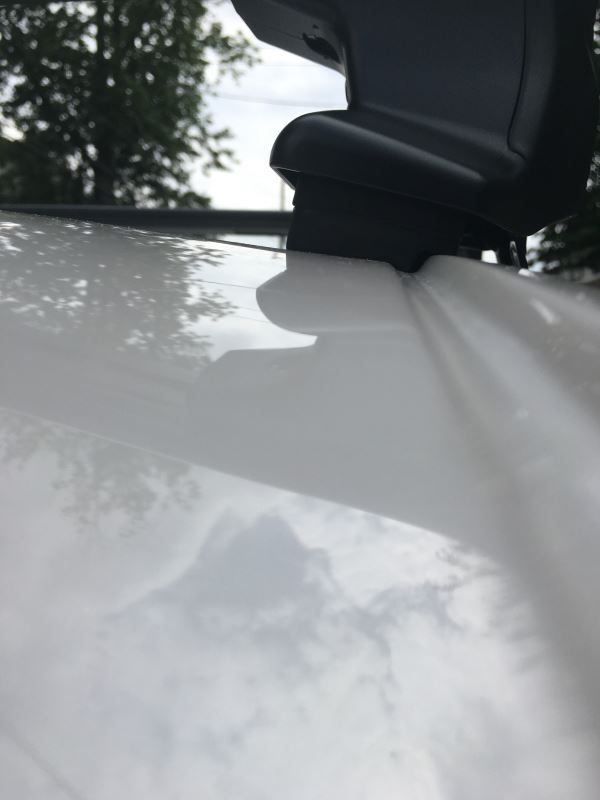
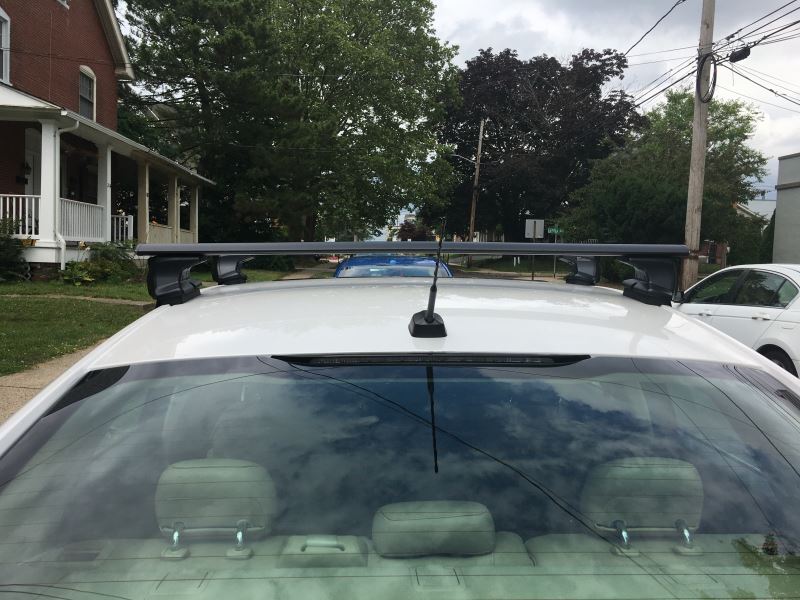
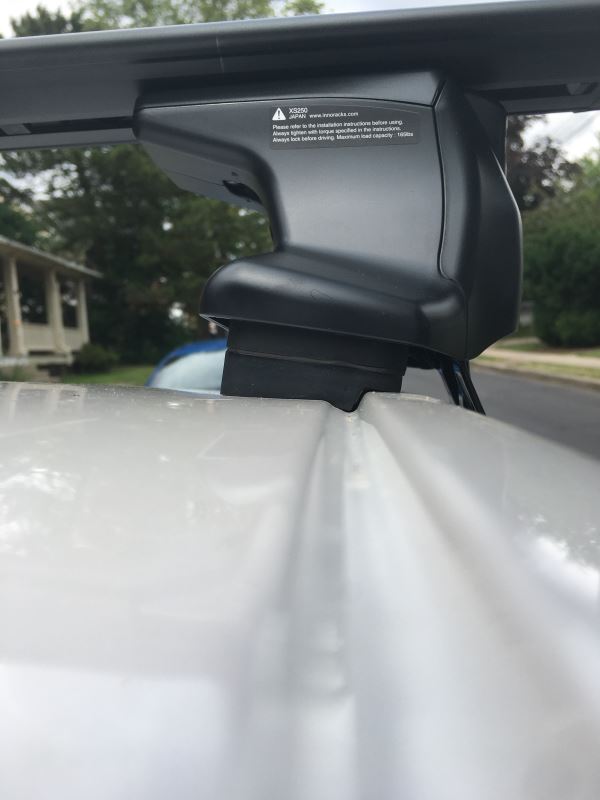
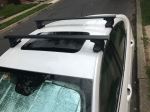
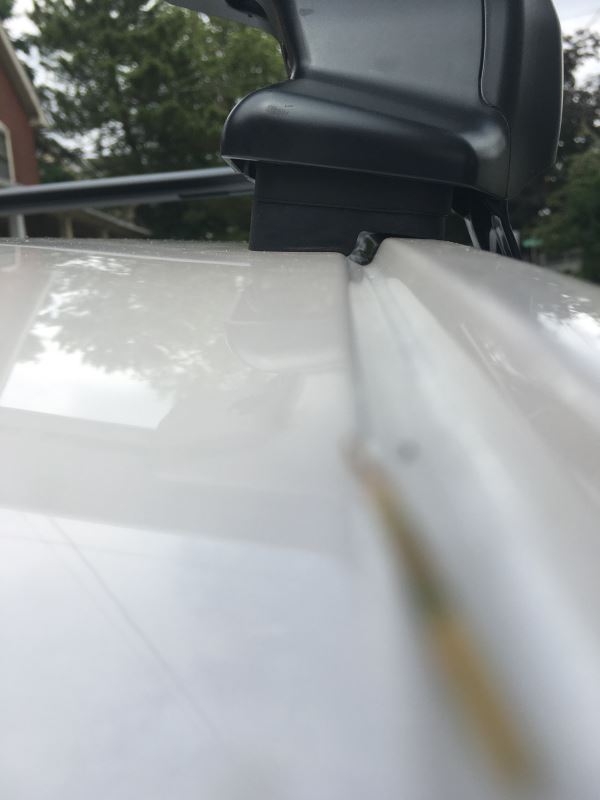
Photos show how great the system looks as well as some of the gaps at the rain gutters. I don't think it's crucial to readjust those. I did try several times but couldn't seem to get them just right.
Inno makes the best products
These are great! Easy to use and easy to install. Thanks George!
Very helpful staff. Great product and super fast shipping.
etrailer was great to work with on my order. I really didn't now what I needed, but I knew what I wanted it to do. They were very knowledgable and helpful. Will definitely recommend and use again.
The rails completed the parts I needed to install my roof rack on my 2010 Forester. What was particularly important were the buying and installation guides and video for the products I selected. Order placement was simple, and the order follow up from eTrailers was greatly appreciated.
Thank you etrailer my car looks great I spent 4 hours to ensemble this cross bar and the bask rack but finally I made it now I have more cargo space in my car I really recommend etrailer good quality items and good service thanks again
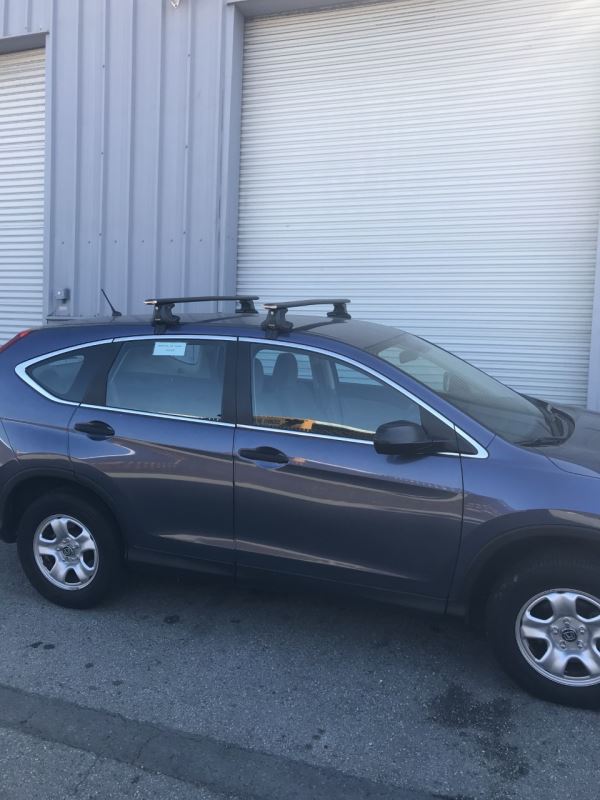
The quality of this product is 5 start and fit exactly with my 2017 nissan rogue..
Do you have a question about this Roof Rack?
Info for this part was:
At etrailer we provide the best information available about the products we sell. We take the quality of our information seriously so that you can get the right part the first time. Let us know if anything is missing or if you have any questions.


























Thank you! Your comment has been submitted successfully. You should be able to view your question/comment here within a few days.
Error submitting comment. Please try again momentarily.