


Thank you! Your comment has been submitted successfully. You should be able to view your question/comment here within a few days.
Error submitting comment. Please try again momentarily.


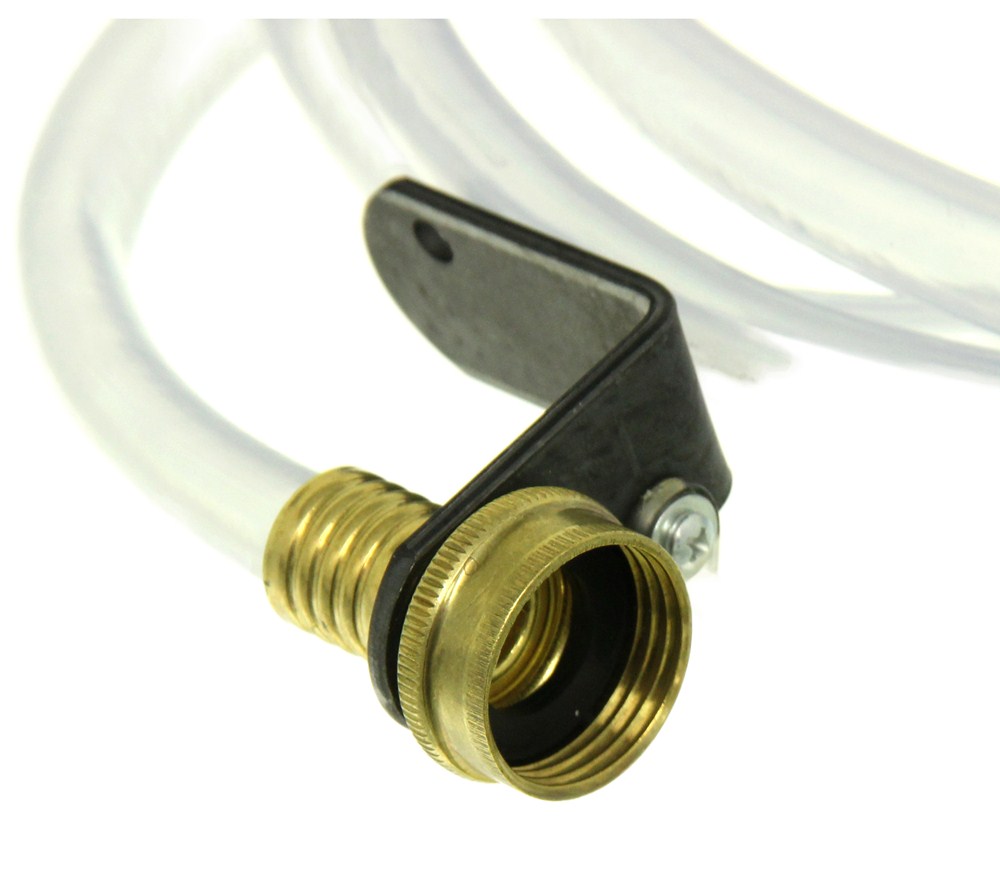


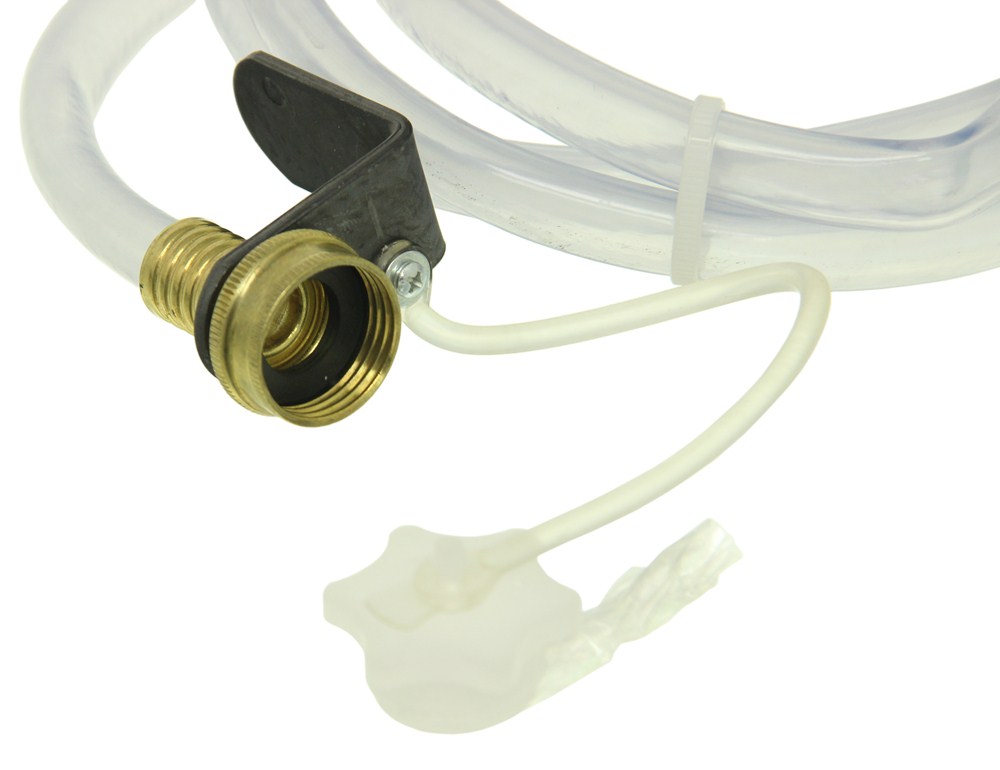

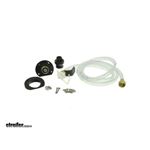
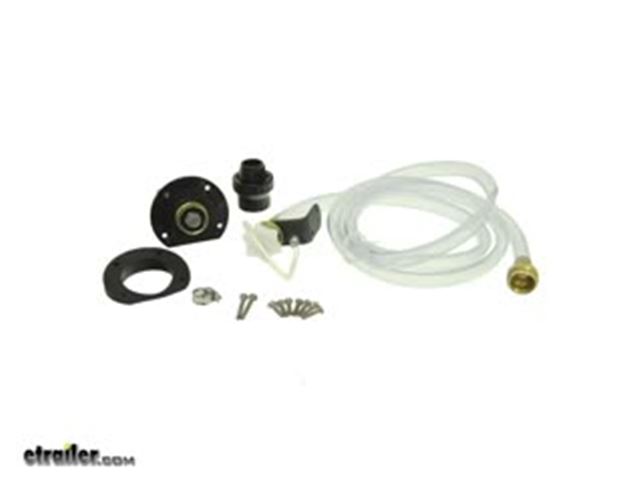
The 360-degree rotating head and 10 high-pressure nozzles of this permanent rinser reach every area of your RV holding tank to improve sensor functioning and dislodge waste. A 6' long exterior access hose provides quick connection and no mess.
Features:
Videos are provided as a guide only. Refer to manufacturer installation instructions and specs for complete information.
Today we're going to be taking a look and showing you how to install the Camco Tornado 360 Degree RV Holding Tank Rinser, part number CAM40126. This rinser permanently installs into your RV's holding tank. The 360 degree rotating head has ten high pressure nozzles. These streams help flush out stubborn waste deposits and odor causing particles. The included vacuum breaker helps regulate water pressure and prevent backflow into your water system. It comes with six feet of hose and all the hardware you need to get it installed.
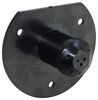
We'll go ahead and show you that now. First thing we'll need to do is locate our black water tank. The outlet is located right here, so we can just follow that. If you haven't already, empty out your black water holding tank. Here, underneath our camper, we'll need to locate a good spot for our Camco Tornado. Now per the instructions, it's recommended that you position it opposite your discharge valve, but this is the only good location we have, so we're going to mount it right here.
It should work just fine, so we can go ahead and take our template and put it in place. We'll need to make sure that the top is pointing up, and we're going to place it in this area here, and then I'm going to tape it in place. Now we can take an 1/8 inch drill bit and you will have to provide your own, and we're going to pre-drill 5 holes. We'll do the 4 surrounding and then the one in the center. Now I'm going to use a hole saw to drill out our 1 3/4 inch hole. Now let's remove our template.
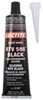
We'll now want to apply some black silicone sealant. If you don't have some, you can pick up some on our website with part number LT37467. First we'll want to apply some into each 1/8 inch hole. We'll also want to add some to the whole inside flange of our Tornado, so this whole area here. Now let's go ahead and put it into our holding tank, just like that. We'll secure it using our hardware.
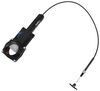
Now before we operate the Tornado, we're going to want to let that silicone cure for at least 24 hours. We can go ahead and continue on with the install. Now we can grab out hose, and we'll need to find an anchor spot for our bracket so we can easily access it on the outside of our RV. We're going to mount ours here, next to our valve. We know we're going to need about this much length in hose. I'm going to go ahead and cut off the excess. For the end that I won't need, can remove the connection. We'll want to grab our clamp, put in on the hose, and then put our connection back on. With our connection in place, let's go ahead and bring our clamp up into position. We're just going to position it about there and we'll tighten it up. Now we can take it and screw it onto our Tornado. It's time to mount the bracket. We've already gone ahead and chosen the location. Since we're going into the RV's frame, we're going to be using some self-tapping screws. If you need to, you can secure any excess hose underneath with some zip ties. Now we can just come back in 24 hours after our sealant is cured and then check it out. Now it's been about 24 hours and we're going to go ahead and try it out. Now since I'm working with the black water tank, I'm using some disposable gloves. You can pick these up with part number CAM40285. Our black water tank is empty, of course. I've gone ahead and run my hose to the dump station. First thing we want to do is install our vacuum breaker to our water supply. This is going to help ensure proper pressure. We've got the arrow for the direction of flow. We're going to install it like this, and then we're going to attach the vacuum breaker to our Tornado. Then, we can open up our valve and turn on our Tornado. Now we can let the water run for about 2 minutes or until the water runs clear. We've gone ahead and checked for leaks. With everything tight and secure, and the water running clear, our black water tank is now flushed and rinsed. We can go ahead and shut off our water and disconnect. That's going to complete our look at the Camco Tornado 360 Degree RV Holding Tank Rinser, part number CAM40126.
Customer Satisfaction Score:
98% were satisfied with this product
2% of customers were not satisfied
Ratings & Reviews



Do you have a question about this RV Black Tank Cleaner?
Info for this part was:
At etrailer we provide the best information available about the products we sell. We take the quality of our information seriously so that you can get the right part the first time. Let us know if anything is missing or if you have any questions.














Roy
7/26/2020
Easy install,seems to work as stated but ive only used it a couple of times with this covid 19,I havent been out yet this year.