



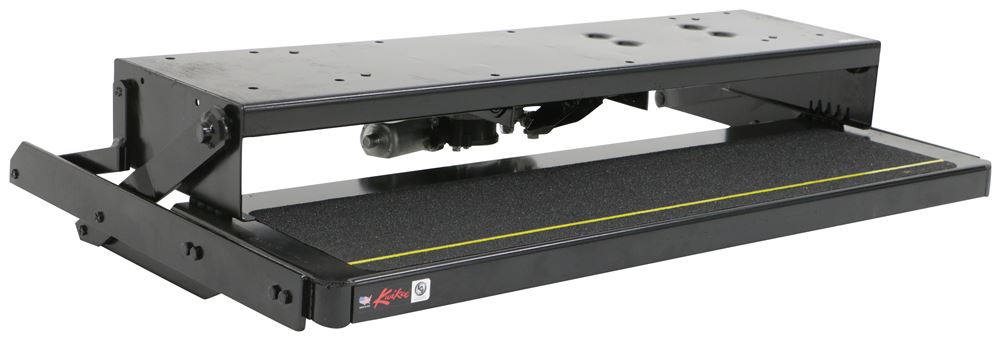
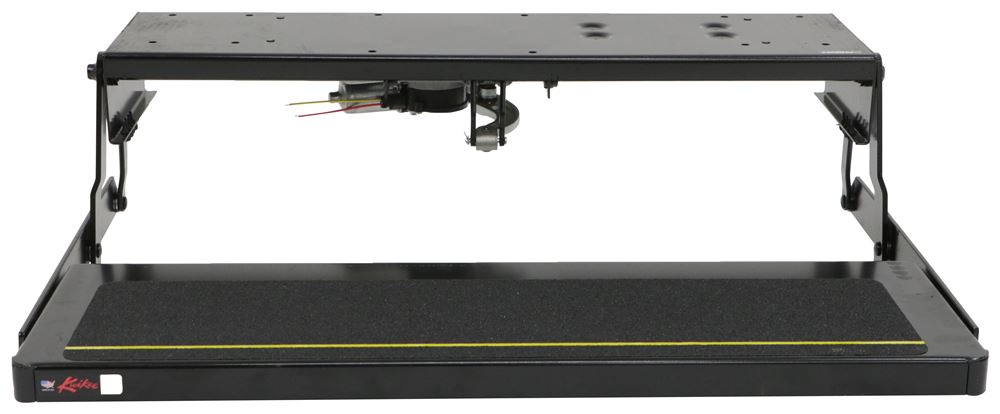
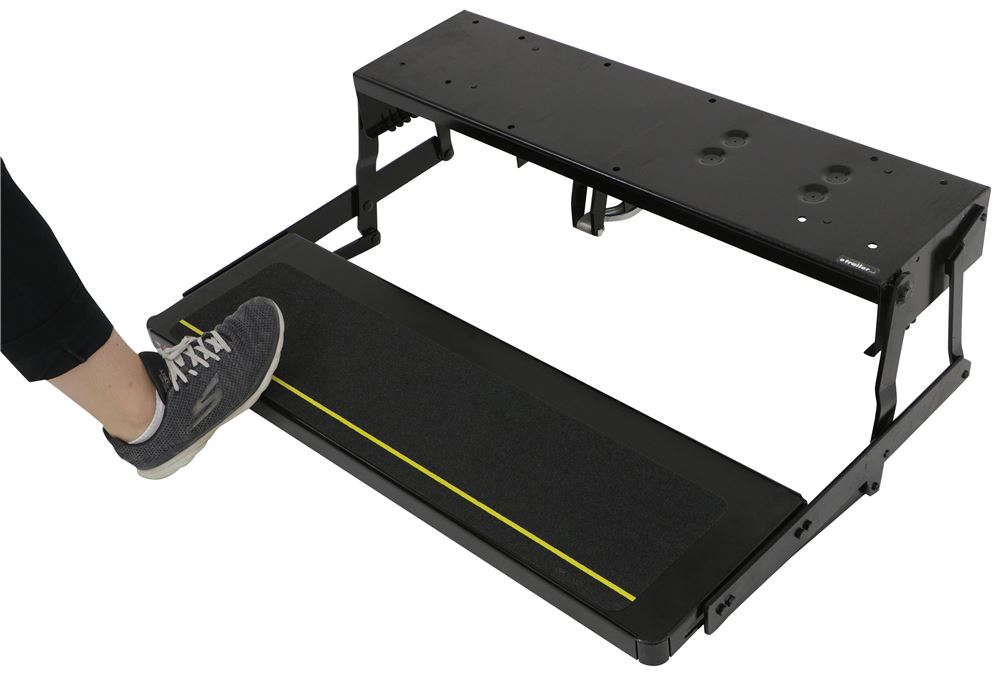
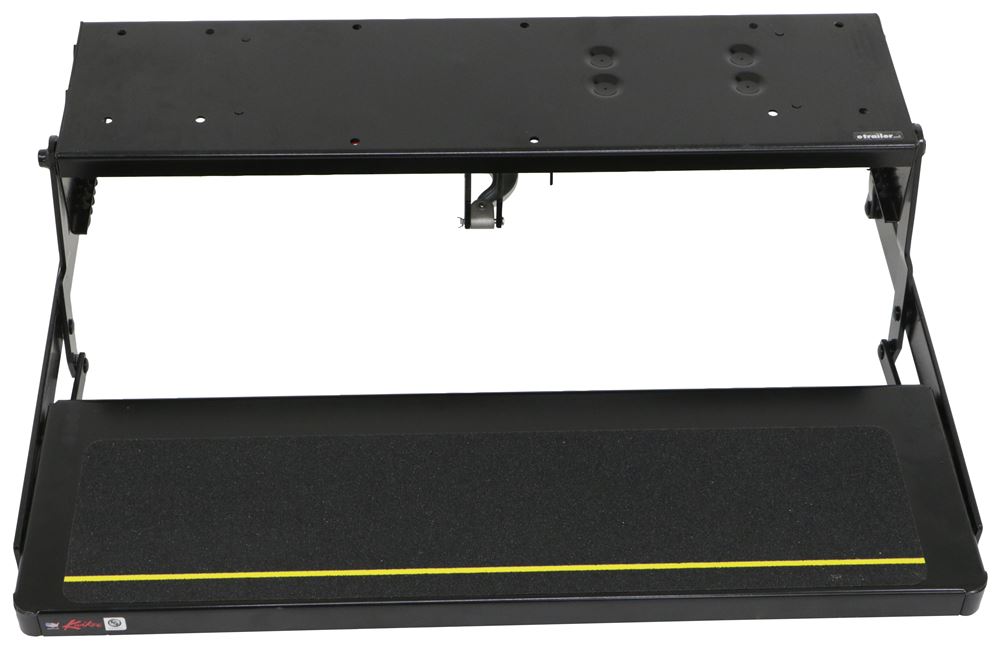
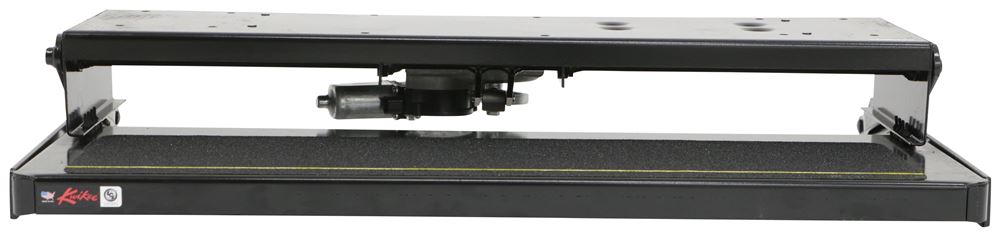
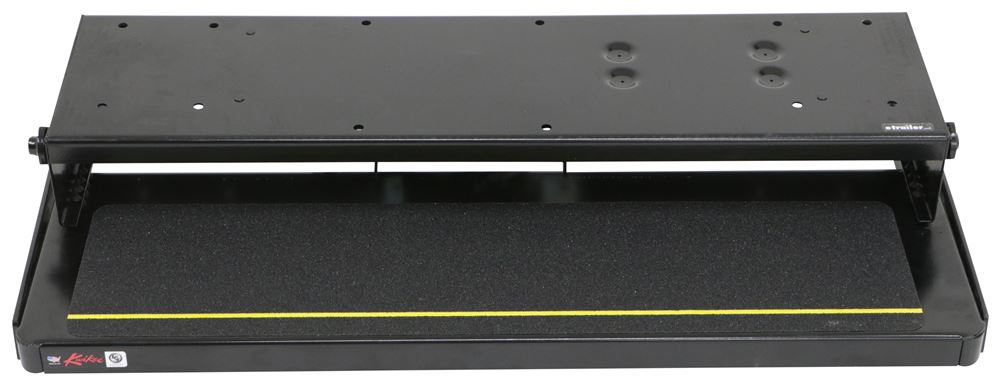
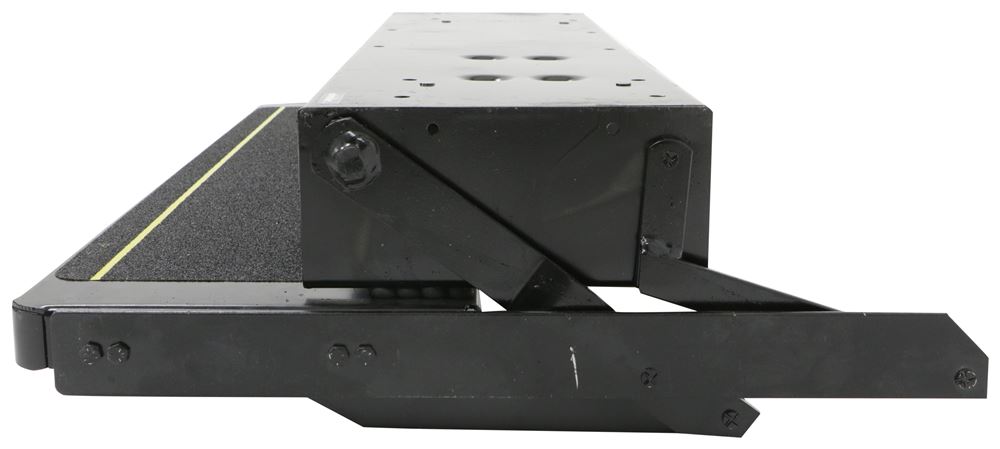
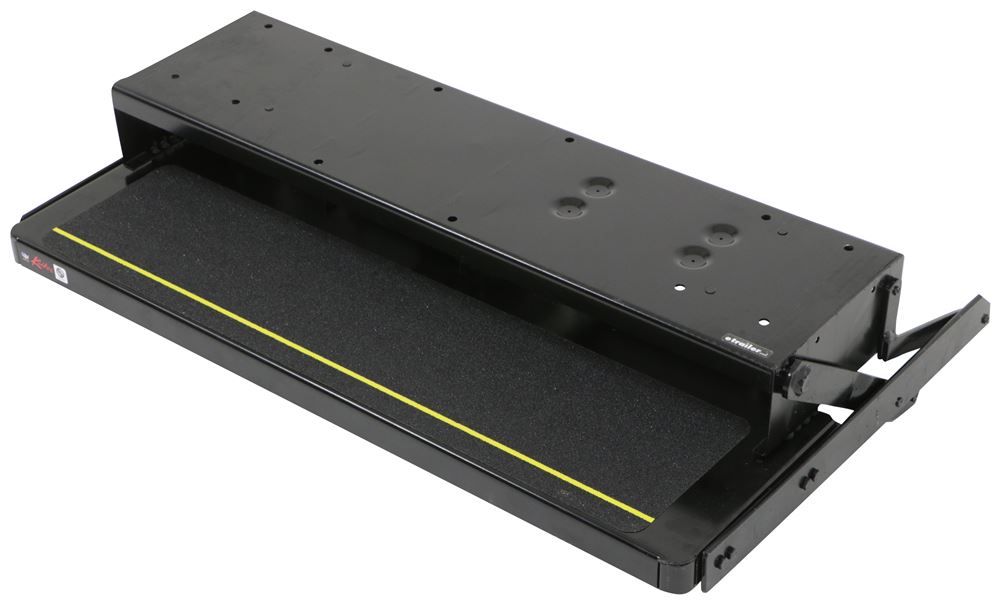
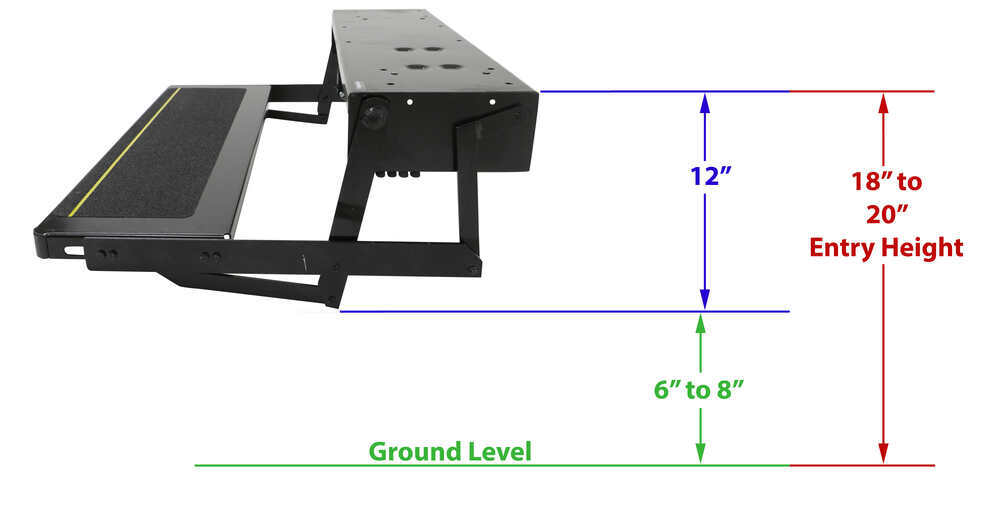
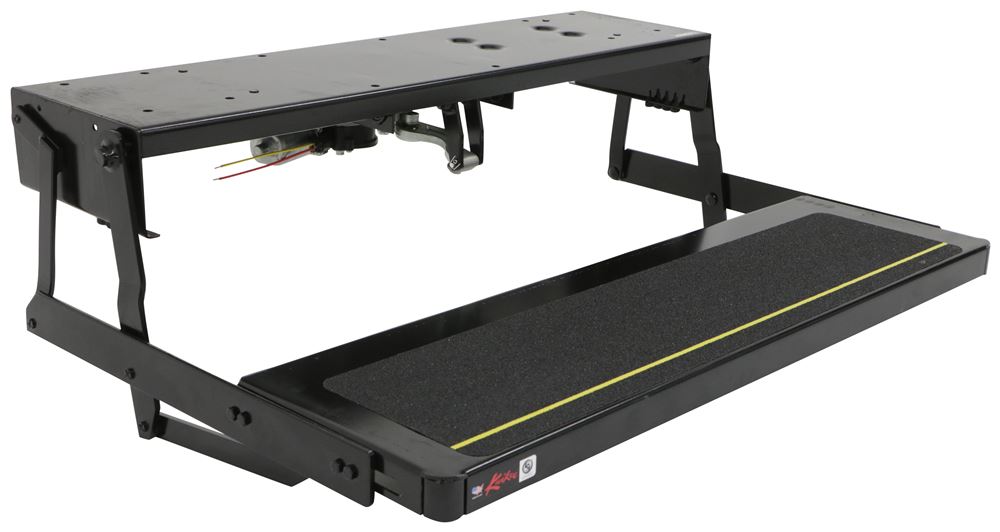
This replacement electric step and motor make stepping in and out feel solid and sure-footed. The 36" wide step has a 10-3/4" deep tread with a 7-3/4" drop/rise, giving you a natural step height that feels like real stairs. The non-slip surface and easy-to-see reflective strips help you stay steady and visible in low light. With a 300-lb capacity, it handles everyday use with confidence.

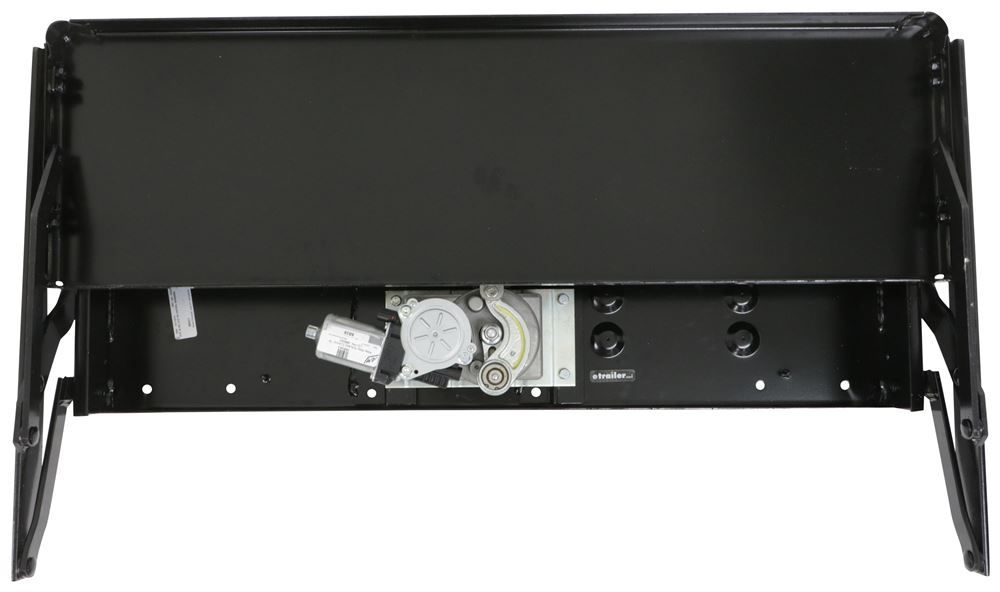
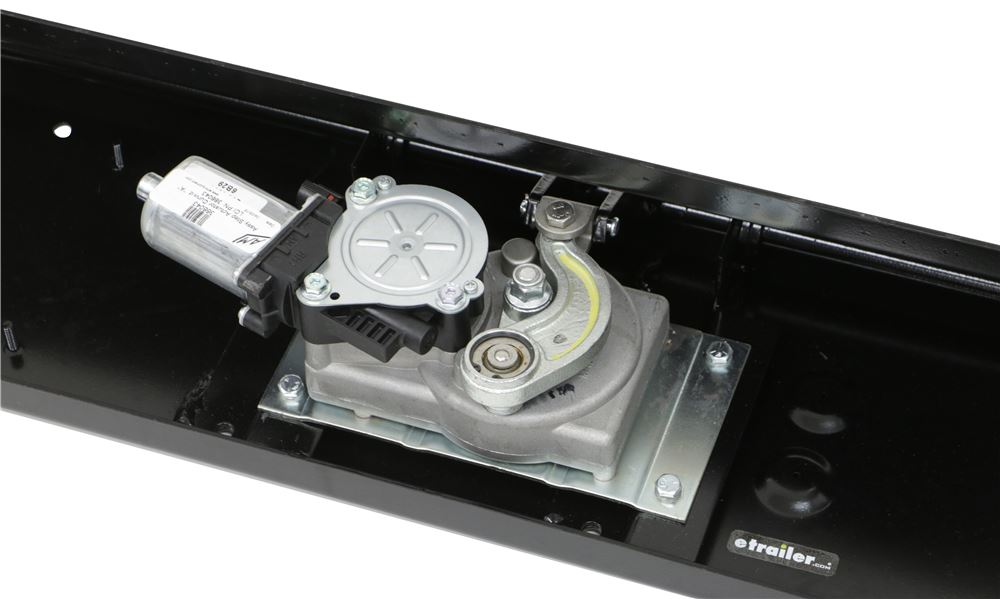
The sturdy, powder-coated steel construction resists corrosion and road debris, while the weatherproof wiring keeps the system protected from moisture. Inside the motor, a fully sealed gearbox with brass ball bearings and linkage keeps everything moving smoothly. Solid steel drive rods, stainless steel bushings, and air-pressed rivets at the pivot points give the step added strength and durability for long-term use.
If the step hits something while extending, it stops and retracts automatically to prevent damage. It also retracts when the vehicle’s ignition is turned on—even if the override was activated—so you never drive off with the step extended. These built-in safety features reduce the risk of injury and protect both the step mechanism and your rig.
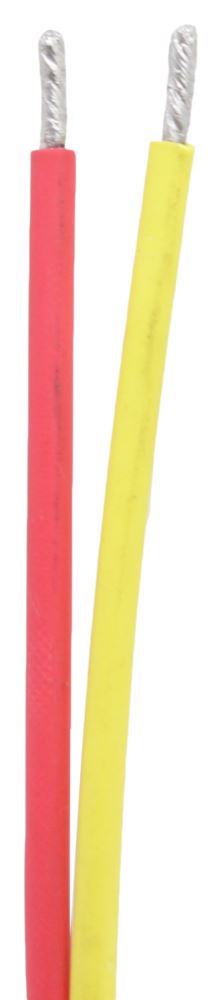
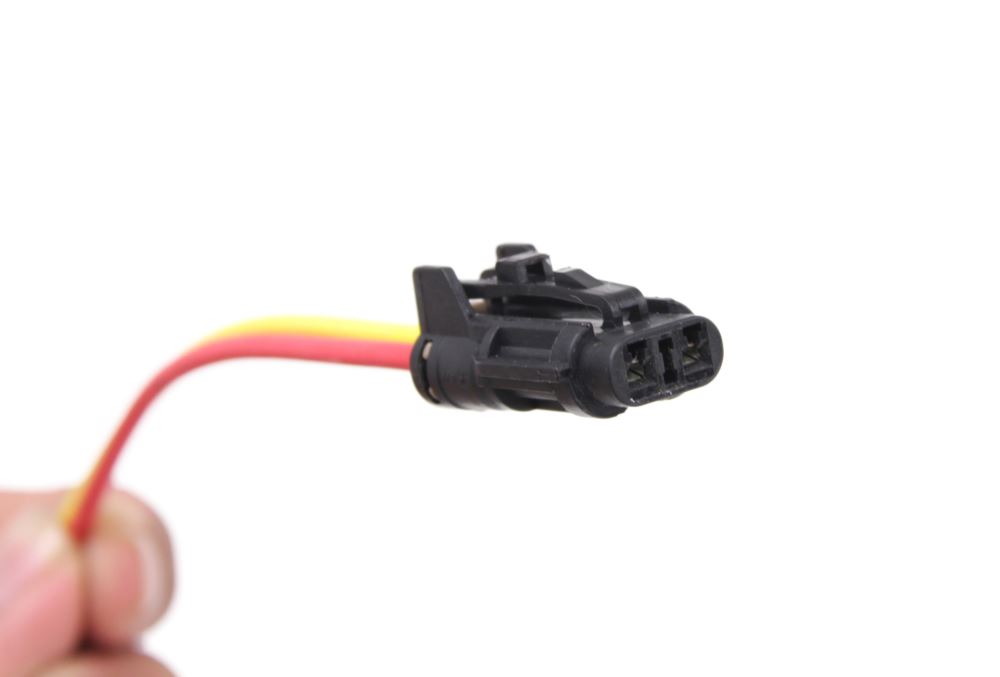
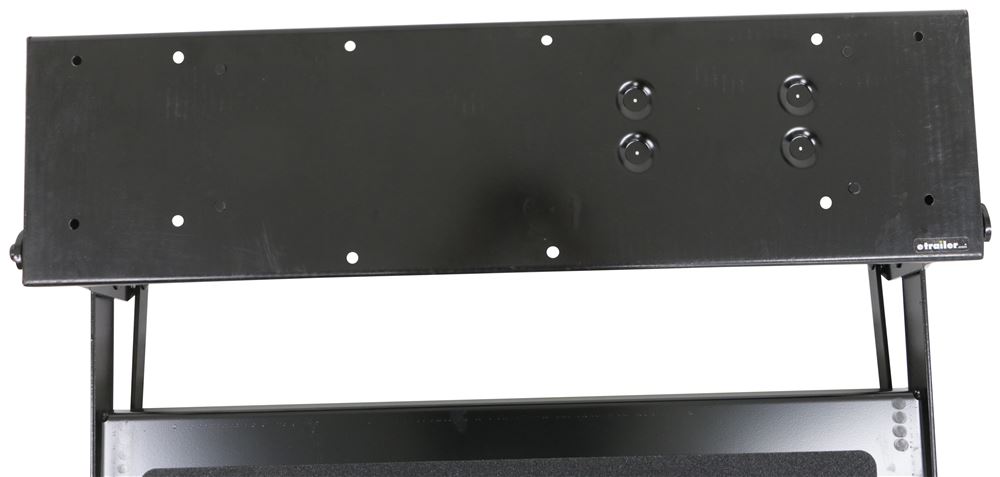
This replacement step and motor are designed to work with your existing Kwikee control unit and switch kit (each sold separately). The included 4-way plug connects directly to the existing harness, and a 4-way pigtail lets you hardwire it if needed. The mounting plate measures 34-3/4" wide x 9-1/4" deep with a 31" x 6" bolt pattern, fitting smoothly into the same space as your original 30-series step assembly.

Videos are provided as a guide only. Refer to manufacturer installation instructions and specs for complete information.
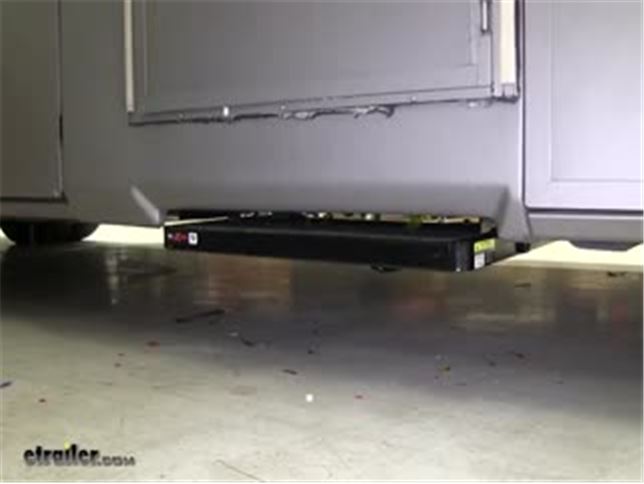
Speaker 1: Today you're going to be taking a look at the lifter components quickie 36 series single electric step. Stepping up into your RV can be a bit of a challenge. Especially if the steps aren't working. That's where our replacement steps are going to come into play. With our step installed, when we open the door it's going to automatically come out allowing us to step in easier getting in our RV but at the same time when we close the door, they're going to automatically retract making sure they're not going to catch on anything when we're driving down the road.Now from the top where it's mounted behind this panel, our step is going to drop down a total of five inches. In our application and the step we're using is going to be 24 inches wide by 10 and three quarter inches deep.
There is another step that is available that's going to be 30 inches. To see our website for your specific application and it's going to be made of a nice solid steel construction and have a nice black powdered finish for long lasting durability.The hidden amber light underneath our step is going to make it a lot easier for us to find that step in low light situations and have confidence when we're getting in or out of our RV. The included motor on our step is going to have a solid steel drive rod as well as stainless steel bushes for extended life of the motor. Our steps come with a door switch allowing it to know when to open up and when to close.Now our step is also going to come with a rocker switch in case you choose to manually turn it on and off and not use that door switch. Now that we've seen our steps and gone over some of the features, we do realize that every RV is going to be slightly different but we'll go ahead and give you a brief overview of how to get them in place.To begin our installation, you're going to need to remove your steps and disconnect al the electrical components that are on the steps themselves.
So I got our new step here and we're going to have our pigtail that we're going to wire into our motor home. Then the pigtail is coming off the step as well as the ground wire.So to get our step extended to make it a little easier to work with, I'm going to go ahead and plug in our pigtail and then I have a jump box here which is going to provide my power and grout. So I'm going to take the green wire with the ring terminal on it. I'm going to hook it to ground. I'm going to take my red wire, hook it to power, and then now we're going to take our jump box and turn it on and that should extend the step out.
We've made it a little bit easier to get access to our mounting holes.It's a good idea to have something underneath the step to support it. I'm using a floor jack to help me get the new step in place. It takes a little bit of patience to get everything lined up because it is rather hard to see but once we get the holes lined up, we can put our hardware in hand tight so that step will support itself and we can come back and tighten it all down.Typically you're going to have four bolts, one on each corner holding your step in place. There may be more but you just want to make sure that you replace them all and get them all nice and tight. Now these are the wires that we cut and as you can see they have some inaudible 00:03:15 connectors on them.
That's because it was hardwired into the motor. Now we're going to use the other end of the pigtail and then just connect our wires here so we can have a quick disconnect and if any issues arise we can disconnect it. It would be a little bit easier rather than cutting and splicing every time.So we'll go ahead and cut back these butt connectors and strip the wires and start attaching everything color for color. We're going to take a heat shrink butt connector and now these don't come with our kit but if you need some you can pick some up on our website. Then we can take the other end of our pigtail and we'll find the brown wire. It's already prestrippe.d So we can just put it into the other end of our butt connector and crimp it in place. Now we're going to do that for each one of our wires and we're going to connect them color for color. You should have a white, a yellow, and a red left on the motor home end as well as the pigtail end.We'll be using a heat gun to shrink down the connectors. I just want to mention if you are using an open flame you want to be extra careful not to burn the wires or the connectors themselves. Now this is where our ground from our previous step was installed. I'm going to go ahead and remove that bolt, take our new ground wire, slide the bolt and washer around it, and line up the hole and reinstall that bolt. With the jack out of the way, we can go ahead and shut our door. We can go ahead and go back underneath and start cleaning up all those wires.That'll finish up your look of the lifter components quickie 36 series single electric step.
Ratings & Reviews

Easy online process and quick responses form etrailer.com.
thanks for the speedy service.
Info for this part was:
At etrailer we provide the best information available about the products we sell. We take the quality of our information seriously so that you can get the right part the first time. Let us know if anything is missing or if you have any questions.
























Thank you! Your comment has been submitted successfully. You should be able to view your question/comment here within a few days.
Error submitting comment. Please try again momentarily.