


Thank you! Your comment has been submitted successfully. You should be able to view your question/comment here within a few days.
Error submitting comment. Please try again momentarily.
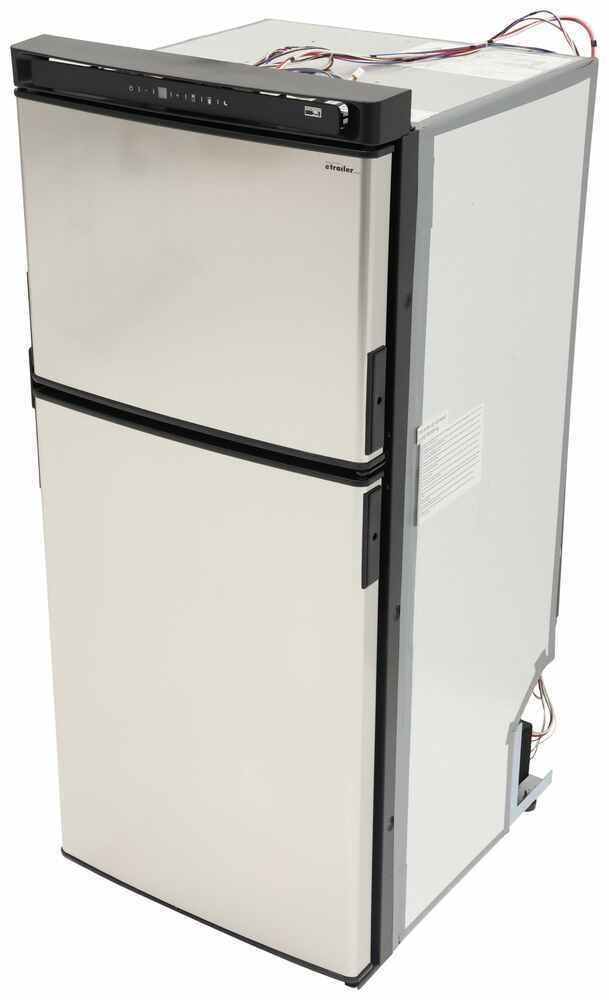
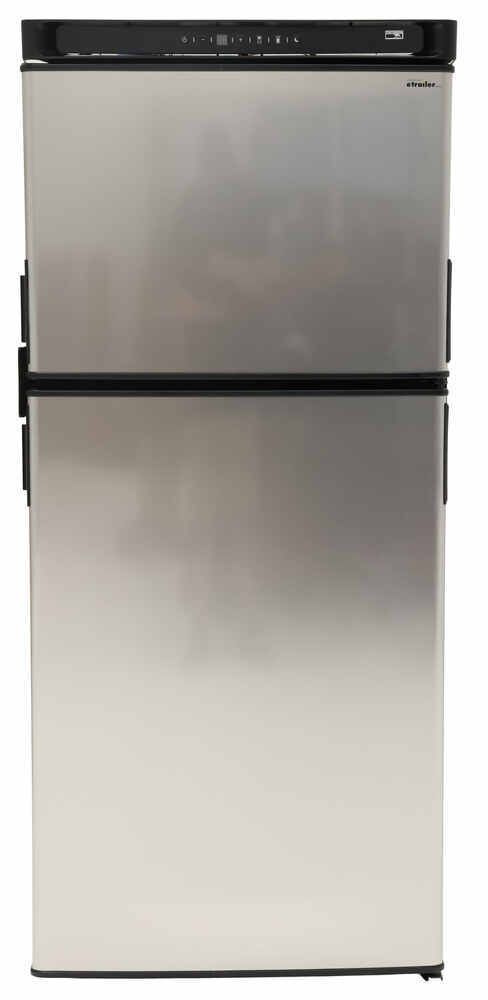
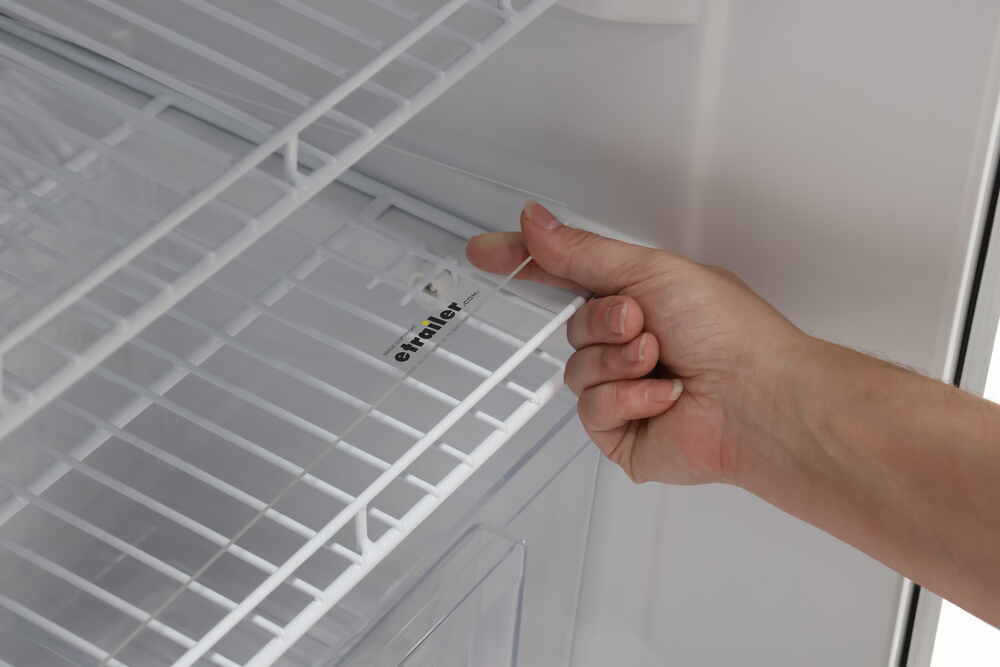
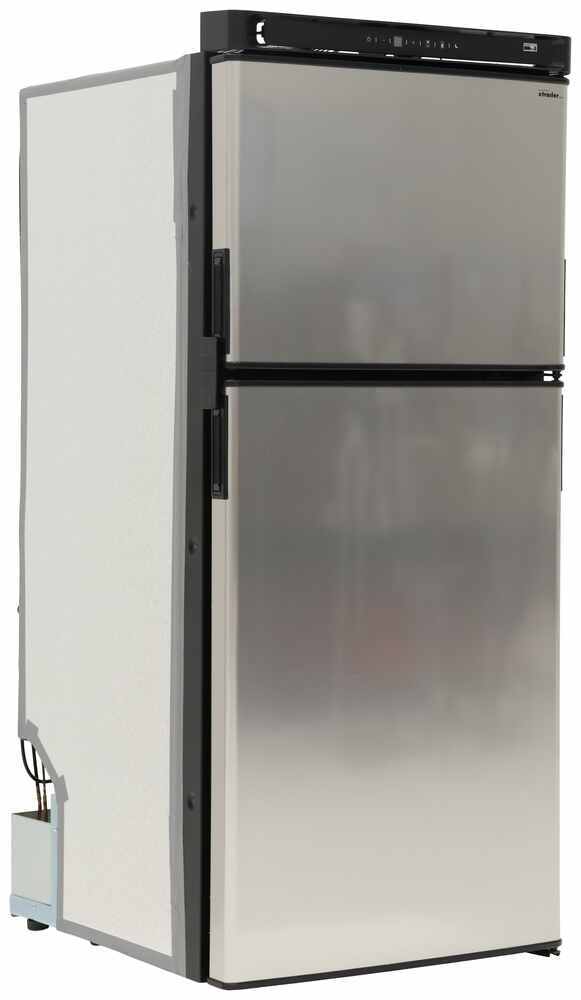
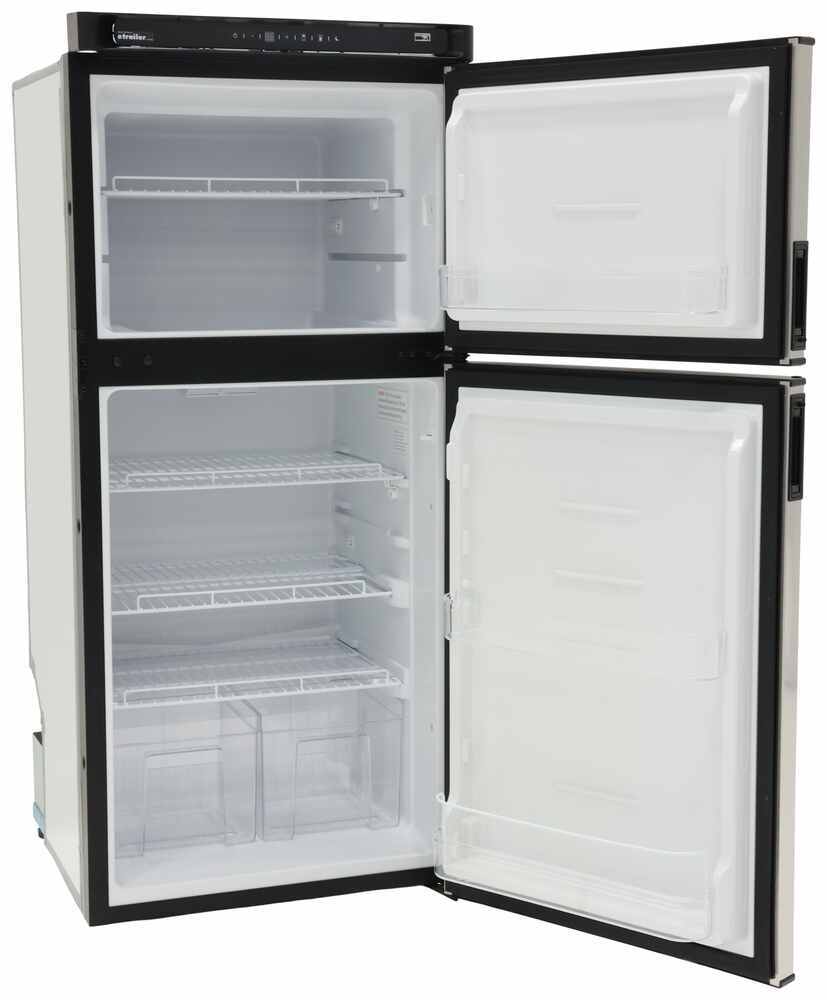
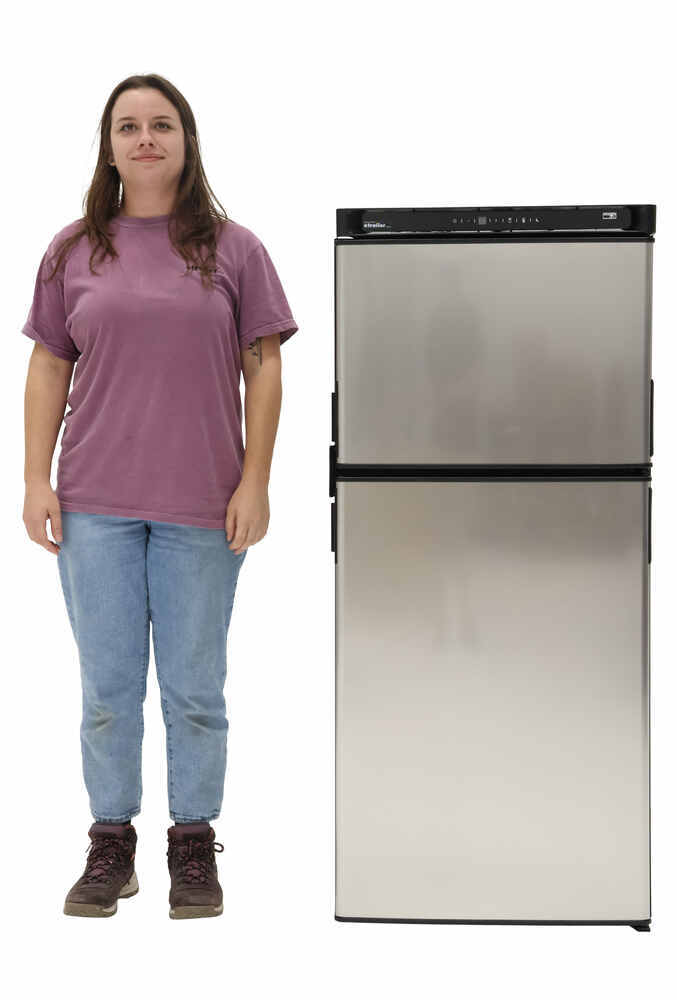
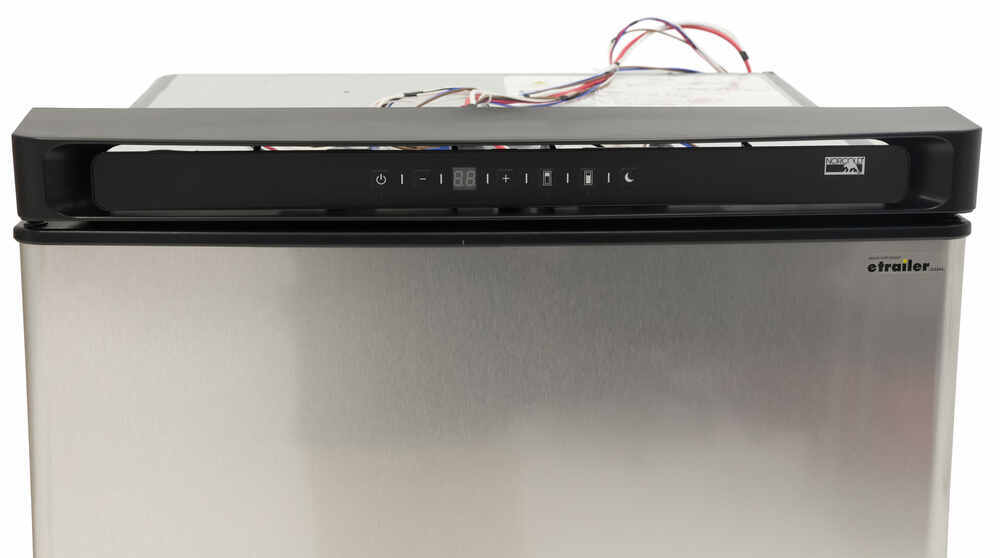
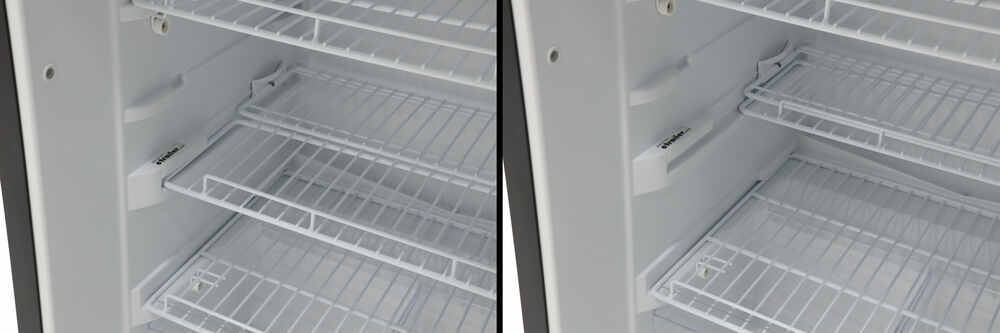
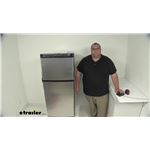
This fridge adapts to your weekend plans. Load up road trip essentials, shift the shelves to make space for the good stuff, and fine-tune the temp with digital controls. Built-in saver protects your RV battery so you can explore without interruption.
When you want to stay off the grid longer, this fridge makes it easy. The built-in battery saver jumps in before your fridge can kill your RV battery. If your power dips to 10.4 volts, the fridge just takes a break until you're charged back up. If you notice a little frost creeping in, just run a quick manual defrost to save even more battery life. And when you're winding down at the end of the day, night mode keeps things quiet and uses less energy while you sleep.
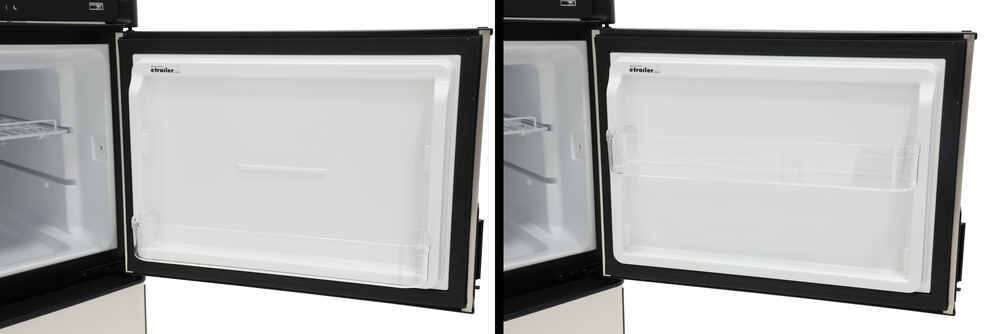
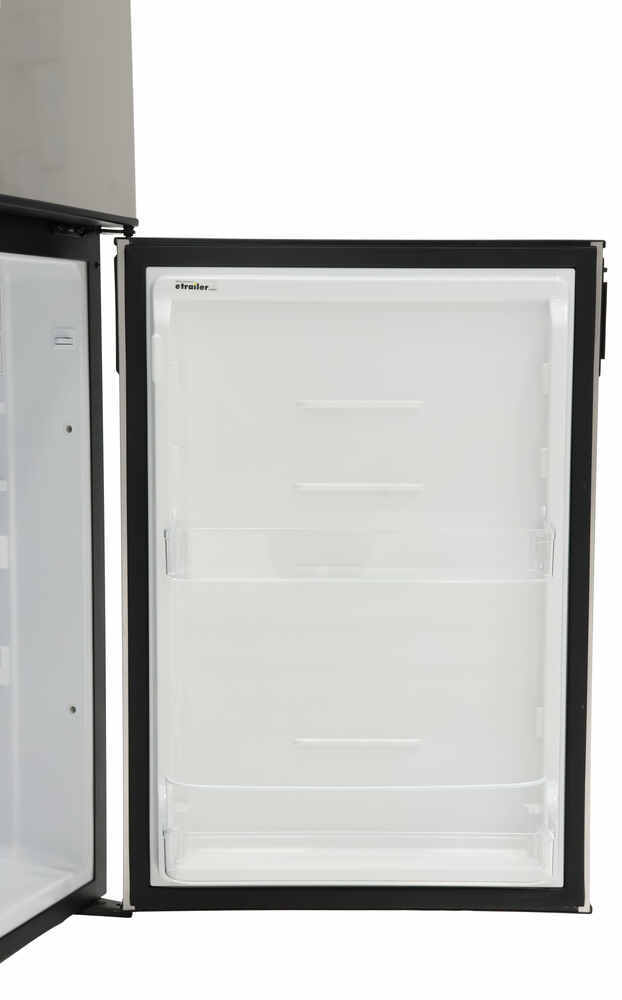
Whether you're chilling big bottles of lemonade, squeezing in a carton of eggs, or finding space for tonight's dinner fixings, the adjustable shelves and bins move around so everything fits just right. Once you've packed it full, those sturdy door locks keep your stash safe when the road gets bumpy. Digital control panel lets you independently set the perfect temperature for fresh fruit up top and frozen burger patties down below, so you're always ready for whatever's on the menu.
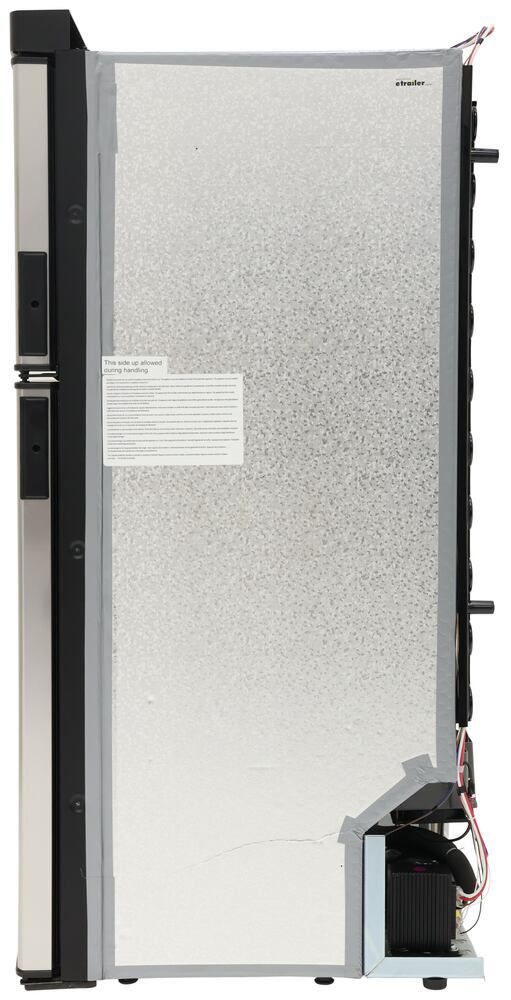
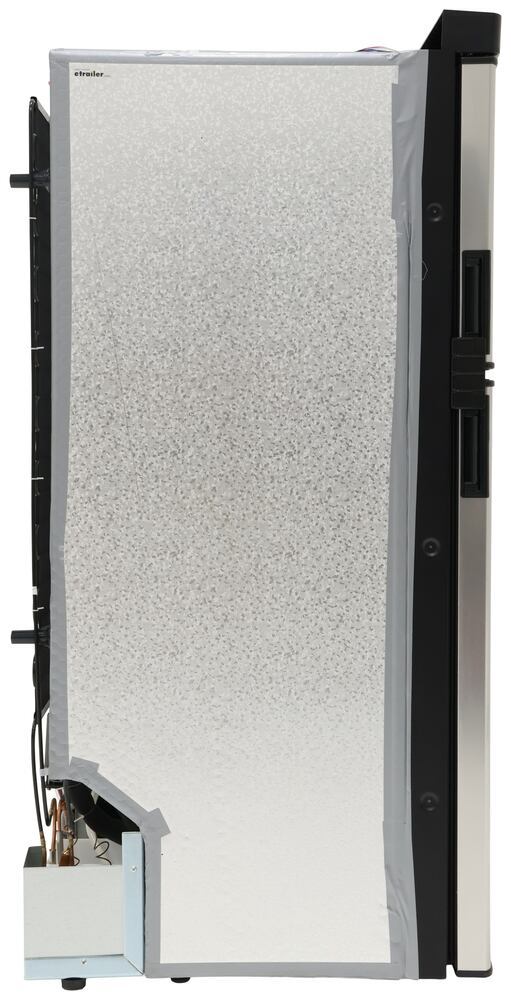
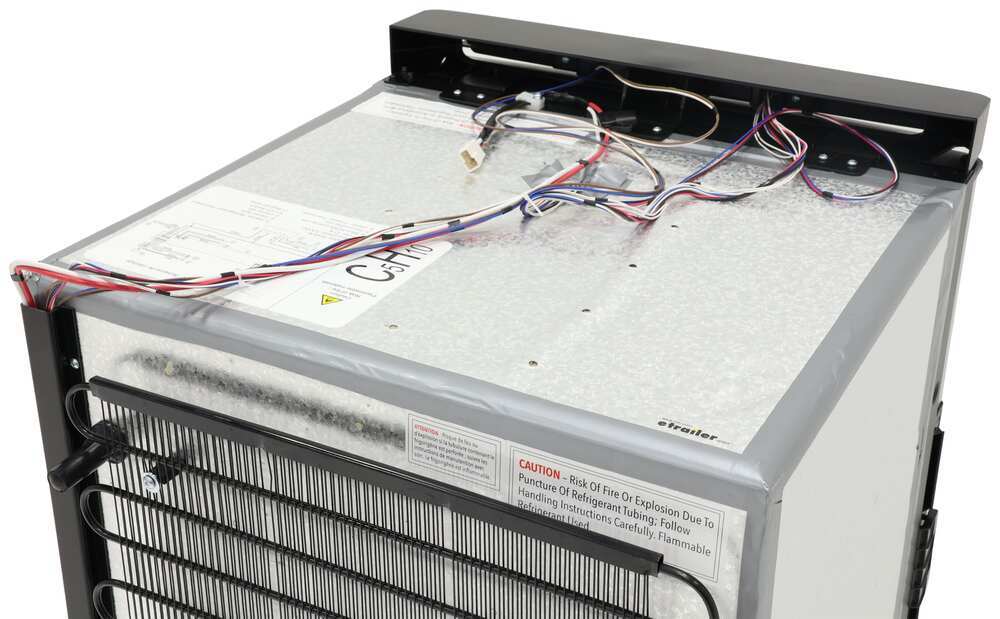
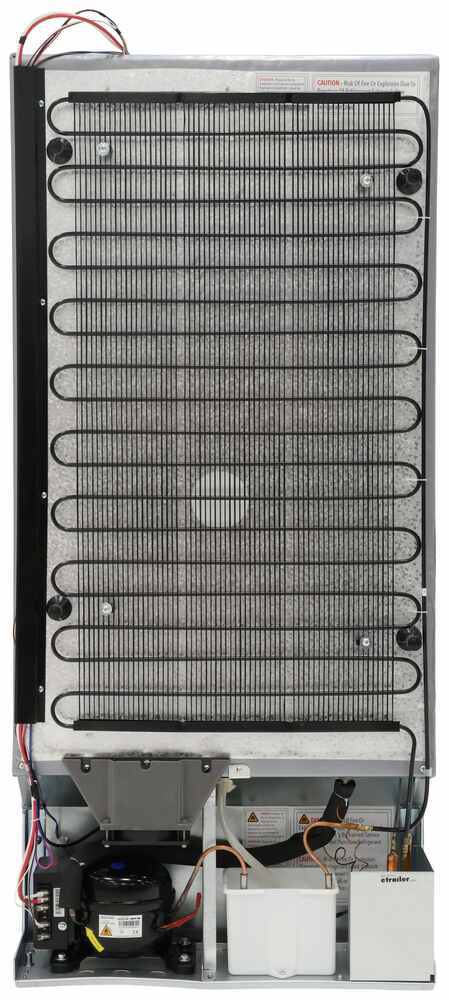
Note: Install the refrigerator in a convenient location away from extreme heat and cold. The refrigerator has a built-in vent at the top and clearance at the bottom. Make sure that the flow of air through these vents are not blocked in any way.
 Alternate Instructions
Customer Satisfaction Score:
93% were satisfied with this product
7% of customers were not satisfied
Ratings & Reviews

The product works but the problem is have is the shipping. Bringing a 18 wheeler for a fridge.... that is info they should tell you ahead of time. Some ppl don't live on paved large toads
Product came quickly…easy installation.
Great choice for a 12v compressor RV refrigerator. I chose this option to replace a 2009 Dometic RM3962 120v/propane model. RV is a 2010 Glendale Titanium 34E39RE and was installed in the kitchen slide. This refrigerator was the largest replacement for the old Dometic I could find and has a similar door latch for travel. Operation is very quiet, good interior light on the top of the refrigerator compartment.
The 12 wiring in the slide was only #14 AWG, and I chose to make a new home run directly from the battery to avoid voltage drop. Highest current I have measured so far is about 5a, so the old wire would have been fine. My reason for going to a compressor type is to obtain better performance in summer conditions and during travel. A test run of 10 hours at a maximum ambient air of 85 degrees F on the old house batteries was fine, so we are set for summer travel.
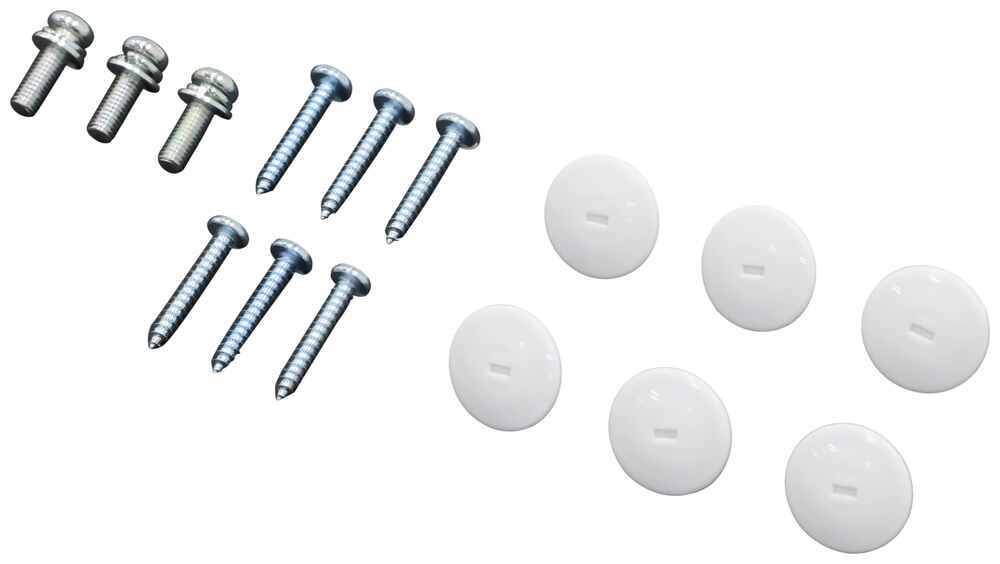
The cabinet face frame was only 3/4" wide, and the 3 screw locations on either side of the refrigerator frame required backing up the cabinet frame to provide a landing for the screws. On one side I milled a piece of lumber to narrow the width 1//2" while also providing the screw landing. Only one of the 6 screw pockets was drilled through and required drilling the plastic on the others. I had to make a 3" panel to block off the space over the refrigerator. Instructions call for blocking outside ventilation, so I used aluminum duct tape to cover the inside of the louvers in the access panels. Refrigerator ventilation is under the bottom, a fan over the compressor directs air up the back, the warm air flows out through a path built into the top control panel.
I found the door latch pins could deflect the plastic bracket they seat into allowing the doors to open with a bit of a tug, so I backed that bracket up with a small piece of wood mounted to the cabinet frame.
A note on shipping - Estes delivered the unit with the entire bottom of the corrugated shipping box worn away - no pallet - box bottom flaps remaining were obviously wet. only one foot was slightly bent so I accepted it after looking at the bottom of the unit. This should be shipped with something to protect the bottom of the carton. On the other hand, all we had to do was lift the box and packing up off the refrigerator so "unpacking" was super easy! Even a piece of thin plywood taped to the bottom of the carton would suffice. Seeing the thing "walked" out of the truck on the refrigerator feet was unsettling!
A perfect replacement for a dead Furrion FCR10DCDTA. No rough opening modification necessary. I did use plastic drywall corner protectors painted flat black to dress up the edges of the rough opening. Overall the Norcold brand seems to be a great choice.
Easy install, works as advertised. At desired temperature in 4 hours. Hopefully, makes it past the warranty.
We replaced our original Norcold N1095 in our 2008 Safari Simba with the NC56FR, and it could not have been a better fit — it is an exact height match and has only a hair of clearance on the sides. I reinforced the side trim with oak for solid mounting and secured it using the side screws provided.
I run the NC56FR on shore power through a Mean Well HLG-320H-12 power supply. This was my choice after research for efficiency, stable output, and long-term reliability in a 24/7 installation. etrailer may recommend other power supplies that work well, but this setup perfectly matched my needs.
I sealed the original exterior fridge vents with 1” foam board for better insulation while keeping access to the outlet. The fridge runs quietly, cools quickly, and uses less energy than my old absorption unit. Later this year, we’ll add 6 AWG wiring from my house batteries for a boondocking-ready upgrade, but our rig runs almost exclusively on shore power at this time.
Thanks to etrailer — they had the NC56FR in stock, shipped it quickly, and it arrived in perfect condition. This was one of our smoothest RV upgrades, and I wouldn’t hesitate to recommend both the fridge and etrailer’s service.
Finally I have a camper fridge that doesn't keep shutting off in every mode (gas, DC, AC).
This compressor DC 12V is awesome. It kept all my food cold finally too.
Easy installation and great looking refrigerator. Fit the space perfectly.
The frig works on 6AWG wire due to a wiring harness that is over 45 feet long. Tried the original trailer wiring with no success. Then 8 AWG wire that lasted two or three weeks. Finally used the recommended 6AWG and the frig works without an E3 error message beeping. I had an RV tech install the frig and he used the original trailer wiring and 8AWG. The RV tech thought it would work. I put on the 6 AWG wiring today.
Not sure how well this will work 60degrees outdoor temp had to set ON 5 (HIGH) TO GET FREEZR TO 0 FERENHEIGHT AFTER 24 HOURS HAD TO SET FRIDGE TO 4 TO GET TO 40 DEGREES I HAVE MY DOUBTS ABOUT IT'S ABILITY TO COOL ENOUGH AFTER A COUPLE OF YEARS OR WHEN OUTSIDE TEMP GETS INTO THE 90S
Great replacement for the Norcold N611. It did take a day on the initial cooldown to get to temp, but after that it has kept cold in the July Arizona heat. Aftermarket door shelves are available. On install, it seems the additional 2 7/8” that are required for installation is mainly protruding past your opening in the front, meaning you dont need more cut out space, but the unit does stick out of the cut out.
I’ve been buying products from etrailer for years and they never disappoint.
The Norcold nc63fr fit perfectly in our camper. It was easy install. After letting it sit in place(to be on the safe side) for a day it ran great. The refrigerator part still runs at the freezing mark, but I also don’t have food in it. Can’t wait to get it out and try it camping.
Love it!
Easy to install, works great.
Works so far , ask me in 2 years
Fast delivery without a scratch
Amazing Customer Service and delivery!! !!
I replaced my old fridge in my 2018 Keystone trailer with this 12V Fridge. So much more room than the propane/electric version. Since I go to places with full hook ups most of the time, this made sense. Installation took a bit as the supports didn't line up, but I put in some additional support and ran a new 12V circuit (dedicated fuse) and everything is working as expected.
I recently replaced a nearly 20-year old Norcold N611 6 cu.ft. absorption style refrigerator in my Itasca Sunstar with this 8 cu.ft. Norcold 12v unit. Purchase and shipment were easy through etrailer. Shipment arrives via freight, but the box and packaging kept everything safe in transport.
Wow, what an impressive upgrade, not only due to the increase in size, but operation and quiet compressor and quick cooling is also a bonus. Installation is fairly easy (make sure to read the installation manual to assist in preparing your cabinet for this unit). I removed the existing wiring and ran a new 10-awg supply line directly to the converter, removed the old propane line and capped it off at its source and used 1" foam core board to seal the exterior and ceiling vents (since this unit uses air from the bottom of the refrigerator through its' rear-mounted coils to expel heat through the top vent). The cabinet opening was also reinforced with 1/2 x 1 hardwood to accommodate mounting of the new refrigerator. Once this area was prepped, installation into the RV was simple.
Review
The unit arrived prior to the expected delivery date and arrived perfect condition. Packaging was adequate but not super protective. I installed the unit in a Bigfoot Truck camper replacing an unreliable Dometic absorption AC/propane fridge. Removal of the old fridge required dismantling inside of the camper in order to get it out the door. The fridge doors and cooling unit had to removed. Note: the cooling unit in an absorption refrigeration contains liquid ammonia, water, hydrogen gas, and a sodium chromate rust inhibitor. This means that it is hazardous material and needs to be disposed by a qualified recycler. In my case that cost an additional $97.00 disposal fee. I was quoted as high as $200. Several RV dealers I called were of no help on how to dispose of the cooling unit.
The preparation of the existing space was extensive as the new Norcold fridge has very tight opening requirements. I had reworked all six “box” dimensions as the new Norcold fridge is smaller than the Dometic externally but nearly 2 cu.ft. larger internally. Bigfoot did an excellent job on the original opening as it was square in all directions except the floor which was sloped to the outside for drainage. The propane line was capped off at the distribution header in located in the propane tank compartment which was easily done. As the Bigfoot camper is a 4 season camper with 2” thick foam insulated walls, sealing off the lower side vent and roof vent required adding 2” of poly iso foam insulation. The original 110 power supply had to be relocated as the electrical box was in series with another outlet so it could not be eliminated. For the lower vent, I purchased a piece of 3/8” white EDPM to replace the vented cover for a clean look that likely no one will notice. It is also removable for access to the back of the fridge should the need arise. I used 1/4 plywood to pad the sides, roof and back of the opening. The new floor is 3/8” plywood shimmed flat and level. The original “box” had 1” foam insulation on the sides and I added an additional 1/4” just for sound proofing as I was concerned the space behind the new panels would amplify any noise from the new unit. Getting the new unit installed in the truck camper was a herculean task. I had to remove the front door interior trim which was easily done. Getting the unit inside the camper standing upright was easy. Once inside the unit had to be rotated 90 degrees. This was extremely difficult due to space constraints inside of the TC. Now for the hard part. I did not want to remove the doors as I was concerned about replicating the factory adjustment. The doors would have to be reinstalled with the unit upright which is much more difficult than per the instructions. The unit was such a tight fit that a closet and bathroom door had to be removed along with a mirror opposite the fridge. The 2” stand off spacers on the back of the fridge were also removed. This left us with 1/2” of clearance. Once up on the bed access step, we used lifting straps to raise the fridge about 4” and slide it in position (easy). We were extremely careful of unit as it is very fragile (cooling coils) until secured. No scratches, dings or dents incurred. Before sliding all the way in, I connected the new 10ga power supply wires (only 10’ long) and reinstalled the two standoffs on the back of the fridge. The new unit fit perfectly.
Note: I have 200Ah of lithium batteries installed with 520 watts of solar as well as a 30amp dc/dc charger, 2000w inverter and on board generator back up (I never use). I boondock mostly.
After sitting overnight I turned the unit on at 7:15am. The freezer and fridge were empty.
Outside air temp 72 f.
Temp Settings on “3”
Batteries SOC 98%
Fridge 72f
Freezer 72f
Drawing 5.4 amps (fluctuates slightly)
At 9:00am less than 2 hrs to cool down!
Outside air temp 75f
Fridge temp 37
Freezer temp 14
Running 5.4 amp
At 11:15 am
Outside air temp 76f
Fridge temp 37
Freezer temp 8
Running 5.4 amp
At 7:30pm
Outside air temp 75f
Fridge temp 37
Freezer temp 8
Not running
Batteries SOC 98%
Note: It started mostly cloudy turning mostly sunny. The solar array was doing its thing.
The following morning after 24 hours of operation.
Outside air temp 59f
Fridge temp 37
Freezer temp 11.
Batteries at 86% SOC so roughly 24 Ah consumed. Battery SOC appears higher than I anticipated but the cool night may have helped along with the higher freezer setting. My initial impression, the prep and installation, in my case, was not for the faint of heart. Purchasing from Etrailer was great. If the unit continues to preform nearly the same as the last 24 hours then “I’ll be one very happy camper”.


Jerry B.
8/17/2026
Thank you for taking the time to share such a detailed review! It sounds like the installation was quite the project, but we’re glad to hear the Norcold fit perfectly and is performing so well so far. Your notes on the installation, power consumption, and cooling performance will be incredibly helpful to other Bigfoot camper owners considering the same upgrade. We also appreciate you choosing etrailer and hope the fridge keeps you one very happy camper for many trips to come!
Do you have a question about this RV Refrigerator?
Info for this part was:
At etrailer we provide the best information available about the products we sell. We take the quality of our information seriously so that you can get the right part the first time. Let us know if anything is missing or if you have any questions.




















Kate F.
5/6/2026
That’s an awesome upgrade, going from an older absorption fridge to a 12V compressor unit is such a game changer Aaron. Really appreciate you sharing the pictures too, those always help others see what’s involved and what a clean install can look like. Sounds like you did your homework on the install. Running the new 10-gauge line, properly capping the propane, and sealing up those vents is exactly the kind of detail that makes these conversions turn out right. Reinforcing the cabinet was a smart move too. Overall, super clean job. Enough about the fridge, I want to know what trip you are looking most forward to this summer? Where are you going, what are seeing?