


To see if this custom-fit item will work for you please tell us what vehicle you'll use it with.


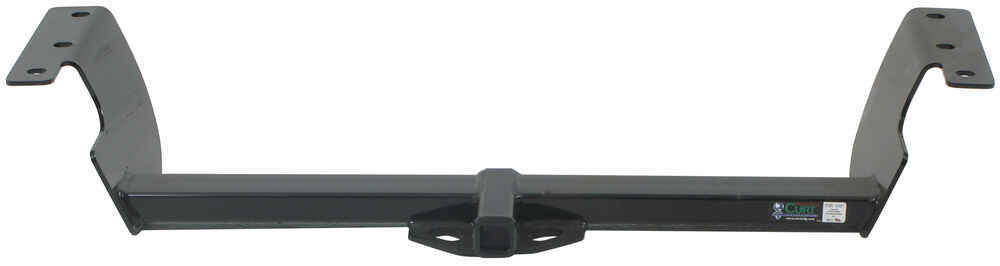
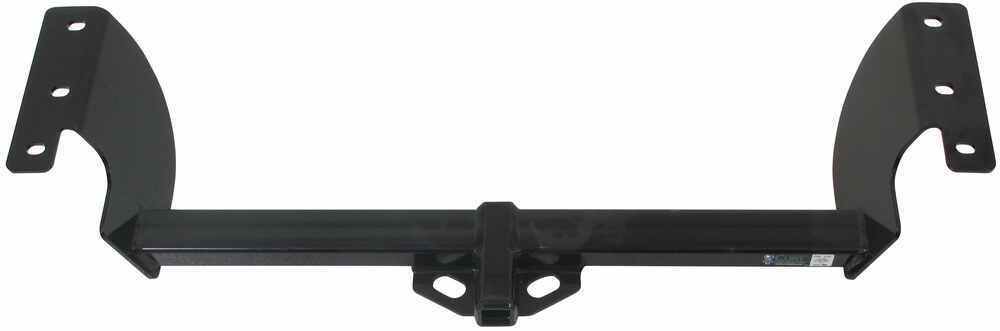
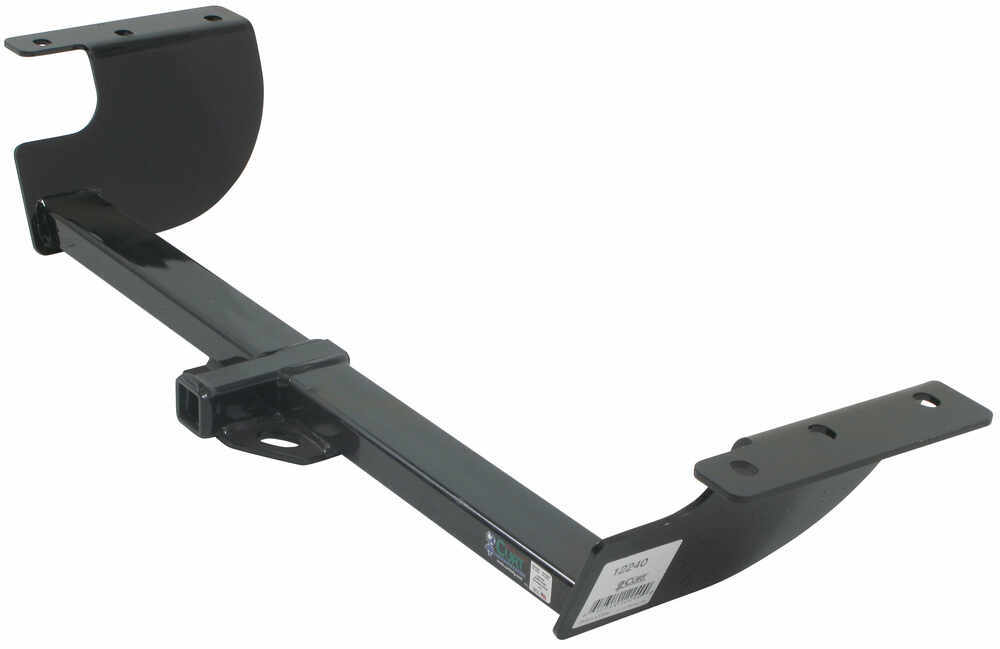
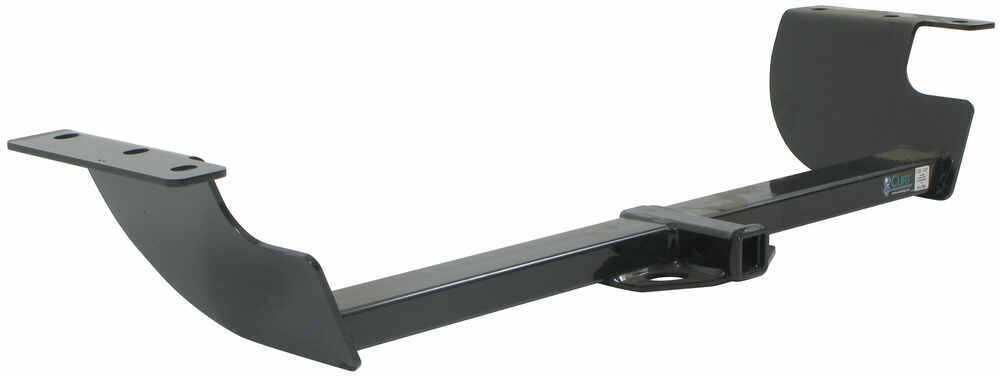

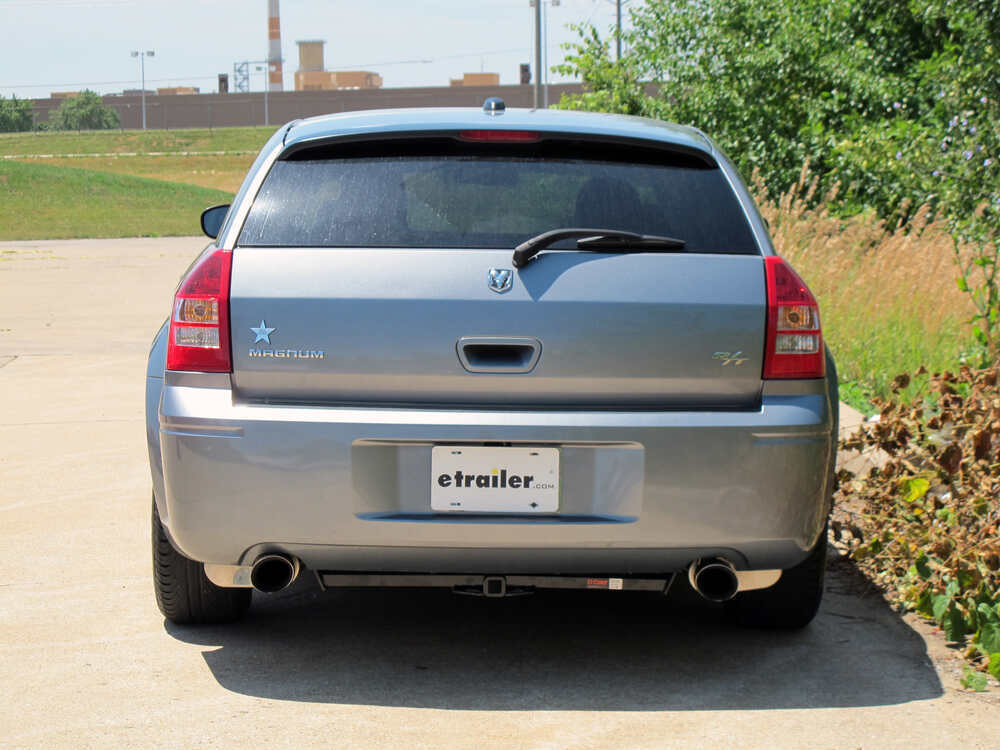


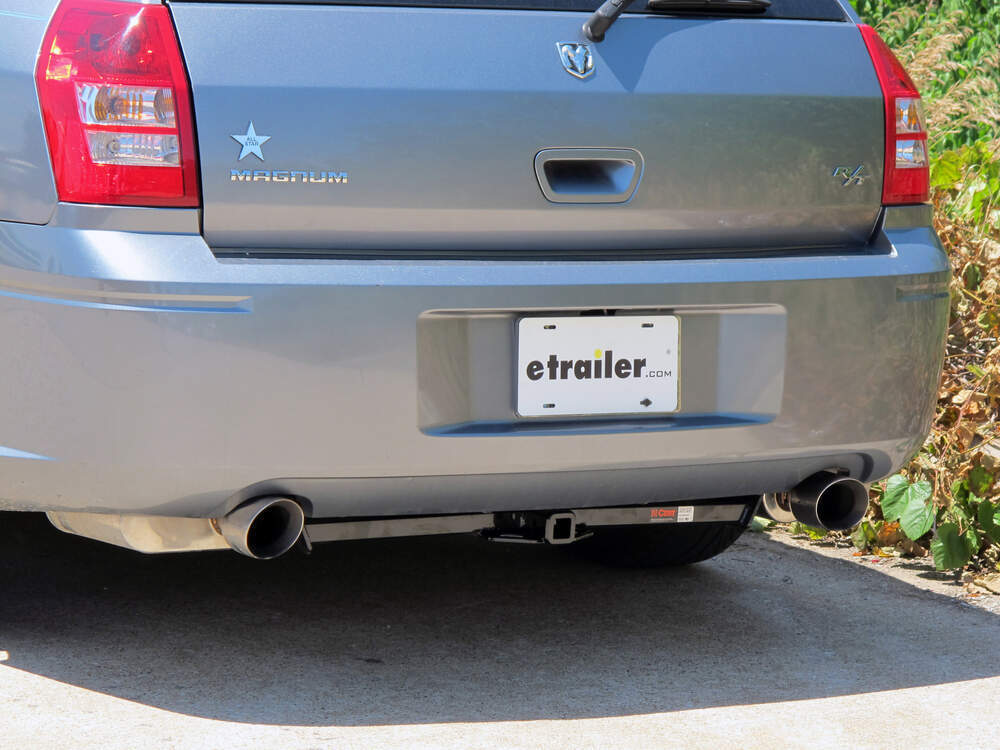



When you want to tow a small camper, boat, or utility trailer, this Curt Trailer Hitch Receiver gives you the right balance of strength and practicality. With a 3,500 lbs maximum gross trailer weight and 350 lbs maximum tongue weight, it’s made for light-duty towing without overdoing it. The sturdy, square-tube design and precision robotic welding give it the stability needed for smooth travels and reliable hauling.
This 1-1/4" x 1-1/4" receiver opening is ready for the gear that makes your trips easier—bike racks, cargo carriers, or small accessories designed for Class II setups. It’s a solid option when you want to keep things lightweight but still add real utility to your vehicle.
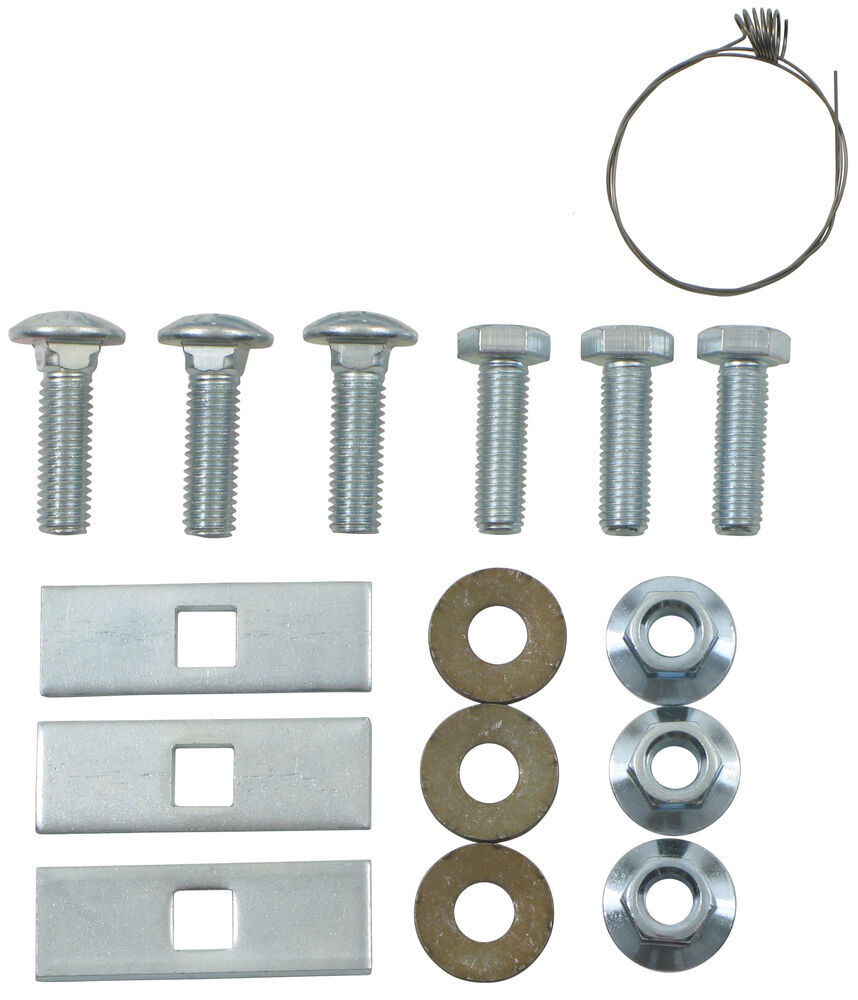
You don’t need specialized tools or a shop lift to get this hitch on. The custom-fit, bolt-on installation lines up with the factory mounting points, so there’s no welding required. It comes with all the necessary hardware and instructions, letting you handle the install in your own driveway with minimal fuss.
The fully welded steel construction is covered in a gloss black powder coat finish layered over a protective base coat. That double coating helps resist rust and keeps your hitch looking sharp even after years of use. The result is a tough, durable hitch that stands up to road grime and weather while maintaining a clean appearance under your bumper.

Videos are provided as a guide only. Refer to manufacturer installation instructions and specs for complete information.
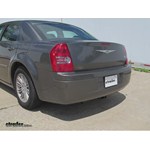
Today on our 2007 Chrysler 300, we will be installing Curt Hitch, part number C12240. Before we begin our installation, here are a few measurements to help you on selecting accessories such as a bike rack or a cargo carrier. From the center of the hitch pin hole to the outer most part of the bumper is 7 inches. From the top of the receiver tube to the ground is 12 inches. Now lets go ahead with our install. Before we begin our installation, we will need to lower our exhaust. Well first put a safety strap underneath the vehicle to hold the exhaust while we undo the mounting location. On the two rear most isolators, we can go ahead and undo the bolts holding the isolators to the vehicle.
With those done, we will spray the other two isolators here towards the muffler with a spray lubricant. We can then use a pry bar to pry the off of the hangers themselves. This will free our exhaust. We can then go ahead and lower our safety strap to allow the exhaust to come down and expose our mounting locations. With our exhaust down, we can now go ahead and locate our attachment points. On the drivers side, we will be using this weld nut here as well as this one and this whole predrilled in the frame.
On the passenger side, we will be using these two predrilled holes as well as this weld nut. Now well have to clean the weld nuts out. A nylon tube brush part number 814092 to clean the threads out. I also recommend running your hardware in before you install your hitch. This will make it easier when youre holding your hitch up to install the hardware.With our weld nuts cleaned out, we are now ready to install our hardware.
We will be using the square block washer as well as the half inch carriage bolt. We will take our fish wire supplied with the hitch, feed it through the mounting location here and out the access hole. We can then slide on our square block and thread the carriage bolt on. We will the slide it up into the frame and pull it out with the fish wire through the mounting hole here. With that done, we will repeat that for the other two square blocks and carriage bolts.We are now ready to put our hitch into position.
It would be a good idea to get an extra set of hands to help you hold the hitch up while you install your hardware. With the hitch in place, we can then start the half inch bolts into the weld nuts here in the frame making sure to put the conical tooth washer with the teeth facing the hitch between the hitch and the bolt. For the hardware reinstalled into the frame, we will be using the nut as well as the conical tooth washer, again making sure the teeth of the washer face the hitch.With all our hardware in place, we can go ahead and tighten it down and torque it specification as indicated in the instructions. With our hardware torqued, we can then reinstall our exhaust which will complete our installation of Curt hitch part number C12240 on our 2007 Chrysler 300.
Ratings & Reviews

A+++ PRODUCT AND SERVICE
This hitch was *so* easy to install, and is almost invisible under my 2010 Challenger. I would *highly* recommend it!
The Hitch went in pretty well. Moving the muffler was a pain, but not the hitch's fault. The pre-installed buts were corroded , so I needed to make a run to the hardware store and pick up a 12mm Tap. If corrosion is common in your area (e.g. salted roads) you may just plan on needing that type of assistance.
we brought the hitch and wire harness for our 2010 Chrysler 300. it works great. my husband watched the videos on both and the installation went smoothly. we had one issue in that the wrong hitch was delivered. I called and talked to a women ( sorry I wish I remembered her name) she was amazing very helpful and we had the right hitch that afternoon. I don't know how she pulled it off but we were extremely happy as leaving on a vacation that week. would recommend the product to other looking. I would like to again thank the women on the phone for all her help and assistance
Do you have a question about this Trailer Hitch?
Info for this part was:
At etrailer we provide the best information available about the products we sell. We take the quality of our information seriously so that you can get the right part the first time. Let us know if anything is missing or if you have any questions.




























Thank you! Your comment has been submitted successfully. You should be able to view your question/comment here within a few days.
Error submitting comment. Please try again momentarily.