


To see if this custom-fit item will work for you please tell us what vehicle you'll use it with.



When your hands are full of gear or groceries, the PowertraxPRO XR takes care of the heavy lifting. With the press of a button on the remote key fob, the 1" thick aluminum cover glides open or closed along sealed ball-bearing rollers—no straps, snaps, or springs to fuss with. The electromagnetic brake lets you stop and lock the cover at any point on the rails, giving you quick access or partial coverage when hauling longer items.


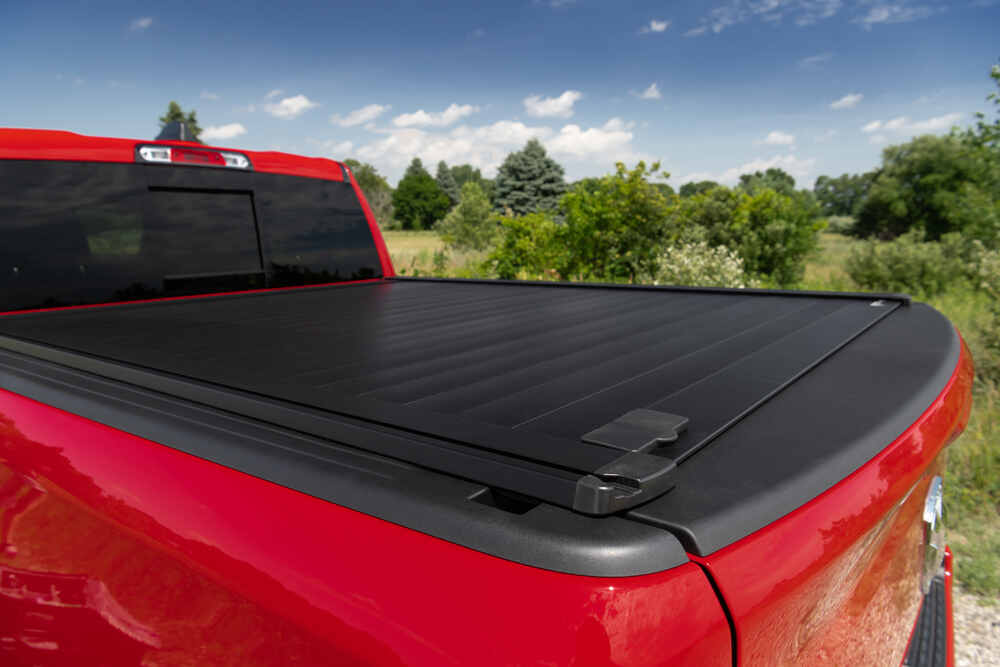
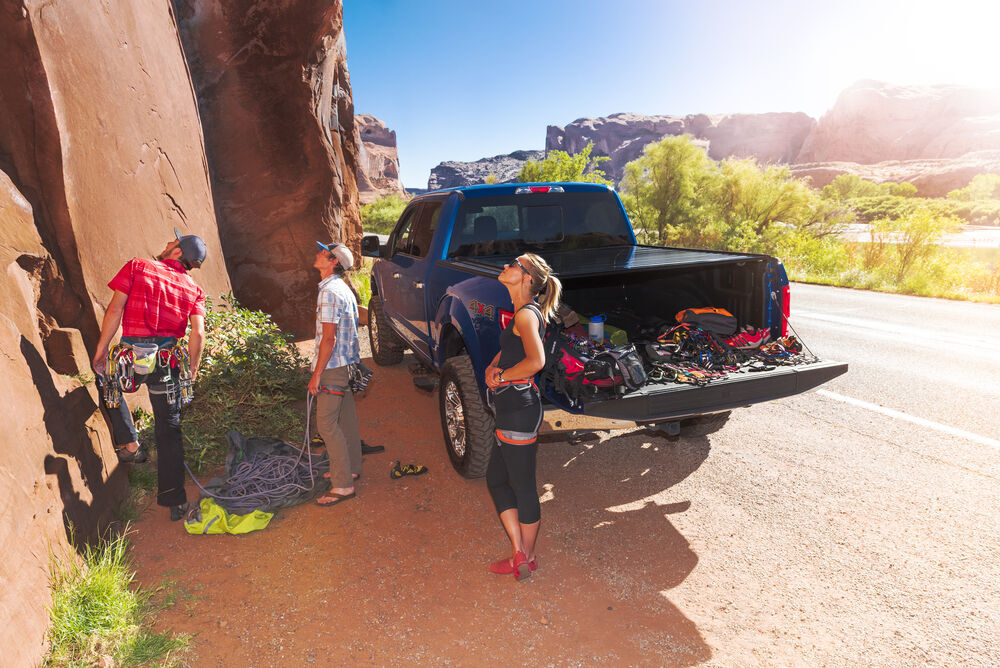
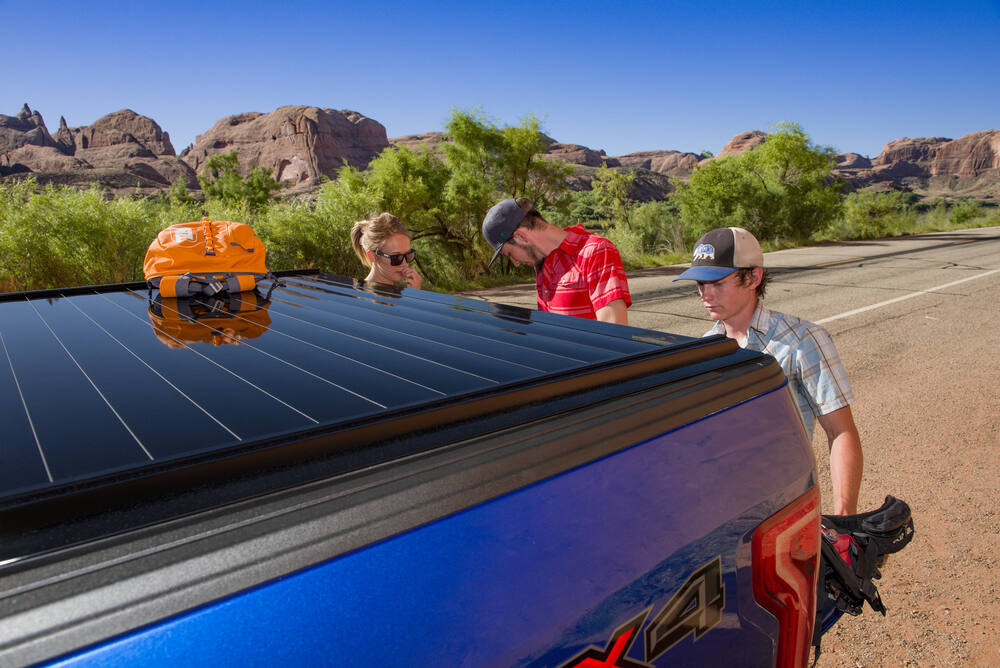
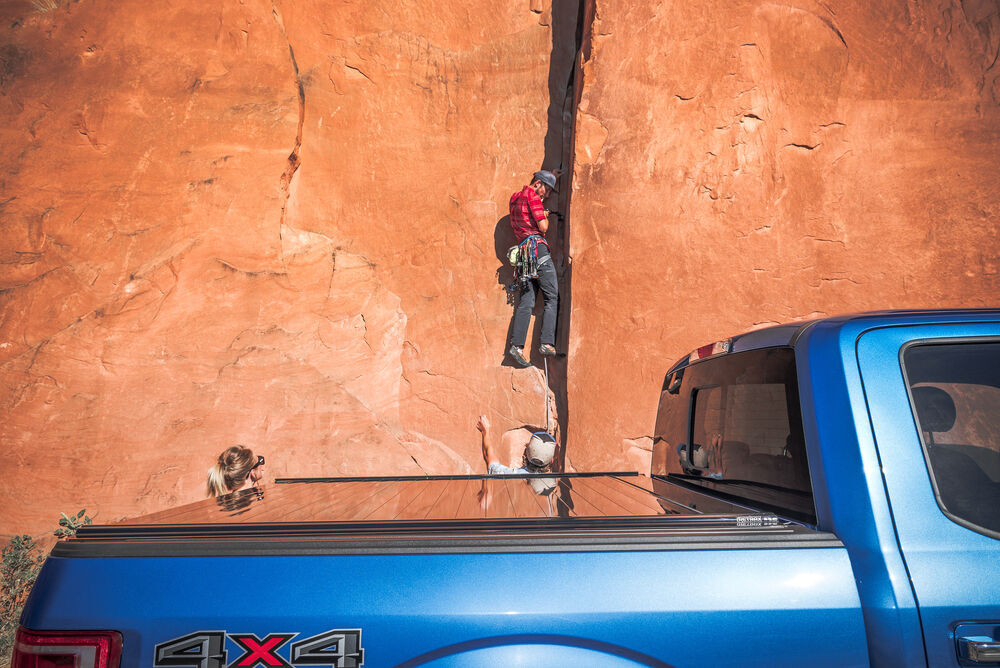
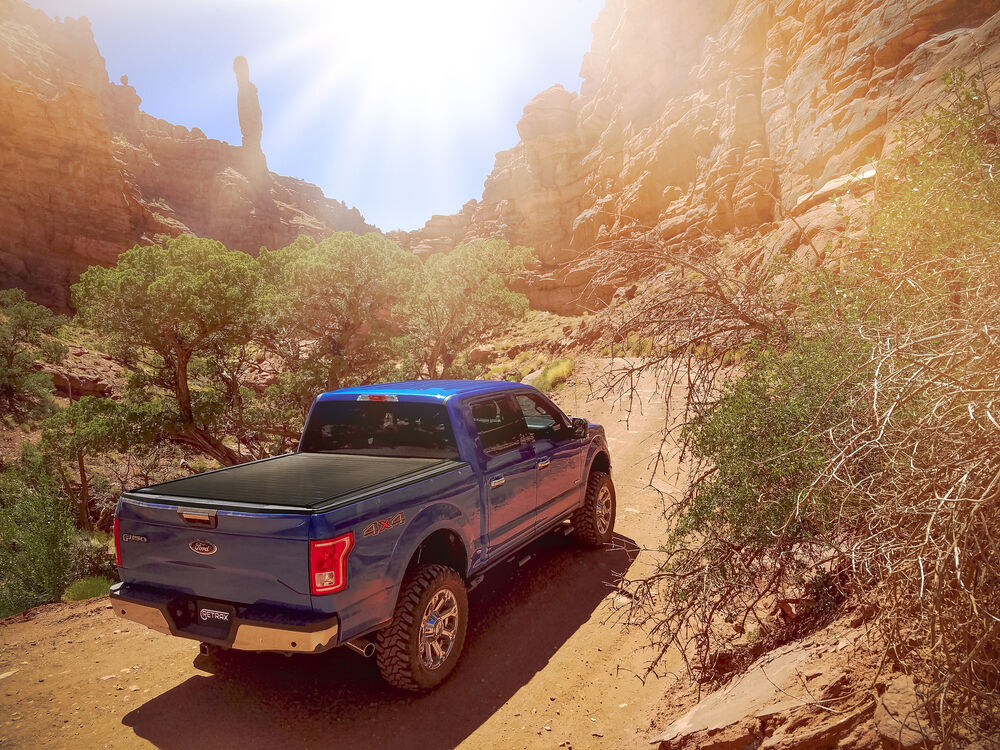
Keeping your cargo safe from both theft and weather is what this cover does best. The heavy-duty aluminum slats are impact and weather resistant and can support up to 500 lbs of evenly distributed weight. Weather stripping and foam seals block out moisture, dust, and snow, while the cover overlaps the tailgate for added protection. Once closed, it stays locked and secure—only the key fob can retract it.


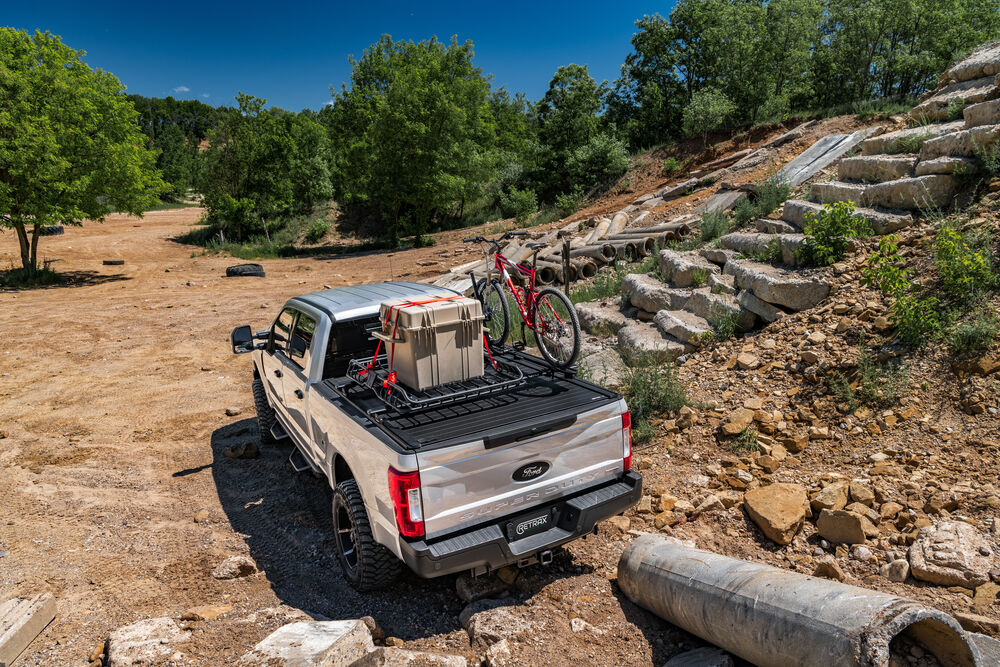
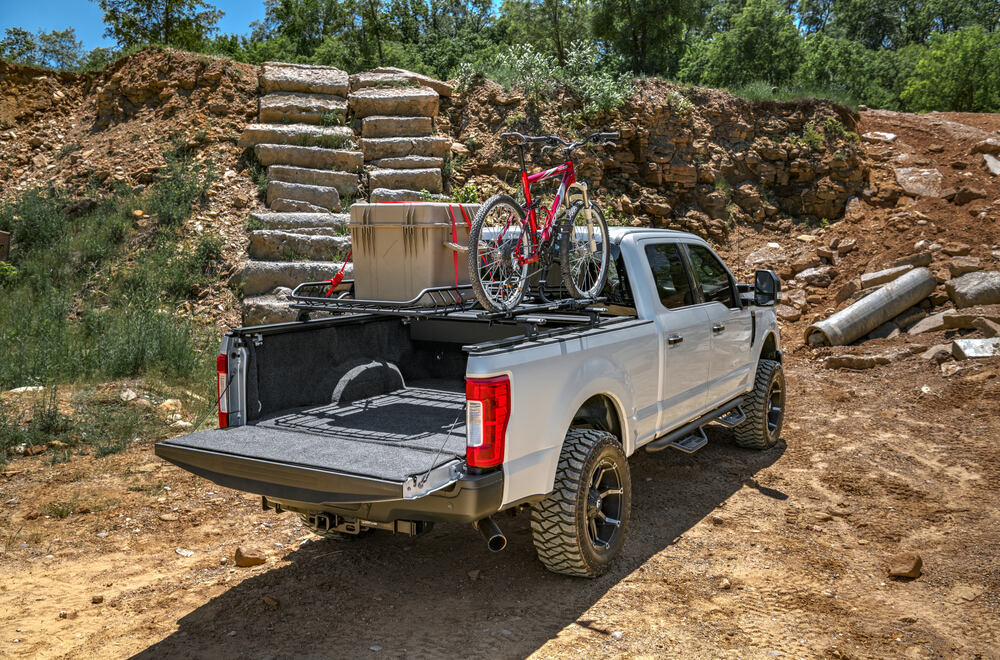
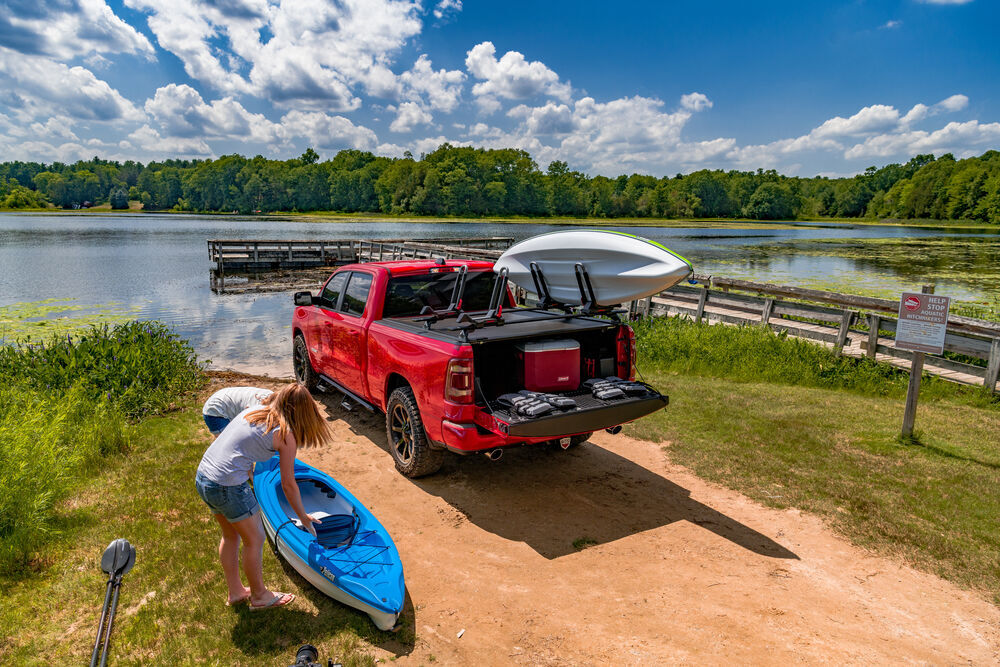
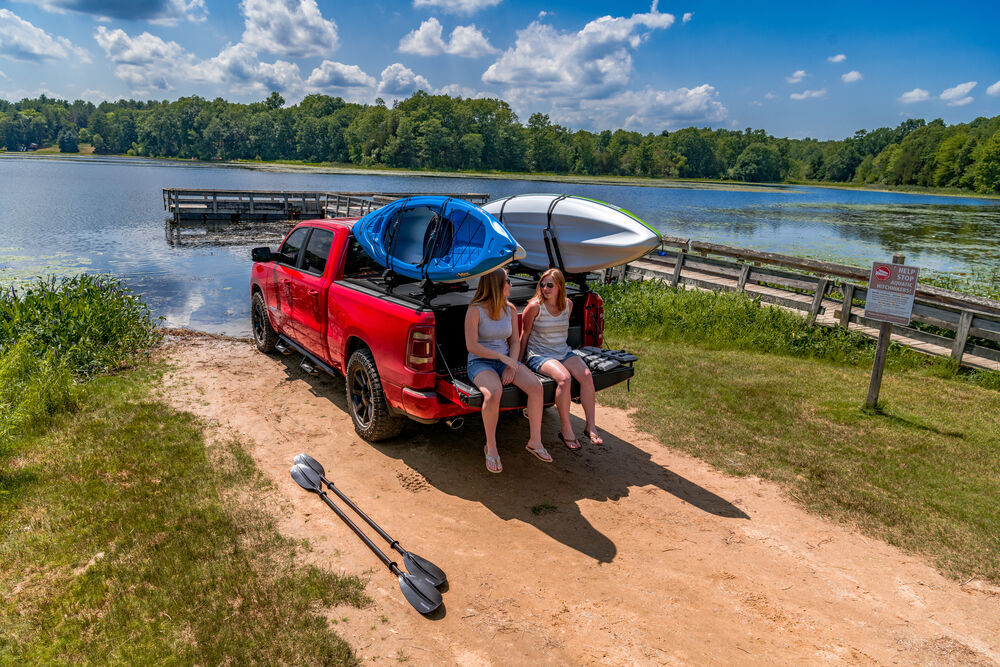
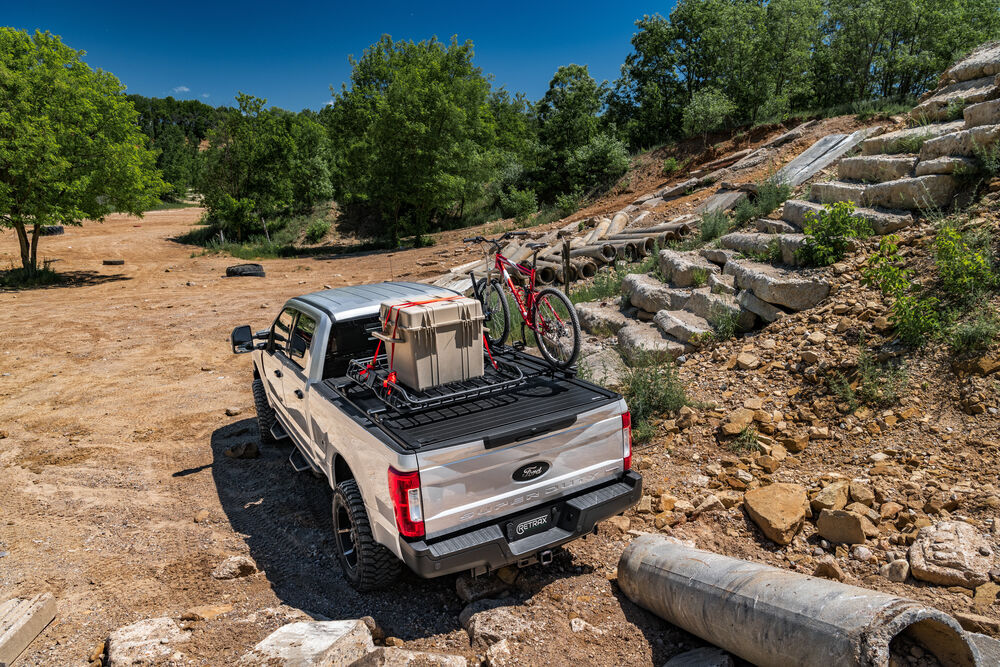
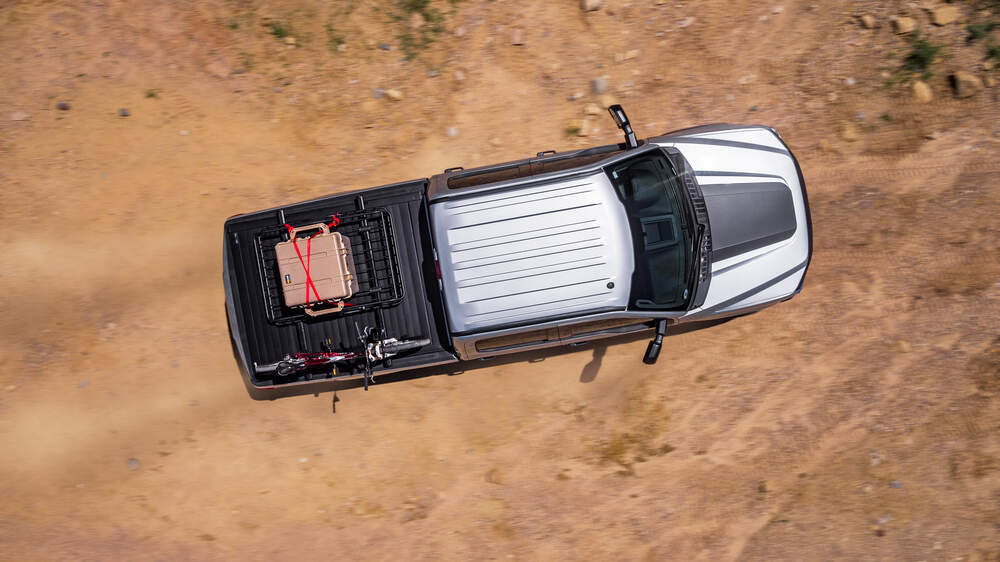
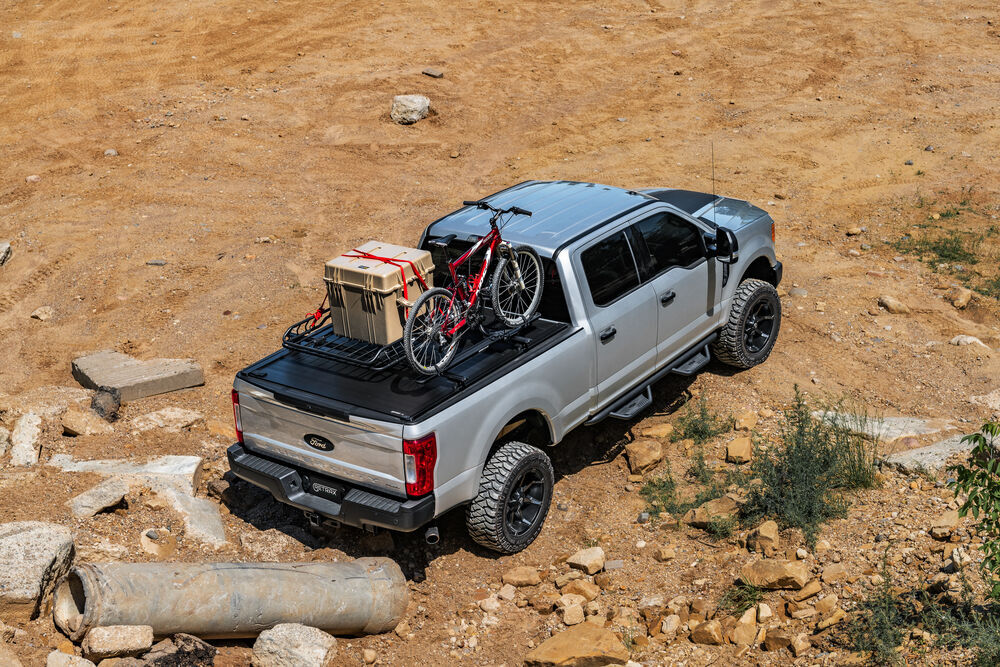
The integrated Trax Rail System makes it easy to expand your hauling setup. You can attach compatible T-slot racks from brands like Thule, Yakima, or Rhino Rack (sold separately) to carry bikes, kayaks, or tools above the bed without removing the tonneau. The retractable design still operates smoothly, so you can load, lock, and roll in one setup.


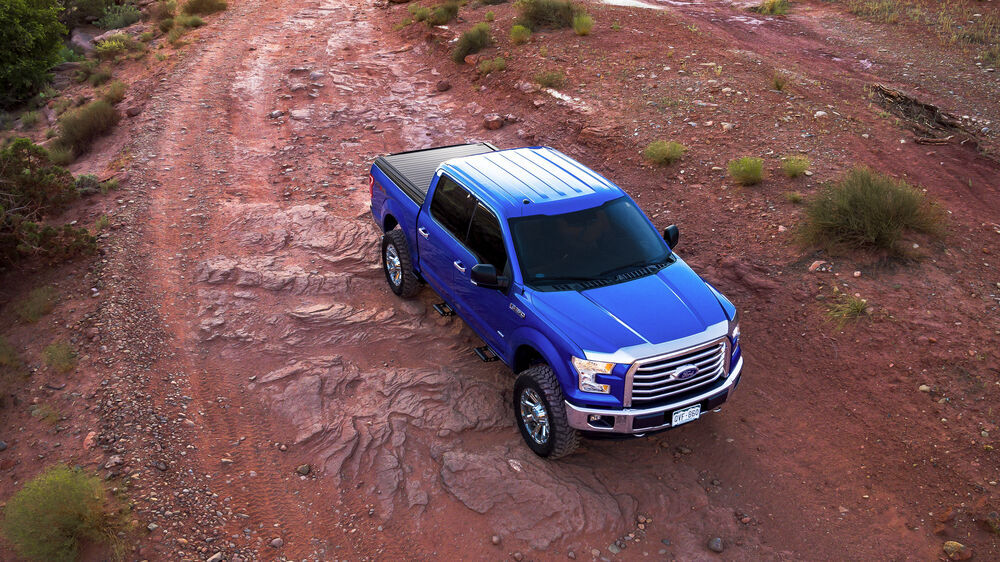
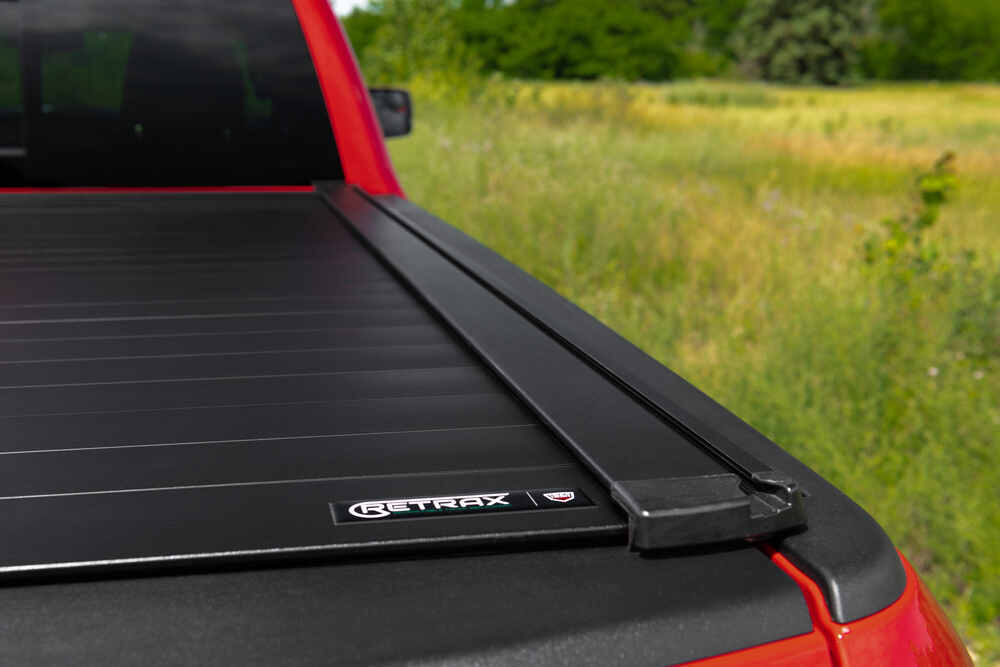
This cover sits just 1" above the bed rails for a streamlined, factory-clean look. The matte black finish resists scratches and fading, and the angled canister design leaves more room underneath for cargo. The spiral track system keeps the cover from rubbing against itself as it retracts, preventing wear over time and keeping the motion smooth and consistent.


Loading up at night is easier with the integrated LED cargo light. Controlled by the same key fob that operates the cover, it illuminates the bed when you need it and shuts off automatically after 3–5 minutes. You get clear visibility without draining your battery or opening the cover all the way.


Videos are provided as a guide only. Refer to manufacturer installation instructions and specs for complete information.
Hi, everyone. Jesse here with etrailer. Today we'll be taking a look at the Retrax ProTrax Pro XR powered hard tonneau cover. Obviously, adding a tonneau cover is a great way to protect whatever you're storing inside of your bed. And if you're really trying to protect it, especially from thieves that can come through if you have a soft tonneau cover and just slice that open and grab whatever's inside, I always recommend having a hard tonneau cover. This tonneau cover comes with the plus that it will open and close just by using the included key fob here.
So as you can see, it's going to open up pretty quick for you so you can grab whatever you want out of your bed or even open up your tailgate. Another really great feature of this particular tonneau cover is the T-slot here. So you don't have to worry about custom fabricating anything to get your accessories, whether it be some lights or even a ladder rack installed. They'll just slot in very easily. And as I said, this is going to protect your truck bed from the elements.
So you have pretty substantial seals all around. Whenever it's closed up, I can't really see any rainwater getting in at all. And for any water that may collect up on top, you have two drain tubes down there that will just let that flow down beneath your truck. Another really cool feature of this particular tonneau cover is this light right here. Now, most modern trucks will have lights on the back, but you don't really have any lighting towards the front.
So that's where this comes in handy. If you're trying to unload or load up your truck bed at night, you have a nice light right there to really let you know what you're looking at. This tonneau cover comes with two key fobs, which feel pretty high quality. And you only have three buttons here, so pretty simple. You have O for open, C for close, and then this logo down here is to turn on the light.
Really, that's about all there is to it. If you're looking for a really high quality tonneau cover that's going to be really convenient and easy to use, then this is a great option for you. If you have any questions or concerns about if this tonneau cover is the right fit for your truck, then feel free to reach out to us. We'd be happy to get you pointed in the right direction. When it comes to the installation with this, since it is powered, that does mean you're running a wire from the bed of your truck up to your battery, but there's no splicing or anything involved. You're really just tying it into your battery and then you're ready to go. If you're not looking to get this set up yourself, then check out our installer locator. You can find someone local to you that'll be happy to sort that out for you. If you are looking to see how this gets installed then follow along, and I'll walk you through the process. We'll begin our installation by getting our power cable set up. So the end with two ring terminals on it, that's going to go up into our engine bay. So what I did was just ran a piece of airline tubing down from the engine bay so that I can pull this up. So I'm just going to use some electrical tape and get these taped to this line and pull it up. If you don't have airline tubing, you can just use a clothes hanger, just whatever you have that you can use to fish some wires up. So as I said, we're going to pull up on our airline tube, then we'll just take that tape off and we are on the driver's side because that's where our battery is. So we can pretty easily make our two connections here. So we'll start with our black wire, which is our ground. That's going to go to the negative side of our battery. This nut is a 13 millimeter. (drill grinding) Just remove that. And then we'll slip this ring terminal right over that post and reinstall that. (drill grinding) And the red wire will go to the positive side and always double check to make sure that there's no fuse in it, which there actually is one installed. So I'm just going to take that out. That'd be kind of the last step in our installation is reinstalling that. But on our positive side, I'm going to go on this post right here. And once again, that's a 13 millimeter. (drill grinding) We're going to try to route this around just so we can reinstall that cover once we're done. (drill grinding) Then we just routed our wire back, just kind of following the frame rail on the truck. There's an existing wiring harness there that you can zip tie off to every couple feet or so. And then I use the same fish wire technique to get it up through this hole here. There's a plastic cap. I just used a flathead screwdriver, popped that off. And what I'll do is I'm going to end up drilling a hole through this so we can reinstall it and then just covering it up with silicone to seal it off. Now we can start focusing on our canister and getting it set up to be installed. So when you pull it out of the box, we do have some things just for shipping that we need to remove. So this tube just kind of pulls out and we can throw that away. Then we have this plastic bracket here that's just held in by a Phillips screw. (drill grinding) So you take that screw out, kind of lift up on the cover and pull it out. We're going to have a set of these on both sides. You want to make sure that you just keep track of one of these brackets because we're going to use it as a shim later on. We can get our side rails installed to our canister. So just note that you have kind of a channel here and that's where our bearings are going to line up. So this does get kind of tricky. I'd recommend having something to hold the end of it or somebody helping you out. We're going to lift up on the cover and kind of guide those bearings through. And once you get those started, we're just going to make sure that our threaded holes are on the inside of this plastic here and just kind of slide it back until you can get those holes lined up. Once you get your holes lined up, you're going to have a bag with this bracket here. It's really just a support brace and then some longer screws than what come in your original packaging. And this is just going to slot in. Get that slotted in, and then we can feed our screw through and get that to start. It can be kind of tricky just getting all these things lined up, but once you get it started, it should thread in pretty easy from there. And once you get them both started, we're just going to snug those down. Now we'll take this trim piece, which has some rubber, that's going to be on the front side, so towards the cab. And this is going to slide right under both of our rails and kind of slot into place. And we have two counter sunk holes here, one on both sides. Just get that lined up and we can get our hardware threaded on. Once you have both lined up and started, we're going to use the included Allen wrench and get those tightened down. I grabbed my friend Daniel because you are going to need a extra set of hands. So what we'll do is just kind of get this lifted up onto our tailgate because our truck is quite tall. And now we'll just lift this up until we get towards the cab and we'll just get this kind of set down for now. We can make adjustments later on. One thing that's kind of tricky is as you're pushing this canister back, you do need this rubber seal to lay flat on top like this. So I just kind of went down the line while lifting it up and pulled that out from under, but just make sure that's all laying flat so you have a nice seal. So now I have our tailgate closed here and this is when we need those shipping brackets. This end is supposed to be 1/8 of an inch, so we're going to use that as a shim, as I said. So what we'll do is just keep adjusting this until right there where you can slide this in and out, but it's still butting up against it. Now we can get everything clamped down. So the way these clamps work is this is adjustable height wise here. I found that we we inchesre perfectly fine getting these installed in the lowest setting, which is how they came. But I already have three of the brackets installed and I'm finding on these front ones, it's really hard to get these brackets started. So what I did was unthreaded this bolt about as far as I can, just maybe one and a half threads left. And then what we'll do is this section here with the grooves is going to line up with our channel here and this kind of slots into our bed rail. So start with that bed rail side. And as you can see, we can just kind of work it on. But if you're really fighting it, you can just put your foot and push against it to get that started. As you tighten these down, what you want to do is kind of push down on the channel here and also tilt it this way. That's what they say in the instructions is that's going to create the best watertight seal. So just push down and tilt it and we'll get these snugged down. After you tighten them all down, one thing you'll want to do is if you did shift your cover around a little bit, close the tailgate up and just double check with those shims. But then once that's all set, what we'll do is measure from channel to channel or side to side, measure that at both of your brackets. So kind of compare those numbers. If there is any difference between the numbers, what you'll want to do is if your distance is greater, you'll want to tighten it down. So turn these adjustment tabs clockwise. And if the distance is less, you can turn them the opposite way and you will have to loosen up your brackets while you're doing that, but get those adjusted and re-tighten them down. With the bottom bolt here with the rubber on the end, what we want is that to sit snug against the inside of our bed. Not going to tighten it down too hard, just a couple turns. And then this nut here is our jam nut. So we'll just have to run this all the way back and snug that down so that holds this bolt so it's not moving around. Now in order to set up our drain tubes, which drain right around here, we do have drain holes almost directly below, which would be perfect, but they're a little bit too small of a diameter to get our hose through. So what I'll do is just use a step bit. You can use a regular drill bit, but I'll use a step bit to step that up to just about this diameter so I can push our hose through. (drill grinding) Now that we have our drain tubes set up, all we have to do is plug in our power cable down there. It's just a simple two-prong plug that plugs into each other. Then of course, reinstall our fuse. And now what we'll do is just kind of run everything through its paces. I already closed the tailgate, so we're just going to watch everything, make sure we have smooth movement, and then also check that we have a nice seal on our tailgate. Once you verify that everything's moving smoothly and sealing up, then you can relax because you've successfully installed your Retrax PowertraxPRO XR powered hard tonneau cover.
Ratings & Reviews

This is the perfect cover. Everyone who sees the cover wishes that they had spent a little more money and bought soemthing like this.
Durable and reliable
I think it is the best. Purchase and delivery was a breeze with etrailer.
Bill F
This was a easy in Friday instsll. Very few tools required. Pulling the power wires was the hardest due to crawling under the truck.
Do you have a question about this Tonneau Cover?
Info for this part was:
At etrailer we provide the best information available about the products we sell. We take the quality of our information seriously so that you can get the right part the first time. Let us know if anything is missing or if you have any questions.
















Thank you! Your comment has been submitted successfully. You should be able to view your question/comment here within a few days.
Error submitting comment. Please try again momentarily.