





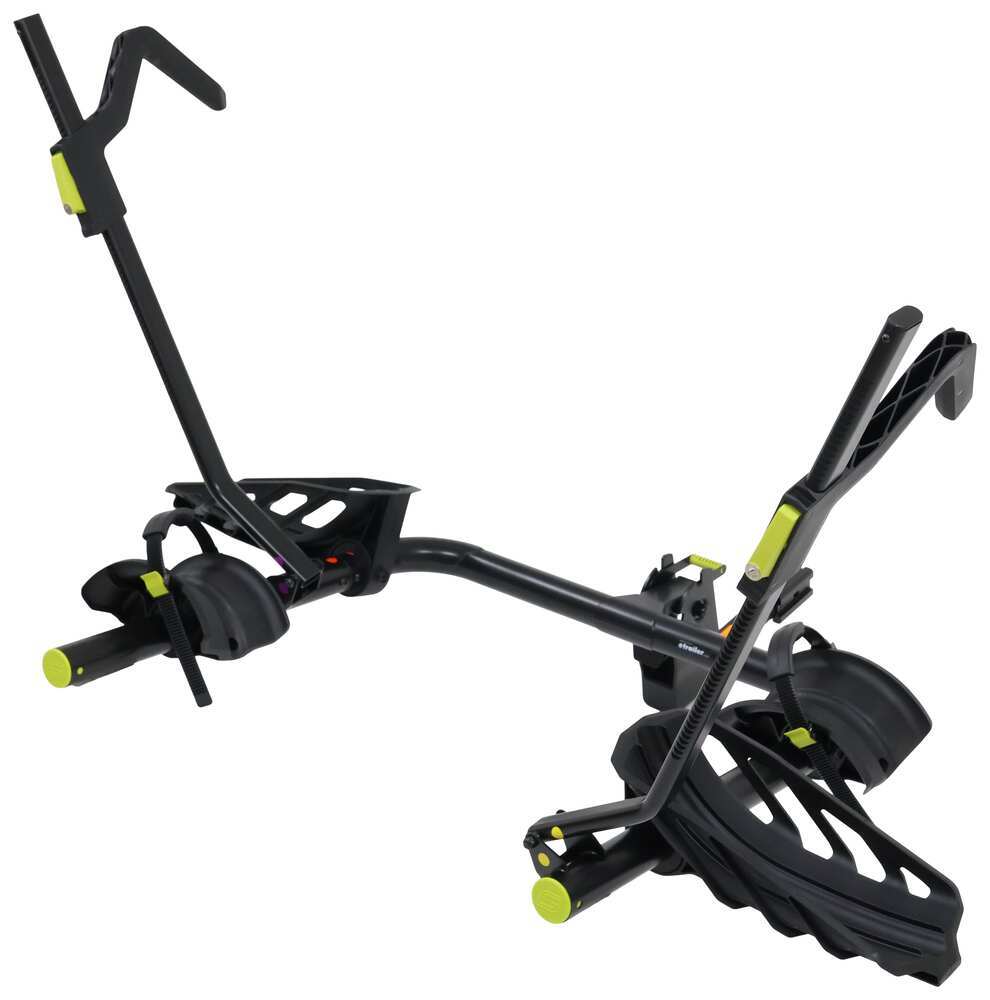
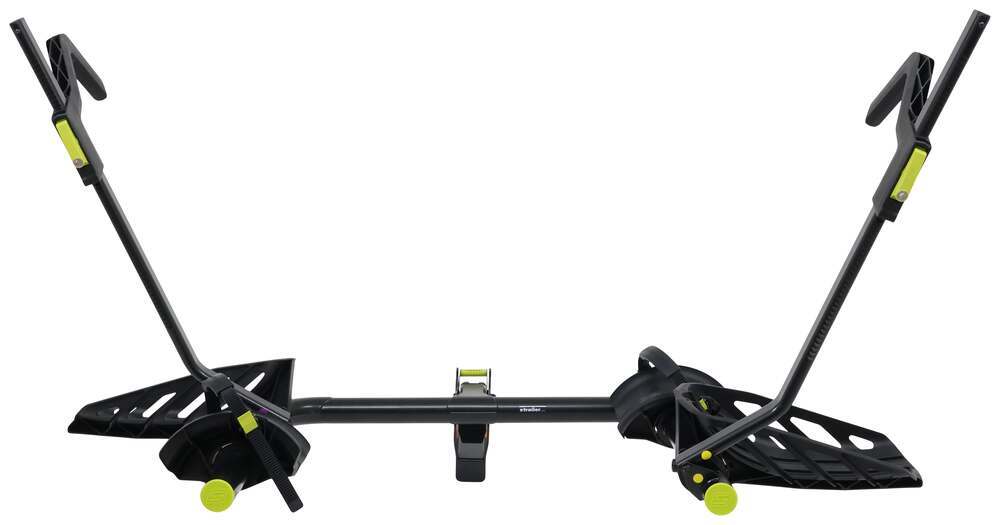
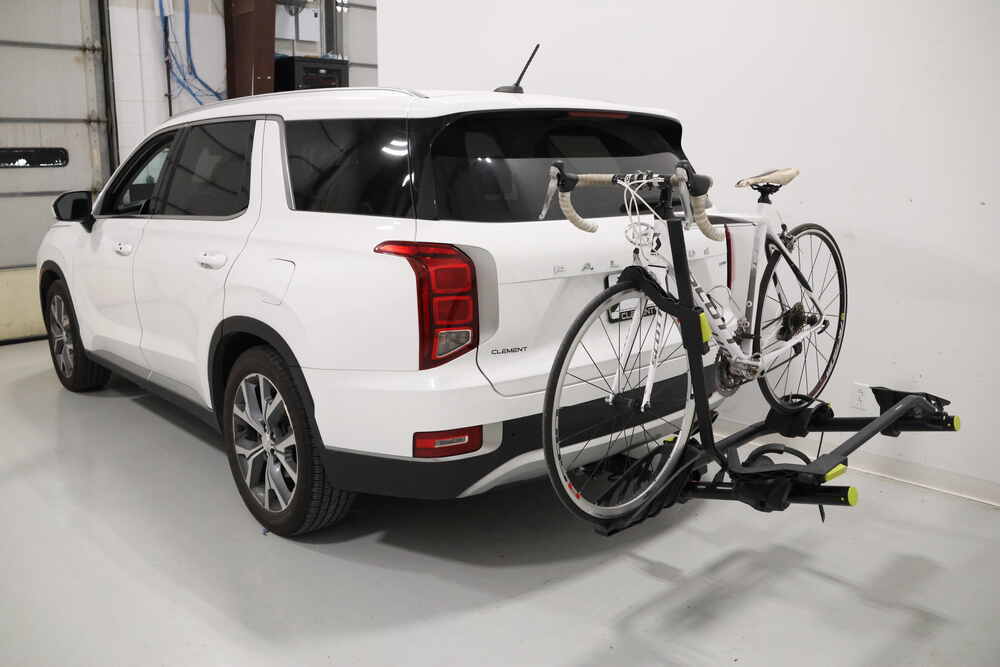
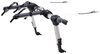
Each bike spot supports up to 45 lbs, giving you solid strength for most modern rides, including carbon models or custom finishes you want to protect. The platform design keeps both bikes balanced while the steel frame stays secure in the hitch, so nothing shifts while you’re on the move.
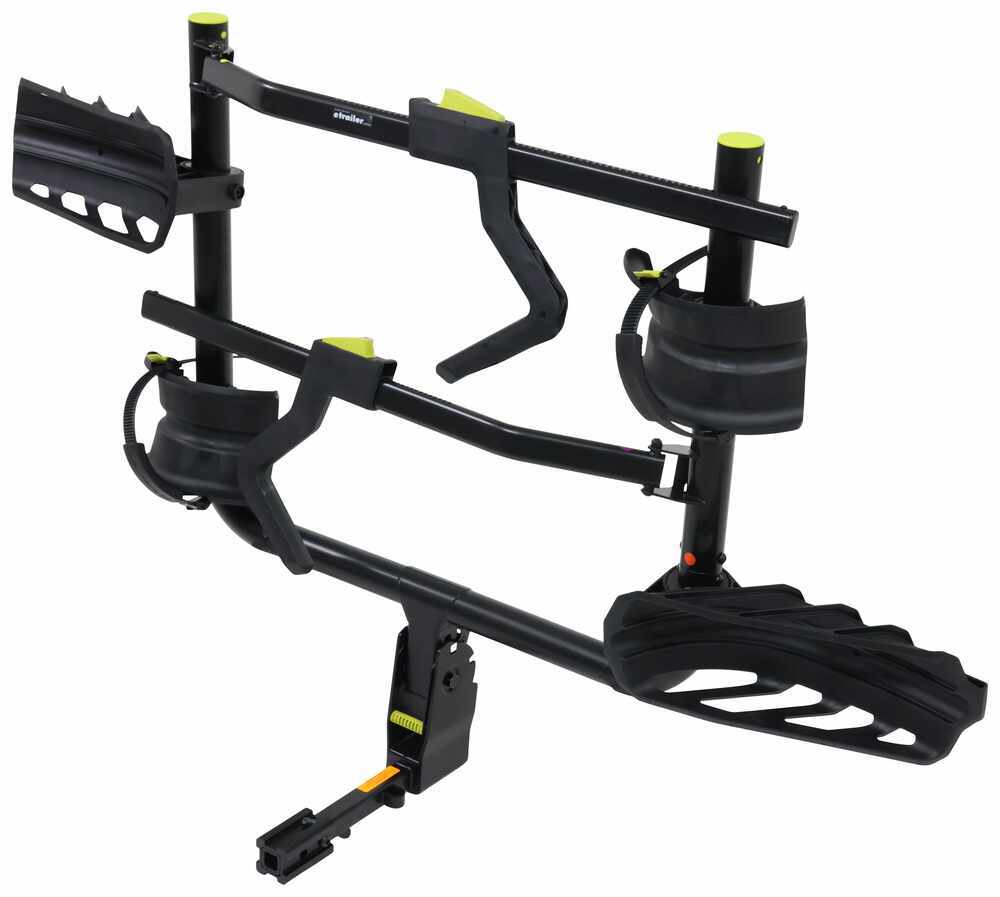
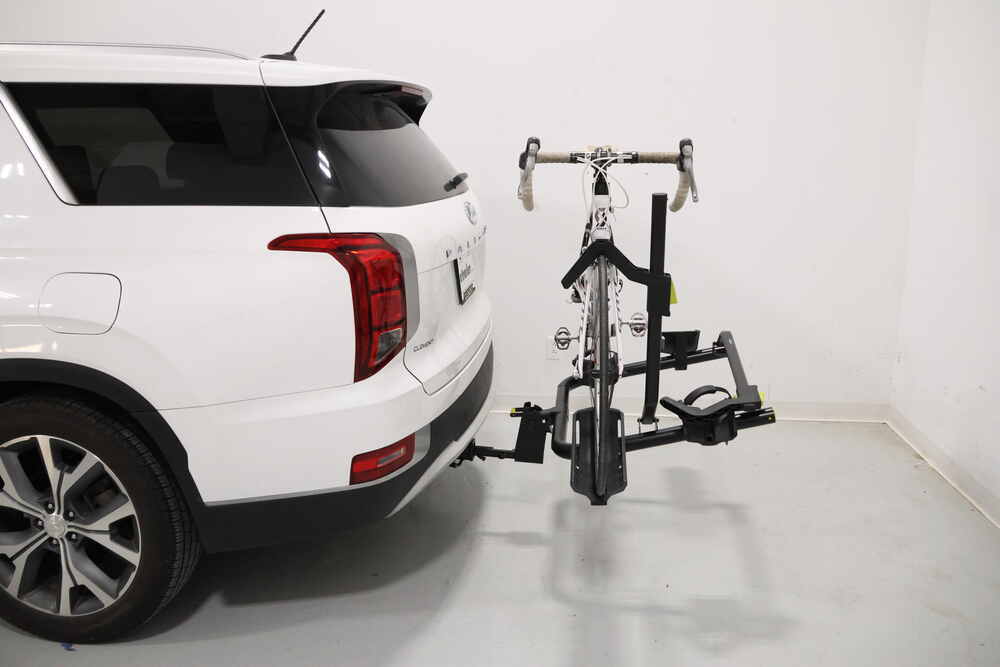
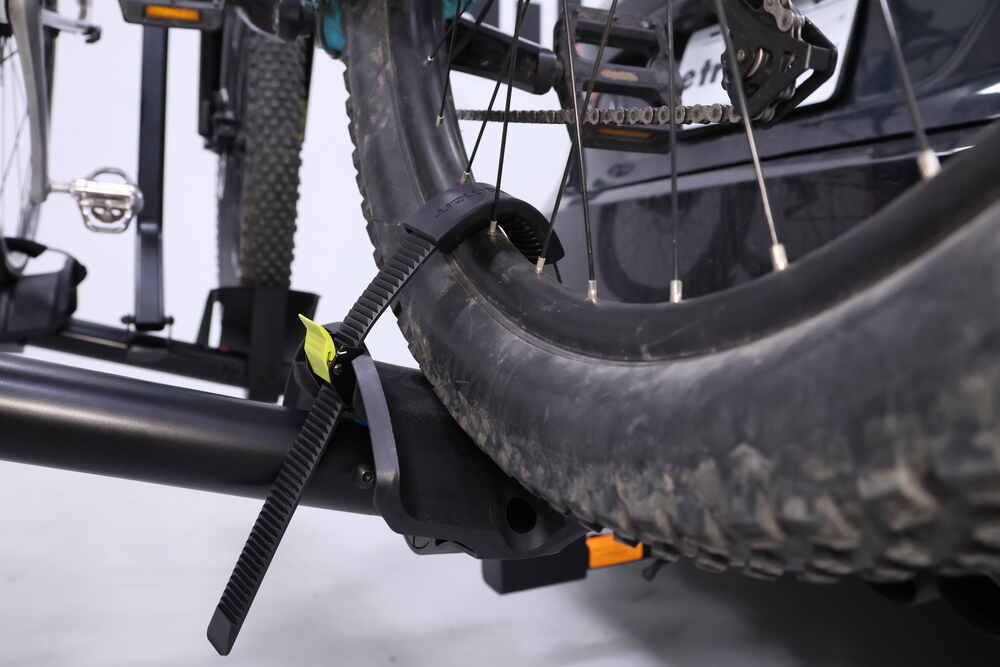
The padded, ratcheting hooks grab each bike by the front wheel only—no frame contact at all—so paint, decals, and carbon tubes stay untouched. Rear wheel straps adjust to handle different wheelbases, letting you load two very different bikes side by side without hassle.
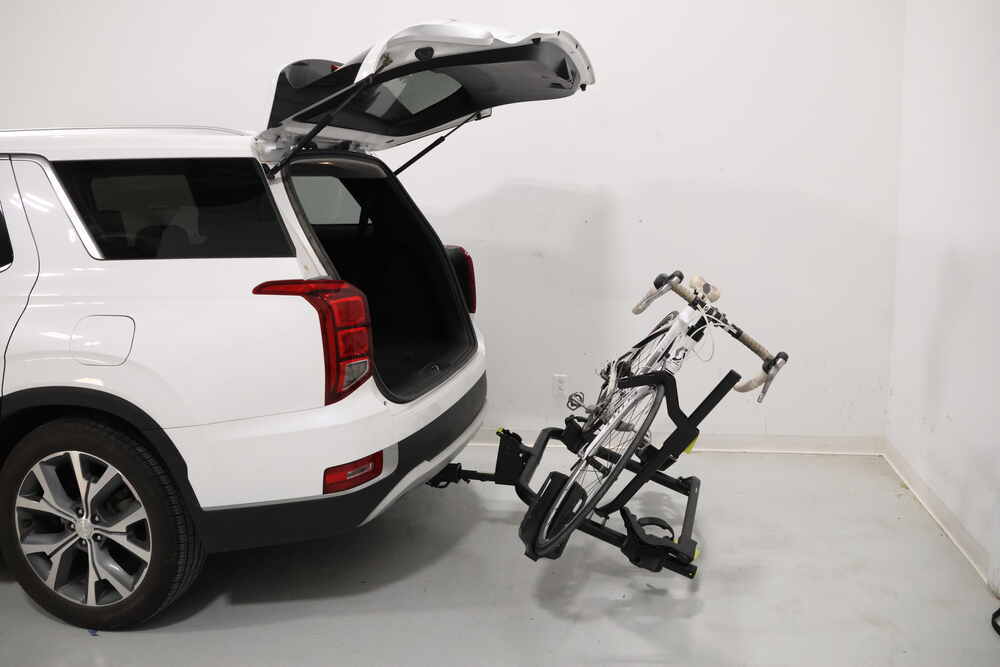
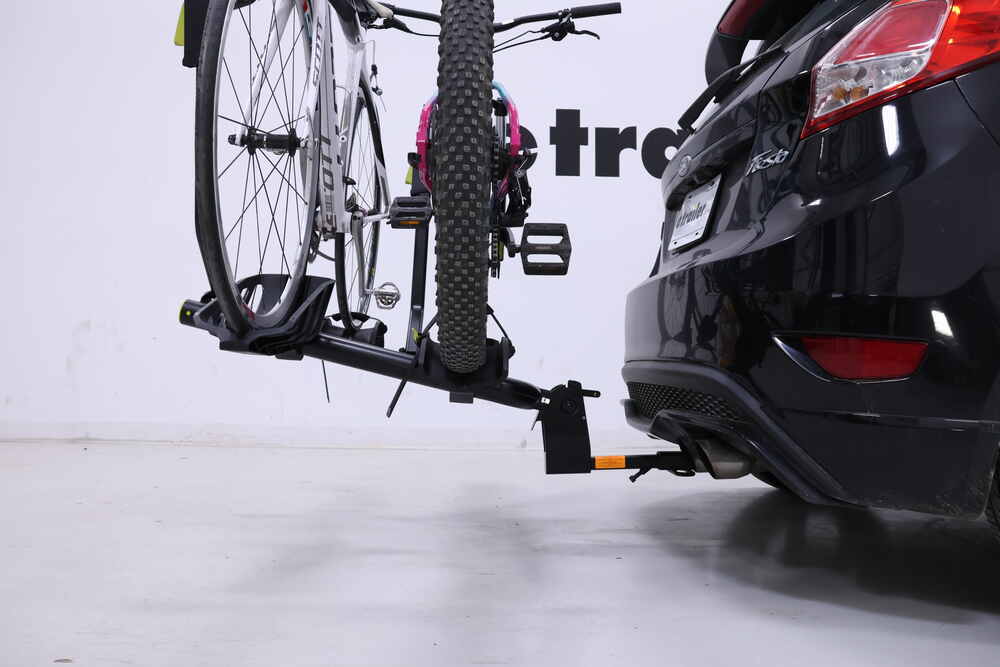
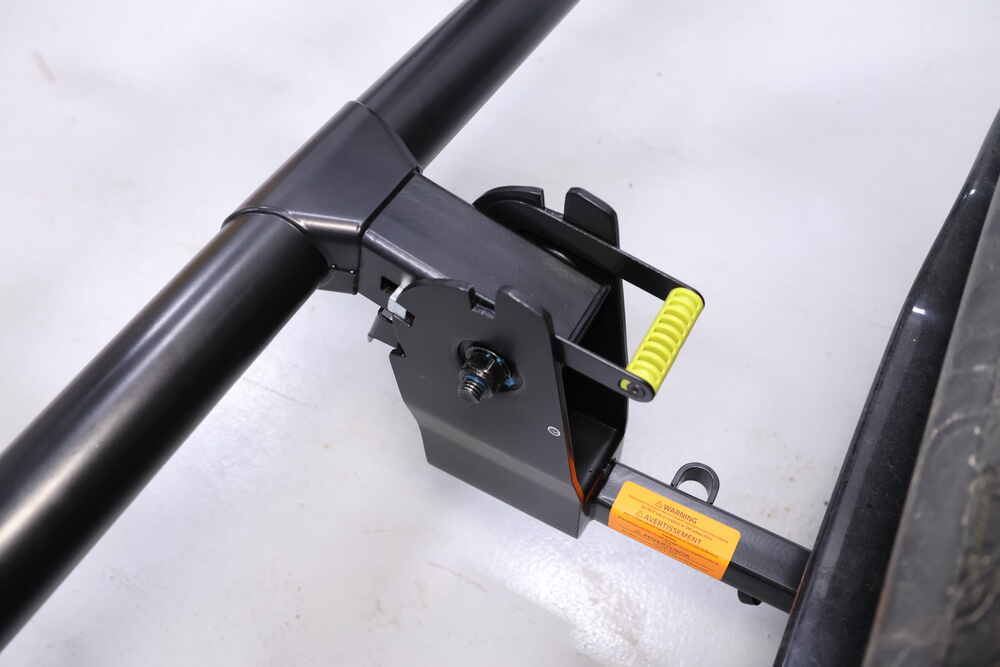
The rack tilts down even when both bikes are loaded, giving you easy access to your cargo area without unloading. A simple foot pedal handles the tilt and fold positions, so you can switch between hauling, parking, or storing the rack in seconds.
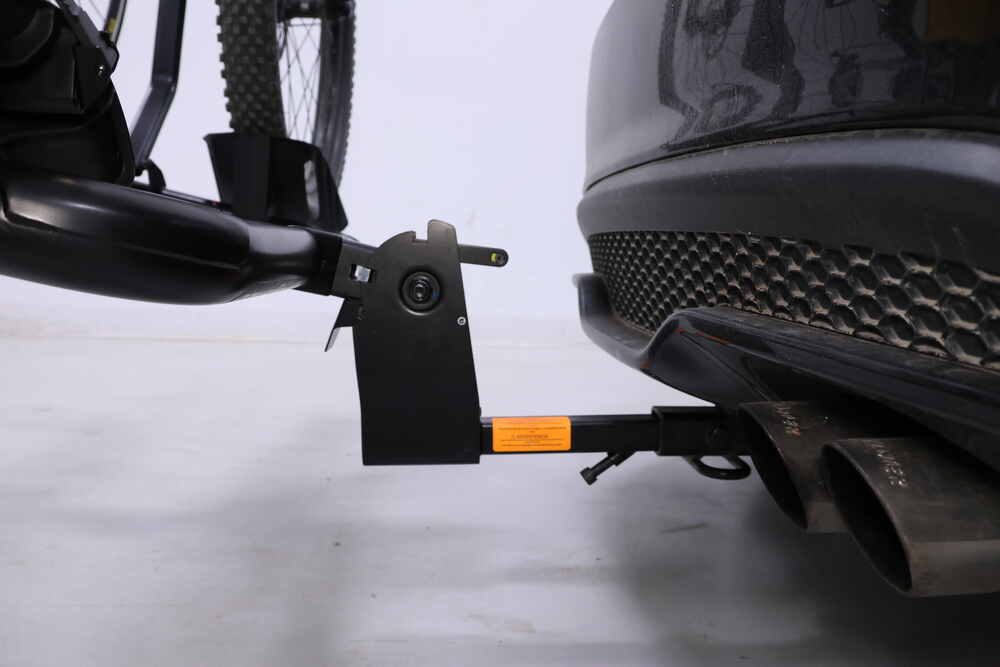
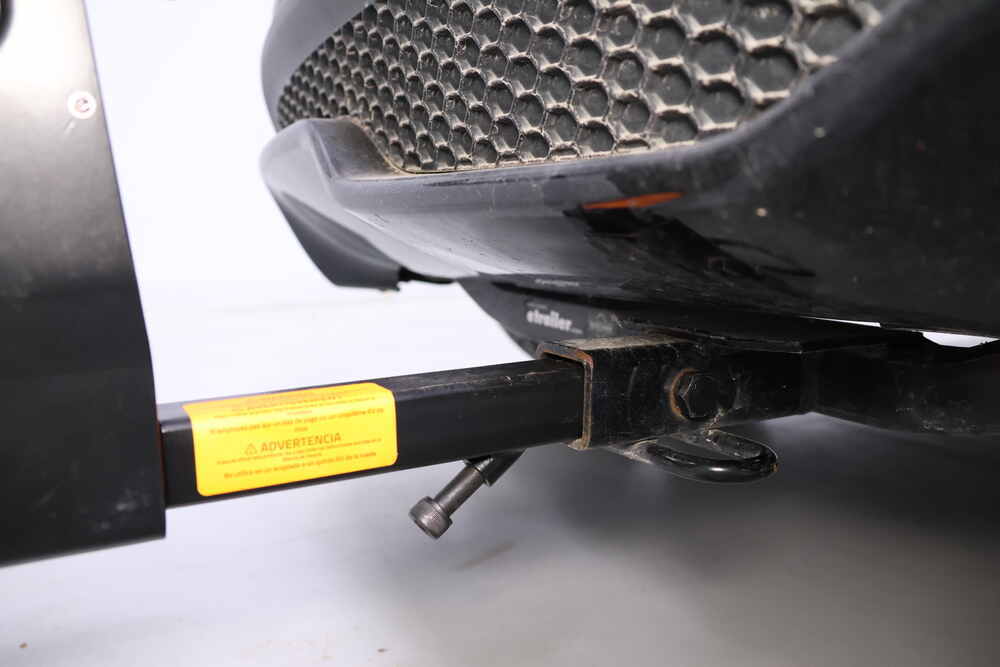
A built-in anti-rattle hitch pin keeps the rack steady by cutting down on movement in the receiver. That means less sway and fewer vibrations on long drives, keeping your bikes stable and your ride quiet.
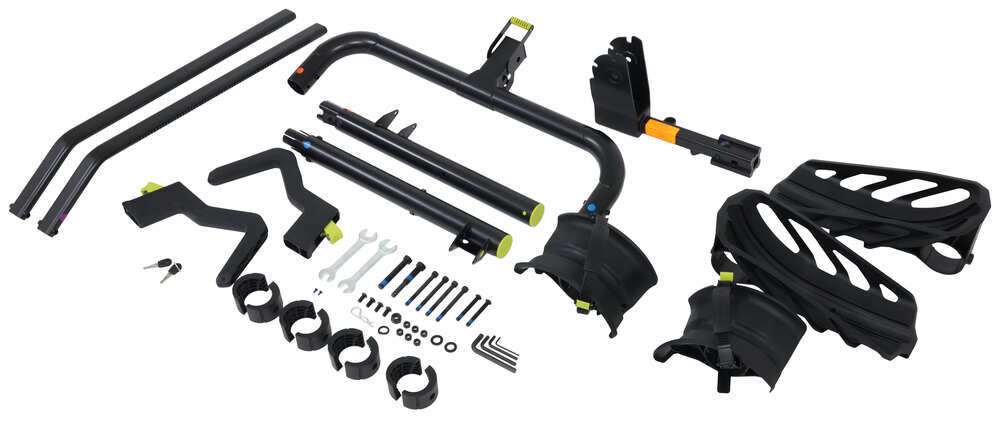
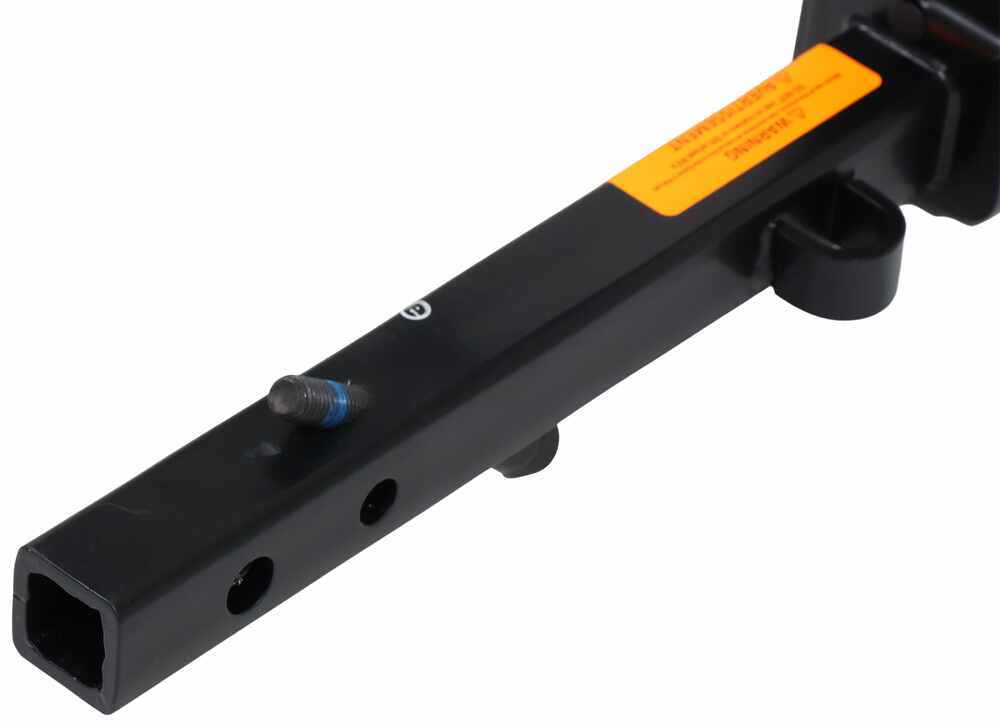
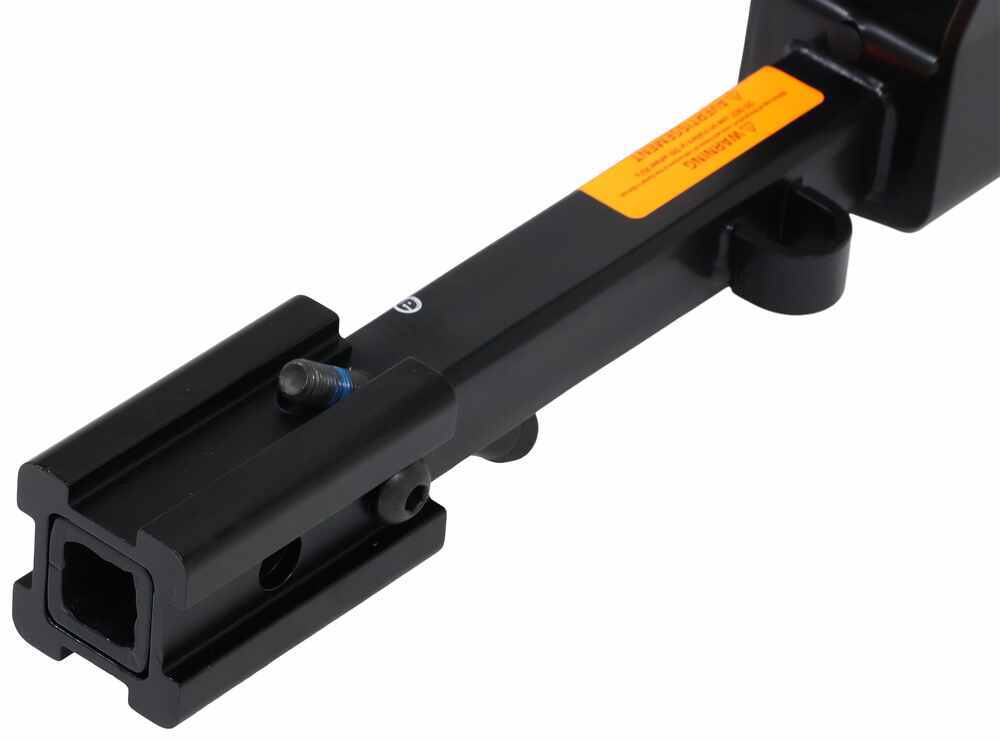
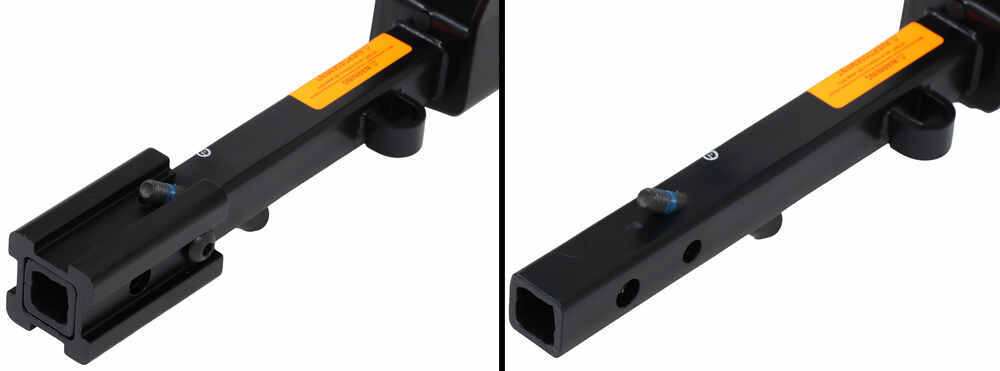
The removable adapter sleeve lets the rack work with both 1-1/4" (Class II only) and 2" hitches. Whether you’re setting it up for one vehicle or swapping between setups, the conversion is quick and tool-free.


Videos are provided as a guide only. Refer to manufacturer installation instructions and specs for complete information.
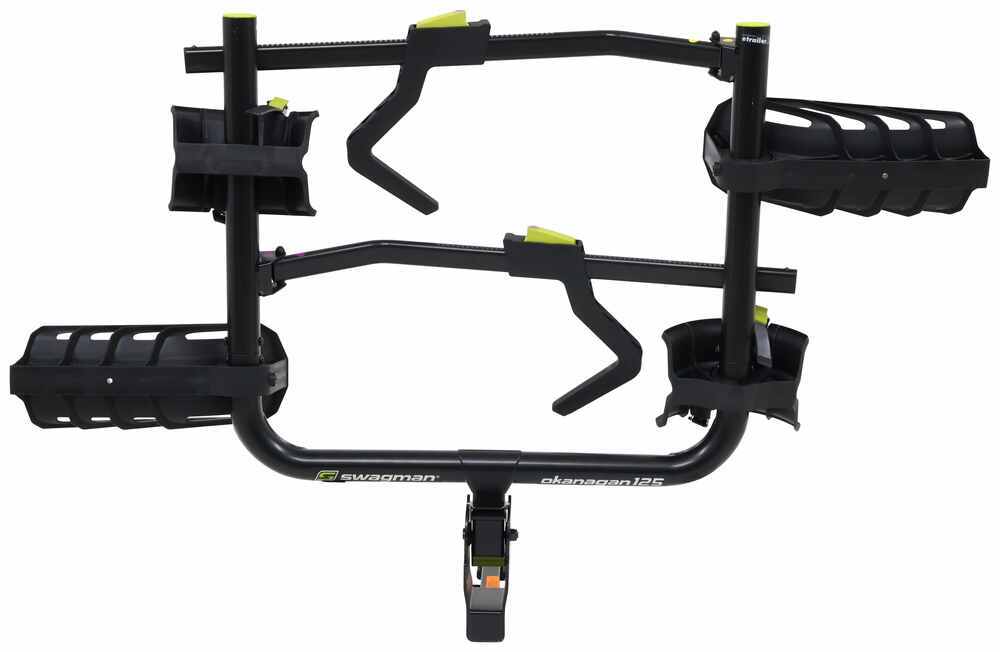
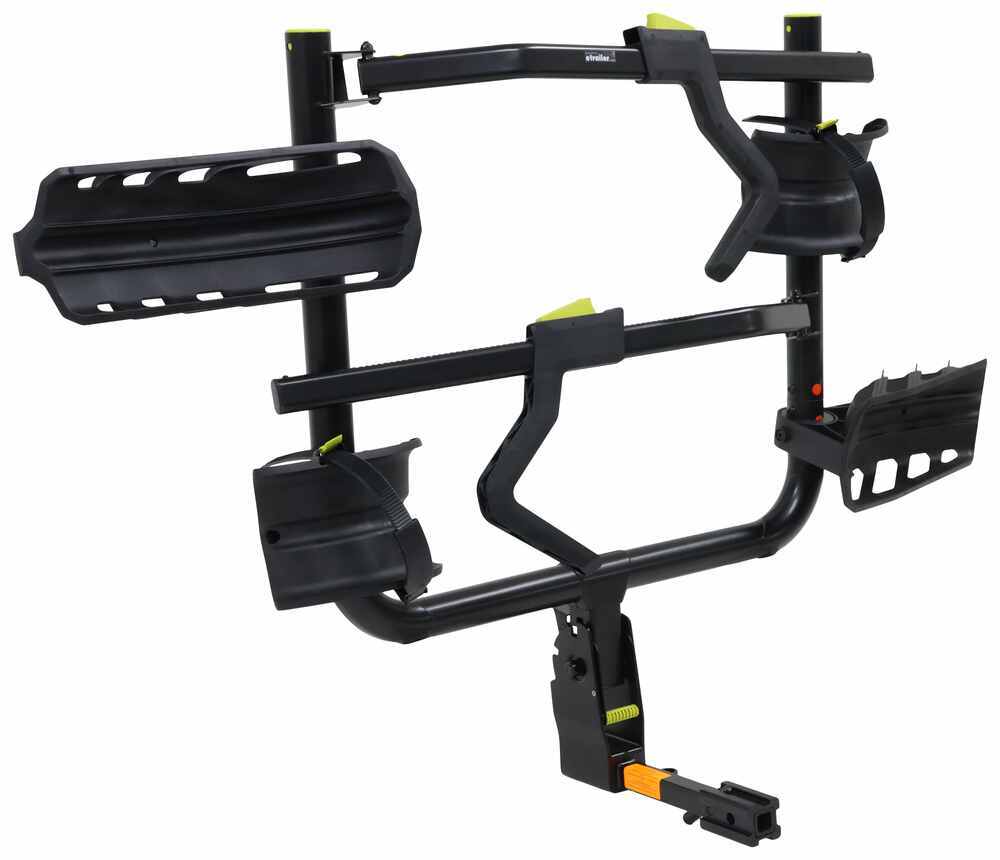
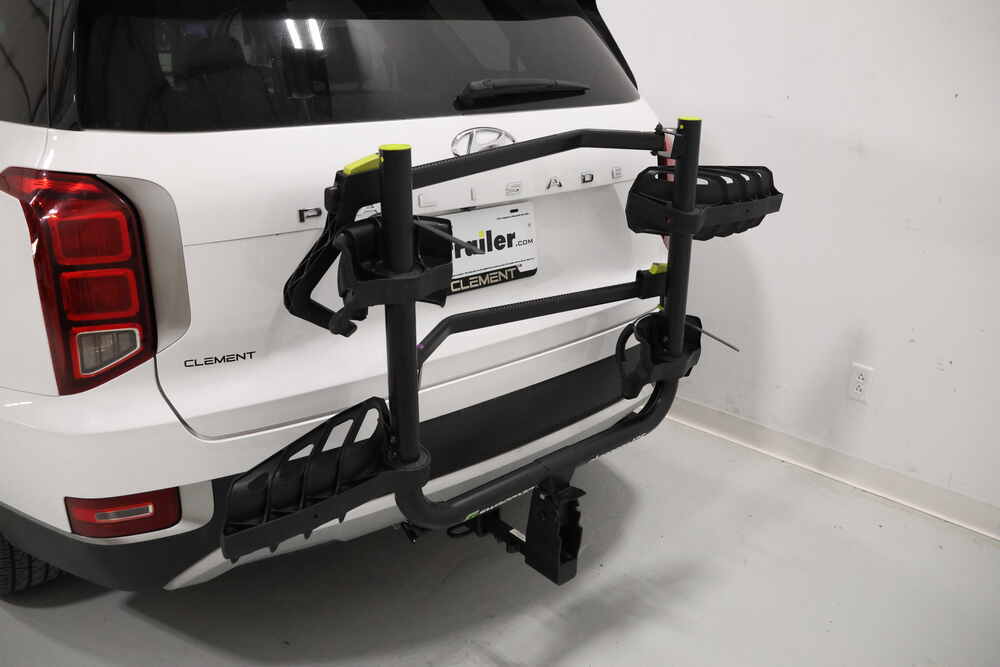
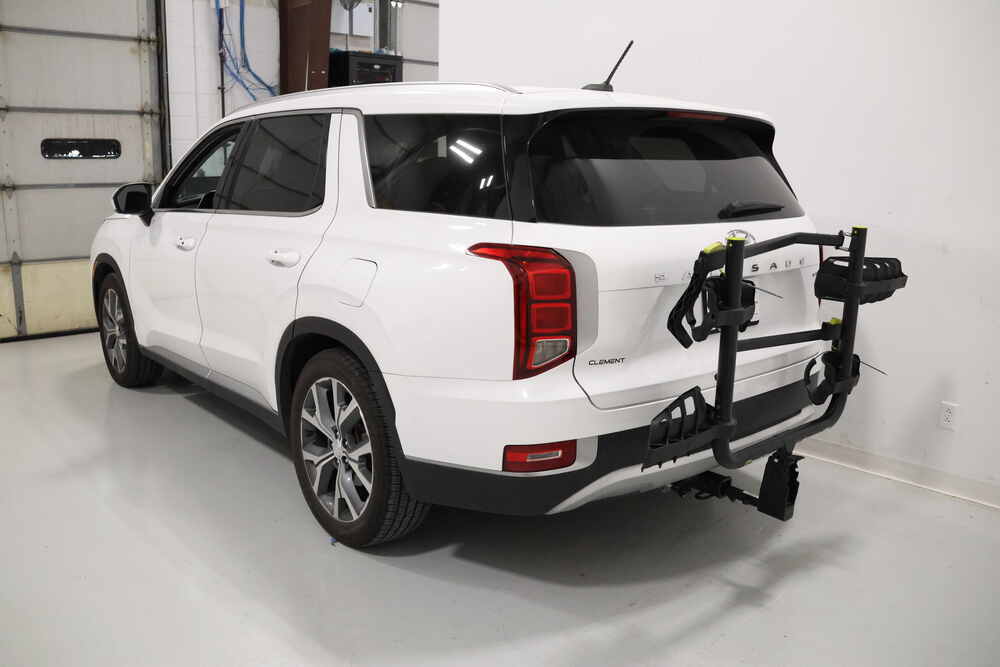
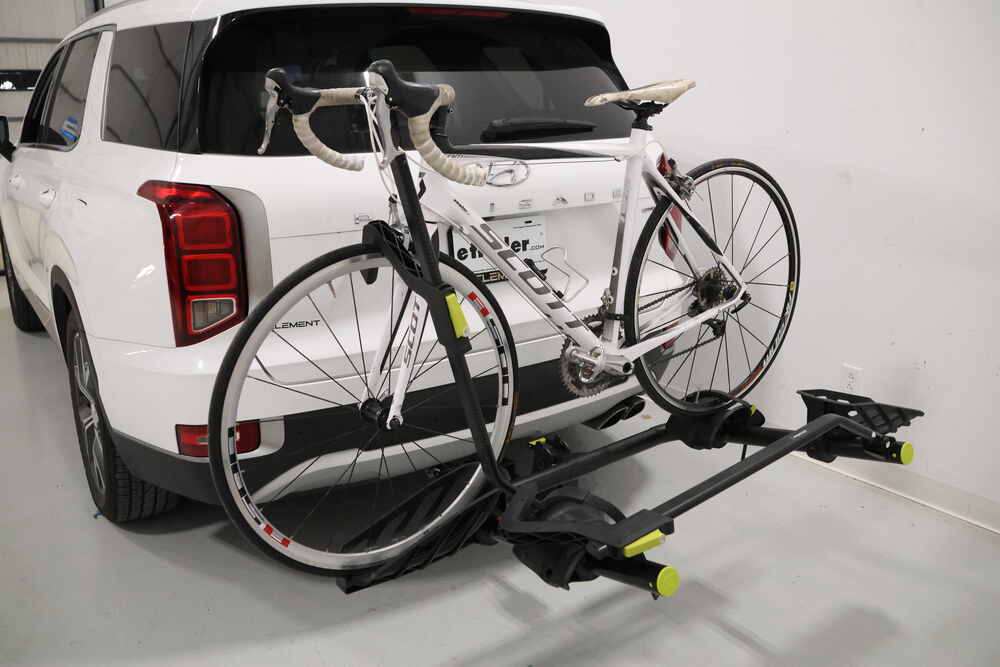
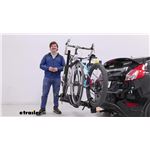
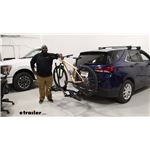
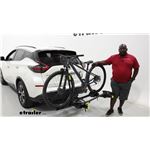
Hi, everyone. Aiden here with etrailer. Today we're gonna be taking a look at the Swagman Okanagan Platform Style Bike Rack. It's gonna be a two bike carrier that can fit with your inch and a quarter or your two inch hitches. Let's check it out. So I wanna start this review by saying this is a pretty unique rack for the shape, and I wanna show it to you without bikes loaded right away because this U-shaped cradle is the main draw.
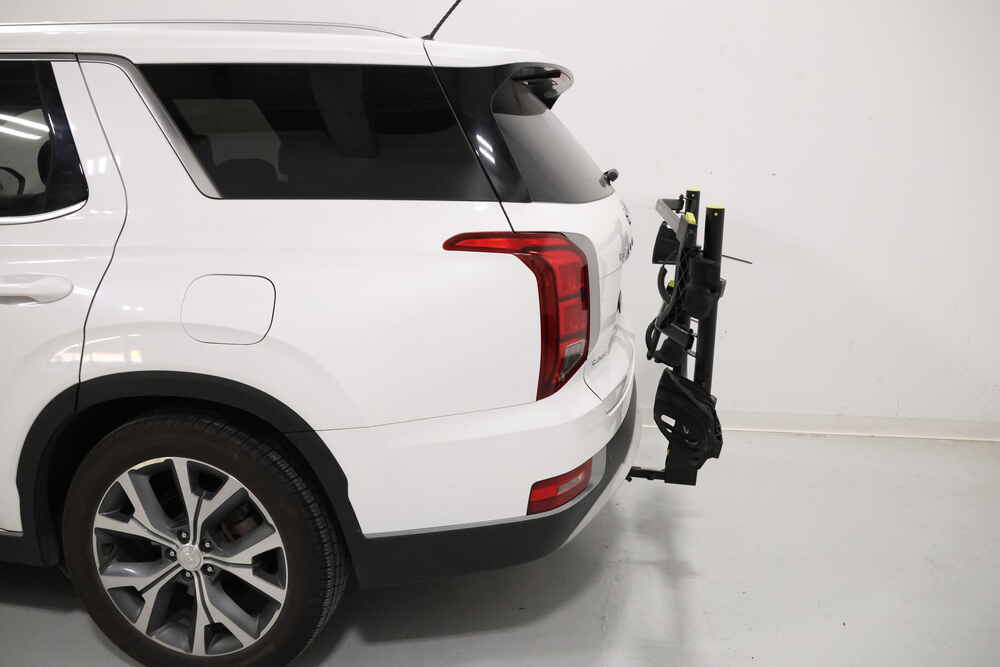
This is gonna mean that when it's folded up against your vehicle, it's much less likely to block things like your license plate or your backup camera on your car. And not a lot of racks do that, it's pretty much this option from Swagman, and the Kuat Transfer. And I wanna say that those two bike racks are extremely similar. So if you like the U-shaped design and the benefits that it offers, watch through the video. We'll talk about all the different details with the Swagman here.
And at the end I'll do a more in depth comparison between the options from Swagman and Kuat so you can find out which one of those is gonna be right for you. But stay tuned, we'll get to that near the end. And I do want to give one small disclaimer about the hitch variation that we have. Like I mentioned, this will work with inch and a quarter or two inch hitches, and this is gonna be the Okanagan 125. Swagman does make another version called the Okanagan 200, which is essentially the exact same rack except it will only work with two inch hitches.
And the reason I say that it's important to know is because if you only ever intend on putting a two inch hitch, that's the version to go with. The two inch sleeve adapter that this one will use just means it's not gonna be as stable. We found that with every bike rack we've ever tested. So go with this one if you, one, have an inch and a quarter hitch, or intend to use it with both an inch and a quarter and a two inch hitch. Say you and your spouse have two different vehicles with different hitch sizes, that's the use case for this.
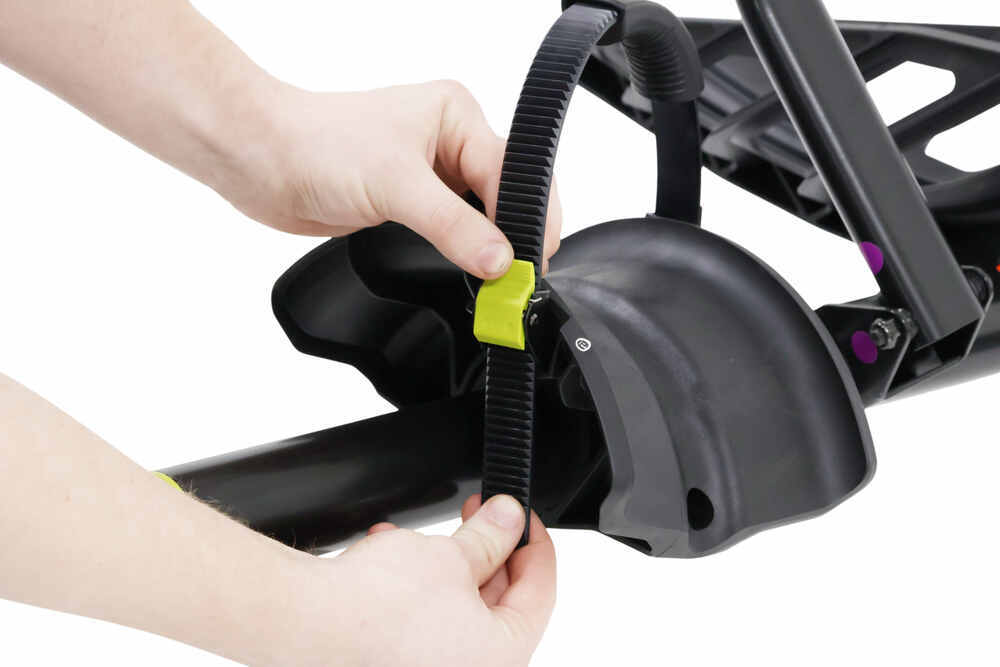
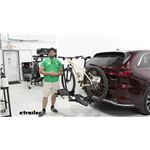
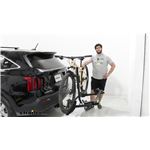
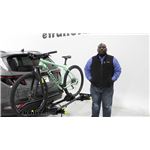
And it is important to note that this is not compatible with class one inch and a quarter hitches, only class two. So just watch out for that. But with all that in mind, let's get the bikes loaded back up and check out how the carrier works. Now it's a great opportunity to talk about a couple things like the fact that this is a wheel hook design, a front wheel hook. So that's the primary method of holding your bike down. It's a thing that holds it upright, and this means that there's zero frame contact, leaving your carbon frame bikes perfectly fine. Any nice paint jobs, unharmed, and alternative frame bikes are gonna be no problem because you don't have to worry about frame attachment. Your secondary point here is going to be a wheel strap at the back that will ratchet down, and you'll notice that they're quite long. Both the cradles and the straps are capable of accommodating up to a five inch tire width. So even for your fat tire bikes, you'll find that this works pretty well. Depending on the wheel base of your bike, that rear tire is gonna sit somewhere different in this rear cradle. Right now ours is sitting right on top of it, but you can fit up to a 48 inch wheel base, which would leave your rear tire sitting somewhere along the rear of the cradle here. And if you're leaving your bikes unattended or you're just the type of person to leave them on the bike rack full time, there is going to be a set of locks on the wheel hook there. I will say that when you're operating that, it's a little easy to bump that loose, so just hold onto it while you're operating. But this will keep your bike locked up and safe when you're not around. And the last thing you wanna keep in mind when it comes to compatibility with your bikes is the weight capacity. This can support a 45 pound bike per cradle, so that's pretty good. Not e-bike compatible. And even if you jump up to that strictly two inch version, you're not gonna get e-bike compatibility. So that's something to keep in mind with this. If you've got e-bikes, this just isn't the rack for you. But for your heavier trail bikes and your road bikes, you'll be just fine. Now this rack does have the ability to tilt away with the bikes loaded and there's two ways you can do this. There's a foot pedal right up there that I can activate. It's a little bit hard to reach with the bikes loaded, but not too bad. And this will allow you to lower down the rack pretty far and gain access to the back of your vehicle much easier. So if you need a place to maybe sit down before or after your ride and change your shoes, put on your helmet, have a snack, or just get to something in the back if you're traveling long distances, you can do that. And that's a benefit that you get with a lot of platform style bike racks. And of course when you're done, you can just lift it back up into place and it'll lock in. But that brings me to my main point here is that there's two ways you can do that. There's that foot pedal, but there's also a handle here. Now I'm holding onto the front wheel hook of one of my bikes right now, and that will allow me to ease this down away from me. I will say, if you're pushing the weight capacity here, that might not be super feasible. We've got a bike that's well under 45 pounds and then a carbon frame bike, which is even lighter than that on the outside. So we're not pushing the weight capacity, but I definitely feel the weight. What's nice is if I can't reach the foot pedal super well, this is an alternative, and I can ease it away from me rather than lowering it down on top of me. The same does go for raising it back up. If you're comfortable with the weight, you can just pull it into place and it'll lock in. For me, I'm okay with this. I'm comfortable enough with the weight and I find this to be a lot easier. So this is the way I would the bike rack. One area that I think this bike rack really excels at is the ground clearance. You're probably noticing by now there's a pretty aggressive slope upward from the front cradle to the back, and from the bottom of our shank to the bottom of our cradle on the rear bike, it's gonna be a 10 inch rise, which is pretty impressive. And to get a little bit more specific with our vehicle today, it's giving us a ground clearance at that cradle of 17 inches, which for a vehicle that's this low to the ground, is really impressive. So I definitely recommend this if you're in a vehicle that has ground clearance issues and you've maybe tried bike racks in the past that tend to bottom out on steep driveways and hills, you're probably not gonna have that issue with this rack. When it comes to unloading the bikes, it's gonna be the reverse order of what we saw before, undoing that rear wheel strap first because it's not holding the bike upright. And we can just safely do that with both hands. We'll do that front hook last and just push it out of our way. And the reason I wanna show this unloading is this is the other benefit of that U-shaped design. I can walk right up to the rack, right up to the bike and lift it much closer to my body. So if I'm not comfortable with the weight, this is much easier to handle than it would be if I had to stand out here and extend my arms almost straight out. So this is a huge benefit, the loading and unloading. Even if you're not putting e-bikes up here, this is really helpful for getting this set up. With both bikes gone though, we can check out some of the other dimensions. I'm gonna be talking about this from the center of the hitch pin hole. So you can take that same measurement on your own vehicle, and regardless of where your hitch sits, you can figure out where this bike rack will sit. So from the center of the hitch pin hole to the furthest point out on the rack, we're gonna be looking at a little under 41 inches. We'll just call it 41 for the ease of math. But there is a folding feature which uses that same lever that we checked out earlier, only this time pushing the rack upright. From that same position on the hitch pin hole to the new furthest point out, we're gonna be looking more like 13 and a half inches now. So you save a ton of space in the folded position. And in the folded position here, the closest point to the hitch pin hole, is about five and a quarter inches. That's important to know for bumper clearance, especially if you plan on using this with an inch and a quarter hitch. They tend to sit a little bit further recessed under the back bumper and you may run into clearance issues. But ours is pretty far under there today and I didn't have any issues. So I'd say you're probably good, just double check it to be safe. One unconventional measurement that we don't normally take is the height from the center of the shank to, I'm gonna go to about here. This middle section of the gap between these two arms. That's gonna be about 28 inches. Now the gap itself is 11 inches between the two arms. So if you really care about that license plate clearance or the backup camera being obstructed, that's a measurement you could take on your own hitch to see about where that gap would sit. And you can see how well it lines up with that plate or camera. Taking a closer look down at the hitch, we can check out things like the anti-rattle bolt that's included. It's just a standard pin and clip, so no lock there, but you can upgrade to a locking pin if you wanted to. You can find those on our site. And like I mentioned before, it's working in our inch and a quarter receiver hitch, but it will come with this sleeve adapter that you would just bolt into the side and that would allow you to fit this up into a two inch receiver tube. A little further back from that, it'll have a welded on bracket, where if you wanted to add your own third party cable lock, that's a point that you could feed it through and give yourself a locking point. So great if you already own one or just want that extra layer of security. Now the thing I will mention that's kind of weird here is this bolt on the bottom. That's gonna extend diagonally up through the shank and actually be tightened inside the collar of our receiver tube. So what that's doing is giving us an extra direction of anti-rattle protection. So that bolt going through the side is gonna help control the side to side, and that bolt that's going up is controlling the up and down, basically keeping this solid in all directions. But this brings me to the comparison to the Transfer that I mentioned earlier. And this is the one that we're comparing it to today. This is actually belongs to Brad, the owner of this car and one of our installers down here on the video team. There's a few key differences here that I think are very important to know. The first being the anti-rattle device. I know I mentioned that the bolt on the Swagman there is a little strange for me. The one that goes up to control the up and down movement. Kuat on the Transfer also has an omnidirectional anti-rattle, but the way they accomplish it is a ball bearing in the corner of the shank. And what that's gonna do is press into the corner of your receiver tube and control the rattle and keep it down, but it doesn't press a bolt into the powder coat. That on the Swagman is very likely to scratch away the paint and become a point for rust, whereas that rounded ball is probably going to protect your paint a lot better. The other thing that I don't love as much about the Swagman Okanagan is the construction. There's just a few places here that, when compared specifically to the Transfer, feel like they come up short. The rear cradles here have an awkward shape, and I really like the design on the Transfer where the rear cradle cups around the tire, rather than the tire just sitting on a small section. It just makes me feel like it's a bit more secure. And I will say that the front cradle on the Okanagan doesn't feel like it wraps around the tire as well in certain places. Our road bike in particular, I felt like had some weird gaps and just didn't fit as well. So overall construction I think goes to the Kuat. But I will say, there's a lot of things they have in common, like the weight capacity and the overall design. The weight capacity is 45 pounds, like I mentioned, per bike on the Okanagan, and only 40 on the Transfer, which is a little less, but it's essentially the same. If you need that extra five pounds, you know where to go, but otherwise you're not really losing out much in my opinion, either way you go. And the same goes for that U-shaped design. But there are some things I like about the Okanagan better. First being the choice between that foot pedal or the handle on the other side for tilting it down and folding it. I think that just makes it a little bit easier to operate, having the choice, even if that foot pedal is quite a bit smaller and hard to see. But for me, the clear win is the ground clearance. If you've got a low clearance vehicle and you're worried about it, this is definitely the way to go because on our particular car today, we're getting five extra inches of clearance, which when you're low to the ground, that means quite a bit. It could be the difference between bottoming out and keeping your bikes and your bike rack unharmed. So whichever way you go, there's gonna be pros and cons for both the Okanagan and the Kuat Transfer. And depending on your needs, one is going to work better for you, but at the end of the day they're both very similar. Hopefully this video and this comparison gave you the tools to pick the right one to fit your needs. But today this is just our look at some of the features of the Swagman Okanagan 125 Platform Style Bike Rack. Thanks for watching.
Ratings & Reviews

The rack was working well but after a few uses the welds cracked for the tire clamp arm. I hope the warranty works well or I can return for a better rack.
Its a nice rank. One design piece of attaching the second bike trays is very poorly created. I was also not expecting a previously opened box.
Do you have a question about this Hitch Bike Rack?
Info for this part was:
At etrailer we provide the best information available about the products we sell. We take the quality of our information seriously so that you can get the right part the first time. Let us know if anything is missing or if you have any questions.
































Thank you! Your comment has been submitted successfully. You should be able to view your question/comment here within a few days.
Error submitting comment. Please try again momentarily.