


To see if this custom-fit item will work for you please tell us what vehicle you'll use it with.


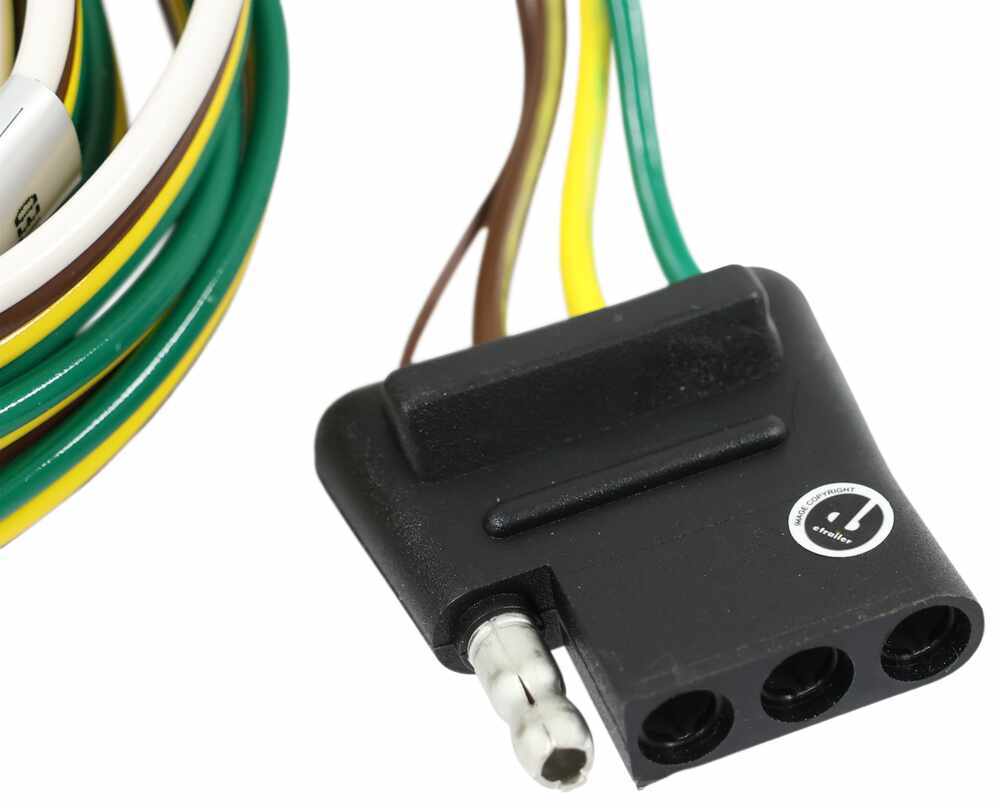
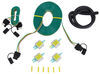
Wiring for trailer lights doesn’t have to mean cutting into your vehicle’s wiring. The Curt T-Connector plugs directly into existing factory connectors, giving you a clean, secure 4-flat trailer connection without any splicing. It’s designed as a plug-and-lead system, so everything fits where it should and stays out of sight once installed.
This harness includes a powered converter that isolates the trailer wiring from the vehicle’s sensitive electrical system. That means the trailer lights get the power they need without overloading or interfering with the car’s circuits. It’s a smart safeguard that keeps both systems working correctly over time.
The 4-flat connector supplies running lights, turn signals, and brake lights—the essentials for small trailers, campers, or utility haulers. It’s the standard connection that matches most light-duty trailers, so once plugged in, you’re ready to tow safely and stay visible on the road.
Because it’s built as a hidden-style plug-in harness, the Curt design keeps wiring tucked away behind trim and panels. It routes through existing grommets or openings for a factory look that protects connections from dirt and moisture while keeping the install neat and professional.


Videos are provided as a guide only. Refer to manufacturer installation instructions and specs for complete information.
Hello everybody, this is Jeff at etrailer.com. Today I'm gonna take a look at this Curt T-Connector Vehicle Wiring Harness with the four-way flat trailer connector. Now this is a custom fit part. It is designed to fit the 2007 to 2013 Nissan Versa models. And on a custom fit part like this, I do like to recommend for you to go to our website, use the fit guide, put in your year, model, vehicle, and it'll show if this will work for your application. Now this wiring harness will provide a nice four-way flat trailer connector to back your vehicle, to power your trailer signal lights.
It is compatible with five pole, six pole, and seven pole adapters that we do sell separate on our website. And what's nice, this does connect very quickly and easily. Basically just locate your connection points in the rear cargo area. Plug in these two T connectors, one on each side one on the driver's side, one on the passenger side. Ground your white wire and then run your power wire to your vehicle's battery.
Now this harness does include this black box here, which is a taillight converter. And this is to ensure that your vehicle's wire will match that of your trailer. It is a powered module, that's why it'll connect directly to the battery and that's to avoid overloading your vehicle's electrical system. This is constructed using SMT technology which is surface mount technology, gives you more consistent, reliable performance. It will maximize your trailer light yield and intensity, while producing minimal heat, and it ensures superior operation rough road conditions.
If you also notice, it comes with the dust cover for your four-way. So basically what you can do with that, is just attach this, it'll go right onto your four-way plug, and you can leave it on there if you like. And then when you're not plugged into your trailer, just take the cap, put it over the terminals, just like that, and it'll protect them from any damage or from the elements. Few specs on this harness, the maximum amperage for the stop and turn light circuits is three amps per circuit, the tail and running lights, six amps per circuit. Now it does come with everything shown here on the table.
I am gonna go through all these pieces. Does come with a nice set of installation instructions that'll describe how it goes together, and where to find your connection points in your vehicle. So as we mentioned, you'll go to the rear cargo area, find those connection points, and then you'll take these T-Connectors right here. And again you'll take the one with the yellow wire, that's for the driver's side and you'll plug that in on the driver's side. You'll take the other T-connector with the green wire. That'll be a length of wire that you'll run over to the passenger side and plug that in. Once that's all plugged in, you can run your four-way out towards the back. Now this box here, the converter box, it does have some weight to it, so you do want to attach that to a good flat surface. They do include a piece of double face tape so you can do that. And then once that's all attached, what you'll need to do is finish connecting these two wires. There's a white wire with an eyelet on it, and that's for a ground. You want to connect that to a good clean ground if there's one nearby. If not, they do give you a grounding screw, that you can make your own ground. And then the last wire is this power wire. Now this power wire is what'll go to your vehicle's battery at the front of your car. So they do give you all the stuff you need to do that. They give you the length of wire inline fuse holder connectors, but you'll take one end of this wire, take one of the butt connectors, put it on there, and then you'll connect it to the power wire, and then run this length of wire up towards the front. Once you get towards the front, you don't wanna run this directly to the battery. You wanna run it through this inline fuse holder. So take your connector, connect it to one side of your fuse holder, just like that. And then on the other side you'll take the eyelet connector they include, and that's what'll connect to the battery. Once that's connected, take the included 10 amp fuse, install it into the fuse holder, take your cap, push your cap over there. And just like that, your system be all ready to go. If you notice, they do give you some extra cable ties to take up any slack in the wiring. But that should do it for the review on this Curt T-Connector Vehicle Wiring Harness with the four-way flat trailer connector.
Customer Satisfaction Score:
85% were satisfied with this product
15% of customers were not satisfied
Ratings & Reviews


Info for this part was:
At etrailer we provide the best information available about the products we sell. We take the quality of our information seriously so that you can get the right part the first time. Let us know if anything is missing or if you have any questions.


















Thank you! Your comment has been submitted successfully. You should be able to view your question/comment here within a few days.
Error submitting comment. Please try again momentarily.