


To see if this custom-fit item will work for you please tell us what vehicle you'll use it with.


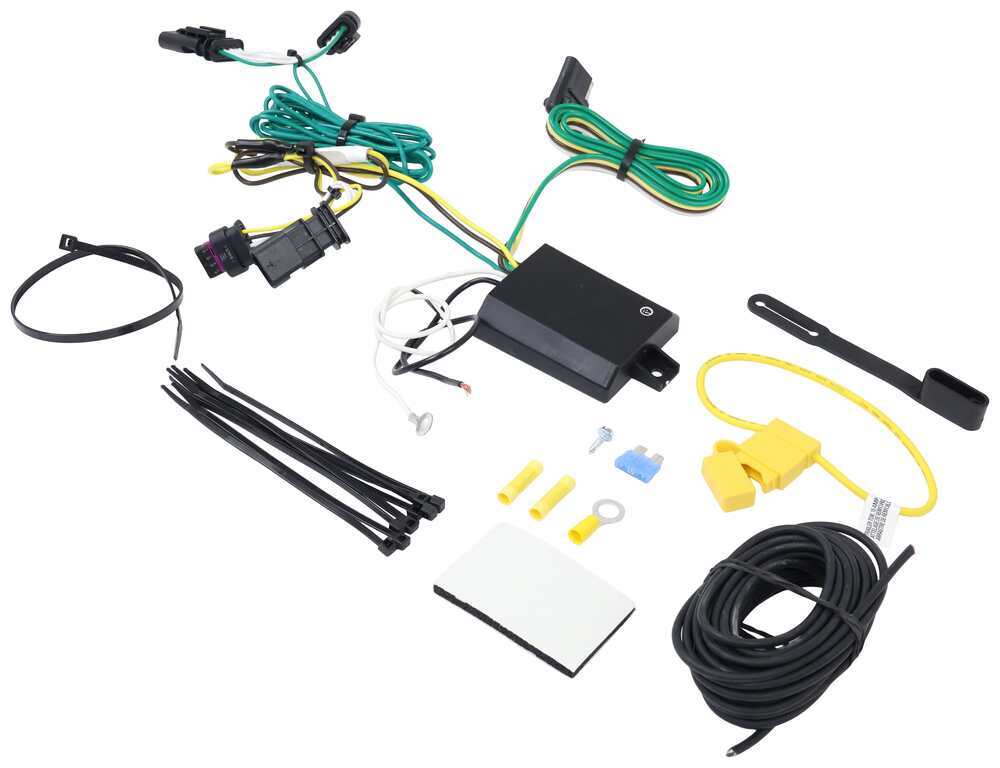
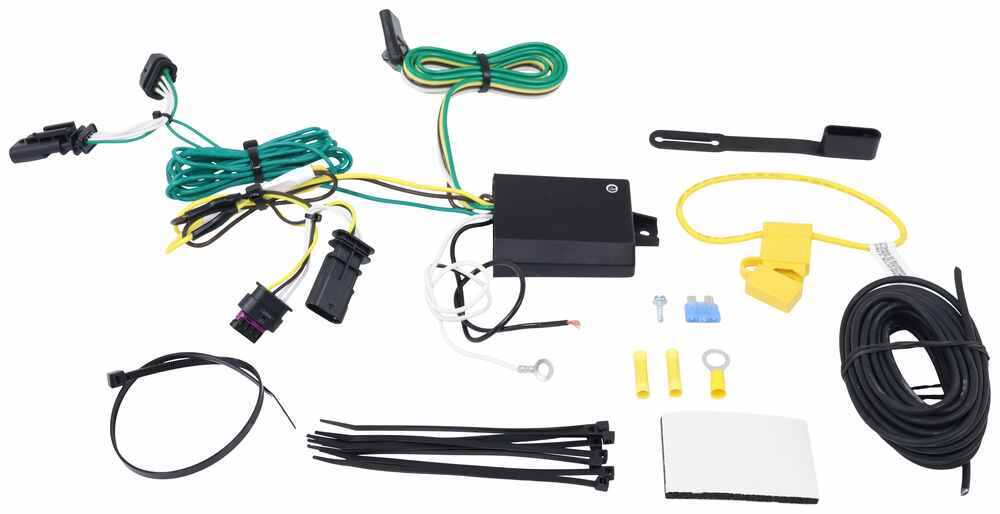
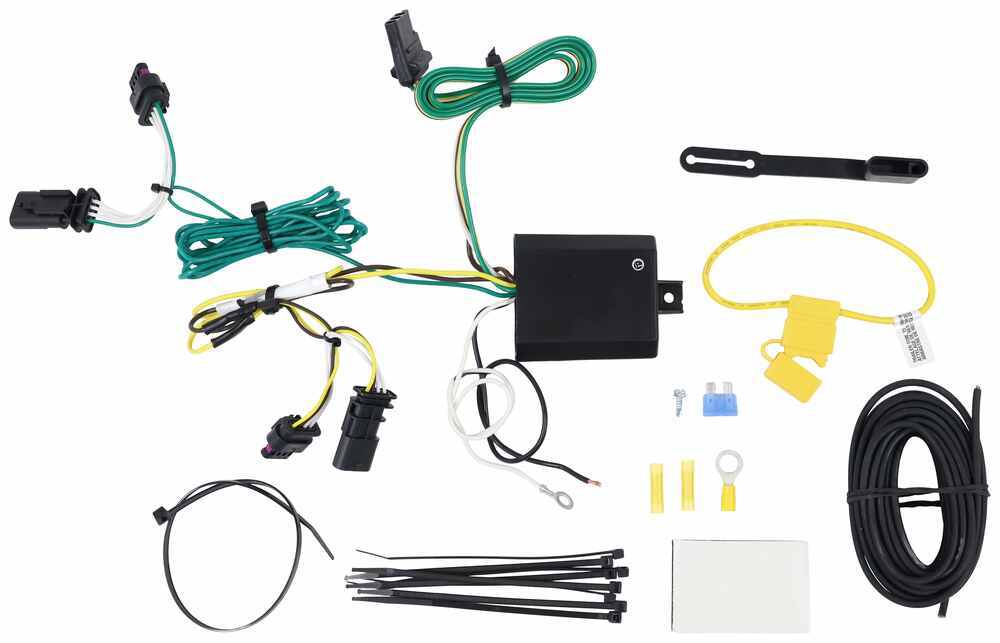
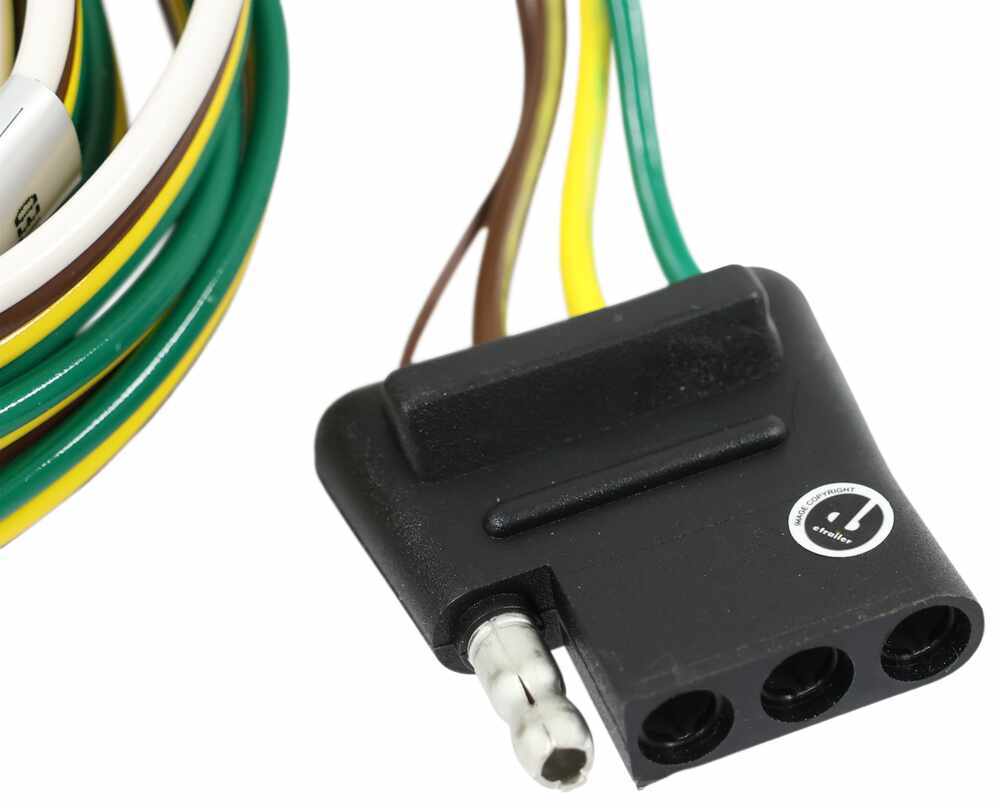
Quickly and easily install a 4-way trailer connector on your vehicle with this custom harness. T-connector plugs directly into existing wiring. Powered converter reduces strain on wiring system and is made using SMT to ensure superior performance.
Features:
Specs:
Installation
This custom-fit T-connector plugs into your vehicle's wiring harness, which is located behind the driver's-side and passenger's-side tail lights. Once you've plugged in the T-connector, run the hot lead up to your car battery. Connect the lead to the included fuse holder, and then connect the fuse holder to the positive terminal on your battery.
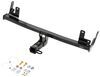
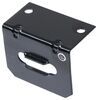
Once installation is complete, the 4-way connector will be stowed beneath your vehicle, near the trailer hitch. A mounting bracket (sold separately) is recommended to keep the connector secure.
It is recommended that you use a small amount of grease on all electrical connections - the plugs on your automobile and the 4-pole connector itself - to help prevent corrosion.
A tail light converter is built into this T-connector. This converter is a circuit-protected, battery-powered unit that bypasses the electrical routes that are used by a basic wiring harness. As a result, there is virtually no draw on your tail light circuits.
Because most trailers run on a two-wire system - wherein the brake and turn signals are carried on one wire - the separate brake and turn signals from your vehicle's three-wire system need to be combined so they are compatible with the wiring system of the trailer. This converter combines the brake and turn signal functions of your automobile so that they run on one wire to properly activate your trailer's tail lights. Note: This will not affect how the tail lights on your vehicle operate.
Curt builds each tail light converter using surface-mount technology (SMT). This method of construction involves soldering electronic components directly to the surface of a printed circuit board. SMT eliminates the need for leads, which are used in older through-hole technology. The result is a circuit board that is smaller yet provides more routing area and that offers superior performance, reliability and durability.
Circuit boards constructed using SMT have been shown to perform better under rough conditions with excessive vibration than those made using the through-hole method. And where would vibration be more likely to occur than in towing applications? Curt converters also produce less heat, leading to increased durability and longer life. In addition, lower levels of resistance ensure better performance, especially for parts that operate at higher frequencies.
Each Curt circuit board is made using high-quality components that are pieced together in the most technologically savvy fashion, leading to greater predictability and reliability in functioning.

California residents: click here
Videos are provided as a guide only. Refer to manufacturer installation instructions and specs for complete information.
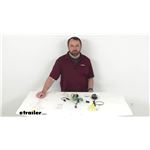
Hi, everybody, Andy here with etrailer.com. Let's take a look together at this CURT T-connector vehicle wiring harness with four-pole flat trailer connector. This wiring harness has been specifically designed to fit your 2023 and newer Dodge Hornet and on custom-fit parts such as this wiring harness, I do recommend taking advantage of our vehicle fit guide. Simply input the year, make and model of your vehicle, and our fit guide will confirm if this will work for you or if we have something comparable that will work for you. Now, this harness is going to give you that four-pole flat trailer connector at the back of your hornet to power your trailer signal lights. This is going to be compatible with your five-pole, six-pole, and seven pole adapters and those adapters are sold separately.
As you can see here, this does include a dust cap for that four-pole flat connector and that dust cap is going to cover up those connection points when the plug is not being used, protecting those points from moisture and dust and debris. Now, included with this harness is this black box here and this black box is a powered taillight converter and this is going to ensure that your vehicle's wiring matches that of your trailer. It will connect directly to your vehicle's battery to avoid overloading its electrical system, reducing strain on your vehicle's wiring system. CURT does build each converter box using surface mount technology for consistent, reliable performance. It's going to maximize your trailer light, yield, and intensity while producing minimal heat, ensuring superior operation and rough road conditions.
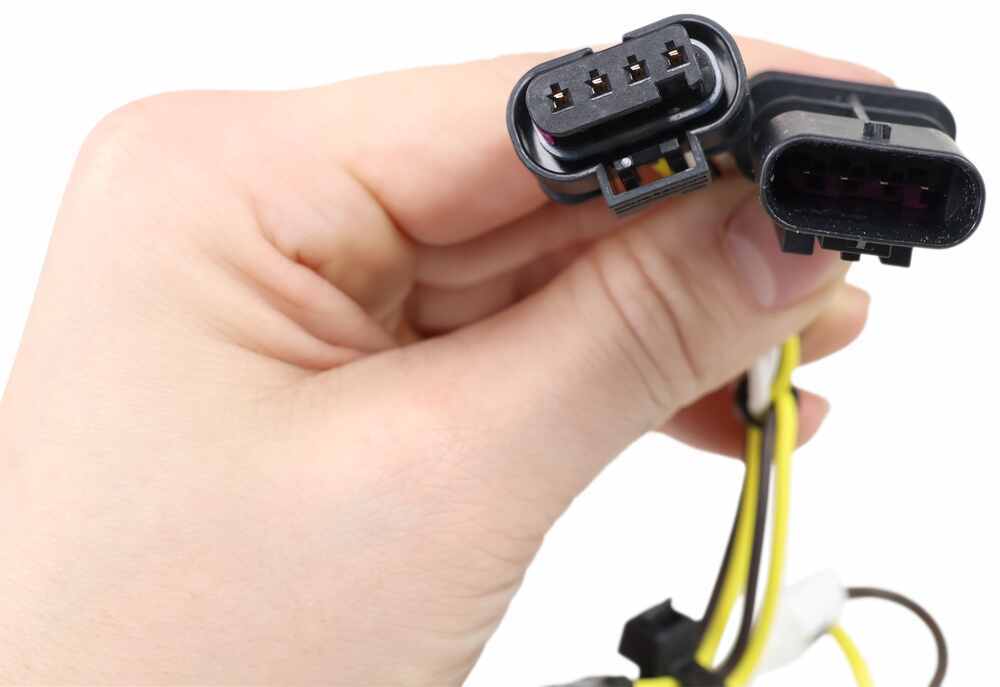
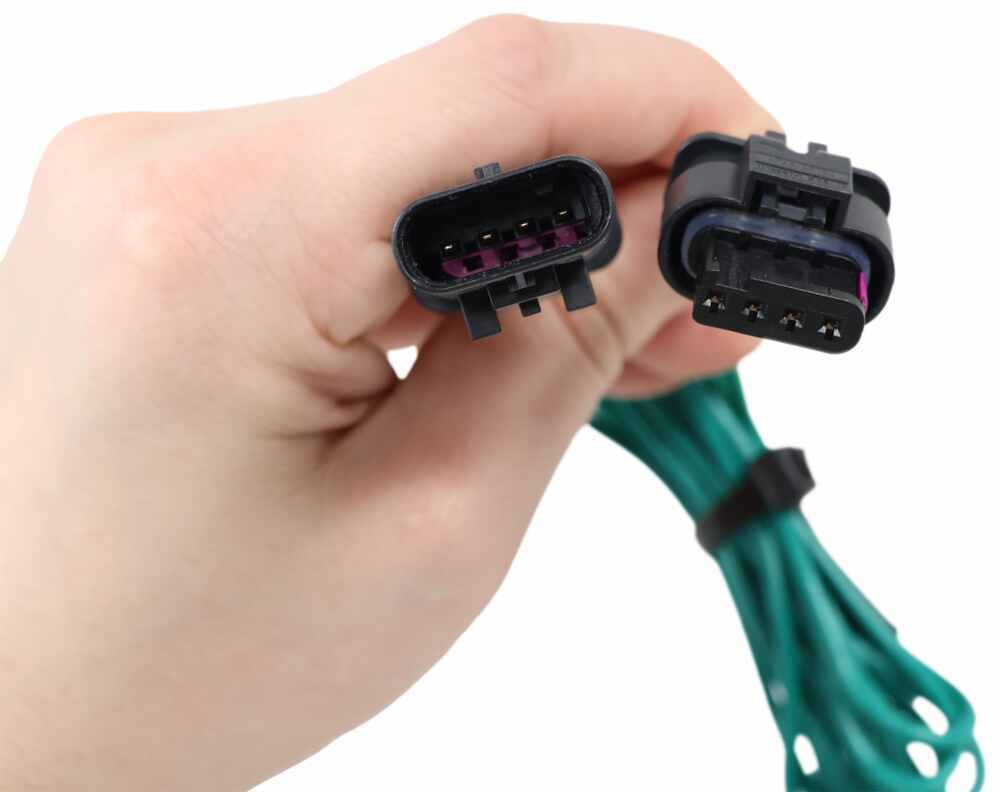
This harness is designed to connect quickly and easily. You will need to locate your vehicle's wiring harness located behind the driver's side and passenger side taillights. And once you locate those connectors, you're gonna separate those connectors and you wanna be careful not to break the locking tabs. And then you're going to insert these T-connector ends between the vehicles wiring connectors and lock them into place. These T-connectors are custom-fitted for your hornet, so they are going to match up perfectly with the connection points on that vehicle.
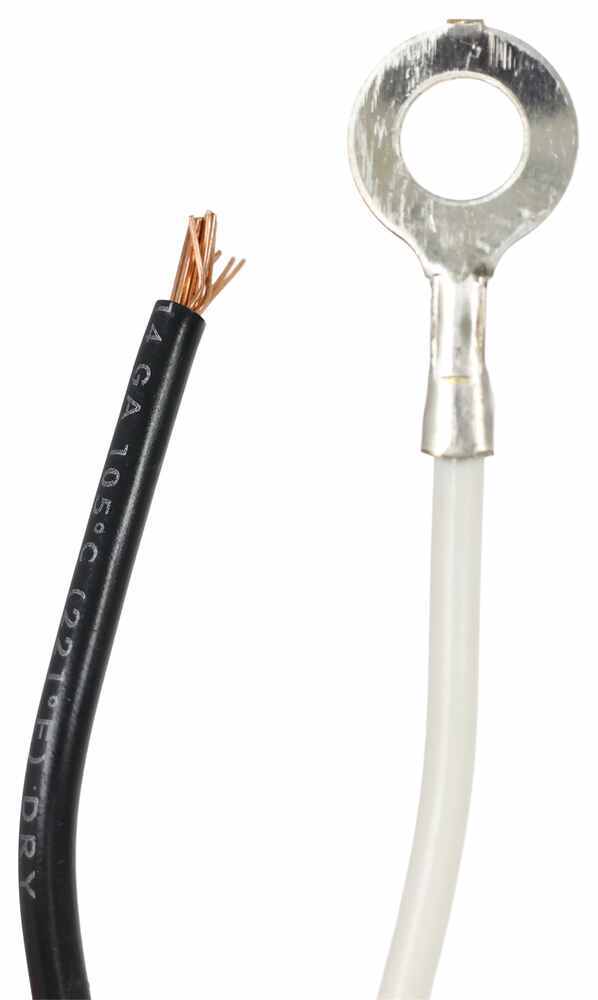
They're gonna snap and lock together for a tight, secure fit. Now once you have these plugged in, you will need to make a good ground connection and the ground wire is this white wire. And as you notice here, it does have a ring terminal attached to it. It also comes with a self-tapping screw that you see there. So you can get this grounded to a suitable location such as your vehicle's frame or cross member.
You just wanna make sure that that surface is clean and rust-free. Next, you will want to mount this converter box to a safe, out of the way location. You could do that with another mounting screw that you might have on hand, or you could use this double-sided adhesive tape, or maybe even use one of the many cable ties that's included with this kit. Next, you will need to run the hot lead to your vehicle's battery and that's this short, black wire that's coming out of the converter box. This short, black wire is going to get connected to one end of this included bundle of black wire using one of the included butt connectors. And then the other end of this bundle is going to get routed to your vehicle's battery. And once you have this routed to your battery, you're going to take this fuse holder here and snip this loop in half. And then you are going to take the wire that you routed to your battery with the other butt connector and connect that to one of the wires of this fuse holder. And then you will take the other half of this wire and connect this ring terminal to that wire. And then that ring terminal is going to get attached to the positive post of your vehicle's battery. This does come with a 15 amp fuse and that fuse will go right into that holder and it does have a cap there that's going to keep that fuse safe and protected. Then you can secure any slack that you might have in your wiring with the cable ties. And then once the installation is complete, the four-way connector will be stowed beneath your hornet, near the trailer hitch receiver. You will wanna check out our mounting bracket options here at etrailer.com. So you can mount this underneath your bumper, near your trailer hitch receiver for easy access. So we do have some of those options here. Now, the maximum amperage for the stop turn lights is three amps per circuit. For the tail lights, it is six amps per circuit. Instructions are included to guide you through the installation process, and it is also recommended that you use a small amount of dielectric grease on all of your electrical connections to help prevent electrical failures caused by corrosion and moisture. You can put that grease on the plugs on the vehicle and also the four-pole connector itself. So on your screen, I am including our item number for that grease. You can just take that item number and pop it in the search field of our website. That will take you to that grease, and you can add that to your order. Well, that's gonna wrap up our look today. I do hope that our time together was helpful for you. Again, my name is Andy, thank you for joining me.
Do you have a question about this Custom Fit Vehicle Wiring?
Info for this part was:
At etrailer we provide the best information available about the products we sell. We take the quality of our information seriously so that you can get the right part the first time. Let us know if anything is missing or if you have any questions.

















Thank you! Your comment has been submitted successfully. You should be able to view your question/comment here within a few days.
Error submitting comment. Please try again momentarily.