

 Arrives before Christmas
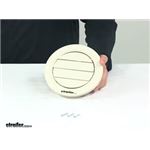
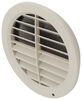
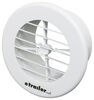
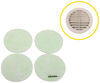
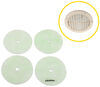
 Easily adjust the airflow in your RV to keep things comfy. Push and twist the dampers to direct air in any direction. Installs in 5" duct openings on your wall or ceiling with included hardware, and dampers snap over the top to hide the screws.
Features:
Specs:
California residents: click here
Videos are provided as a guide only. Refer to manufacturer installation instructions and specs for complete information.
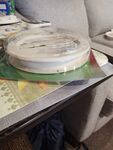
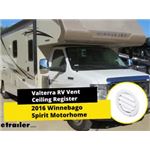
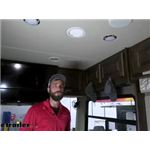
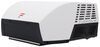
What's up everybody it's AJ with etrailer.com. Today we're going to check out this Valterra Ceiling Vent Register on our 2016 Winnebago Spirit. What's nice about this vent is you can move it around and push the air where you need it the most. So whether it's heating or cooling, you can direct that air wherever you're sitting in any of these chairs. Just spin it around if you want more or less, or you can even just close the vent and you don't have to worry about it. This is going to be white in color.
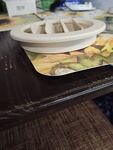
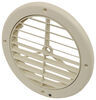
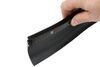
You can spin vents in a 360 degrees. You can angle them back and forth, like I said, to adjust or push that air wherever you want it. I also like that it has the vessel around the outside. So this covers up the screw holes underneath. So sometimes you can see them exposed and I'd rather just not see them.
So I think this has a cleaner look with it covered up. Go over some measurements real quick. It's going to be 5 inches diameter inside here where the vent is. It's going to be 6 7/8 diameter from outside to outside there. And it's also going to fit in a 5 inch duct.
It's going to be pretty easy to install. You're just going to do a couple of screws in there to hold it up especially if you're replacing an old one just use the same mounting holes. Check out how I did it. I already removed the old vent. So we're going to put this one back up in it's place.
First thing we're going to do is peel back the cover. And that's going to expose where the screws go. So I just pull on that on the ends. Just going to easily pop off. Now you know where to put the screws. So we're going to match those up with the existing holes. Looks like they all line up. So I can start putting the screws back in. And the last step is going to be to put our cover back over. Overall, I like this replacement vent. I put this one on there. The other one was stationary. So I couldn't really turn and point the air where I wanted it. Now whether it's AC or heat, I can get that air where it's needed the most. Well I think that does it. Thanks for hanging out and hoped this helped..


Do you have a question about this RV Vents and Fan?
Info for this part was:
At etrailer.com we provide the best information available about the products we sell. We take the quality of our information seriously so that you can get the right part the first time. Let us know if anything is missing or if you have any questions.


Thank you! Your comment has been submitted successfully. You should be able to view your question/comment here within a few days.
Error submitting comment. Please try again momentarily.