


To see if this custom-fit item will work for you please tell us what vehicle you'll use it with.


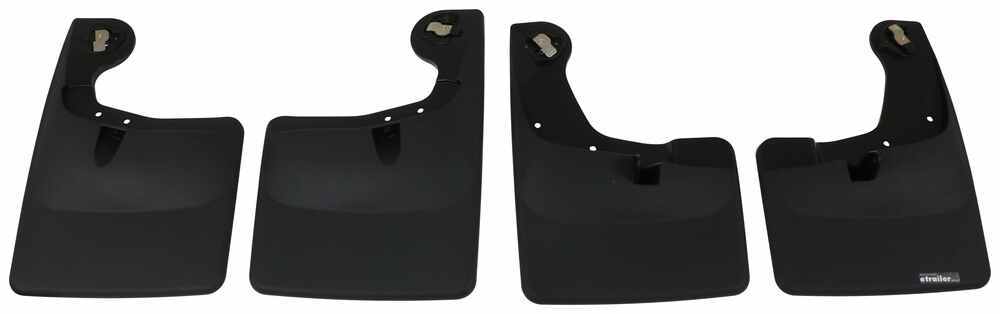
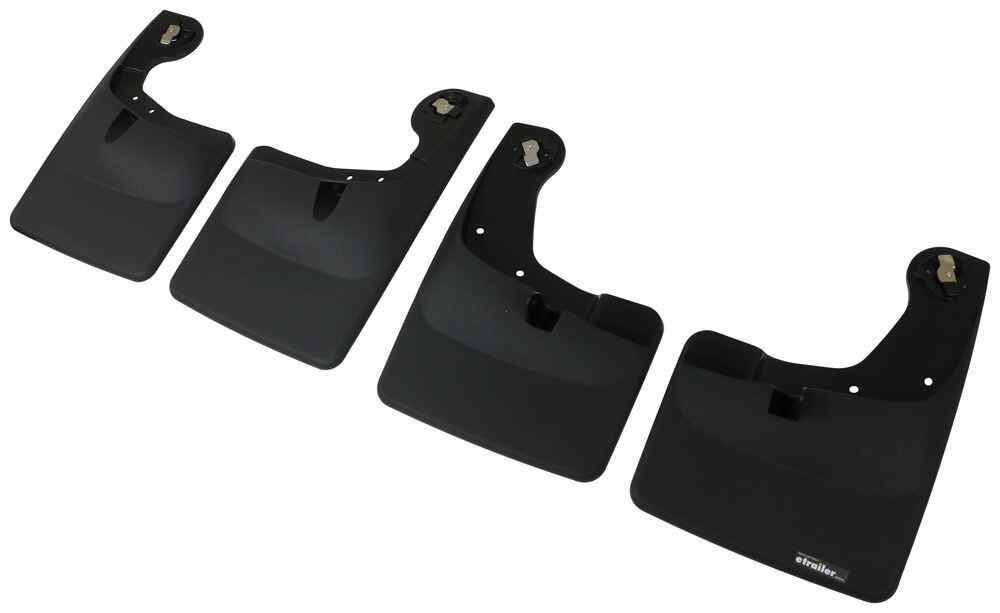
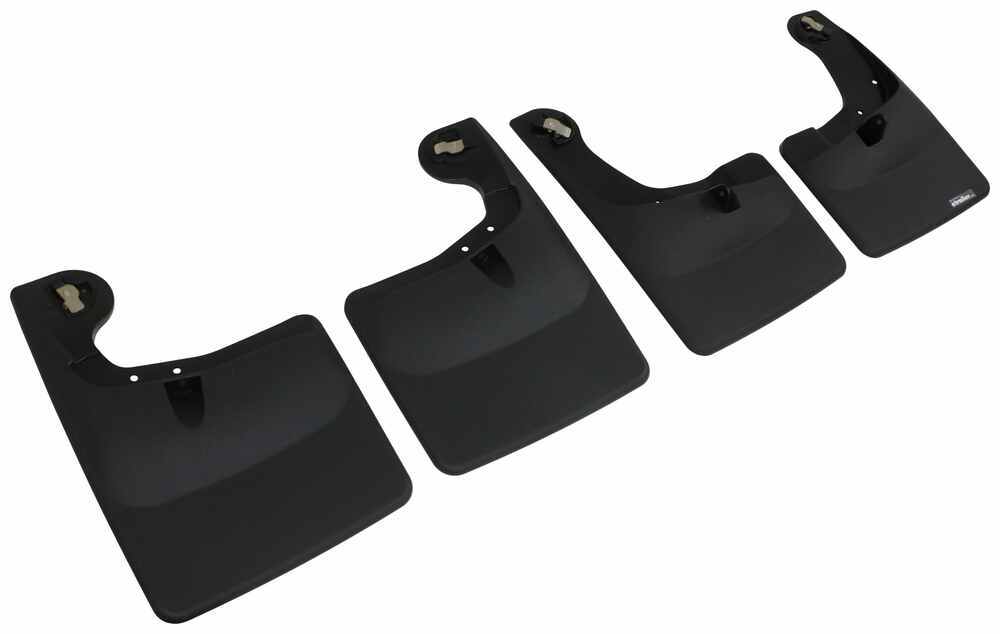
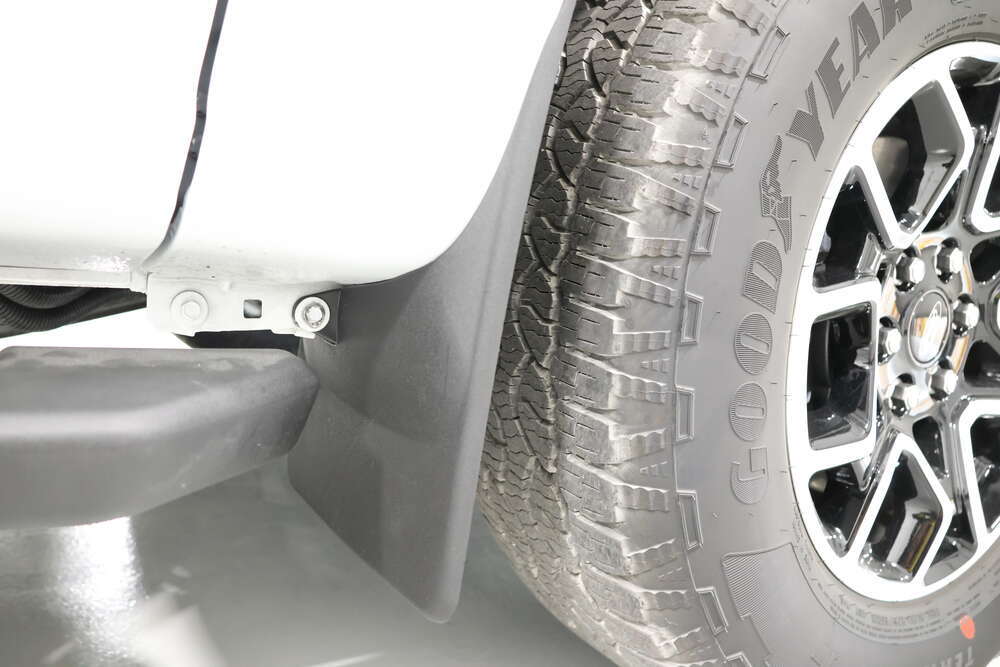
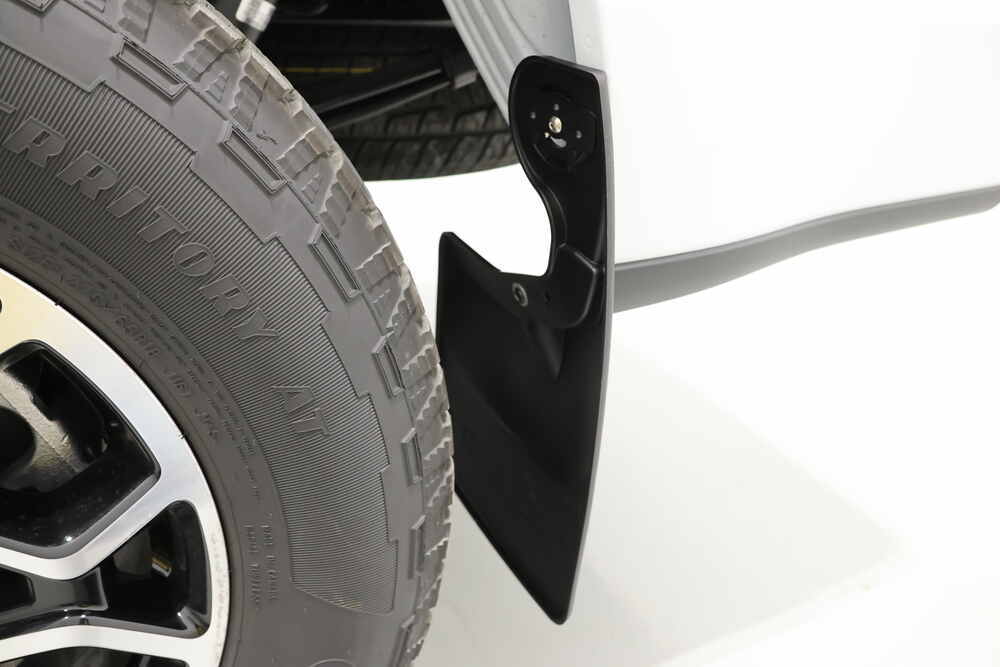
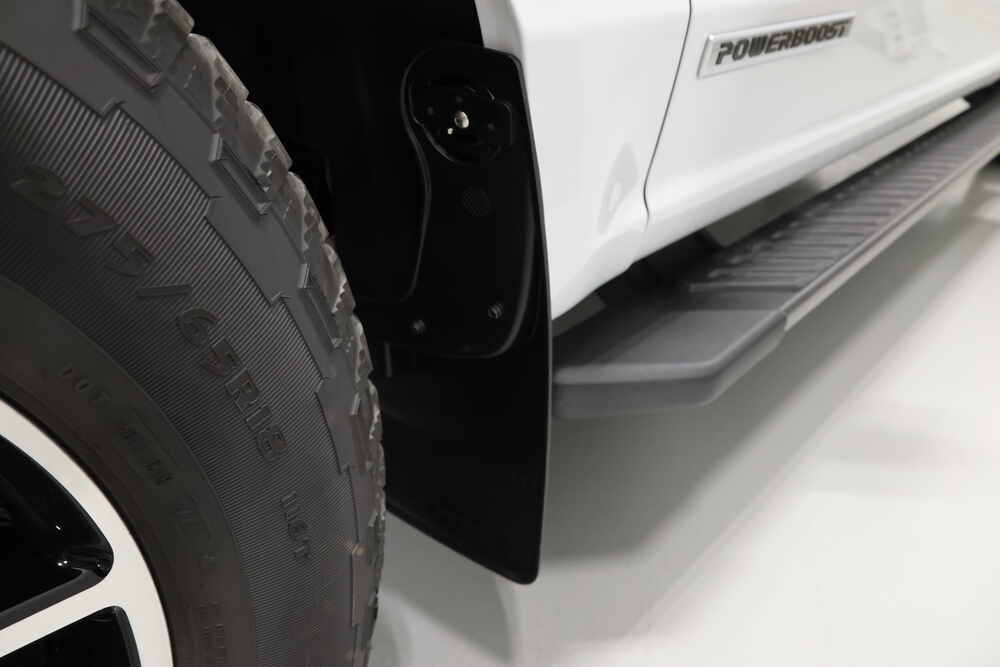
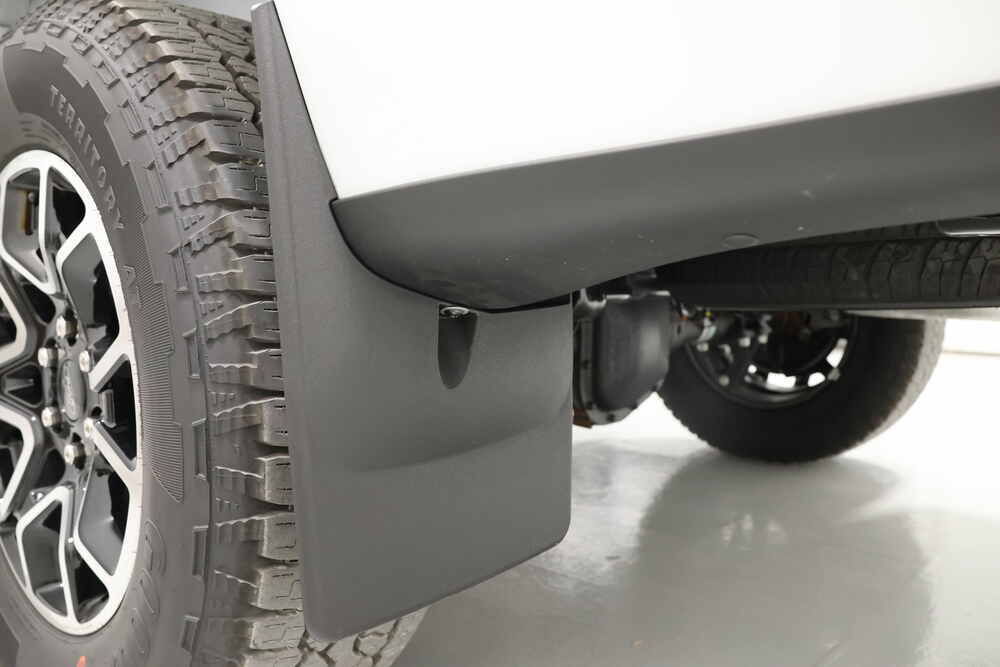
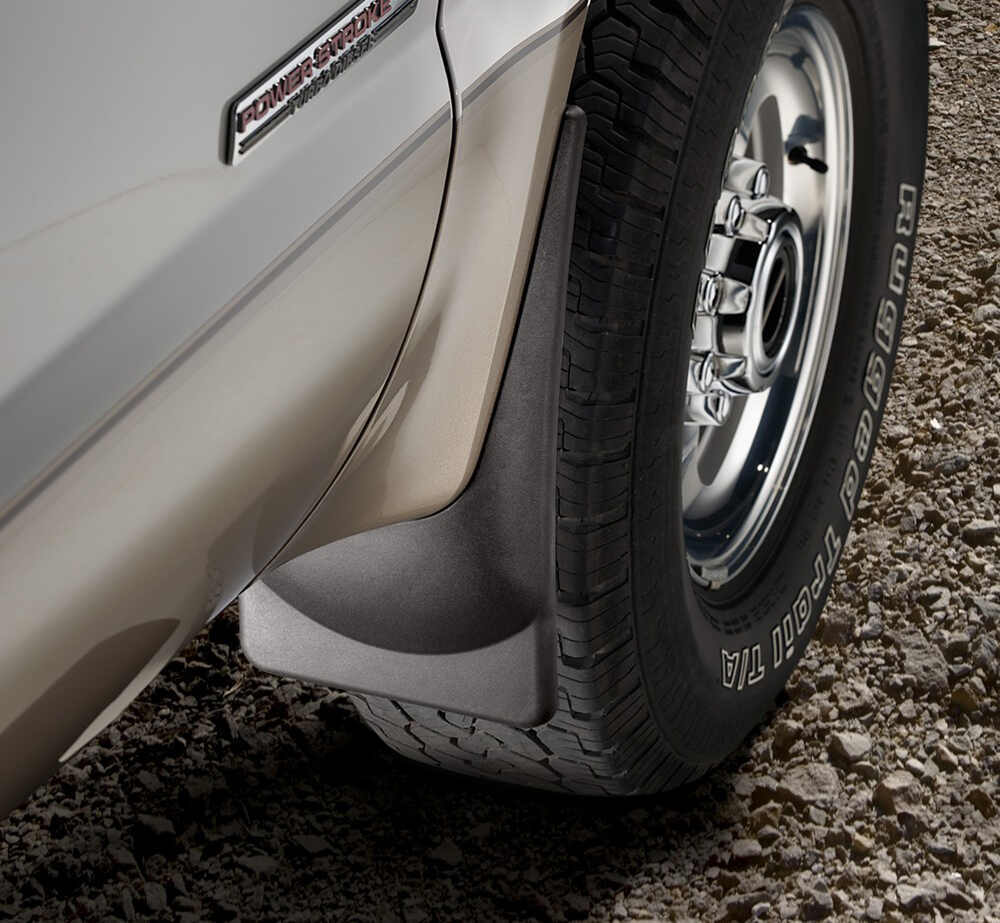
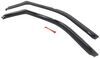
These premium mud flaps are easy to install and digitally designed for a perfect fit. Protect your vehicle and your trailer from road debris. Flaps are constructed of durable thermoplastic resin with stainless steel fasteners.
Features:
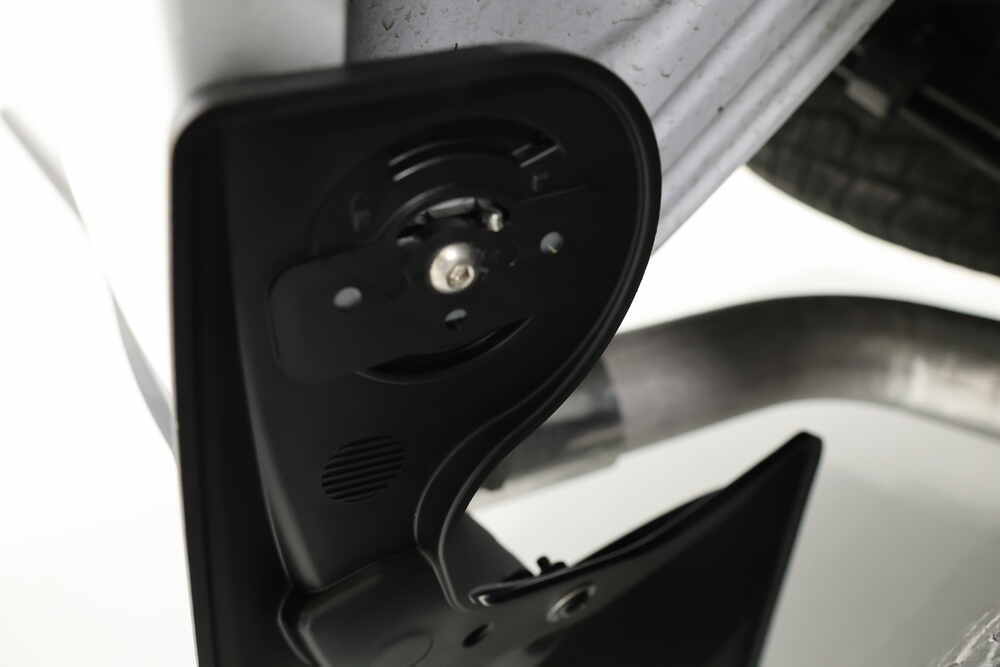
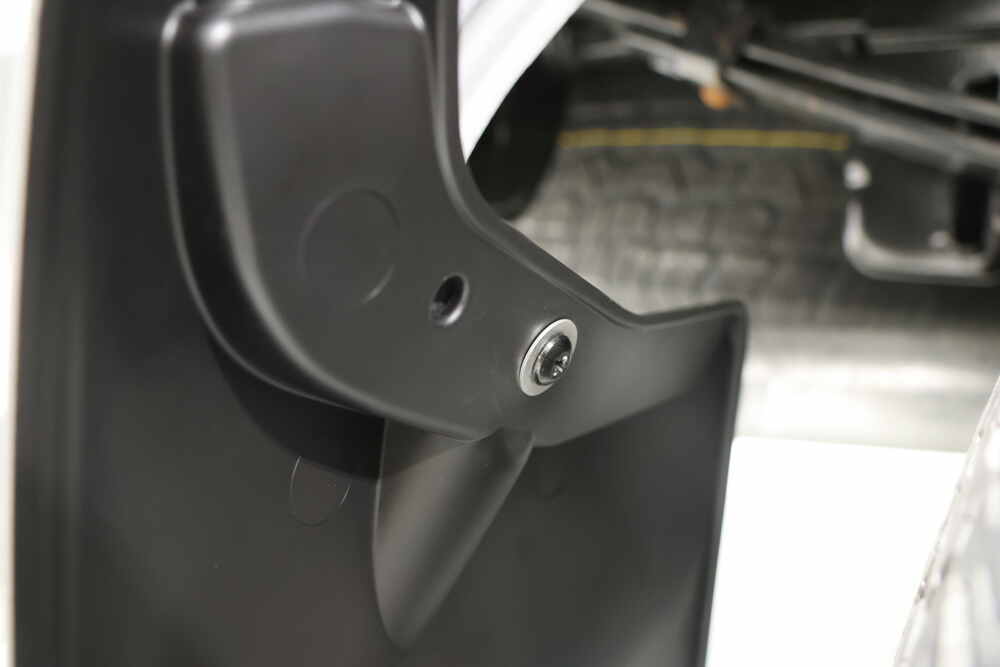
Precision fit, durable components and ease of installation make WeatherTech NoDrills your first choice in mud flaps. Installing mud flaps has never been this painless. Patent-pending QuickTurn stainless steel fasteners makes installation quick and easy - no drilling required.
 Alternate Instructions
Videos are provided as a guide only. Refer to manufacturer installation instructions and specs for complete information.
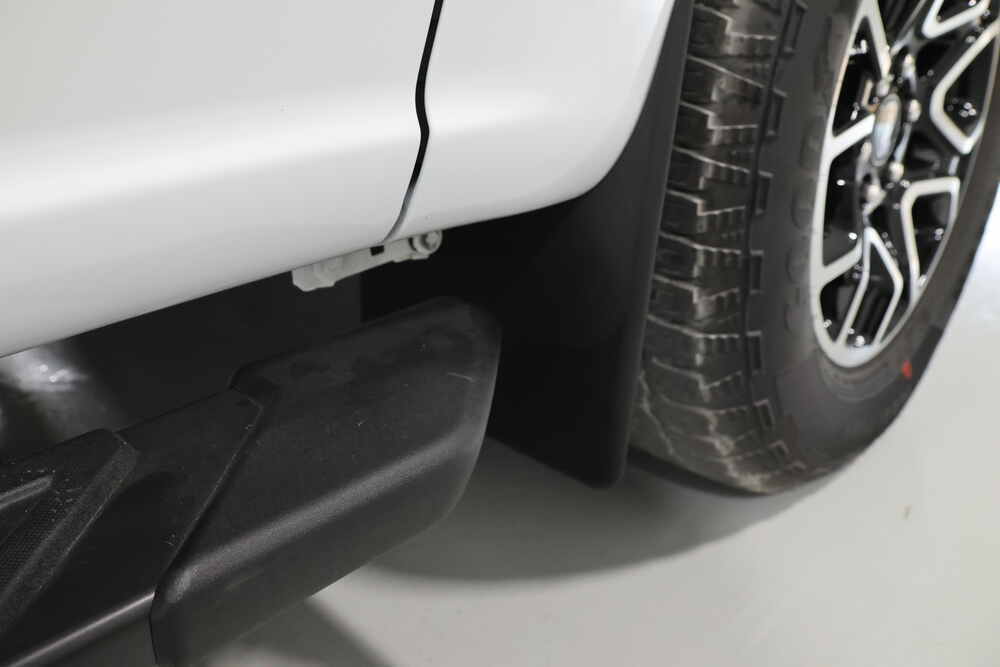
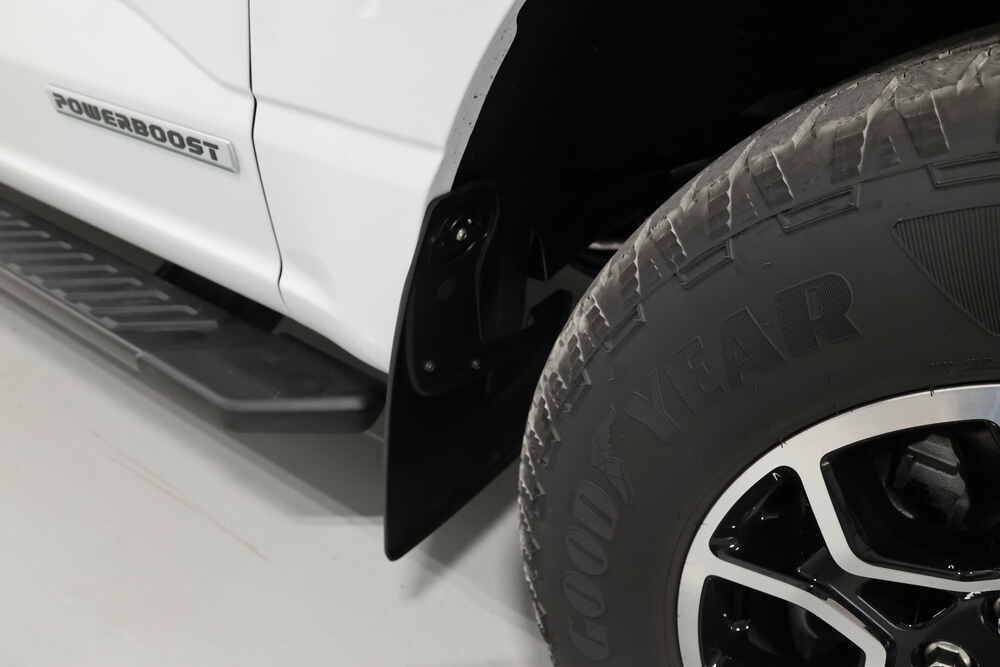
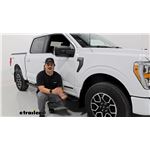
Hi everybody, Andy here with etrailer.com. Let's take a brief look together at these WeatherTech front and rear mud flaps. Now, these mud flaps are designed specifically to fit your 2021 to 2023 Ford F-150 with or without the wheel lip molding. On custom fit parts such as these flaps, I do recommend taking advantage of our vehicle fit guide. Simply input the year, make and model of your vehicle and our fit guide will confirm if these will work for you or if we have something comparable that will work for you. Now, these premium mud flaps are digitally designed to fit your F-150, giving them that factory look and perfect fit.
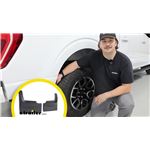
And these are gonna do a great job of protecting your truck, your trailer, and drivers behind you from road debris. And these flaps are gonna be a pretty simple easy install. There's not gonna be any drilling required to install these, which is great. They're going to attach securely with the quick, quick turn stainless steel fasteners. Lemme give you a closeup view of one of these here just to show you that.
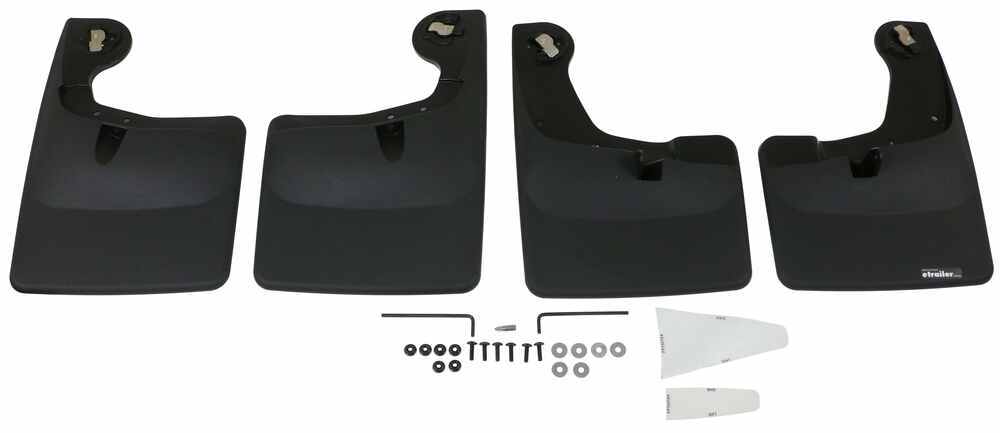
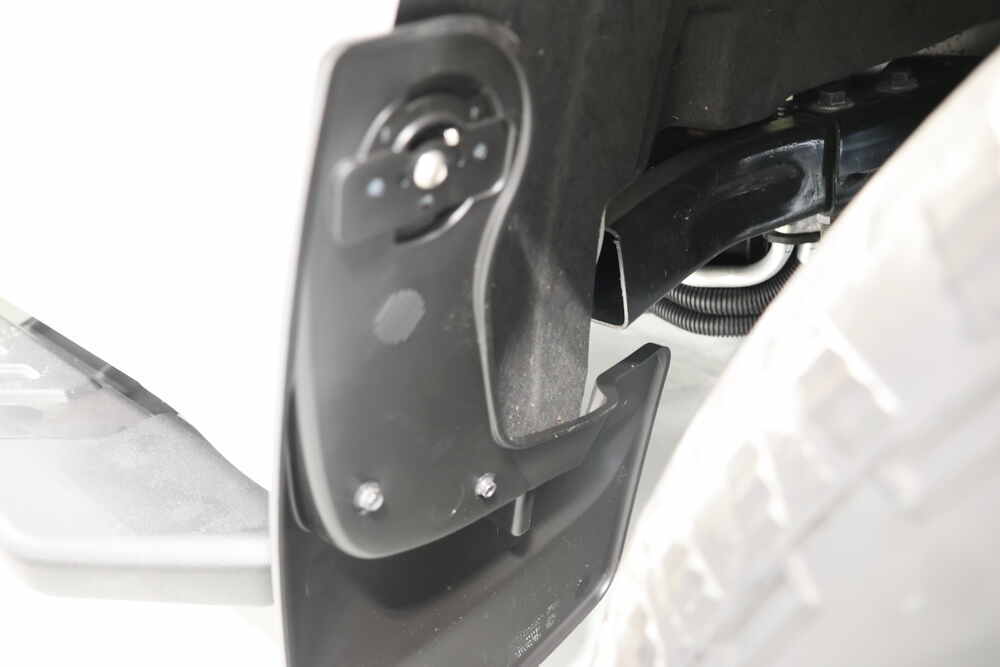
So this is going to help ease that installation. And then you're also going to get some additional hardware to mount these to your vehicle along with some of the tools that you will need to install these. So this does basically come with almost everything that you are going to need to successfully install these to your F-150, and you're gonna get sets of instructions to guide you through that installation process. Now, these are made here in the USA and they're molded from high-quality thermoplastic resin. So they're gonna do a great job of resisting the elements that they're gonna be constantly exposed to.
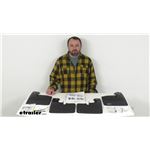
You're not gonna have to worry about them deteriorating. I think they're gonna hold up really well for you. So what I have here in the front of my table, these are the front mud flaps and then here on the back or on the sides of the table rather, are the rear mud flaps. So you'll get the complete set. Let me go over some measurements for you just so you have an idea of the size.
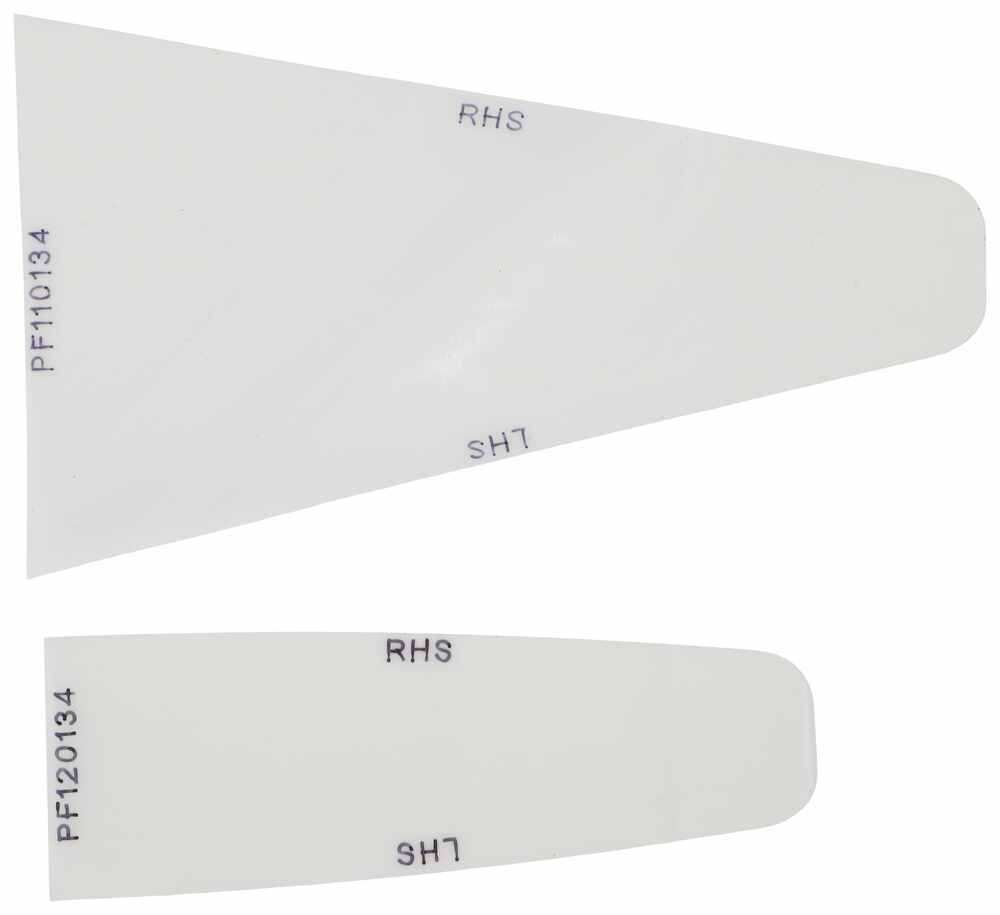
So let me look at the rear mud flap first and taking a measurement here at the widest point, we're sitting pretty close to 11-1/8 inches across. And then measuring at the tallest point, we're pretty close to 16-1/4 inches tall. So again, that's on the rear. And then lemme take a look at the front. So again, at the widest point, we've got the same measurement it looks, like right at 11-1/8 inches. And then the height right at about 15-5/8 inches tall overall. So if you're looking for a great set of mud flaps on your '21 to '23 F-150 to cover both the front and the rear, I think these are gonna really be a great set to consider. They're made of, in my opinion, high-quality products. So I think if they're gonna last really well, and that installation, I think is going to go really quickly and smoothly for you. Well, that's gonna wrap up our quick look today. I do hope that our time together has been helpful for you. Again, my name is Andy. Thank you for joining me.
Customer Satisfaction Score:
98% were satisfied with this product
2% of customers were not satisfied
Ratings & Reviews

Are you serious with the question or is this just a computer generated inquiry?
This is a good investment. First, etrailer is a great place to get what you need for supplies! The weathertech mud flaps are a great addition to a raised F-250 with larger tires that pulls. This will provide the rest of the protection I need as well as cut down on debris that the tires throw up at other cars/trucks. Very easy to install and if I want to remove them then I have all the pieces necessary except for the push grommets which I can get anywhere. I think I will leave them on for a while....not bad looking either.
The Weather Tech mud flaps are very well made, fit perfectly and are very simple to install. I’m very impressed with them and they really help protect the body of my Jeep Grand Cherokee.
the fit was very good with the mud flaps fitting with my factory fender trim. The only issue was the clips that came with the setup. there were supposed to be 4 and there were only 2 in the packaging.
I purchased these for my wife's new 2031 chevy traverse. They look great and were easy to install. I have had many weather tech products through the years and have been very happy with them.
Fits my 2018 Chevy Silverado 1500 custom front steering wheels mud flaps. Bolts on correctly and fits good.
Weather tec is great, getting it from e trailer is also great. As the fit is always guaranteed. There customer service and follow up is second to none.
Mudflaps fit perfect and look great. Great business to deal with and fast shipping
Front mudflaps were easy to install. Rear mudflaps need a new design. Instead of a bolt, two washers, and a lock nut, WT should use some sort of insert into the whole where the bolt goes through. It is extremely difficult to get the washer and lock nut onto the bolt as the area is small. Something like a drywall anchor in the hole and then screw into the anchor. Finished product looks great. Please pass my comments onto Weather Tech.
Easy installation. Instructions are easy to understand.
Would have gave a 5 rating but had trouble with a flawed supplied screw clip so took a bit longer on the install. Had to remove the clip and modify so supplied screw would thread into clip. This happened to be the last screw to tighten.
WeatherTech products looks fantastic and are easy to install. This set was simple to install on a 2021 RAM Power Wagon
Quick shipping was always from etrailer. Product was a perfect fit on my vehicle and easy install took about 30 minutes.
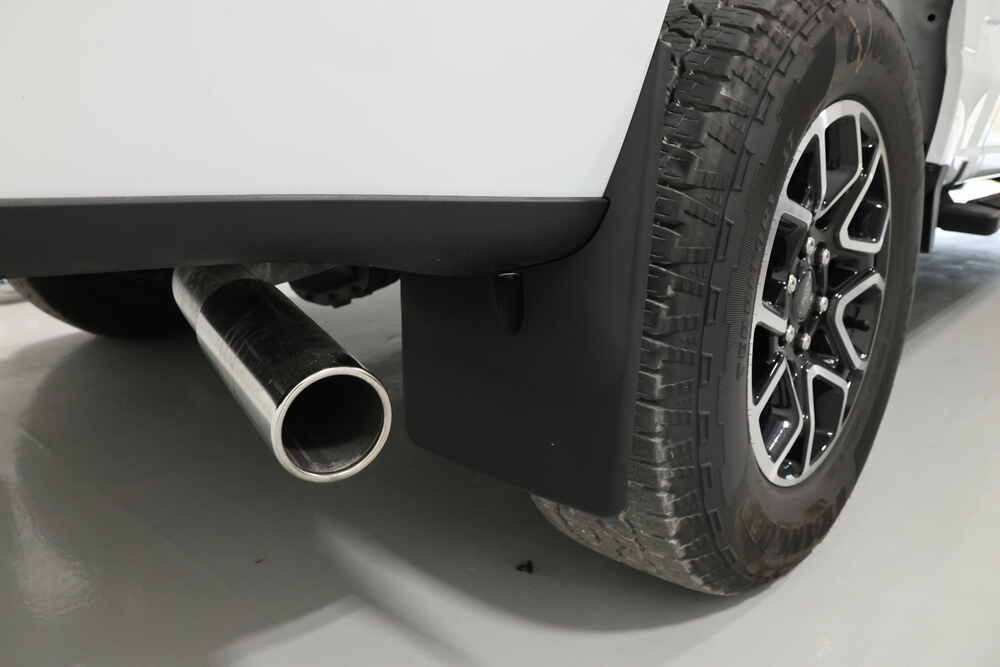
These were easy to install and look great on my 2023 F350 dually. I was a little concerned about how close the passenger side one is to the exhaust tips. Have only used them on one 2 hour drive but so far so good.
These no drill mud flaps are easy to install and look factory after installation. I was told by Weather tech they would not fit my 2025 F450, but they were wrong, they fit perfectly. I wish they used black screws and washers, it would look more finished than an after thought with the stainless metal screws and washer. Great product, would recommend, thus the five star rating. I have been using Weather tech products for years.
Vehicle 2026 Ram 2500 Dually. Ordering was super easy to identify the mudflats for my vehicle. Quick delivery with tracking to prepare when they arrive. Installation: Use the 2 current factory screws on each fender for a quick install, less than 20 minutes for all 4 a nice clean factory molded look. Front length looks good. Just for awareness. The rear isn’t as long as your typical rubber mudflap if you are looking for something that hangs closer to the ground. Hopefully can see the length in the photos.
Great product. Excellent quality. Looks great. Very simple to install. Took about 15 minutes to install. Fit was perfect. No adjustments to make. Fast shipping.
Fit perfectly easy install
Looks good and feels sturdy
Great communication.
I love these. I put set on another truck 5 yrs ago. Look great. Fit is spot on. I just received another set for new truck.
Info for this part was:
At etrailer we provide the best information available about the products we sell. We take the quality of our information seriously so that you can get the right part the first time. Let us know if anything is missing or if you have any questions.


























Thank you! Your comment has been submitted successfully. You should be able to view your question/comment here within a few days.
Error submitting comment. Please try again momentarily.